Creating a fruit bowl out of wood is a rewarding woodworking project that combines functionality with artistry. Whether you’re an experienced woodworker or a beginner looking for a creative challenge, this project allows you to craft a beautiful and practical centerpiece for your home.
With the right tools, materials, and techniques, you can transform a simple piece of wood into a timeless accessory designed to showcase fresh fruits in style. This guide on how to make a fruit bowl out of wood will walk you through the steps to bring your wooden fruit bowl to life. A beautifully crafted wooden fruit bowl adds a rustic touch to any kitchen while showcasing your fresh produce.
What is a Fruit Bowl?
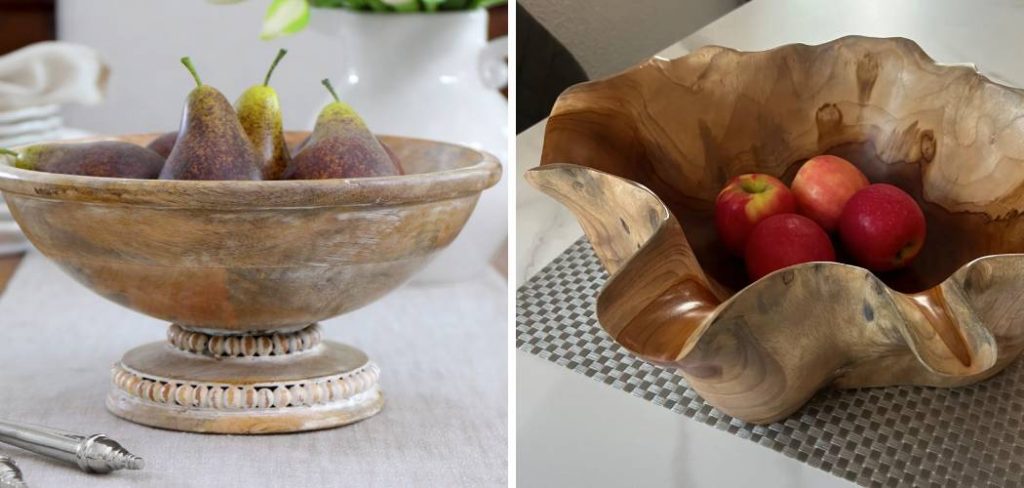
A fruit bowl is a container specifically designed to hold and display fresh fruits in an accessible and decorative way. Typically placed on a kitchen counter, dining table, or coffee table, it serves both a practical and aesthetic purpose. Beyond its functionality, a fruit bowl can enhance the interior design of a space, acting as a focal point with its artistic craftsmanship or unique design.
Fruit bowls come in various shapes, sizes, and materials, but wooden fruit bowls are particularly popular due to their natural appeal and durability. A well-crafted wooden fruit bowl is not only useful but also adds warmth and character to any room.
Why Make a Wood Fruit Bowl?
There are many great reasons to make a wooden fruit bowl, ranging from practical benefits to the personal satisfaction of crafting something with your own hands. Wooden fruit bowls are prized for their natural beauty and versatility. The warmth and texture of wood can complement virtually any home decor style, whether rustic, modern, or traditional. Unlike other materials, wood is sustainable and biodegradable, making it an environmentally friendly choice for those seeking to reduce their impact.
Creating your own wooden fruit bowl also provides an opportunity to showcase your creativity and woodworking skills. The process allows you to customize the size, shape, and design to suit your personal preferences or the specific needs of your space. Additionally, a handmade wood fruit bowl can be a meaningful gift for loved ones, combining functionality with a personal, crafted touch. For many, the act of crafting such an item is also deeply fulfilling, offering a chance to disconnect from the fast-paced world and engage in a relaxing and rewarding hobby.
Needed Materials:
To create a fruit bowl out of wood, you will need the following materials:
A Piece of Wood:
The type of wood is up to personal preference, but hardwoods like maple, cherry, or walnut are popular choices due to their durability and attractive grain patterns. Make sure the wood is dry and free of any cracks or knots.
Tools:
- Saw (Hand Saw, Jigsaw, or Table Saw)
- Sandpaper (Various Grits)
- Chisel
- Hammer
- Wood Glue
- Clamps
- Power Drill With Various Bits
Safety Equipment:

Woodworking can be a hazardous activity, so make sure to wear protective gear such as safety goggles, gloves, and a dust mask while working with power tools and sanding.
8 Step-by-step Guidelines on How to Make a Fruit Bowl Out of Wood
Step 1: Choose and Prep Your Wood
Begin by selecting the type of wood you want to use for your fruit bowl. Hardwoods such as maple, cherry, or walnut are ideal choices because they are durable and feature beautiful grain patterns that will enhance the final product. Once you have chosen your wood, inspect it carefully to ensure it is free from cracks, knots, or other imperfections that could impact its structural integrity or aesthetics.
Next, prepare the wood by cutting it to your desired size using a saw. Determine the approximate dimensions of your fruit bowl, keeping in mind the shape and depth you want to achieve. Once cut, smooth the surface of the wood with sandpaper, starting with a coarse grit to remove any rough spots and progressing to finer grits for a smooth finish. This initial preparation is crucial to ensure that the wood is easy to work with in the next steps of the process.
Step 2: Design and Plan Your Fruit Bowl
With your prepped piece of wood, it’s time to plan the design and shape of your fruit bowl. You can choose from a variety of styles, such as a classic round or oval bowl, or a more unique asymmetrical shape.
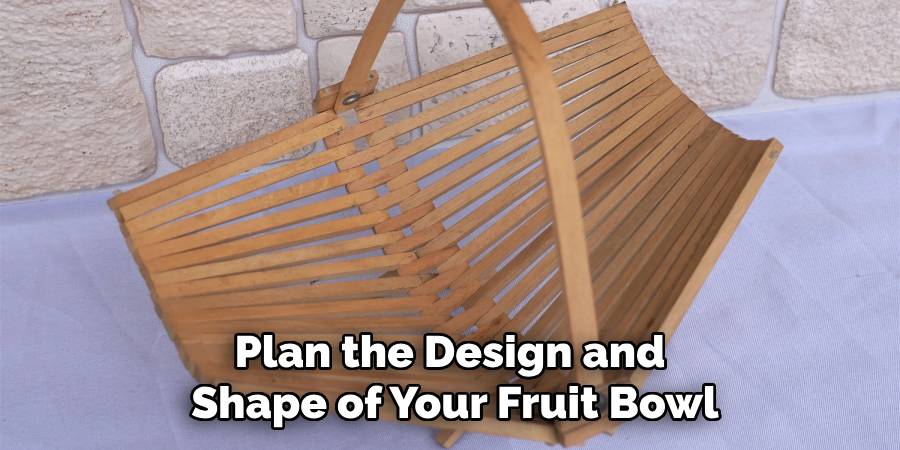
Consider the size and type of fruits you want to display in your bowl and use this information to determine the depth and width of the bowl. Mark out the desired shape on your wood using a pencil or chalk.
Step 3: Create the Base
The base of your fruit bowl serves as the foundation, providing stability and balance. Begin by carving or shaping the bottom of your prepped wood to ensure it lays flat and evenly on a surface. You can use a chisel and hammer or a power tool, such as a sander or router, to shape the underside into a smooth, flat base. It’s important to frequently check your progress by placing the wood on a flat surface to confirm stability.
For added style or personalization, you can create decorative features on the base, such as a carved edge or a slight bevel. To do this, carefully shape the outer edges of the base to your desired look, ensuring that the base remains functional and stable. Once you’re satisfied with the base, sand it thoroughly with finer grit sandpaper to finish the surface smoothly and prepare it for the remainder of the crafting process.
Step 4: Create the Bowl Shape
With the base complete, it’s time to shape the bowl itself. Begin by marking out your desired depth and overall shape on the wood using a pencil or chalk.
Then, use a saw or chisel to remove excess wood from the center of the bowl, forming its curved interior walls. Continue shaping and sanding until you achieve your desired depth and smoothness.
Step 5: Smooth Out Any Imperfections
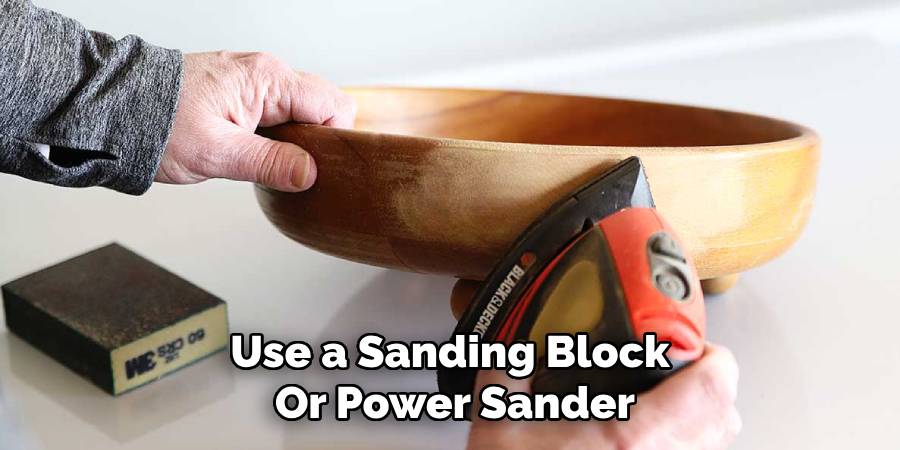
Once the rough shaping of your fruit bowl is complete, it’s time to refine and smooth out any imperfections. Begin by inspecting the surface of the bowl, both inside and out, for rough spots, tool marks, or uneven areas. Use sandpaper to address these imperfections, starting with a medium grit to remove the roughness, and gradually progressing to finer grits for a polished finish.
Pay particular attention to the edges and the interior of the bowl, ensuring they are smooth to the touch and free of splinters or sharp edges. For a professional look, you can also use a sanding block or power sander for more even and precise results. This step is essential to achieving a high-quality finish and preparing the wood for the final steps, such as staining or sealing, which will enhance the bowl’s appearance and longevity.
Step 6: Stain or Seal Your Fruit Bowl (Optional)
Once you have smoothed out all imperfections, you can add a personal touch to your fruit bowl by staining or sealing it. There are various stain and sealant options available, such as oil-based or water-based products, each with unique benefits and finishes.
Before applying any product, make sure to read the instructions carefully and test it on a small area of the wood to ensure compatibility and achieve your desired look. Apply the stain or sealant evenly using a brush or cloth, following the grain of the wood for a natural finish. Allow it to dry thoroughly before proceeding to the final step.
Step 7: Drill Holes for Fruit Display
To make your fruit bowl functional, you will need to drill holes in the wood to hold the fruits. These holes can be evenly spaced or staggered, depending on your preference and the size of the fruits you want to display.
Use a power drill with an appropriately sized bit to create these holes carefully. Make sure they are large enough to hold your desired fruits, but not too close together that they weaken the integrity of the bowl.
Step 8: Final Touches and Cleaning
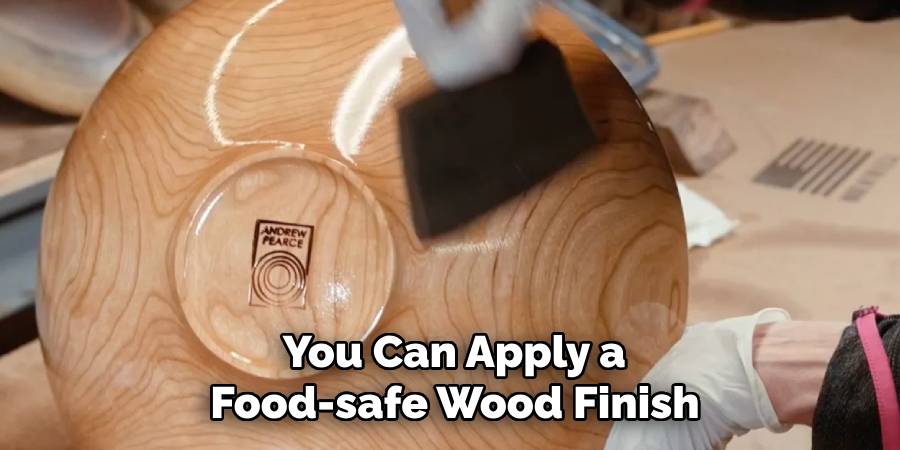
The last step in crafting your wooden fruit bowl is adding final touches to perfect its appearance and functionality. Begin by inspecting the entire bowl to ensure all surfaces are smooth and free from rough edges or splinters. If necessary, do a final round of sanding with fine-grit sandpaper for a polished finish.
For added protection and shine, you can apply a food-safe wood finish, such as mineral oil or beeswax. This not only enhances the natural grain of the wood but also protects it from moisture and wear. Use a clean, lint-free cloth to apply the finish evenly, working it into the wood in a circular motion. Allow it to absorb and dry completely before buffing with another clean cloth to achieve a smooth, shiny surface.
Following these steps on how to make a fruit bowl out of wood, your wooden fruit bowl is now complete and ready to be used or displayed. With proper care and maintenance, it can last for many years, adding a touch of elegance and functionality to your kitchen or dining table. Get creative with the design and have fun crafting your own unique fruit bowl that will impress both yourself and others whenever you use it.
Conclusion
In conclusion, crafting a wooden fruit bowl is a fun and satisfying DIY project that allows you to create a functional and beautiful piece for your home. With the right tools and techniques, you can design and shape a personalized bowl that reflects your style and meets you and your family’s needs.
Remember to take your time, be patient and attentive to detail, and always put safety first when working with power tools. Have fun experimenting with different wood types, sizes, and shapes to create a one-of-a-kind fruit bowl that will add a touch of elegance to your home décor. Thanks for reading this article on how to make a fruit bowl out of wood.
About the Author
Adrian Green, a lifelong woodworking enthusiast, shares his passion for the craft through The Woodenify Blog. With a foundation built on years of hands-on experience in his father’s woodworking shop, Adrian is dedicated to helping others learn and grow in the world of DIY woodworking. His approach to woodworking combines creativity, practicality, and a deep appreciation for the art of building with your own hands. Through his blog, he inspires individuals of all skill levels to embark on their own woodworking journeys, creating beautiful, functional pieces of furniture and décor.
Professional Focus
- Specializes in DIY woodworking projects, from furniture to home décor.
- Provides step-by-step guides and practical tutorials for woodworkers of all skill levels.
- Dedicated to helping readers build confidence and skill through easy-to-follow instructions and tips.
- Passionate about fostering a community of makers who can share, learn, and grow together.
Education History
- University of Craft and Design – Bachelor of Fine Arts (BFA) in Woodworking and Furniture Design
- Woodworking Apprenticeships – Extensive hands-on training with skilled craftsmen to refine carpentry and furniture making techniques.
- Online Courses & Masterclasses – Continued education in advanced woodworking techniques, design principles, and specialized tools
Expertise:
- DIY woodworking, carpentry, furniture making, and home décor projects.
- Creating accessible tutorials and guides for beginner to advanced woodworkers.
- Sharing the joys and satisfaction of woodworking, from raw materials to finished products.