Creating a patio table is a rewarding DIY project that combines functionality with style. Whether you’re looking to enhance your outdoor space or add a personalized touch to your backyard, building a patio table allows you to customize it to your needs and preferences. With the right materials, tools, and a bit of creativity, you can craft a durable and attractive table that perfectly complements your outdoor décor.
This guide on how to make a patio table will walk you through the steps to make your own patio table, ensuring a satisfying and successful project.
What is a Patio Table?
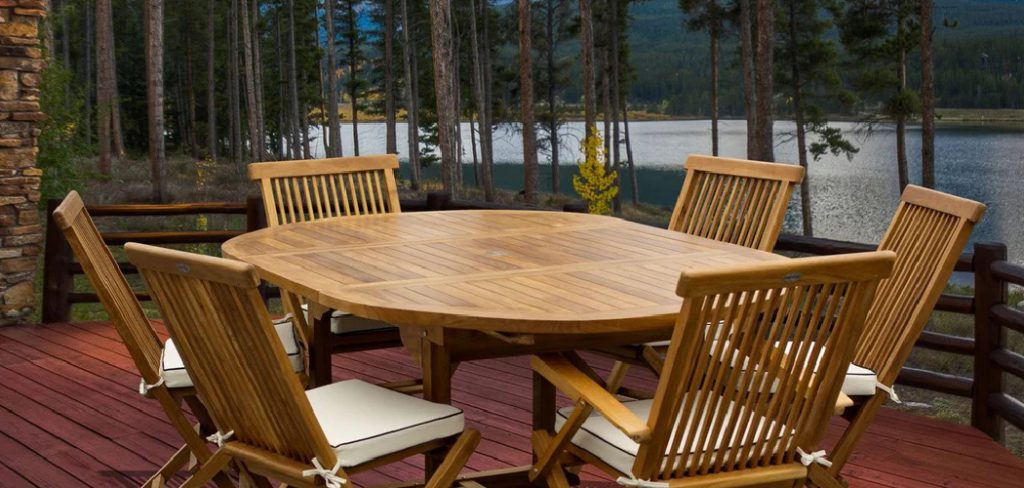
A patio table is a piece of outdoor furniture specifically designed for use in patios, gardens, or other open-air settings. Typically made from materials such as wood, metal, or durable plastic, patio tables are built to withstand various weather conditions while providing a functional and stylish surface for dining, entertaining, or simply relaxing outdoors.
They come in a variety of shapes, sizes, and designs, allowing homeowners to choose a table that best fits their space and aesthetic preferences. A well-crafted patio table not only adds practicality to an outdoor area but also enhances its overall ambiance.
Materials and Tools Required
Before diving into the building process, it’s essential to gather all the necessary materials and tools. The specific items required may vary depending on your chosen design and the size of the table, but here are some essential items you may need:
Wood:
Wood is a popular choice for building patio tables due to its durability and natural look. Cedar, redwood, or teak are excellent options, as they can withstand harsh weather conditions and resist decay.
Metal:
Metal patio tables are also durable and can add an industrial or modern touch to your outdoor space. Aluminum, wrought iron, or stainless steel are some common choices for metal patio table frames.
Screws and Nails:
To assemble the frame and attach the tabletop, you’ll need screws (preferably corrosion-resistant) and nails of various sizes.
Wood Glue:
Wood glue is essential if you’re using wood for your project. It helps bond different pieces of wood together securely.
Saw:
A saw is necessary for cutting your chosen materials to the required size and shape. A miter saw or circular saw is recommended for making precise cuts.
Drill:
A drill will be needed to make holes for screws and nails, making it easier to assemble the frame.
Sandpaper:
To achieve a smooth finish on your patio table, you’ll need sandpaper in various grits to sand down rough edges and surfaces.
7 Step-by-step Guides on How to Make a Patio Table
Step 1: Plan Your Design
Before you start building your patio table, it’s crucial to plan your design thoroughly. Decide on the size, shape, and style of the table that will best suit your outdoor space and match your existing décor. Consider factors such as how many people you want the table to accommodate, whether you prefer a rectangular, square, or circular design and the materials you plan to use.
Sketch out your design on paper, including detailed measurements for each component. If you’re new to woodworking or metal crafting, you may want to look for pre-made plans or templates to guide your build. Planning ahead will ensure you have a clear vision for your project and that you acquire the correct amount of materials and tools needed to execute your design.
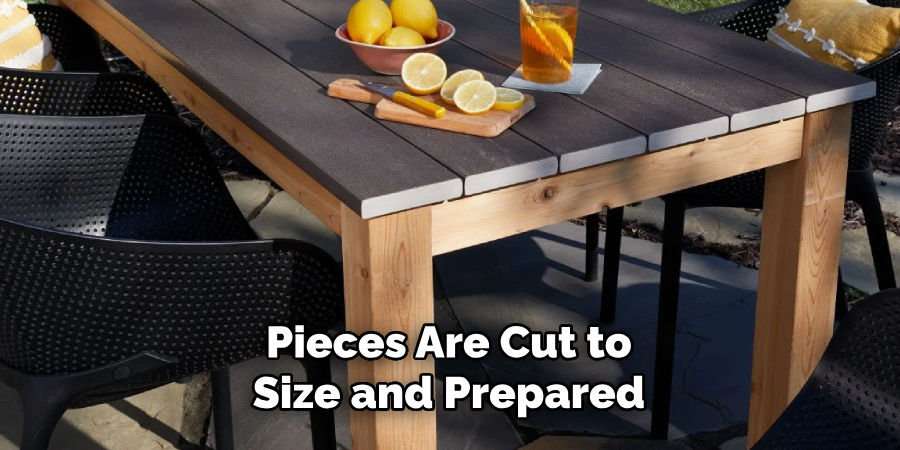
Step 2: Cut the Materials to Size
Once you have your design and measurements finalized, the next step is to cut your materials to the appropriate size. Use your design plan as a guide to ensure each piece is measured and marked accurately before cutting. Precision is key to ensuring all the components fit together seamlessly during assembly.
For wood materials, use a miter saw or circular saw to make clean, straight cuts. If you’re working with metal, a hacksaw or metal-cutting saw will be necessary. Wear protective equipment, such as safety goggles and gloves, to protect yourself during the cutting process.
After cutting, inspect each piece to confirm the dimensions are correct and that the edges are smooth. Use sandpaper to sand down any rough spots on the edges, especially if you’re using wood, to create a clean, finished look and avoid any splinters or sharp edges. Cutting the materials accurately at this stage will make assembly much easier and result in a sturdy and well-constructed patio table.
Step 3: Assemble the Frame
Once all the pieces are cut to size and prepared, it’s time to start putting them together. Begin by assembling the frame of your patio table, which will serve as the base for the tabletop. Depending on your design plan, you may need to use screws, nails, or wood glue to secure the frame joints. For added stability, consider adding support braces or crossbeams between the legs of your table.
You can also choose to add decorative elements, such as intricate latticework or etched metal designs, to your frame for a unique and personalized touch.
Step 4: Attach the Legs
With the frame assembled, it’s time to attach the legs. Measure and mark where you want each leg to be placed on the frame before securing them in place with screws or glue. If you’re using metal legs, you may need to drill pilot holes first before inserting screws.
To ensure your table is level and stable, use a level tool to double-check the placement of the legs before fully securing them. You may also want to add adjustable feet or felt pads at the bottom of each leg to prevent scratching and make it easier to move the table around when needed.
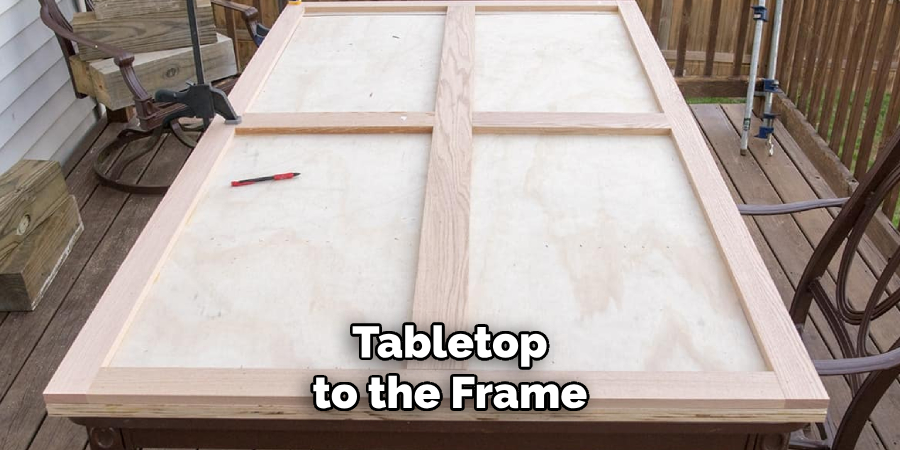
Step 5: Add the Tabletop
Next, attach the tabletop to the frame using screws or glue. Make sure the tabletop is centered and secure on the frame before adding any additional supports. If you’re using wood for your tabletop, consider adding a water-resistant finish or paint in a color of your choice to protect it from outdoor elements. For metal, you may want to use a rust-proof primer and paint for added durability.
The type of tabletop you choose can also add character to your patio table. For example, a mosaic tile top or glass insert can create a stunning focal point and complement the surrounding outdoor décor.
Step 6: Finish the Details
With the main components of your patio table assembled, it’s time to focus on the smaller details that will enhance its functionality and aesthetics. This may include adding an umbrella hole in the center for shade, installing a hidden cooler compartment, or incorporating storage shelves into the frame design.
You may also want to sand down any rough edges on the entire table once again before applying a final coat of finish or paint. This step will give your project a professional look and protect it from outdoor elements.
Step 7: Enjoy Your New Patio Table!
Congratulations, you’ve successfully built your very own patio table! Now it’s time to sit back, relax, and enjoy your creation. Invite friends and family over for a meal or outdoor gathering and show off your new table.
With proper care and maintenance on how to make a patio table, your custom-made patio table will last for many years and provide a functional and beautiful addition to your outdoor space. Remember to protect it from harsh weather conditions by covering it when not in use, especially during winter months. Happy building!
Frequently Asked Questions
Q: What Materials Do I Need to Make a Patio Table?
A: The materials needed for building a patio table will depend on your design and personal preference. Common options include wood, metal, or a combination of both. Additional materials such as screws, nails, glue, paint or finish may also be needed.
Q: Do I Need Any Special Tools to Build a Patio Table?
A: Access to some power tools, such as saws and drills, will make the process easier and more efficient, so it is possible to build a patio table with basic hand tools. Whichever tools you use, always remember to wear protective equipment and follow safety precautions.
Q: Can I Customize My Patio Table Design?
A: Absolutely! Building your own patio table allows you to customize it according to your personal style and needs. You can choose from various designs, sizes, and materials to create a unique piece that fits perfectly in your outdoor space.
Q: How Long Will It Take to Build a Patio Table?
A: The time it takes to build a patio table will depend on the complexity of your design and your level of experience. It could take anywhere from a few hours to a few days to complete, so make sure to plan accordingly and allow yourself enough time for each step.
Q: Can I Use My Patio Table Year-Round?
A: If you choose durable materials and properly maintain your patio table, it can be used year-round in most climates. However, extreme weather conditions may cause wear and tear over time, so it’s important to protect it and bring it indoors when not in use.
Conclusion
Building your own patio table is a rewarding project that allows you to create a piece of furniture tailored to your needs and style. With careful planning, the right materials, and attention to detail, you can craft a durable and beautiful table that enhances your outdoor space. The process not only provides a sense of accomplishment but also ensures a unique addition to your patio.
Remember to perform regular maintenance, like applying protective finishes and covering the table during harsh weather, to prolong its lifespan. With your custom patio table complete, you now have the perfect centerpiece for outdoor gatherings, relaxing evenings, and creating memories with friends and family. Building a DIY patio table is a great way to create a custom outdoor dining space that fits your style and budget. Thanks for reading this article on how to make a patio table.
About the Author
Adrian Green, a lifelong woodworking enthusiast, shares his passion for the craft through The Woodenify Blog. With a foundation built on years of hands-on experience in his father’s woodworking shop, Adrian is dedicated to helping others learn and grow in the world of DIY woodworking. His approach to woodworking combines creativity, practicality, and a deep appreciation for the art of building with your own hands. Through his blog, he inspires individuals of all skill levels to embark on their own woodworking journeys, creating beautiful, functional pieces of furniture and décor.
Professional Focus
- Specializes in DIY woodworking projects, from furniture to home décor.
- Provides step-by-step guides and practical tutorials for woodworkers of all skill levels.
- Dedicated to helping readers build confidence and skill through easy-to-follow instructions and tips.
- Passionate about fostering a community of makers who can share, learn, and grow together.
Education History
- University of Craft and Design – Bachelor of Fine Arts (BFA) in Woodworking and Furniture Design
- Woodworking Apprenticeships – Extensive hands-on training with skilled craftsmen to refine carpentry and furniture making techniques.
- Online Courses & Masterclasses – Continued education in advanced woodworking techniques, design principles, and specialized tools
Expertise:
- DIY woodworking, carpentry, furniture making, and home décor projects.
- Creating accessible tutorials and guides for beginner to advanced woodworkers.
- Sharing the joys and satisfaction of woodworking, from raw materials to finished products.