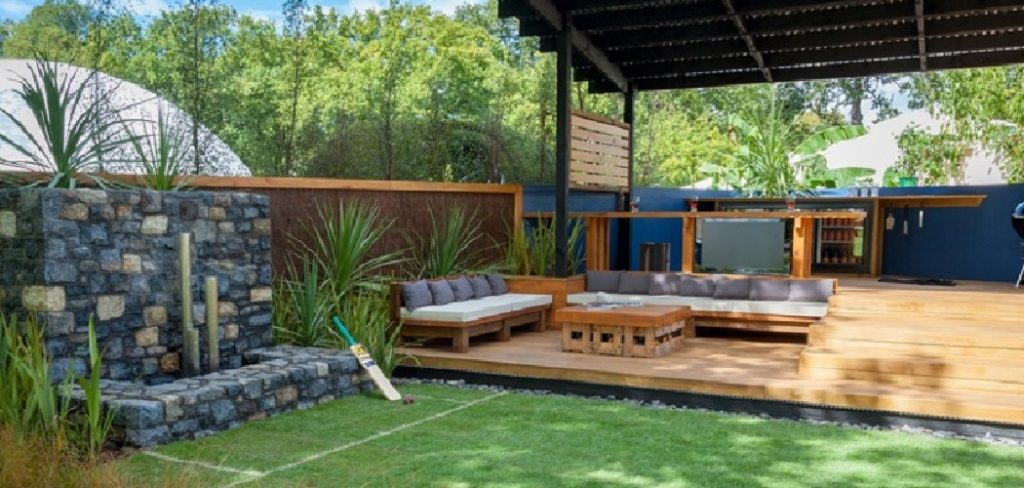
Are you looking to add a little more height to your pergola? Would you like to add some extra space for hanging plants or outdoor lighting? You may want to create a grand entrance into your backyard oasis.
An easy pergola ideas diy is an excellent addition to any outdoor space, providing shade, structure, and a touch of elegance to your backyard or garden. However, over time, you might find that the original height of your pergola no longer suits your needs—whether it’s to accommodate climbing plants, improve airflow, or simply create a more open and spacious feel below.
Fortunately, increasing the height of a pergola is a manageable project that can be accomplished with the right tools, materials, and planning. In this guide, we’ll explore practical methods and tips on how to make a pergola taller, ensuring it continues to meet your functional and aesthetic goals.
What Are the Benefits of Increasing the Height of a Pergola?
There are several benefits to increasing the height of a pergola, including:
- Improved Airflow: By raising the height of your pergola, you can increase the amount of air circulation within the structure. This is especially useful during hot summer months when a cool breeze can make all the difference in creating a comfortable outdoor space.
- More Room for Plants and Decorations: With more vertical space, you’ll have more room to add climbing plants or hanging decorations to your pergola. This not only adds visual interest but also brings life and personality to your outdoor living area.
- Enhanced Sense of Openness: A taller pergola can create a more open and spacious feel in your backyard. With taller columns and a higher roof, the structure won’t feel as confined or closed off.
- Provides Shade for Multiple Areas: Depending on the size and placement of your pergola, it can provide shade for multiple areas in your outdoor living space. This allows you to create designated areas for different activities without having to worry about being exposed to direct sunlight.
What Will You Need?
To build a pergola, you will need the following materials and tools:
- Wood beams or posts for the structure
- Wood boards for the roofing
- Nails, screws, and other fasteners
- Concrete and post anchors for stability
- A drill and other basic carpentry tools
- Measuring tape and level for accurate measurements
- Ladders or scaffolding for taller structures
It’s important to choose high-quality materials that are durable and weather-resistant. Cedar, redwood, and pressure-treated pine are popular choices for outdoor structures due to their strength and resistance to rot.
10 Easy Steps on How to Make a Pergola Taller
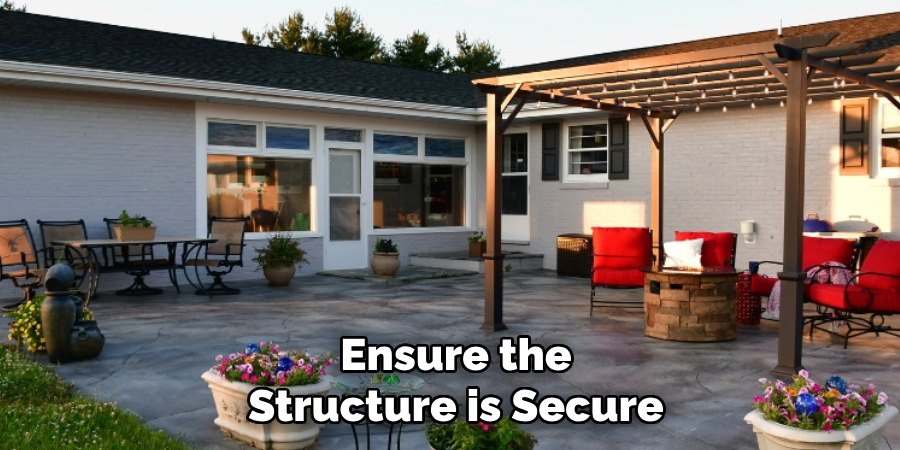
1. Assess the Current Structure
Begin by thoroughly inspecting your pergola to evaluate its current height and condition. Check the stability of the existing posts to ensure the structure is secure and free from damage, such as rot, cracks, or warping. Take precise measurements of the pergola’s height to determine how much taller you would like it to be. Additionally, identify the materials and connection points used in the original construction to ensure compatibility with any planned extensions. This assessment will help you create a clear plan and prevent potential issues during the modification process.
2. Gather Materials
Start by compiling a list of all necessary materials based on your assessment. Commonly required items might include wood, metal brackets, screws, and fasteners that match or complement the original structure. If you’re extending the pergola’s height, you may need additional wood posts or extensions that are sturdy and capable of supporting the structure. Consider any finishing materials like paint or wood stain to ensure a cohesive appearance. Always choose high-quality, weather-resistant materials to ensure the pergola remains durable and safe over time. Having all materials ready before beginning will streamline the construction process and reduce delays.
3. Remove the Pergola Roof
Begin by carefully assessing the roof structure and identifying how it is secured to the pergola frame. Depending on the design, the roof may consist of wooden slats, metal panels, or other materials that are attached with screws, nails, or brackets. Use the appropriate tools, such as a drill or hammer, to safely remove these fasteners, starting from one end and working systematically to the other. Be mindful of any heavy or large pieces, as they may require additional assistance to handle safely. Once the roof components are detached, set them aside in a designated area for disposal or reuse, as needed.
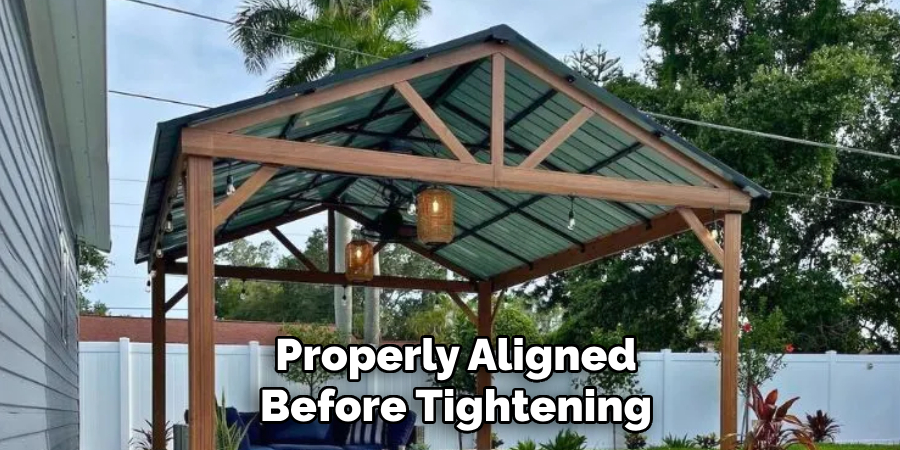
4. Add Post Extensions
To raise the height of your structure, securely attach post extensions to the existing posts. Begin by selecting extensions made from materials that match or complement the original posts for stability and visual consistency. Use metal brackets, bolts, or other reliable fasteners to connect the extensions, ensuring they are tightly secured. Verify that the connections are level and properly aligned before tightening. For added support, consider reinforcing the joints with additional brackets or braces.
5. Replace Posts (If Needed)
If the existing posts are damaged, rotting, or unable to support the necessary load, replacing them is essential for the stability and safety of the structure. Start by carefully removing the old posts, ensuring that the surrounding materials are not damaged during the process. Measure the required dimensions accurately and select new posts made from durable, weather-resistant materials such as treated wood or metal. Position the replacement posts in the exact location as the originals, using concrete or appropriate anchoring systems to secure them firmly to the ground. Double-check that each post is plumb and properly aligned before finalizing the installation. This step ensures a strong foundation and prolongs the lifespan of the overall structure.
6. Reinforce Stability
To reinforce the structure’s stability, consider adding bracing or diagonal supports to distribute weight evenly and prevent excessive movement. Use sturdy materials, such as steel brackets or additional wooden beams, to securely connect the posts to each other or to the crossbeams. Ensure all connections are tightened and fastened properly using weather-resistant hardware to maintain the integrity of the structure over time. Regularly inspect these reinforcements for any signs of wear or damage and address them promptly to sustain the stability and safety of the structure.
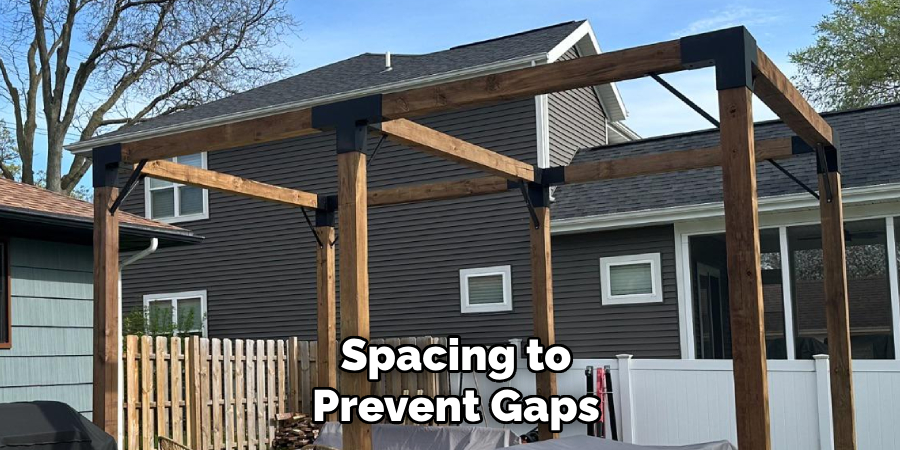
7. Reassemble the Roof
To reassemble the roof, begin by placing the roof panels or shingles back in their original configuration. Start at the bottom and work your way up, overlapping each layer to ensure proper water drainage. Secure each piece firmly using weather-resistant nails or screws, paying particular attention to the alignment and spacing to prevent gaps. If the roof includes any flashing or ridge caps, reinstall these components carefully to maintain a watertight seal. Double-check that all fasteners are tightened and that no materials are loose. Once the roof is fully reassembled, inspect the entire structure to confirm its stability and ensure it can withstand environmental factors such as wind and rain.
8. Adjust Anchors or Footings
When adjusting anchors or footings, it is crucial to ensure they are correctly aligned and securely embedded in the ground or foundation to provide optimal support. Begin by inspecting each anchor or footing for signs of wear, rust, or instability. Tighten any loose bolts and replace components if necessary to maintain structural integrity. Use a level to confirm that all anchors or footings are evenly positioned and aligned with the overall structure. If adjustments are required, carefully reposition the anchors or footings to ensure the structure remains stable and balanced.
9. Paint or Stain the New Sections
Once all structural adjustments and repairs are complete, it’s time to protect the new sections with paint or stain. Select a paint or stain specifically designed for the material you are working with, such as wood, metal, or concrete. Begin by thoroughly cleaning the surface to remove dust, dirt, and grease, ensuring proper adhesion. Apply a primer if necessary, then evenly coat the surface with your selected paint or stain using a brush, roller, or sprayer. Allow adequate drying time between coats for a smooth, durable finish.
10. Final Safety Check
Before considering your project complete, perform a thorough final safety check to ensure everything has been correctly installed and secured. Verify that all components are stable, free from defects, and meet safety standards. Examine the area for any potential hazards, such as sharp edges, loose fittings, or exposed materials. Test the functionality of moving parts and ensure that any protective coatings have dried completely. Address any issues immediately to prevent accidents or injuries. Taking this final step helps guarantee the durability and safety of your work.
By following these steps, you can ensure that your project is completed to the highest standards.
Conclusion
How to make a pergola taller requires careful planning and attention to detail to ensure both stability and aesthetic appeal.
By using the right extension methods, such as post extensions or adding new, longer support posts, you can safely increase the height of your pergola. It’s essential to select durable materials that match the existing structure and to reinforce connections properly to maintain strength. Additionally, always consider local building codes and safety regulations during the process.
With thoughtful execution, you can successfully modify your pergola to suit your needs better while preserving its structural integrity and charm.
About the Author
Adrian Green, a lifelong woodworking enthusiast, shares his passion for the craft through The Woodenify Blog. With a foundation built on years of hands-on experience in his father’s woodworking shop, Adrian is dedicated to helping others learn and grow in the world of DIY woodworking. His approach to woodworking combines creativity, practicality, and a deep appreciation for the art of building with your own hands. Through his blog, he inspires individuals of all skill levels to embark on their own woodworking journeys, creating beautiful, functional pieces of furniture and décor.
Professional Focus
- Specializes in DIY woodworking projects, from furniture to home décor.
- Provides step-by-step guides and practical tutorials for woodworkers of all skill levels.
- Dedicated to helping readers build confidence and skill through easy-to-follow instructions and tips.
- Passionate about fostering a community of makers who can share, learn, and grow together.
Education History
- University of Craft and Design – Bachelor of Fine Arts (BFA) in Woodworking and Furniture Design
- Woodworking Apprenticeships – Extensive hands-on training with skilled craftsmen to refine carpentry and furniture making techniques.
- Online Courses & Masterclasses – Continued education in advanced woodworking techniques, design principles, and specialized tools
Expertise:
- DIY woodworking, carpentry, furniture making, and home décor projects.
- Creating accessible tutorials and guides for beginner to advanced woodworkers.
- Sharing the joys and satisfaction of woodworking, from raw materials to finished products.