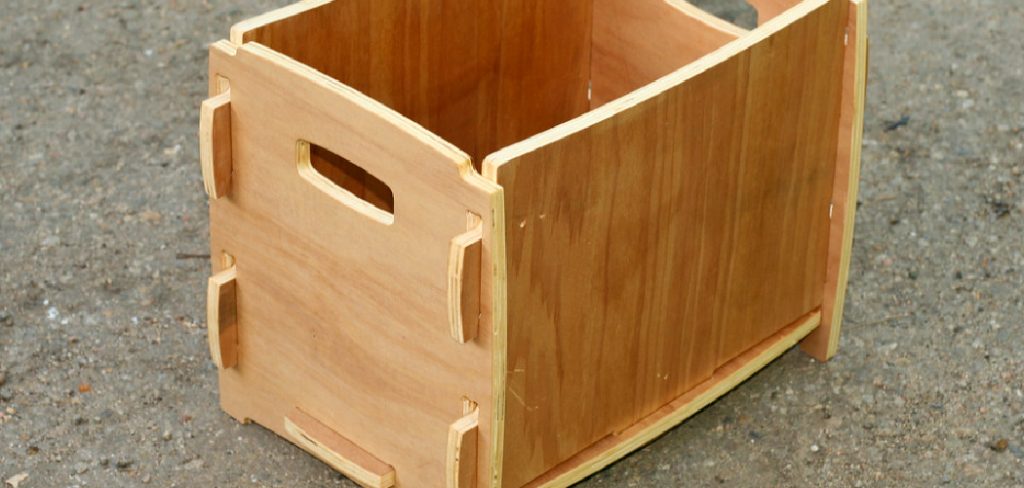
Are you looking to create your plywood box? With a few materials and basic woodworking skills, you can easily construct a sturdy and functional box for storage, organization or decoration.
How to make a plywood box is a practical and rewarding woodworking project suitable for beginners and seasoned craftsmen alike. Creating a plywood box is a versatile and straightforward project, whether you need a sturdy storage solution, a custom shipping container, or simply want to improve your woodworking skills. With basic tools, some materials, and a bit of patience, you can construct a durable and functional box.
This guide will walk you through the steps to measure, cut, assemble, and finish your plywood box precisely and confidently.
What Are the Benefits of Making a Plywood Box?
There are many benefits to making your own plywood box diy, which is why it is a popular project for DIY enthusiasts and professional woodworkers alike. Some of the top benefits include:
- Cost Savings: Purchasing pre-made boxes can be expensive, especially if you need a specific size or design. By making your plywood box, you can save money on materials and customize it to fit your needs.
- Versatility: Plywood boxes can serve various purposes such as storage, shipping containers, decorative pieces, etc. You can create a box that meets your requirements with different sizes, shapes, and finishes.
- Personalization: Making your box allows you to add personal touches and customize it to your liking. You can choose the type of wood, finish, and design elements best suit your style.
- Skill Development: Constructing a plywood box is an excellent way to develop or improve woodworking skills. It requires essential tools and techniques, making it accessible for beginners, but also offers room for more advanced craftsmanship.
- Satisfaction and Pride: A sense of satisfaction and pride comes with creating something from scratch. Making your plywood box allows you to own the project and produce a functional and aesthetically pleasing piece.
What Will You Need?
Before you begin, you must gather the necessary materials and tools for your plywood box project. Here’s a general list of what you may require:
- Plywood: Select a type and thickness of plywood that suits your needs. Birch, oak, maple, or pine are popular choices.
- Saw: A circular or table saw will be best for cutting the plywood.
- Measuring Tools: You’ll need a measuring tape, ruler, and straight edge to ensure accurate cuts.
- Clamps: These will help hold the plywood in place while cutting and assembling.
- Wood Glue: Use wood glue to bond the pieces together instead of relying solely on nails or screws.
- Screws: Use appropriate size and length of screws for your plywood thickness to secure joints.
- Sandpaper: Smooth out rough edges and surfaces with different grits of sandpaper.
- Finishing Supplies: You may want to stain, paint, or varnish your plywood box. Make sure to have the necessary supplies and tools for the finish you desire.
Once you have all your materials and tools ready, it’s time to start constructing your plywood box.
8 Easy Steps on How to Make a Plywood Box
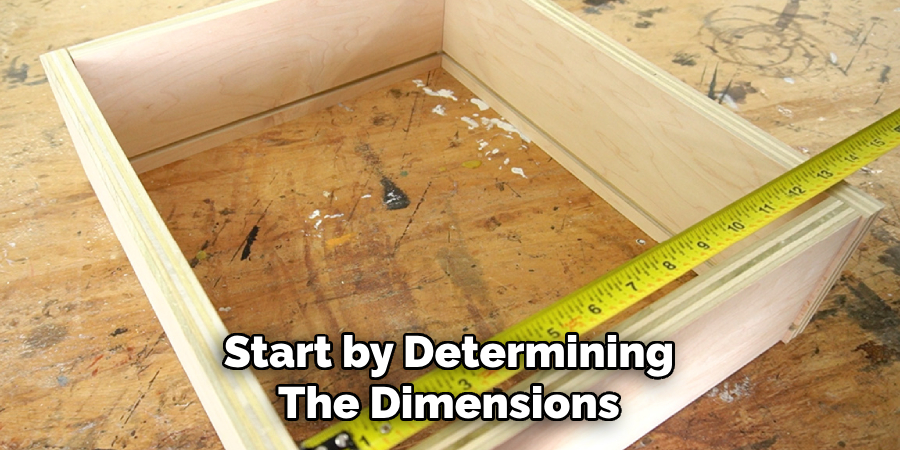
Step 1: Measure and Mark Your Pieces
Start by determining the dimensions of your plywood box. Decide on the box’s height, width, and depth based on your intended use. Using a measuring tape and a straight edge, accurately measure and mark the plywood for each piece needed.
Generally, you will need pieces for the top, bottom, two sides, front, and back. Double-check your measurements to ensure precision; even a slight error can affect the final assembly. Use a pencil or marker clearly visible on the plywood surface to make your marks.
This step is crucial for ensuring all box components align correctly during assembly. Take your time to ensure accuracy, as this foundation sets the tone for the rest of the project.
Step 2: Cut the Plywood Pieces
Using the markings from Step 1 as your guide, carefully cut the plywood pieces to size. A circular saw or table saw is ideal for straight, clean cuts, but ensure you follow safety guidelines and wear protective gear, such as goggles and gloves. Work slowly and steadily to maintain precision, as uneven cuts can lead to gaps or instability in the final box.
After cutting, inspect each piece to ensure the edges are smooth and aligned correctly. If necessary, use sandpaper to smooth any rough or splintered edges lightly.
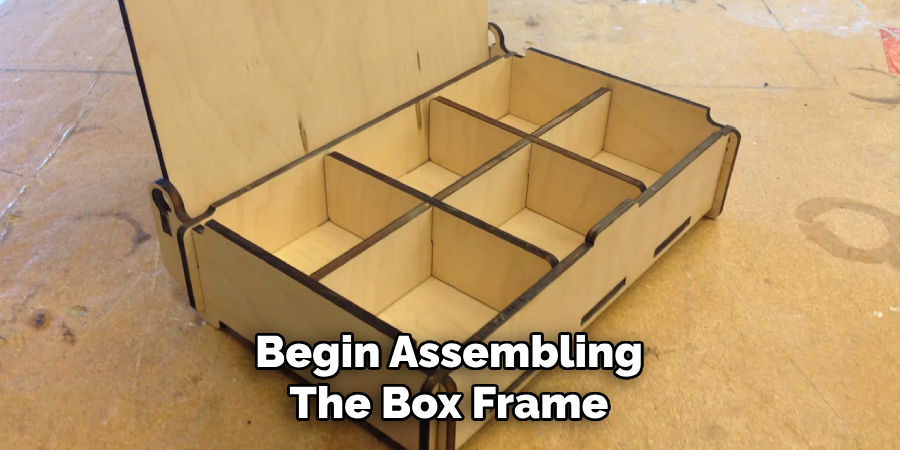
Step 3: Assemble the Box Frame
Begin assembling the box frame by aligning the cut plywood pieces according to your design. Start with the base and attach the side panels, ensuring the edges are flush and properly aligned. Use wood glue along the joints to create a strong bond, and secure the pieces together with screws or nails for added stability.
Using clamps to hold the pieces in place while the glue dries is helpful. Double-check the angles with a square to ensure the box frame is perfectly aligned and sturdy. This framework will serve as the foundation for the rest of your project.
Step 4: Attach the Top and Bottom Panels
Attach the top and bottom panels once the box frame is securely assembled. Place the bottom panel onto the frame, ensuring it lines up evenly with the edges. Apply wood glue along the perimeter where the panel meets the frame, and secure it using screws or nails.
Repeat this process for the top panel, carefully positioning it to ensure a snug fit. For added strength, check that all screws are tightened and that there are no gaps along the joints. This step completes the basic structure of the box, preparing it for any additional finishing or customization.
Step 5: Sand and Smooth the Surfaces
After assembling the basic structure, the next step is to sand and smooth all box surfaces. Use medium-grit sandpaper to remove any rough edges or splinters, ensuring that all joints and corners are even. Then, switch to fine-grit sandpaper to create a smooth finish, preparing the wood for staining, painting, or sealing.
Pay special attention to any surfaces that will be visible or in contact with other objects to achieve a polished, professional look. Wipe the box down with a clean, damp cloth to remove any dust created during sanding before proceeding to the finishing steps.
Step 6: Apply the Finish
With smooth and dust-free surfaces, it’s time to apply the chosen finish to the box. If staining, use a clean cloth or brush to evenly apply the wood stain, following the grain for a consistent appearance. Allow the stain to dry thoroughly before applying a clear sealant to protect the wood.
For painting, use a primer first, then apply the paint in thin, even layers, letting each coat dry as the paint manufacturer recommends. If a natural look is preferred, a clear wood sealant or wax can be applied to highlight the wood’s natural beauty while protecting it from moisture and wear. Allow sufficient drying time before handling or using the box to avoid smears or damage to the finish.
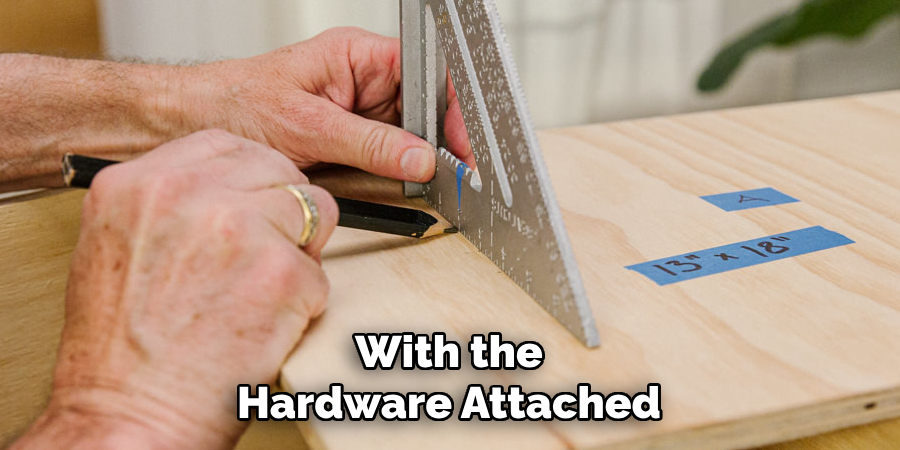
Step 7: Attach Hardware
Once the finish is dry, you can attach any hardware to the box, such as hinges, handles, or clasps. Align the hardware pieces carefully, marking the positions with a pencil to ensure proper placement.
A drill or screwdriver can fasten the hardware securely without overtightening it, which could damage the wood. Test the functionality of the hardware, such as opening and closing the lid, to confirm everything is securely and correctly installed. This final step will enhance the box’s utility and aesthetic appeal.
Step 8: Final Touches
With the hardware attached, take a moment to inspect the box and make any necessary final adjustments. Check for rough edges that might need additional sanding or areas where touch-up paint or finish is required.
Clean the box thoroughly to remove any dust or fingerprints, and consider adding felt pads or liners inside for added protection and a polished look. These finishing touches will ensure your box is functional and visually appealing, making it a piece you can take pride in.
Following these steps, you can create a customized plywood box that meets your needs and preferences.
5 Things You Should Avoid
- Using Low-Quality Plywood: Avoid selecting low-quality or damaged plywood, as it can lead to weak joints and poor durability. Before starting your project, inspect the material for cracks, warping, or defects.
- Skipping Measurements: Failing to take accurate measurements can result in pieces that do not fit together correctly. Double-check all measurements and mark your cuts clearly for precision.
- Neglecting Proper Tools: Using the wrong or dull tools can cause uneven cuts and damage the plywood. Ensure you have sharp saws, appropriate clamps, and other tools for clean and precise assembly.
- Skipping Sanding Steps: Skipping or rushing the sanding process can leave the box with rough edges and an unpolished finish. Smooth all edges and surfaces thoroughly for a professional appearance.
- Neglecting Glue and Fasteners: Relying solely on nails or screws without applying wood glue can weaken the structure over time. Use glue and appropriate fasteners to ensure the box is sturdy and long-lasting.
Conclusion
How to make a plywood box requires careful planning, the right tools, and attention to detail.
You can create a durable and well-crafted box by choosing high-quality materials, taking accurate measurements, and following every step of the process. Avoid common mistakes, such as skipping sanding or neglecting proper fastening techniques, to ensure the final product is sturdy and visually appealing.
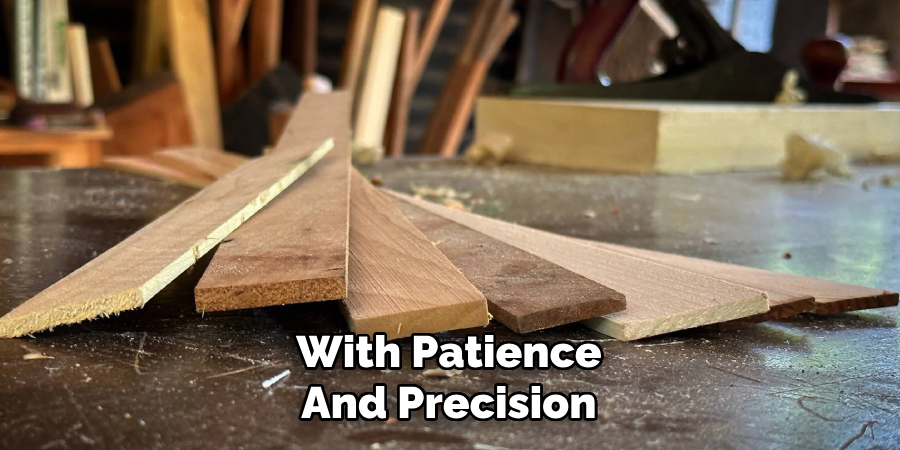
With patience and precision, making a plywood box can be a rewarding DIY project that showcases your craftsmanship.
About the Author
Adrian Green, a lifelong woodworking enthusiast, shares his passion for the craft through The Woodenify Blog. With a foundation built on years of hands-on experience in his father’s woodworking shop, Adrian is dedicated to helping others learn and grow in the world of DIY woodworking. His approach to woodworking combines creativity, practicality, and a deep appreciation for the art of building with your own hands. Through his blog, he inspires individuals of all skill levels to embark on their own woodworking journeys, creating beautiful, functional pieces of furniture and décor.
Professional Focus
- Specializes in DIY woodworking projects, from furniture to home décor.
- Provides step-by-step guides and practical tutorials for woodworkers of all skill levels.
- Dedicated to helping readers build confidence and skill through easy-to-follow instructions and tips.
- Passionate about fostering a community of makers who can share, learn, and grow together.
Education History
- University of Craft and Design – Bachelor of Fine Arts (BFA) in Woodworking and Furniture Design
- Woodworking Apprenticeships – Extensive hands-on training with skilled craftsmen to refine carpentry and furniture making techniques.
- Online Courses & Masterclasses – Continued education in advanced woodworking techniques, design principles, and specialized tools
Expertise:
- DIY woodworking, carpentry, furniture making, and home décor projects.
- Creating accessible tutorials and guides for beginner to advanced woodworkers.
- Sharing the joys and satisfaction of woodworking, from raw materials to finished products.