Crafting a wood flute is an art form that connects us with ancient traditions, where the harmony of nature merges with the skillful hands of artisans.
The process involves a blend of meticulous craftsmanship and an understanding of the principles of acoustics. From selecting the right wood to carving out the intricate details, every step is a journey towards creating an instrument that sings with soulful resonance. Whether you’re a seasoned woodworker or a curious novice, the allure of fashioning your own flute is undeniable.
In this guide, we delve into how to make a wood flute, exploring the techniques, tools, and considerations essential to the creation of a wooden flute. Embark on this journey with us as we uncover the secrets behind transforming raw materials into a musical masterpiece that not only captivates the ears but also nourishes the spirit with its melodic charm.
Importance of Craftsmanship in Flute Making
The craftsmanship involved in making a wood flute cannot be overstated. It is the heart and soul of the instrument, determining not only its aesthetic appeal but its sound quality as well. A woodworker’s attention to detail, understanding of wood properties, and precision in carving directly influence the flute’s resonance, tone, and playability.
The artistry of shaping wood into a flute embodies a harmony between the material and the maker, where every curve, notch, and bore is a testament to the artisan’s dedication and skill. Therefore, mastering the craftsmanship is essential for anyone aspiring to create a flute that is not just a musical instrument, but a piece of art that tells a story, evokes emotions, and inspires music that transcends the ordinary.
The Allure of Crafting a Wood Flute by Hand
The allure of crafting a wood flute by hand lies in its ability to connect the maker to the instrument in a deeply personal way.
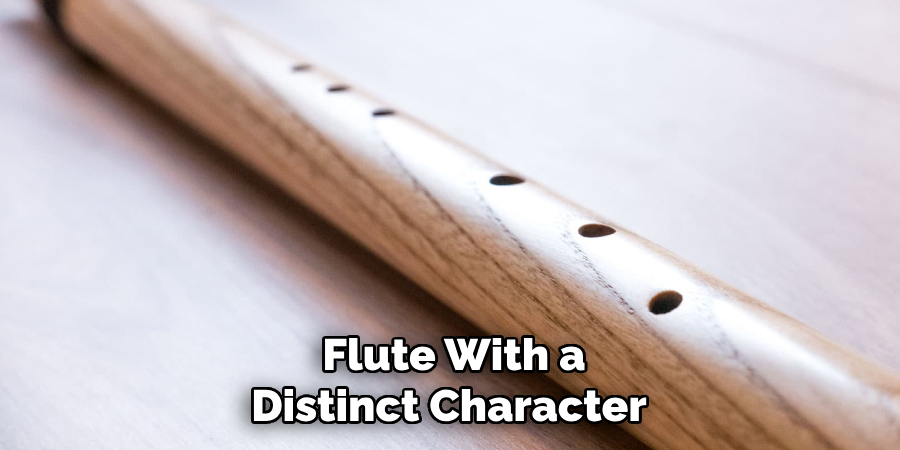
Unlike mass-produced flutes, a handmade one carries the unique signature of its creator, from the choice of wood to the finesse of the final polish. This intimate process of creation not only imbues the flute with a distinct character and story but also allows the craftsman to impart a piece of their spirit into the instrument.
The tactile experience of shaping wood, the aroma of freshly cut timber, and the anticipation of hearing the first notes play from the flute converge to make handmade flute crafting a profoundly rewarding endeavor.
This art form resonates with those who seek to express themselves through their craftsmanship, creating not just an object of beauty, but an extension of their artistic voice.
The Rich History and Cultural Significance of Wooden Flutes
Wooden flutes hold a revered place in human history, embodying the rich tapestry of cultural traditions and artistic expression that spans across centuries and continents. These instruments are not merely tools for music; they are artifacts that tell the stories of civilizations, echoing the rhythms and melodies of ancient rituals, courtly entertainments, and folk celebrations.
The cultural significance of wooden flutes is profound, with each culture imbuing its flutes with unique attributes reflective of its values, beliefs, and natural surroundings.
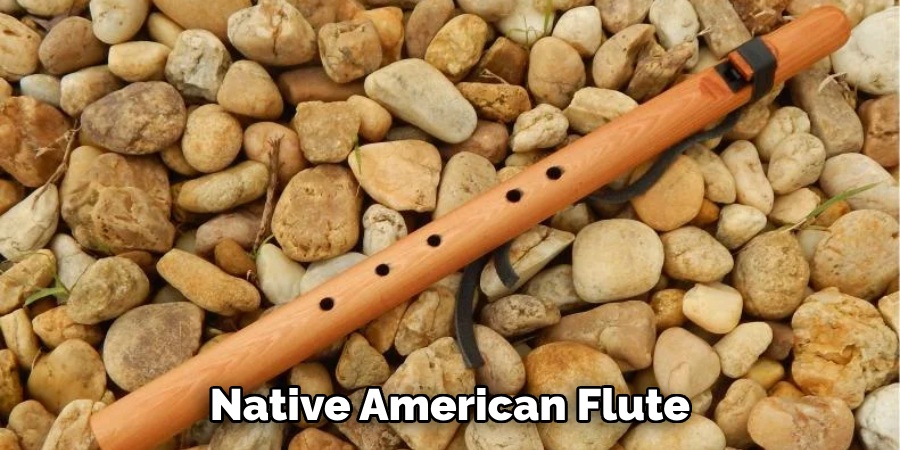
From the haunting tones of the Native American flute, with its deep connection to the natural world and spiritual realms, to the intricate melodies of the classical Western concert flute, the wooden flute’s versatility and soulful sound have cemented its place as a universal medium of emotional and transcendent musical expression. This section explores the historical roots and cultural depths of wooden flutes, highlighting their role not just as musical instruments, but as cherished conduits of humanity’s innate creativity and interconnectedness.
Understanding Wood Flute Construction
The construction of a wood flute is a fascinating process that requires both artistic sensibility and technical knowledge. This involves selecting the appropriate type of wood, understanding its properties, and applying precise craftsmanship techniques.
The basic structure of a wood flute includes the head joint, where the sound is initiated; the body, which houses the majority of finger holes; and the foot joint, which allows for additional notes.
Each part must be meticulously crafted and assembled to ensure the instrument produces the correct pitch, timbre, and volume. The bore of the flute, or the interior hollow, plays a crucial role in sound production, demanding careful calibration and smoothing to achieve the desired musical tones.
Additional elements such as the tuning cork and finger holes are then integrated with precision to facilitate ease of play and a wide range of musical expression. Understanding the intricacies of wood flute construction is essential for any aspiring flute maker, highlighting the blend of science and art that goes into creating an instrument capable of conveying the deepest human emotions through music.
The Role of Wood Selection in Flute Construction
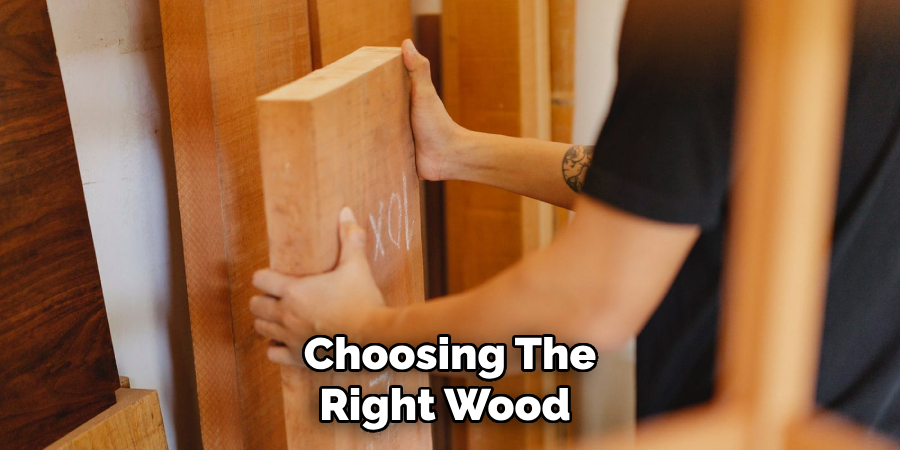
Choosing the right wood is a crucial step in the construction of a flute, as it significantly influences the instrument’s sound, durability, and appearance. Different types of wood possess unique characteristics that can enhance or diminish the quality of the flute.
Hardwoods such as blackwood, rosewood, and ebony are popular choices due to their density and fine grain, which contribute to a warm, rich tone and superior resonance. Conversely, softer woods like cedar and maple offer a lighter, brighter sound quality, showcasing the versatility in tonal expression available through careful wood selection. Beyond sound quality, the wood’s aesthetic appeal and workability are also vital considerations, as well as its response to changes in humidity and temperature.
A deep understanding of how various woods affect the flute’s performance and character allows craftsmen to tailor instruments to specific musical genres, personal preferences, or environmental conditions, making wood selection a fundamental aspect of flute making that marries tradition with personal expression.
The Importance of Precision and Attention to Detail
Precision and attention to detail are paramount in the realm of wood flute construction, acting as the linchpins of both aesthetic beauty and musical excellence.
The process of creating a flute demands a level of precision akin to that of a skilled surgeon, where every cut, carve, and polish must be executed with meticulous care. This exacting attention ensures that each component of the flute fits together flawlessly, creating a seamless vessel for air to travel and resonate.
Even the slightest deviation can lead to undesirable changes in the instrument’s sound, potentially transforming a sweet melody into a discordant clamor. Furthermore, the visual appeal of the flute is also dependent on the craftsman’s precision; any irregularities in the wood or finish can mar the instrument’s beauty and detract from its value as an art piece.
In essence, the dedication to precision and detail in crafting a wood flute is what transforms a simple piece of wood into a conduit of profound musical expression and a cherished work of art.
10 Methods How to Make a Wood Flute
1. Material Selection and Preparation:
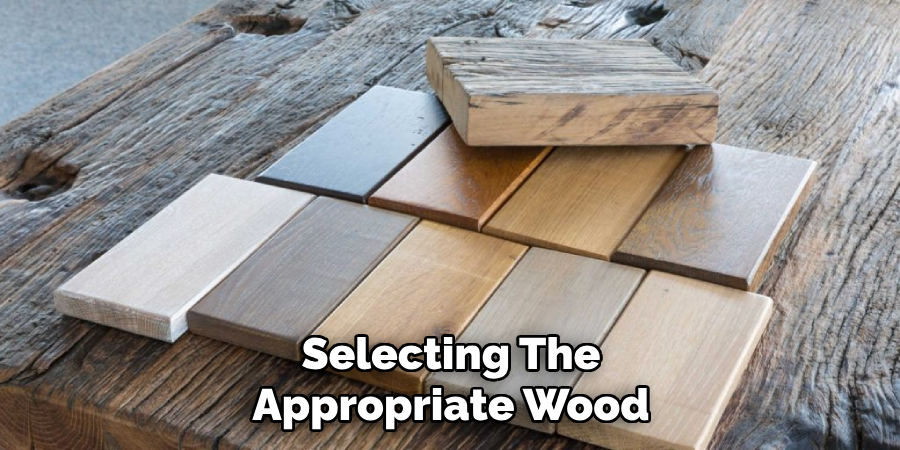
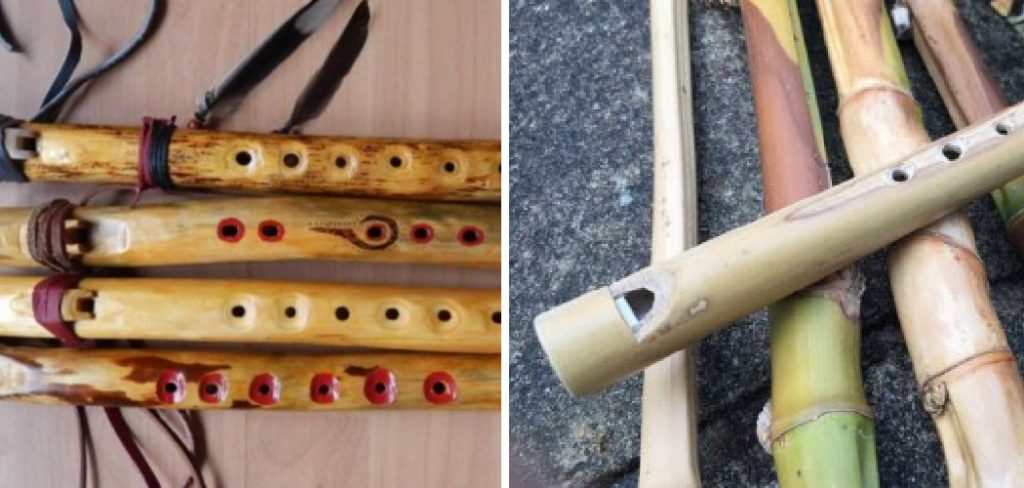
The first step in making a wood flute is selecting the appropriate wood. Common choices include cedar, walnut, maple, and bamboo. Each wood type offers unique characteristics that can influence the tone and resonance of the flute. Once the wood is selected, it needs to be properly seasoned and prepared to ensure stability and durability.
In addition to wood selection, it is important to consider the design and functionality of the flute. The length, diameter, and shape of the flute can all impact its sound and playability. Factors such as finger hole placement and embouchure hole size should also be taken into account.
To begin preparing the wood, it is recommended to let it dry for at least a year to reduce moisture content. This will prevent any warping or cracking of the wood once it is crafted into a flute. Once dried, the wood can be cut into rough shape and then carved into the desired form using specialized tools such as chisels and gouges.
2. Design and Planning:
Before diving into the crafting process, it’s essential to design the flute and plan out its dimensions and specifications. Factors such as the length, diameter, and hole placement will all impact the flute’s sound and playability. Designing the flute on paper or using computer-aided design (CAD) software can help visualize the final product and ensure accuracy in the construction process.
Once the design is complete, it’s time to gather materials and tools. Flutes are traditionally made from wood, but other materials such as metal or plastic can also be used. The type of material chosen will also affect the sound and feel of the flute. Additionally, specific tools such as a saw, drill, sandpaper, and measuring instruments will be needed for construction.
To ensure a high-quality flute, it’s crucial to select the right materials and tools. The type of wood chosen should have the proper density and consistency for optimal sound production. Some common types of wood used for flute-making include maple, cherry, and cedar. It’s also essential to select wood that is free from knots or imperfections that could affect the final product’s sound and durability.
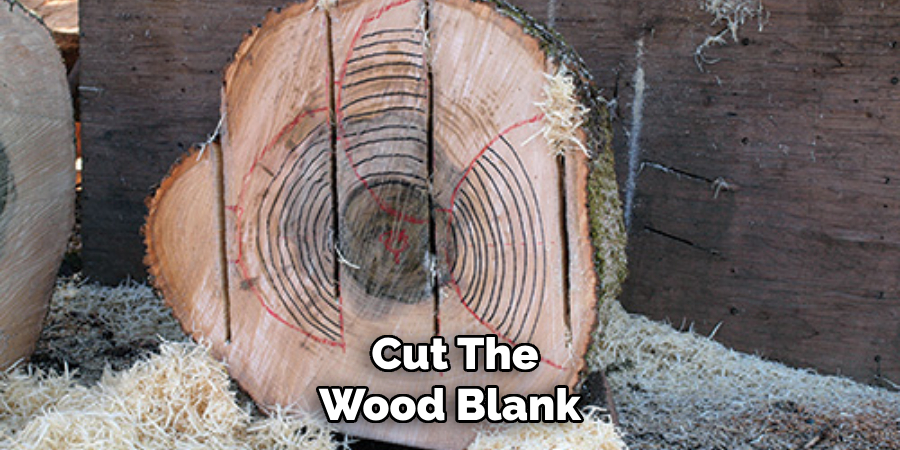
3. Cutting and Shaping the Blank:
With the design finalized, the next step is to cut the wood blank to the appropriate size and shape. This often involves using a bandsaw or handsaw to rough out the basic form of the flute. Once the blank is roughed out, shaping tools such as chisels, rasps, and files are used to refine the exterior contours and create the distinctive tapered shape of the flute body.
After shaping the exterior, attention is turned to the interior of the flute. The first step in creating the sound chamber involves cutting a long rectangular slot along the length of the blank. This creates two distinct sections – the upper section known as the fipple and the lower section known as the main bore. The fipple is responsible for creating and directing air flow into the main bore, where it is then channeled and shaped to produce the desired sound.
Once the main bore is cut, additional shaping tools are used to carve and smooth out the interior walls of the flute. This process requires great precision and attention to detail, as even small variations in the size and shape of the sound chamber can greatly affect the overall tone and quality of the flute.
4. Boring and Hollowing:
After shaping the exterior, the flute must be hollowed out to create the inner chamber where the sound will resonate. This is typically done using a drill press or lathe equipped with specialized boring tools. Careful attention must be paid to the depth and diameter of the bore to achieve the desired tone and tuning. The process of hollowing out the flute requires patience and precision, as even a slight deviation can greatly affect the sound quality.
5. Cutting Finger Holes:
Once the basic structure of the flute is formed, the finger holes need to be precisely cut into the body. The placement and size of these holes are critical factors that affect the flute’s pitch and playability. Some makers use templates or jigs to ensure consistency and accuracy when drilling the finger holes. Others rely on their experience and skill to manually cut the holes.
There are two main methods for cutting finger holes in a flute: using a drill or using a file. Both methods have their advantages and disadvantages, so it ultimately comes down to personal preference and the type of flute being made.
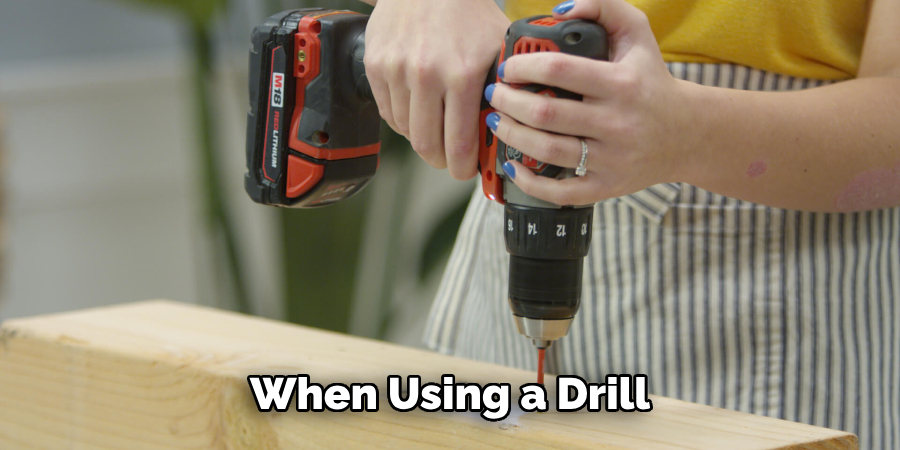
When using a drill, the maker would typically use a hand-held power drill with specialized drill bits designed for woodworking. The drill bit size would correspond to the desired hole diameter, and the maker would carefully position and secure the body of the flute before drilling. This method allows for a faster and more consistent cutting process, but it also requires precision and caution to avoid any mistakes.
6. Carving Embellishments:
To add visual interest and character to the flute, many makers choose to carve decorative embellishments into the exterior surface. These may include intricate patterns, symbols, or relief carvings inspired by traditional motifs or personal artistic expression. Carving tools such as gouges, knives, and chisels are used to create these embellishments with precision and detail.
Carving embellishments can serve both aesthetic and functional purposes on a flute. They can enhance the overall design of the instrument, making it more visually appealing and unique. Additionally, certain types of carvings can also affect the sound quality of the flute by altering its resonance or tone.
7. Assembly and Fitting:
Once all the individual components of the flute are crafted, they need to be assembled and fitted together. This involves carefully aligning the various parts, such as the headjoint, body, and footjoint, and ensuring they fit together snugly. Glue or adhesive may be used to secure the joints, and clamps or binding tape may be employed to hold everything in place while the adhesive cures. Once the joints are secure, they can be sanded down for a smooth finish.
The process of fitting and assembling a flute is crucial to its final sound and playability. Even if all the individual parts are crafted with precision, improper fitting can lead to air leaks or misalignment, resulting in a poor sound quality. As such, this step requires careful attention to detail and patience.
8. Tuning and Voicing:
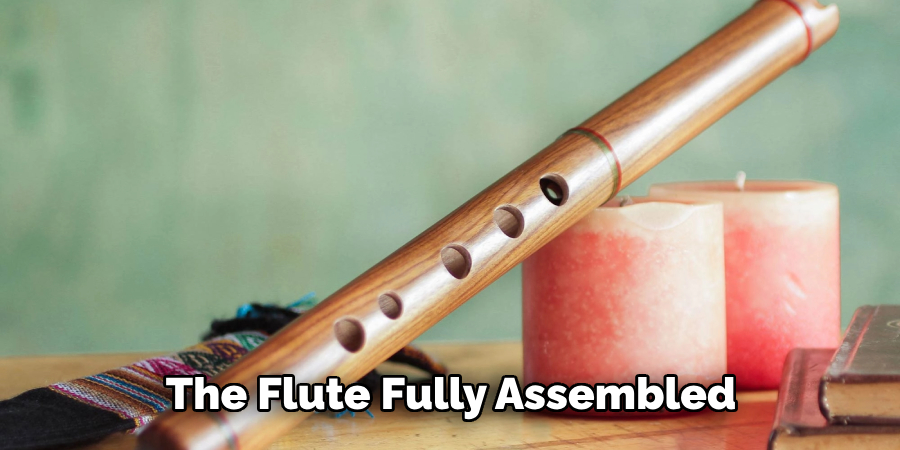
With the flute fully assembled, the final step is to tune and voice the instrument to optimize its sound quality and playability. This involves adjusting the size and shape of the finger holes, as well as fine-tuning the bore dimensions to achieve the desired pitch and tone. Tuning forks, electronic tuners, and spectrographs are often used to assist in this process, along with the maker’s keen ear and sense of musicality.
9. Finishing and Sealing:
Once the flute is tuned and voiced to satisfaction, it’s time to apply a finish to protect the wood and enhance its appearance. Common finishes include oils, varnishes, and waxes, which can be applied using brushes, cloths, or spray guns. The finish not only seals the wood against moisture and wear but also brings out the natural beauty of the grain and any decorative elements.
10. Testing and Evaluation:
Finally, before the flute is deemed complete, it undergoes rigorous testing and evaluation to ensure it meets the maker’s standards of quality and performance. This may involve playing scales, arpeggios, and melodies across the instrument’s range to assess its tone, intonation, and responsiveness. Any final adjustments or refinements are made as needed to achieve an instrument that sings with clarity, expression, and musicality.
Conclusion
In conclusion, crafting a wood flute is a deeply rewarding endeavor that combines skill, patience, and a profound appreciation for both the natural material and the art of music. Through meticulous selection of wood, precise shaping and carving, and careful assembly, one can create an instrument that not only produces beautiful sounds but also embodies the essence of craftsmanship.
Each step in the process, from designing the flute to the final adjustments, requires attention to detail and a commitment to excellence. Moreover, the journey of making a wood flute is a journey of discovery, as one learns about the intricacies of sound production and the harmonious relationship between form and function. Thanks for reading, and we hope this has given you some inspiration on how to make a wood flute!
About the Author
Adrian Green, a lifelong woodworking enthusiast, shares his passion for the craft through The Woodenify Blog. With a foundation built on years of hands-on experience in his father’s woodworking shop, Adrian is dedicated to helping others learn and grow in the world of DIY woodworking. His approach to woodworking combines creativity, practicality, and a deep appreciation for the art of building with your own hands. Through his blog, he inspires individuals of all skill levels to embark on their own woodworking journeys, creating beautiful, functional pieces of furniture and décor.
Professional Focus
- Specializes in DIY woodworking projects, from furniture to home décor.
- Provides step-by-step guides and practical tutorials for woodworkers of all skill levels.
- Dedicated to helping readers build confidence and skill through easy-to-follow instructions and tips.
- Passionate about fostering a community of makers who can share, learn, and grow together.
Education History
- University of Craft and Design – Bachelor of Fine Arts (BFA) in Woodworking and Furniture Design
- Woodworking Apprenticeships – Extensive hands-on training with skilled craftsmen to refine carpentry and furniture making techniques.
- Online Courses & Masterclasses – Continued education in advanced woodworking techniques, design principles, and specialized tools
Expertise:
- DIY woodworking, carpentry, furniture making, and home décor projects.
- Creating accessible tutorials and guides for beginner to advanced woodworkers.
- Sharing the joys and satisfaction of woodworking, from raw materials to finished products.