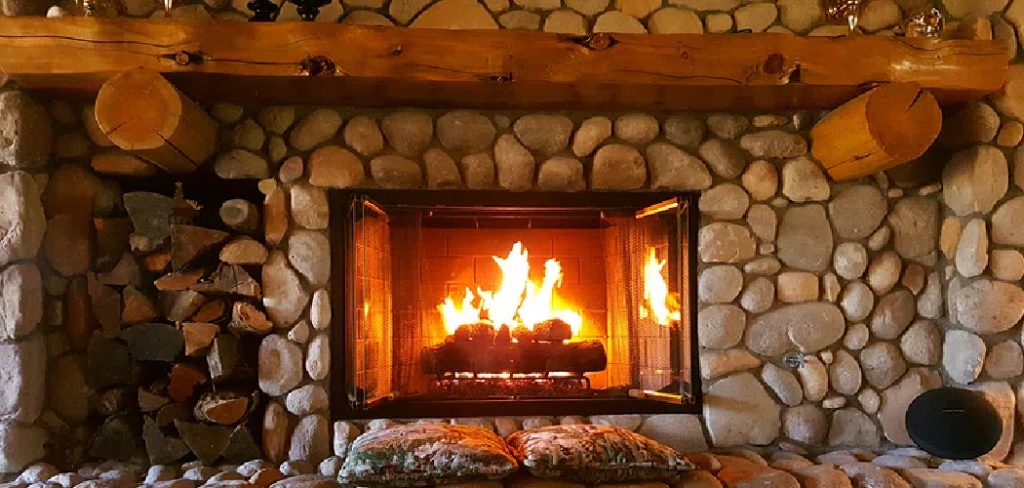
Crafting a wood mantel is a rewarding and fulfilling project that can instantly elevate the aesthetic appeal of your fireplace and living space. Whether you’re aiming to add a touch of rustic charm, traditional elegance, or modern sophistication to your home, a custom wood mantel offers endless possibilities for customization and personalization.
From selecting the perfect wood species to designing the ideal shape and style, building a wood mantel allows you to showcase your woodworking skills and creativity.
In this article, we’ll explore step-by-step instructions and expert tips for how to make a wood mantel, guiding you through the process from start to finish. Whether you’re a seasoned woodworker or a beginner looking to hone your craft, mastering the art of making a wood mantel will add warmth, character, and timeless beauty to your fireplace and living space.
The Benefits of Crafting a Custom Wood Mantel
Creating a custom wood mantel for your fireplace offers several tangible and aesthetic benefits. Firstly, it provides an opportunity for personal expression and craftsmanship. A handcrafted mantel can reflect your personal style, whether it’s simplistic and modern or intricately detailed. Secondly, it adds a focal point to your living space, drawing attention to the fireplace, which is often considered the heart of a home.
Furthermore, a custom wood mantel can increase the value of your home by enhancing its interior design and appeal. Lastly, engaging in woodworking and the creative process itself can be incredibly satisfying and therapeutic, offering a sense of accomplishment once the project is completed. By custom-making a wood mantel, you ensure a unique piece that matches perfectly with your home’s décor and your vision.
Determining the Dimensions and Style of the Wood Mantel
Before you begin cutting and shaping wood, it’s crucial to determine the dimensions and style of your wood mantel. The size of the mantel should be in proportion to the fireplace and the room’s overall scale.

A good rule of thumb is for the mantel length to extend at least 3 inches beyond each side of the fireplace opening, but you may choose to go wider depending on the room’s size and your design preferences. The height and depth of the mantel are also important considerations that can affect its overall appearance and functionality.
When it comes to style, reflect on the aesthetics of your living space and the vibe you want to create. Are you aiming for a sleek and minimalistic look, a rustic farmhouse feel, or perhaps something ornately traditional? Your choice of wood species will play a significant role here; for instance, oak or cherry offers a classic and robust appearance, while pine can be perfect for achieving a rustic charm.
Additionally, think about the finish or stain you’ll apply to the wood, as this can drastically alter its final look and integrate with your room’s color scheme. Creating a sketch or mood board can help visualize the mantel’s style within your space and serve as a reference throughout the building process.
Selecting Appropriate Wood Materials
The choice of wood is fundamental in the creation of your wood mantel, as it will not only dictate the mantel’s aesthetic quality but also its durability and longevity. Hardwoods such as oak, maple, and cherry are popular for their strength and resilience, making them ideal for a mantel expected to last generations.
These woods also offer a rich grain that can be enhanced with stains to match or complement your existing decor. For a softer and more rustic appearance, woods like pine or cedar can be excellent choices; they are easier to work with using hand tools and offer a distinct, aromatic scent that adds to their charm.
It’s important to consider the wood’s origin and sustainability; opting for locally sourced or certified sustainable wood materials can contribute to environmental preservation. Additionally, inspecting the wood for any defects, such as knots and splits, is crucial before purchasing to ensure the quality and appearance of your final product meet your expectations.
10 Methods How to Make a Wood Mantel
1. Choose the Right Wood:
The first step in making a wood mantel is selecting the appropriate wood species for your project. Consider the overall aesthetic you want to achieve, as well as the durability and suitability of the wood for fireplace use. Common choices for wood mantels include oak, maple, cherry, and pine, each offering unique grain patterns and characteristics.

Choose a wood species that complements your decor and fits within your budget. Additionally, ensure that the wood is kiln-dried and properly seasoned to minimize warping and cracking over time.
Once you have chosen the right wood for your mantel, it is important to prepare it properly before installation. Begin by sanding the wood to create a smooth surface and remove any imperfections. Next, apply a stain or sealant to protect the wood and enhance its natural beauty. Be sure to follow manufacturer instructions and allow ample drying time before handling the wood.
If you are planning on painting your mantel, consider using a primer before applying the final coat. This will help to create a smooth and even finish. You can also add decorative elements such as carvings or moldings to customize your wood mantel and make it truly unique. Just be sure to take proper measurements and plan out the design before making any cuts.
2. Measure Your Fireplace:
Before you begin building your wood mantel, it’s essential to accurately measure your fireplace to ensure a proper fit. Measure the width and height of the fireplace opening, as well as the distance from the fireplace to the ceiling and surrounding walls.
Consider the proportions of the room and the desired size of the mantel relative to the fireplace. Take into account any protrusions or obstacles, such as mantel supports or venting systems, that may affect the design and placement of the mantel.
Once you have precise measurements, it’s time to choose the materials and design for your mantel. Wood is a popular choice for its versatility and natural, rustic charm. However, there are many other options available, including stone, brick, marble, or even metal. Consider the style of your home and the overall aesthetic you want to achieve when selecting materials.
You may also want to consider adding additional features to your fireplace, such as a mantel shelf or corbels for added visual interest. These elements can add dimension and character to the final design. Additionally, think about incorporating functional elements like hidden storage compartments or built-in lighting for a more practical and modern touch.
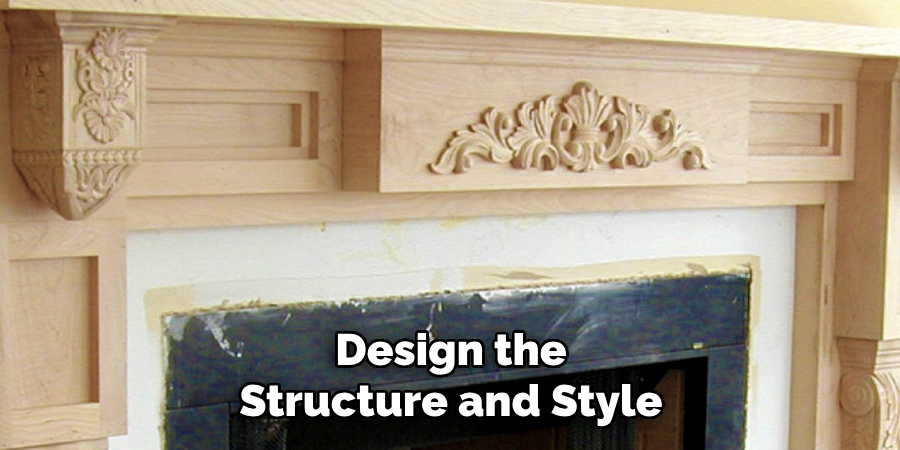
3. Design Your Mantel:
Once you have determined the dimensions of your wood mantel, it’s time to design the structure and style. Consider the architectural style of your home and the aesthetic of your fireplace when designing the mantel. Decide whether you want a simple, minimalist design or a more ornate and decorative style.
Sketch out your design ideas, including details such as the shape of the mantel shelf, the profile of the legs or supports, and any additional decorative elements. Take inspiration from existing mantel designs or create a unique custom design that reflects your personal taste and style.
Next, consider the material you want to use for your mantel. Wood is a popular choice due to its natural beauty and versatility. It can be stained or painted to match any color scheme and can be carved or shaped into intricate designs. Other options include stone, brick, or tile for a more rustic or modern look. Whichever material you choose, make sure it complements the overall style of your home and fireplace.
4. Gather Materials and Tools:
To begin your project, ensure that you have gathered all necessary materials and tools. This preparation phase is crucial for a smooth workflow and successful outcome.
Essential items often include specific types of fabric or paper, a variety of adhesive agents (such as glue or tape), cutting tools (scissors or knives), and any decorative elements (paint, markers, or embellishments). Each project may require unique tools and materials, so consult your project guide closely to make sure you have everything you need before starting.
Once you have all your materials and tools, set up a designated workspace for your project. Having an organized working area will make the process easier and more efficient. Choose a space with ample lighting and enough room to lay out all of your materials. Avoid cluttered or cramped areas as this may hinder your progress.
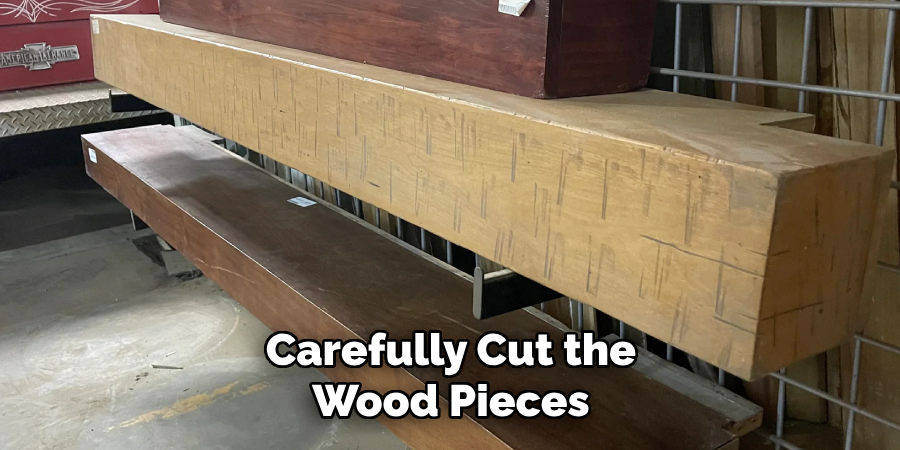
5. Cut the Wood:
Using your measurements and design plans as a guide, carefully cut the wood pieces to the appropriate sizes and shapes. Use a saw, miter saw, or jigsaw to make precise cuts, taking care to follow your design specifications. Cut the mantel shelf, legs, and supports according to your desired dimensions, ensuring that all pieces are uniform and fit together seamlessly.
However, before cutting any wood, make sure to take necessary safety precautions such as wearing protective gear and securing the wood piece firmly in place. In addition, it is important to measure twice and cut once to avoid wasting materials.
Once you have completed cutting all of your wood pieces, use sandpaper or an electric sander to smooth out any rough edges or surfaces. This will help give your finished product a polished and professional look. Additionally, you can also add decorative elements to the wood pieces by using tools such as a router or chisels to create intricate designs or patterns.
6. Assemble the Mantel:
Once the wood pieces are cut to size, it’s time to assemble the mantel structure. Begin by attaching the legs or supports to the mantel shelf, using screws, nails, or wood glue to secure them in place. Ensure that the legs are aligned properly and that the mantel sits level and flush against the fireplace.
Use a square and level to check for accuracy and make any adjustments as needed. Once the mantel frame is assembled, reinforce the joints with additional screws or dowels for added stability and strength.
To further customize the look of your mantel, you can add decorative trim and molding around the edges. This can be done by cutting pieces of trim to fit and attaching them with wood glue or finishing nails. Be sure to sand down any rough edges before attaching the trim.
Once all the pieces are securely attached, it’s time to finish the mantel. You can choose to paint or stain the wood, depending on your desired look. If staining, be sure to apply a coat of wood conditioner first to ensure an even finish. Allow the mantel to dry completely before adding any final touches.
7. Sand and Smooth the Surface:
After the mantel structure is assembled, use sandpaper or a sander to smooth out any rough edges or surfaces. Sand the wood pieces thoroughly, paying attention to corners, edges, and joints to ensure a smooth and even finish.
Start with a coarse-grit sandpaper to remove any imperfections or rough spots, then switch to a finer grit for a smoother surface. Sand in the direction of the wood grain to avoid scratches and blemishes. Wipe away any dust or debris with a clean cloth before proceeding to the next step.
8. Apply Finish or Paint:
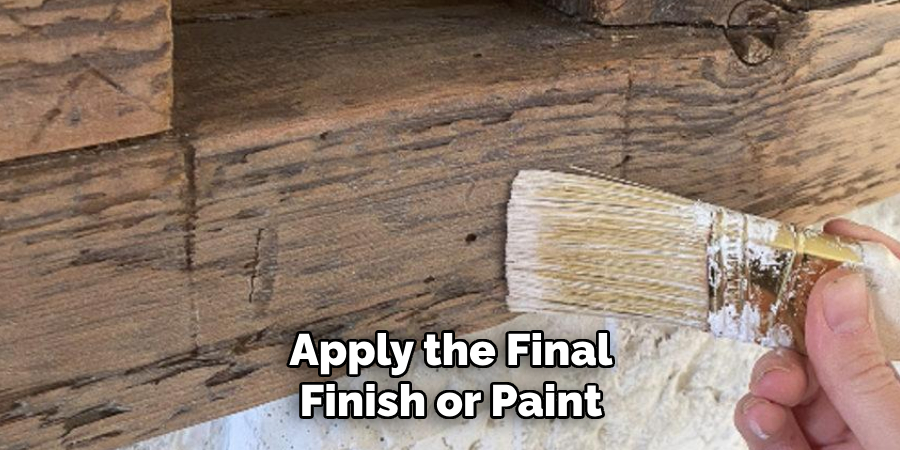
Once the wood surface is smooth and free of imperfections, it’s time to apply the final finish or paint. Choose a finish or paint color that complements your decor and enhances the natural beauty of the wood.
Apply the finish or paint evenly to the wood surface, using a brush, roller, or sprayer according to the manufacturer’s instructions. Allow the finish to dry completely between coats, sanding lightly between coats for a smooth and professional finish. If desired, apply multiple coats of finish or paint for added durability and protection against wear and tear.
After applying the final finish or paint, it’s important to properly maintain and care for your wood surface. Regular dusting and cleaning with a soft cloth is recommended to prevent buildup of dirt and grime. Avoid using harsh chemicals or abrasive cleaners as they can damage the finish. Instead, opt for gentle cleansers designed specifically for wood surfaces.
9. Install the Mantel:
With the wood mantel fully assembled and finished, it’s time to install it above the fireplace. Enlist the help of a friend or family member to assist with lifting and positioning the mantel in place. Use a level to ensure that the mantel is straight and evenly aligned with the fireplace opening.
Once properly positioned, secure the mantel to the wall using screws or mounting brackets, ensuring that it is anchored securely and able to support the weight of any decorative items or accessories. Double-check the alignment and stability of the mantel before proceeding to the final step. Additionally, consider adding a layer of heat-resistant material between the mantel and the fireplace to protect it from any residual heat.
Once the mantel is securely in place, it’s time to add some personal touches. Decorate the mantel with a variety of items such as candles, vases, and picture frames to add some personality and character to your fireplace area. Consider incorporating seasonal decorations to switch up the look throughout the year.
Add a splash of color with some floral arrangements or incorporate different textures with woven baskets or ceramic figurines. Get creative and have fun showcasing your personal style through your mantel decor.
10. Add Decorative Elements:
With the wood mantel installed, it’s time to add decorative elements to enhance its visual appeal and complement your decor. Consider adding a decorative trim or molding to the edges of the mantel shelf for added detail and interest. Display decorative accessories such as vases, candles, or framed photos on the mantel shelf to personalize the space and add warmth and character to the room.

Experiment with different arrangements and compositions until you achieve the desired look and feel. While the mantel itself may be a statement piece, don’t forget to also pay attention to the area above and around it.
This space can be used to hang artwork, mirrors, or even a large clock for added visual interest. Additionally, adding greenery or flowers to the space can bring a touch of nature and freshness to the mantel. Just be sure to choose items that complement your overall decor style and color scheme.
Conclusion
Building a wood mantel is a rewarding and fulfilling project that allows you to showcase your woodworking skills and creativity while adding warmth and character to your home. By following these ten comprehensive methods, you can create a stunning centerpiece for your fireplace that reflects your personal style and enhances the aesthetic appeal of your living space.
Whether you prefer a rustic, traditional, or modern design, crafting your own wood mantel offers endless possibilities for customization and personalization.
So roll up your sleeves, gather your materials and tools, and get ready to embark on a rewarding woodworking adventure. Hopefully, this article gave you some helpful tips about how to make a wood mantel successfully, so now that you have the proper knowledge on how to get the job done, why not give it a try today?
About the Author
Adrian Green, a lifelong woodworking enthusiast, shares his passion for the craft through The Woodenify Blog. With a foundation built on years of hands-on experience in his father’s woodworking shop, Adrian is dedicated to helping others learn and grow in the world of DIY woodworking. His approach to woodworking combines creativity, practicality, and a deep appreciation for the art of building with your own hands. Through his blog, he inspires individuals of all skill levels to embark on their own woodworking journeys, creating beautiful, functional pieces of furniture and décor.
Professional Focus
- Specializes in DIY woodworking projects, from furniture to home décor.
- Provides step-by-step guides and practical tutorials for woodworkers of all skill levels.
- Dedicated to helping readers build confidence and skill through easy-to-follow instructions and tips.
- Passionate about fostering a community of makers who can share, learn, and grow together.
Education History
- University of Craft and Design – Bachelor of Fine Arts (BFA) in Woodworking and Furniture Design
- Woodworking Apprenticeships – Extensive hands-on training with skilled craftsmen to refine carpentry and furniture making techniques.
- Online Courses & Masterclasses – Continued education in advanced woodworking techniques, design principles, and specialized tools
Expertise:
- DIY woodworking, carpentry, furniture making, and home décor projects.
- Creating accessible tutorials and guides for beginner to advanced woodworkers.
- Sharing the joys and satisfaction of woodworking, from raw materials to finished products.