Making a wood valance is a fantastic way to add a touch of charm and sophistication to any window treatment. Whether you’re looking to conceal hardware or simply enhance the overall look of your curtains or blinds, crafting a wooden valance allows for creativity and customization. With the right tools and materials, you can create a stylish and functional valance that complements your decor and reflects your personal style.
In this article, we’ll explore step-by-step instructions and expert tips for how to make a wood valance, from selecting the perfect wood to finishing techniques. Whether you’re a seasoned DIY enthusiast or a beginner looking to embark on a new project, mastering the art of making a wood valance will elevate the aesthetic appeal of your windows and transform the look of any room in your home.
What Is a Wood Valance?
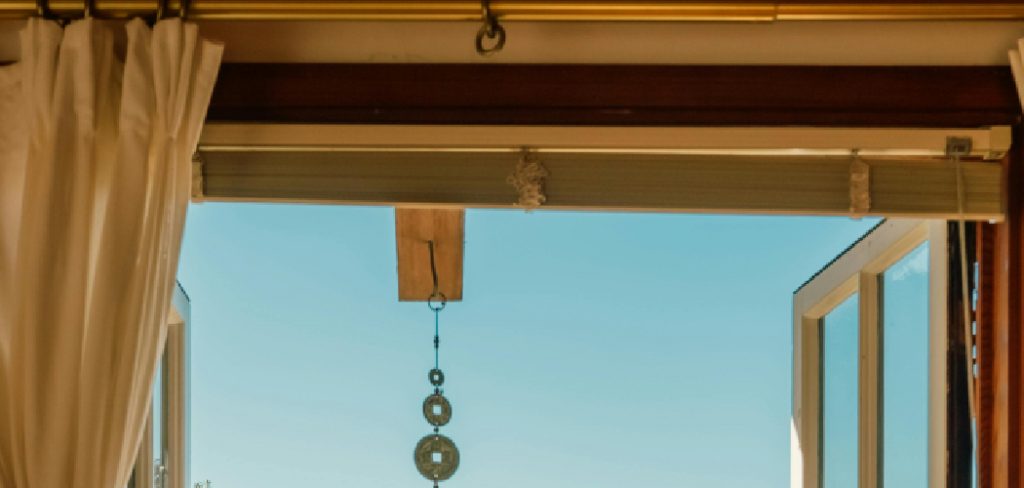
A wood valance is a decorative piece of wood that is mounted above a window to add architectural detail and enhance the room’s decor. It serves both an aesthetic and functional purpose, acting as a cover for the top of window treatments such as blinds, shades, or drapery hardware.
Unlike fabric valances, wood valances offer a more sturdy and durable solution with the added benefit of customization through carving, painting, or staining. This versatility makes wood valances a popular choice for those seeking to add a touch of elegance and personal style to their indoor spaces.
Benefits of Customizing a Wood Valance
Customizing a wood valance presents several significant benefits that enhance both the functionality and aesthetic appeal of a room. Firstly, personalized valances allow for a perfect match with the existing room decor, ensuring a seamless integration with the furniture, color scheme, and overall design theme.
This customization extends beyond mere aesthetics; it enables homeowners to cater to specific functional requirements, such as the control of natural light, additional privacy, or even acoustic enhancements.
Furthermore, crafting a unique wood valance adds a level of craftsmanship and originality to a space, showcasing the homeowner’s personal style and attention to detail. Lastly, a custom wood valance can increase the value of a home by adding to its architectural interest and custom feel, making it an investment that beautifies a space while also contributing to its marketability.
Choosing the Right Size and Style for Your Wood Valance
The size and style of your wood valance are crucial components that dictate its impact on a room’s decor. When determining the size, consider both the window’s dimensions and the overall scale of the room to ensure that the valance complements rather than overwhelms the space.
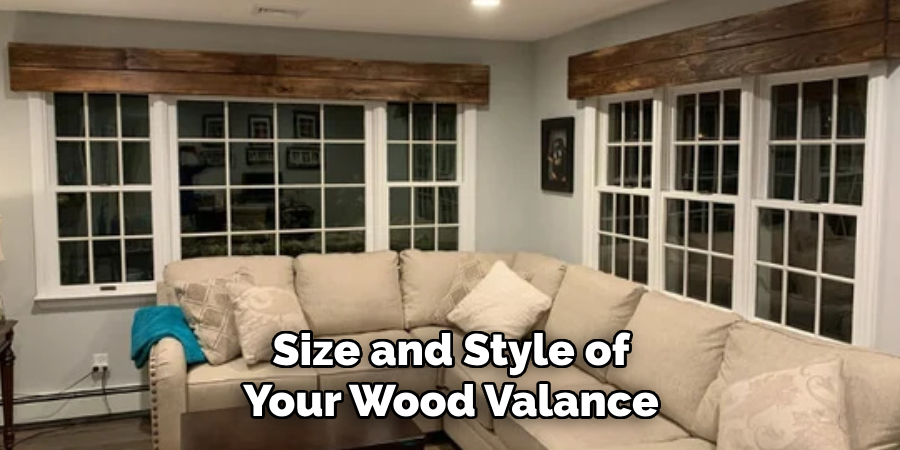
A general rule of thumb is for the valance to extend approximately 2-3 inches on either side of the window frame. This not only enhances its aesthetic appeal but also provides a more finished look by covering any exposed hardware.
Regarding style, the options are vast and can range from simple and modern to elaborate and traditional. When choosing a style, reflect on the room’s existing decor and the atmosphere you wish to create. For a minimalist approach, a straight, clean-lined valance may suit best, while intricately carved or patterned designs can add a sense of grandeur and opulence to more traditional spaces.
The style you choose should also offer flexibility in terms of finishing, allowing for painting, staining, or leaving the wood natural according to your preference and the room’s color scheme.
Selecting Appropriate Wood Materials
Choosing the right wood material is pivotal in crafting a wood valance that is both beautiful and durable. The type of wood you select will impact not only the aesthetic appeal of the valance but also its longevity and ease of customization. For a sturdy and premium appearance, hardwoods such as oak, cherry, or mahogany are excellent choices.
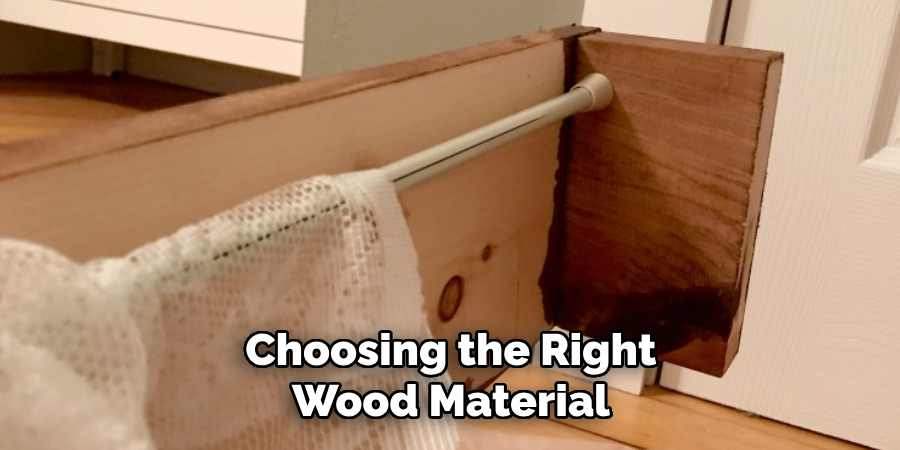
These woods offer a rich texture and can be stained to enhance their natural grain, making them ideal for traditional or upscale designs. For a more budget-friendly or contemporary look, softwoods like pine or cedar are suitable options. These materials are lighter and easier to work with, providing a smooth surface for painting in a diverse range of colors.
It’s also essential to consider the wood’s sustainability and environmental impact; seeking out suppliers that prioritize eco-friendly sourcing can contribute positively to your project’s overall footprint. Regardless of your choice, ensure the wood is straight, free of knots, and in good condition to guarantee a polished and professional final product.
Tools and Supplies Needed for Crafting a Wood Valance
To craft a beautiful and durable wood valance, you’ll need a specific set of tools and supplies. Here is a list of essential items for your project:
- Measuring Tape: Essential for accurate measurements to ensure your valance fits the intended window perfectly.
- Saw: A saw is necessary for cutting the wood to the desired size. A miter saw is ideal for making precise cuts, especially for angles and corners.
- Drill: A drill will be used for creating pilot holes and securing the valance to the wall or window frame.
- Screws and Anchors: These are used to mount the valance securely. Ensure you choose the right size and type for your wall material.
- Sandpaper or a Sander: Sanding the wood is crucial for removing any rough edges and creating a smooth finish before painting or staining.
- Paint or Stain: Depending on the final look you’re aiming for, select a high-quality paint or stain to apply to the wood.
- Paintbrush or Stain Applicator: Necessary for applying paint or stain evenly across the wood surface.
- Wood Filler: A wood filler can be used to fill in any gaps or imperfections in the wood, ensuring a smoother finish.
- Level: A level will help ensure your valance is perfectly horizontal when mounted.
- Safety Gear: Always wear appropriate safety gear, including safety glasses and dust masks, when cutting, sanding, or painting.
Gathering these tools and supplies before you start your project will help ensure a smooth process and a professional-looking finish.
9 Methods How to Make a Wood Valance
1. Measure and Cut the Wood:
Begin by measuring the width of your window to determine the size of your valance. Decide on the desired depth and height of the valance, taking into account any curtains or blinds that will be installed underneath.

Use a measuring tape to mark the dimensions on your wood, and then use a saw to cut the wood to size. A miter saw or circular saw is ideal for making straight, precise cuts. Take your time to ensure accuracy, as precise measurements will ensure a professional-looking finished product.
Once you have cut the wood to size, sand down any rough edges or imperfections with sandpaper. This will create a smooth surface for painting or staining later on. It is also important to wear protective gear such as safety glasses and gloves while using power tools.
2. Sand the Wood:
Once the wood pieces are cut to size, use sandpaper or a sanding block to smooth out any rough edges and surfaces. Sanding the wood will create a smooth and even surface, making it easier to paint, stain, or finish later on. Be sure to sand both the front and back surfaces of the wood, as well as any exposed edges.
Start with a coarse-grit sandpaper to remove any imperfections, then switch to a finer grit for a smoother finish. Additionally, sanding the wood will also remove any dirt or debris that may be on the surface.
When sanding, use a back-and-forth motion in the direction of the grain. This will prevent any scratches or marks from appearing on the wood. Be sure to also change out your sandpaper as needed, as it can become clogged with wood particles and lose its effectiveness.
After sanding, wipe down the wood with a damp cloth to remove any leftover dust. This will ensure a clean surface for painting, staining, or finishing. If desired, you can also use wood cleaner or mineral spirits to further clean the wood before continuing with your project.
3. Assemble the Valance:
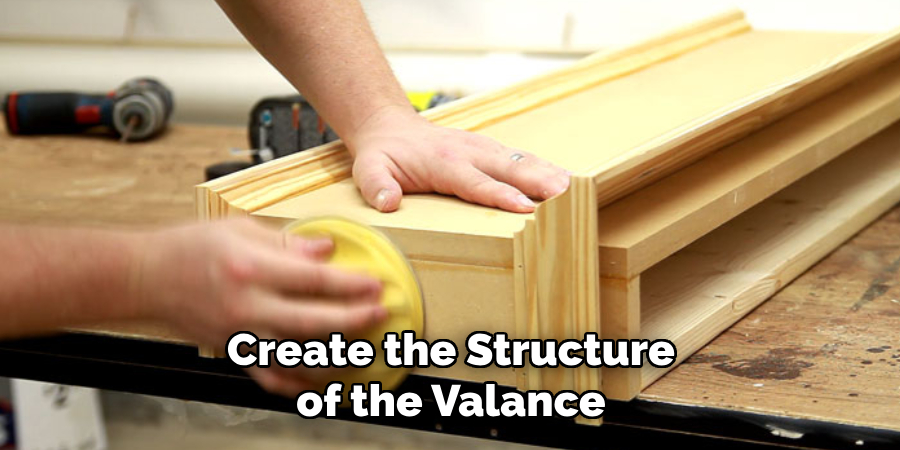
Next, assemble the wood pieces to create the structure of the valance. Apply wood glue to the edges of the wood pieces that will be joined together, then press them firmly together. Use clamps to hold the pieces in place while the glue dries, ensuring a strong and secure bond. For added reinforcement, you can also use nails or screws to secure the joints.
Be sure to countersink the nails or screws slightly below the surface of the wood to avoid any protrusions. Once the glue has dried and the joints are secure, sand down any rough edges or excess glue to create a smooth surface.
To add a finishing touch to your valance, you can paint or stain the wood pieces before assembling them. This allows you to customize the color of your valance and match it with your existing décor.
Another option is to apply a decorative fabric over the wood pieces, using a staple gun to secure it in place. This adds a soft and elegant look to your valance and allows you to switch out the fabric whenever you want to change up the style of your room.
4. Customize the Design:
One of the great things about making a wood valance is the opportunity to customize the design to suit your preferences. Depending on your aesthetic preferences and the style of your home, you can add decorative elements such as trim, molding, or carvings to the valance.
You can also experiment with different shapes and profiles for the top edge of the valance, such as straight, curved, or scalloped. Get creative and have fun with the design process, making sure to create a valance that reflects your personal style and complements your decor.
You can also choose the type of wood you use for your valance, such as pine, oak, or cherry. Each type of wood has its own unique characteristics and grain patterns, so decide which one best fits your desired look. Additionally, you can stain or paint the wood to match the color scheme of your room or leave it natural for a more rustic feel.
5. Apply Finish:
Once the valance is assembled and any decorative elements are added, it’s time to apply the finish. You can choose to paint, stain, or seal the wood, depending on the desired look and level of protection. If you prefer a natural wood look, apply a wood stain according to the manufacturer’s instructions, allowing it to penetrate the wood for a rich, even color.
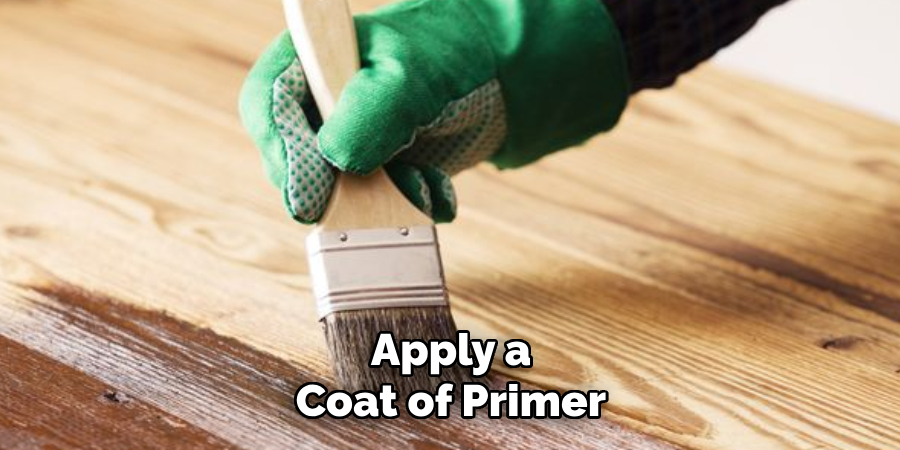
If you prefer a painted finish, apply a coat of primer followed by one or more coats of paint, sanding between coats for a smooth finish. For added protection and durability, finish the valance with a clear sealant or varnish. This will not only protect the wood from moisture and wear, but also give it a glossy or matte finish depending on the product used.
Once the finish is dry, you can attach any hardware needed for mounting the valance. Depending on where you plan to install it, this may include L-brackets, curtain rod brackets, or hooks. Make sure to carefully measure and mark the placement of the hardware before drilling or screwing it into place. Once everything is securely attached, you can hang your valance and step back to admire your handiwork.
6. Mount the Valance:
Once the finish is dry, it’s time to mount the valance above the window. Use a level to ensure that the valance is straight and evenly positioned, then mark the location of the mounting hardware on the wall.
Depending on the weight of the valance and the type of mounting hardware used, you may need to install L-brackets or curtain rod brackets to support the valance. Use a drill to create pilot holes for the mounting screws, then attach the brackets to the wall securely. Finally, place the valance on the brackets and secure it in place with screws.
7. Install Curtains or Blinds:
With the valance securely mounted, you can now install curtains or blinds underneath to complete the window treatment. Choose curtains or blinds that complement the style and color of the valance, creating a cohesive and harmonious look. Hang the curtains or blinds according to the manufacturer’s instructions, ensuring that they are properly aligned and evenly spaced. Although
There are many benefits to installing curtains or blinds in your home. They offer privacy, control over natural light and can enhance the decor of any room. When choosing between curtains or blinds, it’s important to consider both aesthetics and functionality.

Firstly, let’s discuss curtains. Curtains are made from a variety of fabrics and come in a range of colors and patterns. They provide a softer look to a room and can add texture and warmth. Curtains are also great for controlling the amount of natural light that enters a room, as they can be easily opened or closed.
8. Add Optional Features:
Depending on your needs and preferences, you may want to add optional features to your wood valance to enhance its functionality and aesthetics. For example, you can install decorative hardware such as finials or tiebacks to add visual interest and detail to the valance.
Additionally, you can incorporate hidden compartments or shelves into the design to provide additional storage space or display areas. While these features are not necessary, they can elevate the overall look and usefulness of your wood valance.
Another optional feature to consider is adding lighting to your wood valance. This can be achieved by incorporating LED strips or puck lights into the design, providing soft ambient lighting in your room. Not only does this add a stylish touch, but it also serves a practical purpose by illuminating the area underneath the valance, making it easier to see and access items on shelves or in compartments.
9. Maintain and Care for the Valance:
Once your wood valance is installed, it’s important to maintain and care for it to ensure its longevity and beauty. Regularly dust the valance with a soft cloth or duster to remove any dust or debris that may accumulate over time. If the valance becomes dirty or stained, gently wipe it down with a damp cloth and mild soap, taking care not to saturate the wood.
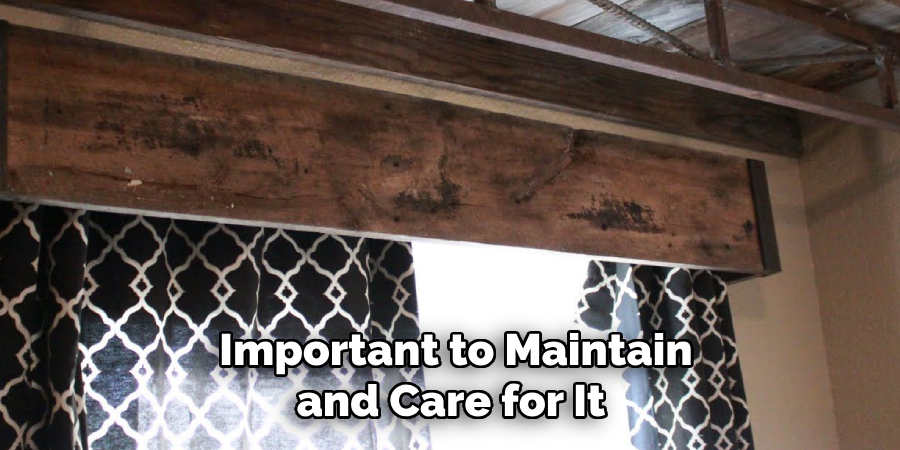
Avoid using harsh chemicals or abrasive cleaners, as they can damage the finish and wood surface. With proper care and maintenance, your wood valance will continue to enhance the aesthetic appeal of your windows for years to come.
Conclusion
In conclusion, crafting a wood valance offers a rewarding opportunity to blend functionality with aesthetics in interior design. By following the outlined steps, from meticulous planning and precise woodworking to thoughtful finishing touches and installation, individuals can create a custom valance tailored to their unique style and window dimensions.
The versatility of wood allows for endless design possibilities, whether opting for a minimalist modern look or a more intricate and ornate pattern. Embracing the DIY approach not only enables individuals to save costs but also fosters a sense of accomplishment and satisfaction in creating a personalized decor element for their home.
Hopefully, this article gave you some helpful tips about how to make a wood valance successfully, so now that you have the proper knowledge on how to get the job done, why not give it a try today?
About the Author
Adrian Green, a lifelong woodworking enthusiast, shares his passion for the craft through The Woodenify Blog. With a foundation built on years of hands-on experience in his father’s woodworking shop, Adrian is dedicated to helping others learn and grow in the world of DIY woodworking. His approach to woodworking combines creativity, practicality, and a deep appreciation for the art of building with your own hands. Through his blog, he inspires individuals of all skill levels to embark on their own woodworking journeys, creating beautiful, functional pieces of furniture and décor.
Professional Focus
- Specializes in DIY woodworking projects, from furniture to home décor.
- Provides step-by-step guides and practical tutorials for woodworkers of all skill levels.
- Dedicated to helping readers build confidence and skill through easy-to-follow instructions and tips.
- Passionate about fostering a community of makers who can share, learn, and grow together.
Education History
- University of Craft and Design – Bachelor of Fine Arts (BFA) in Woodworking and Furniture Design
- Woodworking Apprenticeships – Extensive hands-on training with skilled craftsmen to refine carpentry and furniture making techniques.
- Online Courses & Masterclasses – Continued education in advanced woodworking techniques, design principles, and specialized tools
Expertise:
- DIY woodworking, carpentry, furniture making, and home décor projects.
- Creating accessible tutorials and guides for beginner to advanced woodworkers.
- Sharing the joys and satisfaction of woodworking, from raw materials to finished products.