Are you interested in building your own wooden table? Look no further, as we have compiled a step-by-step guide on how to make a wooden table.
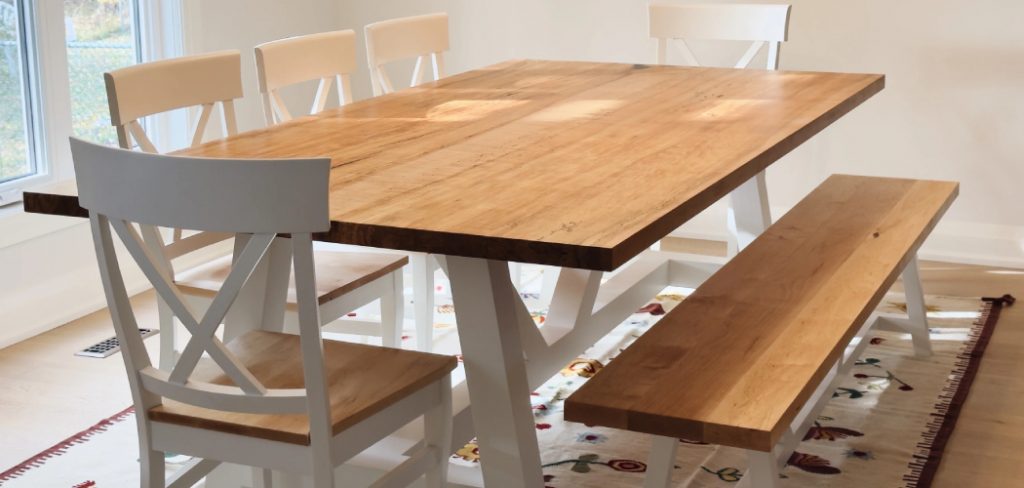
Crafting a wooden dining table designs is a rewarding project that combines creativity and practicality. Whether you’re an experienced woodworker or a beginner, making a table allows you to personalize your design to fit your style and needs. This project involves selecting the right materials, planning the dimensions, and using basic woodworking tools to create a sturdy and functional piece of furniture. Additionally, it can save you money compared to buying a pre-made table and give you a sense of accomplishment.
With patience and attention to detail, you can build a table that serves as a centerpiece in your home and a testament to your craftsmanship.
What Are the Benefits of Building Your Table?
Building your table comes with many benefits, both practical and personal. Here are a few reasons why you should consider taking on this DIY project:
- Customization: By building your table, you have the freedom to customize every aspect of its design. You can choose the type of wood, finish, and size that best suit your space and style.
- Cost-saving: As mentioned before, building your own table can save you money compared to buying a pre-made one. This is especially true if you already have some of the necessary tools and materials at home.
- Quality Control: When making something yourself, you have complete control over the quality of materials used and the level of craftsmanship put into the project. This ensures that your table will be sturdy and last a long time.
- Personal Satisfaction: There’s a great sense of satisfaction that comes with creating something with your own hands. Building your own table allows you to showcase your skills and creativity, and can be a source of pride whenever you use it or show it off to others.
What Will You Need?
To build your own table, you will need the following materials:
- Wood: Choose a sturdy and durable wood such as oak, maple, or cherry. The type of wood you choose will depend on your personal preference and budget.
- Tools: You will need basic woodworking tools, including a saw, sander, drill, hammer, measuring tape, and level. If you don’t have these tools already, consider borrowing or renting them to save money.
- Screws and Nails: These will be used to secure the different pieces of wood together.
- Wood Glue: This can help reinforce joints and make the table more stable.
- Protective Gear: Safety should always be a top priority when working with wood. Make sure to wear safety glasses, a dust mask, and earplugs when using power tools.
- Sandpaper: This will be used to smooth out any rough edges or imperfections on the wood.
9 Easy Steps on How to Make a Wooden Table
Step 1. Measure and Cut the Wood
Begin by determining the desired dimensions of your table, including the height, width, and length. Use a measuring tape to mark these measurements accurately on the wood. Precision is crucial at this stage to ensure that all pieces fit together correctly and create a balanced, stable final product.
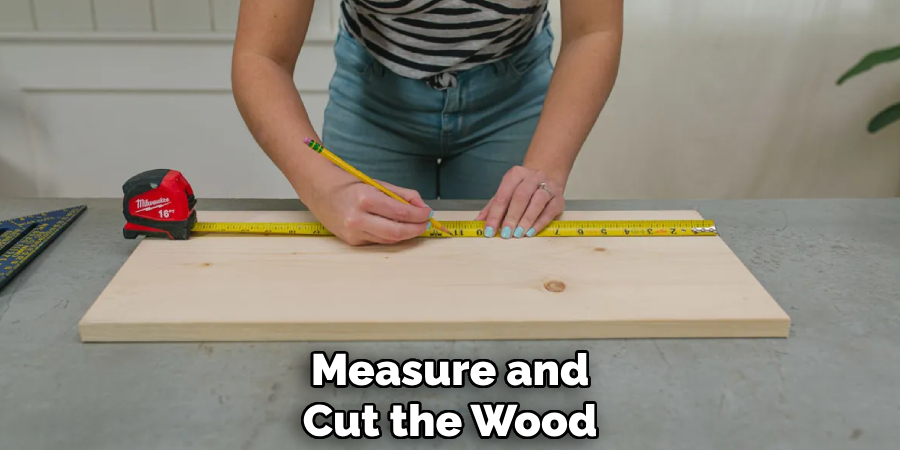
Once the measurements are marked, use a saw—either a handsaw or a power saw, depending on your tools and comfort level—to cut the wood according to your specifications. Take your time with this step to avoid uneven edges, as these can affect the assembly process later.
Step 2. Sand the Wood Pieces
After cutting the wood to the required dimensions, the next essential step is to sand each piece thoroughly. Sanding ensures that the surfaces are smooth, splinter-free, and ready for assembly or finishing. Start with a coarse-grit sandpaper (such as 60-80 grit) to remove any rough edges or saw marks left after cutting.
Gradually work your way to finer grits (like 120-220 grit) for a polished finish, paying special attention to edges and corners for uniformity. Using a sanding block or an electric sander can make this process easier and more efficient, especially for larger pieces.
Step 3. Assemble the Table Frame
Once all the pieces are properly sanded, you can begin assembling the table frame. Start by gathering all the frame components, including the legs, supports, and any necessary brackets or fasteners. Ensure you have the correct tools on hand, such as a drill, screws, wood glue, and clamps. Begin by attaching the legs to the table’s apron or side supports, making sure each connection is secure and aligned.
It’s recommended to use wood glue at the joints for added stability before driving in screws or bolts to hold the pieces firmly together. Use clamps to keep the pieces steady and aligned as you work, and don’t forget to verify that the frame is level with a spirit level as you assemble it.
Step 4. Attach the Table Top
Carefully position the tabletop on the assembled frame, ensuring it is centered and evenly aligned with the base. Use a measuring tape to check that the overhang on all sides is uniform before proceeding. Once the top is in the correct position, secure it to the frame using screws or bolts. Pre-drill pilot holes into the tabletop and frame to prevent the wood from splitting during this process. It’s recommended to use screws with washers to distribute the pressure and provide a stronger hold.

Work systematically by attaching the top at the opposite corners first, then move to the remaining points and tighten each fastener gradually. If your design includes a removable tabletop, consider using brackets or clips for easy detachment and reassembly. Finally, recheck that the table is level and make any necessary minor adjustments.
Step 5. Reinforce with Additional Supports
For added stability and durability, reinforcing your table with additional supports is a crucial step. Cross braces can be installed beneath the tabletop to prevent unwanted movement or wobbling. These braces should be secured diagonally between the legs, creating a solid framework that locks the structure in place.
If the table is huge or will bear significant weight, consider adding a central support beam running the length or width of the table. Use sturdy materials, such as metal brackets or hardwood, for these reinforcements to ensure longevity. These extra measures not only enhance the table’s sturdiness but also provide peace of mind, knowing the table can withstand regular use without compromising its integrity.
Step 6. Fill Any Gaps or Holes
After assembling the table structure and adding reinforcements, it’s crucial to address any gaps or holes to achieve a polished, finished look. Inspect the entire table, paying close attention to the joints, seams, and areas where hardware has been installed. Use wood filler or a similar material to fill any visible gaps, cracks, or screw holes.
Ensure the filler is compatible with the type of wood you’ve used, and apply it evenly using a putty knife for a smooth surface. Once the filler has dried completely, sand the area gently to blend it seamlessly with the surrounding surface.
Step 7. Sand Again for a Smooth Finish
After the wood filler has been sanded down to match the surrounding surface, it is essential to ensure the entire piece is smooth and free of imperfections. Begin by using a finer grit sandpaper, such as 220-grit, to go over the whole table once more. This step helps to eliminate any remaining rough patches, scratches, or uneven spots that may have been missed during earlier sanding.
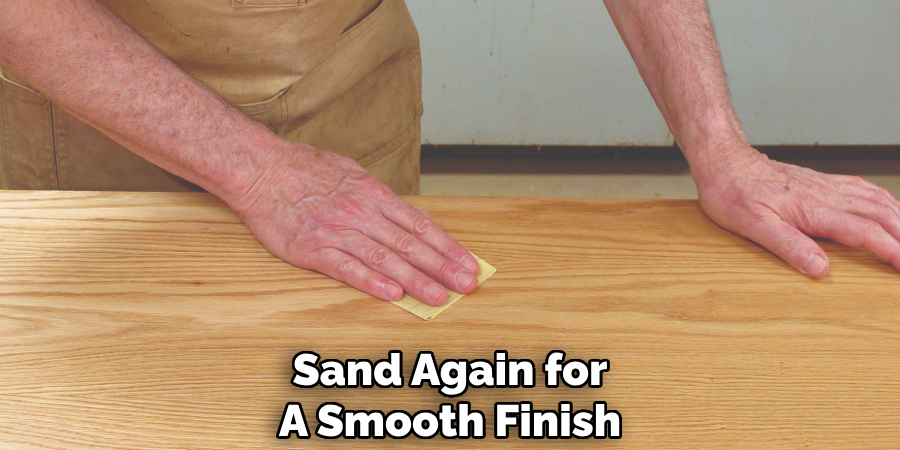
Work systematically, moving in the direction of the wood grain to avoid introducing new scratches. Pay special attention to edges, corners, and any intricate details to ensure they are as smooth as the flat surfaces.
Step 8. Apply Wood Stain or Paint
Once the table has been thoroughly sanded and cleaned of dust, it’s time to apply your chosen wood stain or paint. This step not only enhances the wood’s appearance but also helps protect it from wear, moisture, and other environmental factors. If you decide to use a wood stain, select a color that complements the natural grain and provides the desired aesthetic.
Using a clean, lint-free cloth or a brush, apply the stain evenly across the surface, following the grain of the wood. Work in small sections, wiping away any excess stain with a dry cloth before it dries completely. Allow the stain to dry for the recommended time before applying a second coat if desired.
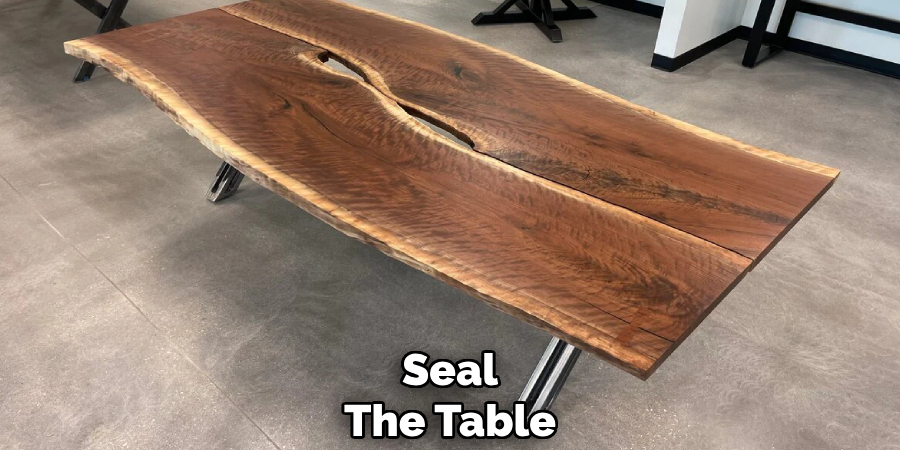
Step 9. Seal the Table
Sealing the table is a crucial step to protect the wood and enhance its longevity. Choose a high-quality wood sealer or finish that suits your specific needs, such as polyurethane, lacquer, or a natural oil finish. The type of sealer you select will depend on the table’s intended use and the environment it will be in. For instance, a water-resistant polyurethane is ideal for a dining table that may come into contact with spills. At the same time, a natural oil finish can highlight the wood’s natural beauty, making it a more decorative piece.
By following these simple steps, you can keep your wooden table in excellent condition for years to come.
Conclusion
How to make a wooden table is a rewarding process that combines creativity with functionality.
By carefully selecting quality materials, accurately measuring and cutting the wood, and assembling the pieces with attention to detail, you can create a sturdy and beautiful piece of furniture. Finishing touches, such as sanding and applying a protective sealer, not only enhance the table’s appearance but also ensure its durability.
With time, patience, and effort, you can produce a wooden table that is both practical and a reflection of your craftsmanship.
About the Author
Adrian Green, a lifelong woodworking enthusiast, shares his passion for the craft through The Woodenify Blog. With a foundation built on years of hands-on experience in his father’s woodworking shop, Adrian is dedicated to helping others learn and grow in the world of DIY woodworking. His approach to woodworking combines creativity, practicality, and a deep appreciation for the art of building with your own hands. Through his blog, he inspires individuals of all skill levels to embark on their own woodworking journeys, creating beautiful, functional pieces of furniture and décor.
Professional Focus
- Specializes in DIY woodworking projects, from furniture to home décor.
- Provides step-by-step guides and practical tutorials for woodworkers of all skill levels.
- Dedicated to helping readers build confidence and skill through easy-to-follow instructions and tips.
- Passionate about fostering a community of makers who can share, learn, and grow together.
Education History
- University of Craft and Design – Bachelor of Fine Arts (BFA) in Woodworking and Furniture Design
- Woodworking Apprenticeships – Extensive hands-on training with skilled craftsmen to refine carpentry and furniture making techniques.
- Online Courses & Masterclasses – Continued education in advanced woodworking techniques, design principles, and specialized tools
Expertise:
- DIY woodworking, carpentry, furniture making, and home décor projects.
- Creating accessible tutorials and guides for beginner to advanced woodworkers.
- Sharing the joys and satisfaction of woodworking, from raw materials to finished products.