A router table is an essential equipment for woodworking enthusiasts and professionals alike. It provides a stable and secure platform for routing operations, enhancing precision and control when shaping or cutting wood. By mounting a handheld router to a table, users gain the ability to execute intricate designs, grooves, and joints with remarkable consistency.
Building a DIY router table offers numerous benefits—it is a cost-effective solution compared to purchasing a pre-made table. It grants the flexibility to customize the design based on individual needs. A homemade router table can also be tailored for optimal ergonomics and storage, making it a practical addition to any workshop.
This guide is designed to walk you through how to make router table that is both durable and functional. From choosing the right materials to adding advanced features, these step-by-step instructions will help you create a reliable tool that elevates your woodworking projects.
Planning Your Router Table
Choosing the Right Size and Design
When planning your router table, the first step is selecting the appropriate size and design to suit your needs. Standard router table dimensions are often around 24″x36″, providing ample space for most projects while remaining manageable in smaller workshops. However, you can adjust these dimensions based on your available workspace and the scale of your projects. A crucial aspect of planning is ensuring a comfortable working height, which is typically between 34″ and 36″. This height helps reduce strain during extended use by aligning ergonomically with your body.
Deciding on Key Features
Determining the key features of your router table is another vital consideration. Decide whether you want a fixed table that stays in your workshop or a portable model that can be moved as needed. Important features might include an adjustable fence for precise routing operations, a dust collection system to keep your workspace clean, and integrated storage to house tools and accessories conveniently.
Selecting Materials
Choosing the right materials is essential for a durable and stable router table. Medium-density fiberboard (MDF), plywood, or hardwood are popular options due to their strength and affordability. Additionally, you will need sturdy hardware and fasteners, such as screws, bolts, T-tracks, and hinges, to assemble your table securely and ensure it withstands regular use.
Essential Tools and Materials
Tools Required
Building a high-quality router table requires a set of essential tools to ensure accuracy and ease during the assembly process. Some key tools include a circular saw for cutting large materials to size, a drill for making precise holes and securing fasteners, and
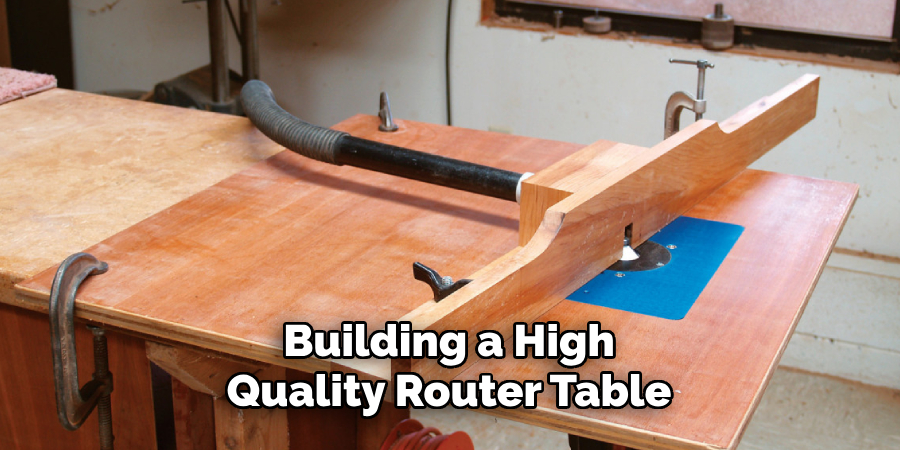
clamps to hold pieces firmly in place during assembly. Additional tools such as a measuring tape for accuracy, a jigsaw for cutting intricate shapes, a router for the central functionality of the table, and a sander for smooth finishes are indispensable.
Materials List
Selecting the right materials is just as crucial as choosing the appropriate tools. Start with an MDF or plywood sheet for the tabletop and base, as these materials provide a smooth and sturdy surface. Choose 2x4s or metal legs for the support structure to ensure stability and durability. You’ll also need screws, bolts, and brackets for fastening the various components securely. T-tracks will allow adjustability and enhancement of the table’s functionality. Lastly, hinges and clamps should be incorporated to secure the router effectively. With these tools and materials, you can build a reliable and efficient router table diy that meets your workshop needs.
How to Make Router Table: Building the Router Table Frame
Step 1: Cutting Materials
Using a measuring tape and pencil, begin by measuring and marking the wood components to the required dimensions. Precision ensures a level and stable table, so double-check all measurements before cutting. Use a circular or table saw to make clean, accurate cuts. Each piece should be labeled to avoid confusion during assembly later. Make sure to sand the edges of the cut wood for added safety and a smoother fit.
Step 2: Assembling the Base
To construct the base, arrange the 2x4s or plywood pieces as planned and confirm the alignment of each joint. Use screws, bolts, and brackets to secure the pieces together firmly. Reinforce the joints with corner brackets or L-braces to enhance the overall
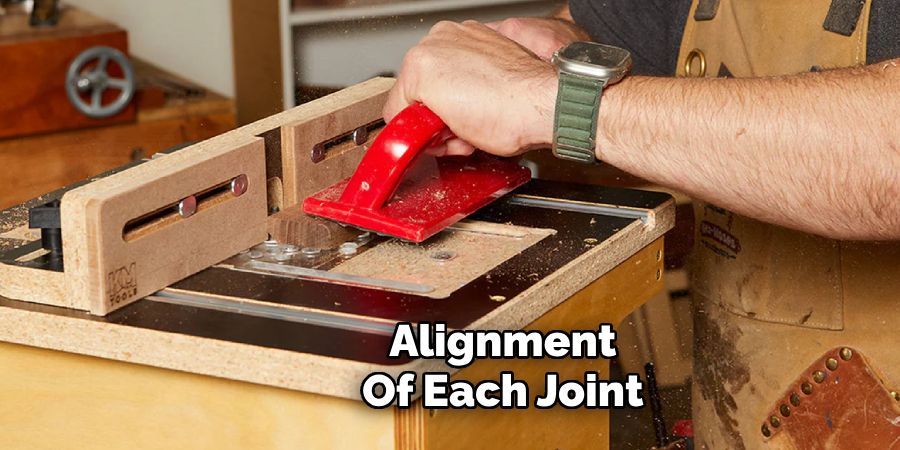
durability of the frame. It’s vital to ensure the base is completely level and square before proceeding, as any misalignment can affect the performance of the router table. Use clamps to hold the pieces in position while fastening to avoid shifting during assembly.
Step 3: Attaching the Legs
Finally, attach the legs to the base. You can opt for fixed-height legs for a straightforward build or adjustable-height legs to add flexibility for different project needs. If portability is a priority, consider installing locking casters on the legs. These will allow you to easily move the router table around your workshop while also providing stability during use. Double-check that all legs are securely fastened and leveled before moving on to the next step.
Making the Router Tabletop and Insert Plate
Step 1: Cutting the Tabletop
Begin by cutting the tabletop using medium-density fiberboard (MDF) or plywood. These materials are ideal because they provide a sturdy and durable surface while remaining relatively easy to work with. Ensure the tabletop is large enough to accommodate your typical projects but not so large that it becomes cumbersome to manage. A smooth, flat, and level surface is crucial, as it directly impacts the precision and quality of your work. Use a straight edge and a circular saw to achieve clean, even cuts.
Step 2: Creating the Router Insert Plate Cutout
Next, focus on creating a precise cutout for the router insert plate. Start by measuring your router base to determine the correct dimensions for the cutout. Trace these measurements onto your tabletop, ensuring the placement is centered and squared. Carefully cut out the traced section using a jigsaw or router, being mindful to follow the lines accurately. Then, secure an acrylic or metal insert plate into the cutout. This plate allows for easy mounting and removal of the router while ensuring it sits flush with the tabletop surface for smooth operation.
Step 3: Reinforcing the Tabletop
Add cross supports to the underside to enhance the tabletop’s strength and durability. These supports will help prevent sagging over time, especially under the router’s weight and during heavy use. Additionally, apply a laminate or smooth finish to the
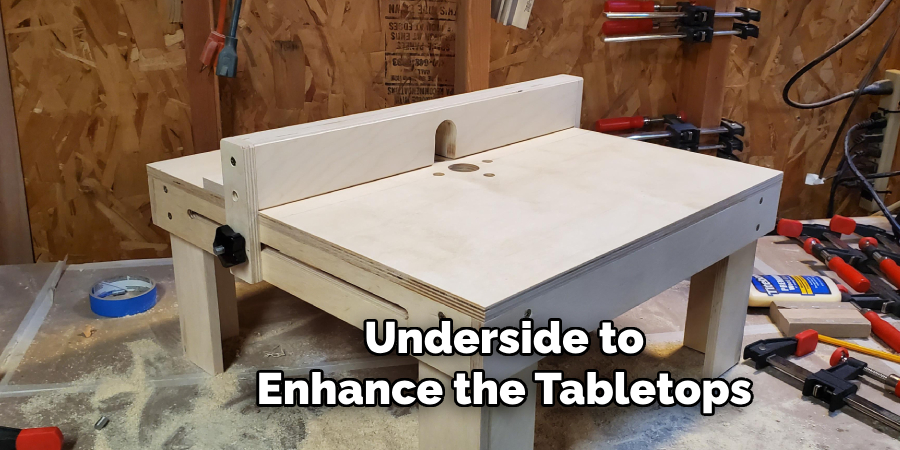
tabletop’s surface. A sleek finish protects the material and allows workpieces to glide smoothly across the table, improving accuracy and ease of use. With these steps completed, the tabletop and insert plate will be ready for the next construction phase.
Installing the Fence and Accessories
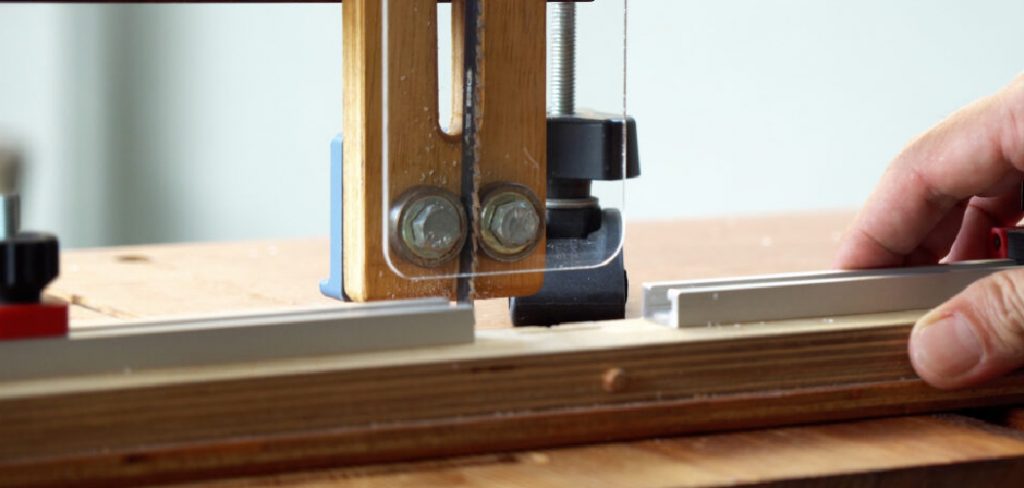
An adjustable fence is a crucial component of a router table, allowing precise control and repeatable cuts. Begin by constructing the fence from materials like MDF or plywood, providing a sturdy, straight edge for guiding workpieces. Ensure the fence is at least as long as the tabletop to maximize support during operation. Attach a T-track system to the fence for enhanced precision, enabling micro-adjustments and adding accessories such as feather boards or stopblocks.
Next, focus on dust collection to clean your work area and improve visibility during use. Install a dust port to the fence that connects to a shop vac or dust collector. This setup will efficiently capture sawdust created while routing, reducing cleanup time and promoting a safer working environment.
Lastly, securely mount the router to the table. Use clamps or bolts to fix the router to the insert plate, ensuring it remains stable during operation. However, leave provisions for easy bit changes by ensuring the router can be quickly removed or adjusted. Properly installing the fence, integrating dust management, and securing the router will prepare your router table for accurate and efficient woodworking tasks.
Adding Storage and Safety Features
Built-in Drawers or Shelves
Integrating built-in drawers or shelves into your router table design can significantly improve organization and efficiency. These storage solutions provide a dedicated space for router bits, wrenches, collets, and other accessories, ensuring that everything you
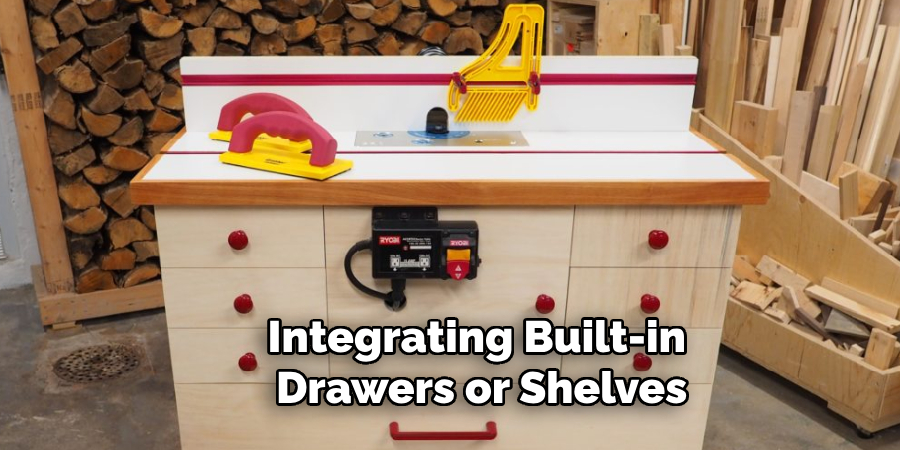
need is within easy reach during your woodworking projects. By keeping your tools organized and accessible, you save time and reduce the clutter in your work area, maintaining a more focused and productive environment.
Switch and Emergency Stop Button
Installing a power switch and an emergency stop button on your router table enhances operational safety and convenience. A strategically placed power switch allows for quick access to turn the router on or off without reaching underneath the table, minimizing risks during operation. Additionally, an emergency stop button provides an extra layer of security, enabling you to cut power immediately in case of an unexpected event and ensuring your safety during demanding tasks.
Safety Features
To further enhance safety, use feather boards and push blocks while routing. Featherboards help hold the workpiece firmly against the fence, ensuring steady and controlled movement, while push blocks provide a safe way to guide material through the router. These features greatly reduce the chance of kickback and protect your hands, making your woodworking experience both safer and more precise.
Common Mistakes to Avoid
Skipping Proper Leveling
One critical mistake many woodworkers make is neglecting to level their router table properly. A flat, stable surface is essential for accurate cuts and maintaining control over your workpiece. Uneven surfaces are likely to result in inconsistent cuts and potential safety hazards. Always take the time to ensure your router table is properly leveled before starting a project.
Using Weak Materials
Another common error is using low-quality or weak materials for your projects. Wood that is prone to splitting, warping, or breaking
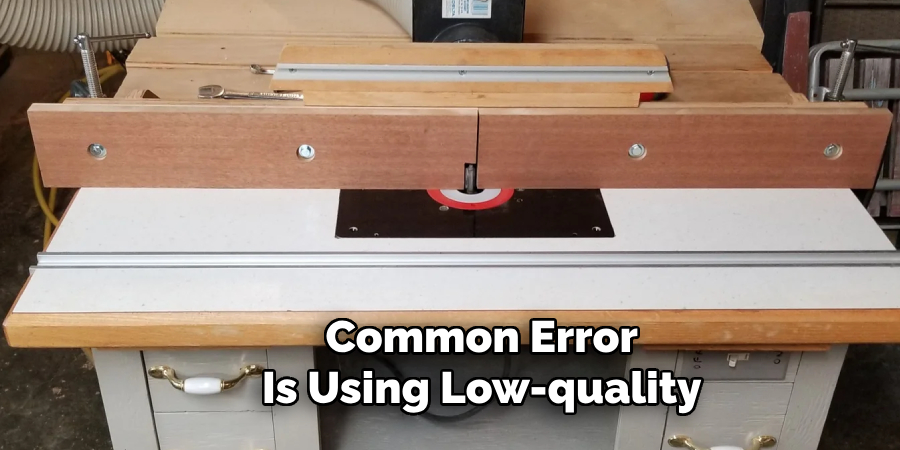
can compromise the durability and appearance of the finished piece. Always select a strong, high-quality wood that fits the specifications of your project to ensure long-lasting results.
Ignoring Dust Collection
Failing to implement proper dust collection can lead to unsafe and unclean working conditions. Sawdust can obscure visibility, pose respiratory risks, and accumulate around tools, increasing the risk of accidents. Proper dust management, such as using a vacuum or dust port, enhances your workshop’s safety, precision, and cleanliness.
Conclusion
Building a functional router table requires attention to detail, quality materials, and proper safety measures. Begin by ensuring a flat, stable surface and selecting high-quality wood to create a durable and reliable table. Implement effective dust collection systems to maintain a clean and safe workspace. Remember, understanding “how to make router table” a tailored tool, can enhance your woodworking experience significantly. Customize your table to meet specific project needs, and periodically check for wear or needed upgrades. With care and thoughtful upgrades, your router table can remain a valuable asset in your workshop for years to come.
About the Author
Adrian Green, a lifelong woodworking enthusiast, shares his passion for the craft through The Woodenify Blog. With a foundation built on years of hands-on experience in his father’s woodworking shop, Adrian is dedicated to helping others learn and grow in the world of DIY woodworking. His approach to woodworking combines creativity, practicality, and a deep appreciation for the art of building with your own hands. Through his blog, he inspires individuals of all skill levels to embark on their own woodworking journeys, creating beautiful, functional pieces of furniture and décor.
Professional Focus
- Specializes in DIY woodworking projects, from furniture to home décor.
- Provides step-by-step guides and practical tutorials for woodworkers of all skill levels.
- Dedicated to helping readers build confidence and skill through easy-to-follow instructions and tips.
- Passionate about fostering a community of makers who can share, learn, and grow together.
Education History
- University of Craft and Design – Bachelor of Fine Arts (BFA) in Woodworking and Furniture Design
- Woodworking Apprenticeships – Extensive hands-on training with skilled craftsmen to refine carpentry and furniture making techniques.
- Online Courses & Masterclasses – Continued education in advanced woodworking techniques, design principles, and specialized tools
Expertise:
- DIY woodworking, carpentry, furniture making, and home décor projects.
- Creating accessible tutorials and guides for beginner to advanced woodworkers.
- Sharing the joys and satisfaction of woodworking, from raw materials to finished products.