A vanity table is both a stylish and functional addition to any bedroom or dressing area. It offers a dedicated space to organize beauty products, jewelry, and other essentials while creating a comfortable area for grooming and self-care. Building your own vanity table allows you to customize it to suit your personal style, space, and storage needs.
This guide on how to make vanity table will walk you through the steps to create a beautiful and practical vanity table, even if you have little to no prior experience with DIY projects.
What is a Vanity Table?
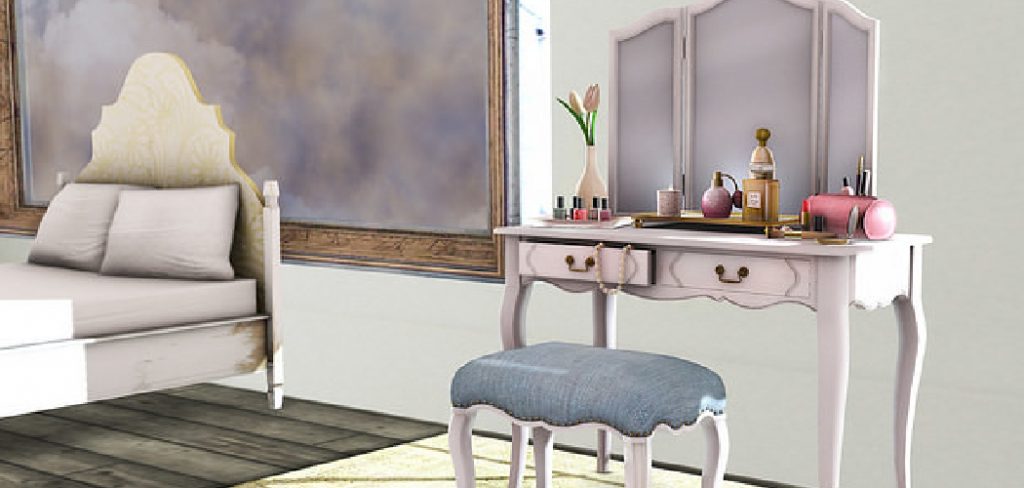
A vanity table, also known as a dressing table or makeup table, is a small desk or table that typically comes with a mirror and storage compartments. It is designed to provide a designated space for beauty routines such as applying makeup, doing hair, and getting dressed.
Vanity tables have been around for centuries, dating back to the 18th century when they were mainly used by upper-class women. Today, they are more accessible and popular among people of all genders and ages.
Materials Needed
Before you start building your vanity table, gather all the necessary materials to ensure a smooth and efficient process. Here’s what you’ll need:
A Sturdy Table or Desk:
The base of your vanity table can be made from a variety of materials such as wood, metal, or plastic. Choose a sturdy and stable table or desk that is at least 3 feet in width to provide enough surface area for all your essentials.
Mirror:
A mirror is an essential component of a vanity table. You can choose to purchase one separately or use an old mirror from a thrift store. If using an old mirror, consider giving it a fresh coat of paint or adding decorative elements such as beads or gems.
Lighting:
Good lighting is crucial when it comes to getting ready, so make sure to include proper lighting in your DIY vanity table. You can opt for built-in lighting or add a lamp to the table for additional brightness.
Storage Options:
To keep your vanity table organized and clutter-free, incorporate storage options such as drawers, shelves, or baskets. You can also repurpose old containers or mason jars for a more eco-friendly approach.
9 Steps on How to Make Vanity Table
Now that you have all the necessary materials, let’s dive into the steps to make your own DIY vanity table.
Step 1: Choose a Location
The first step in creating your DIY vanity table is to select the perfect location for it in your home. Look for a spot that offers enough space to accommodate the table and allows for comfortable movement around it. Ideally, choose an area with good natural lighting, such as near a window, as this will enhance visibility during your beauty routines.
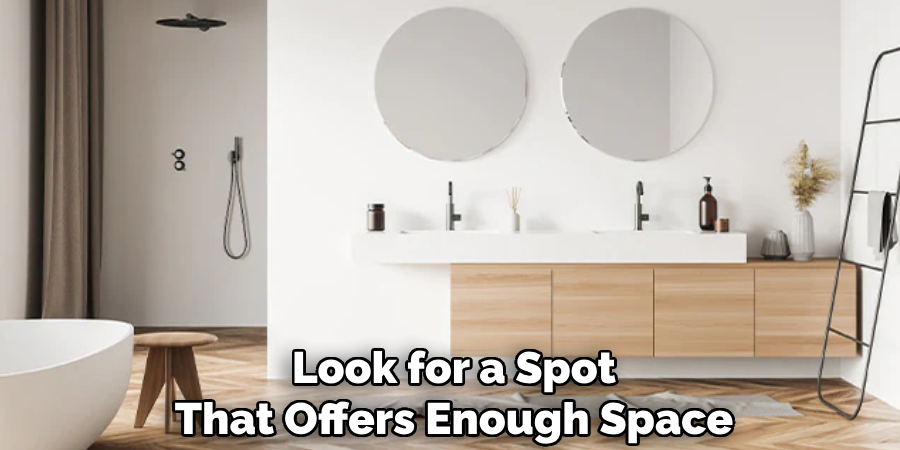
However, if natural light is limited, ensure that the location has access to electrical outlets for adding artificial lighting. Keep in mind the overall layout and functionality of the room to ensure the vanity table doesn’t disrupt the flow of the space.
Step 2: Prepare the Table or Desk
Once you have chosen the perfect location, it’s time to prepare the table or desk that will serve as the base of your vanity. Start by cleaning the surface thoroughly to remove any dust, dirt, or debris. If you are repurposing an old table, consider sanding it down to create a smooth surface, especially if the table has any scratches or imperfections.
Next, apply a fresh coat of paint or wood stain to match your desired aesthetic. Choose colors that complement the overall theme of your room or add a pop of vibrancy to the space. Allow the paint or wood stain to dry completely before moving to the next step. Additionally, check the stability of the table or desk and tighten any loose screws or joints to ensure it is secure and safe to use. This preparation step will give your vanity table a clean and polished foundation for the next stages of the project.
Step 3: Add the Mirror
The mirror is a crucial element of any vanity table, as it allows you to see yourself clearly during your beauty routines. Start by measuring and marking the desired location for the mirror on the table’s surface. Make sure it is centered and at a comfortable height for you to use. You can also add decorative elements around the mirror, such as lighting or frames, to elevate its appearance.
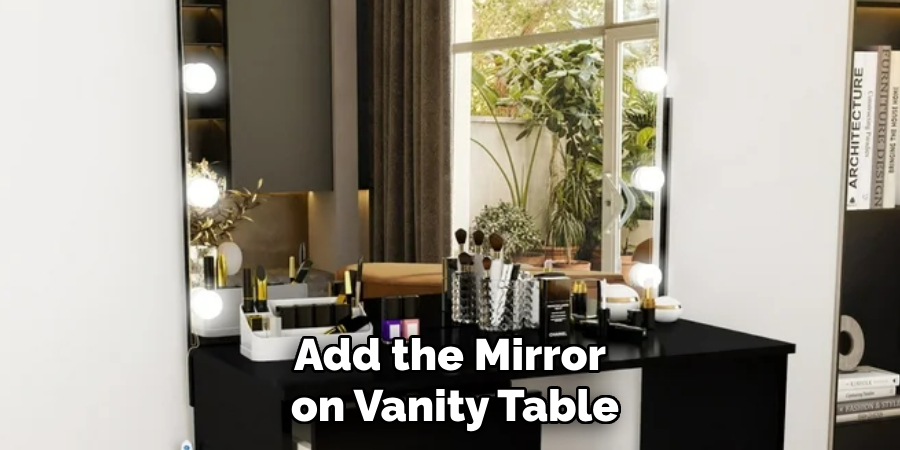
Once you have determined the placement of the mirror, use strong adhesive or screws to attach it securely to the table. If using screws, make sure they are not too long that they penetrate through the other side of the table.
Step 4: Install Lighting
As mentioned earlier, good lighting is essential for your vanity table. If you have opted for built-in lighting, follow the manufacturer’s instructions to install it correctly. For additional lighting, you can add a lamp or string lights around the mirror or on the sides of the table. Ensure that all wiring and electrical connections are safely done by following proper precautions.
You can also consider using LED lights, which provide bright and energy-efficient lighting, making them ideal for vanity tables.
Step 5: Add Storage Options
To keep your vanity table organized and clutter-free, it’s essential to incorporate storage options. You can use drawers, shelves, or baskets of different sizes to store your beauty products, jewelry, hair tools, and other essentials.
If your table does not come with built-in storage, you can add organizers and dividers to the drawers or use adhesive hooks to hang containers on the sides of the table. Get creative and repurpose old items such as mason jars, candle holders, or trays to create unique storage solutions for your vanity table.
Step 6: Personalize and Decorate
This step is where you get to add your personal touch and make your DIY vanity table truly one-of-a-kind. You can decorate it with picture frames, candles, plants, or any other decorative items that reflect your style and personality. You can also change up the decor according to seasons or special occasions for a fresh look.
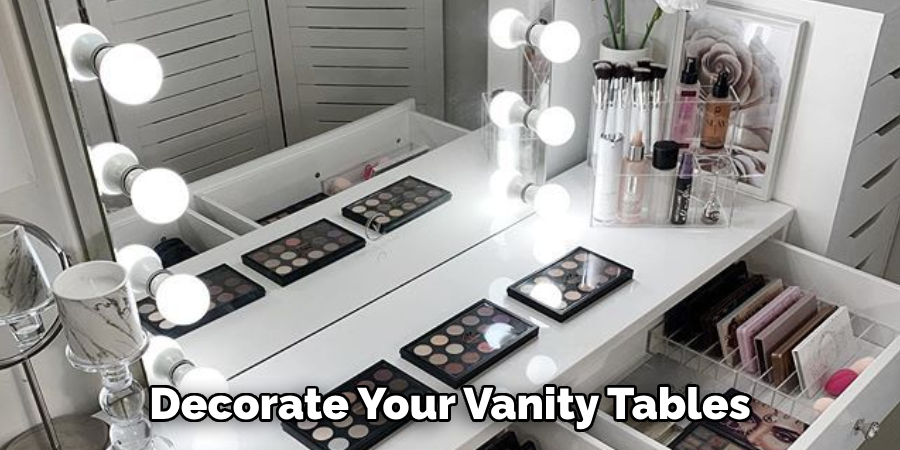
It’s also essential to keep the table surface clutter-free, so only add decor items that do not interfere with your daily routines.
Step 7: Add a Chair or Stool
A comfortable chair or stool is a vital addition to your vanity table setup. Choose a seating option that fits well with the height of the table and provides adequate support for extended use. Look for a chair or stool with a cushioned seat to enhance comfort during your beauty routines.
If space is limited, consider selecting a small, lightweight stool that can be easily stowed away under the table when not in use. You can also customize the seat by reupholstering it with fabric that complements the overall aesthetic of your vanity table. This functional and stylish element will ensure your vanity table is not only practical but also inviting and comfortable to use.
Step 8: Organize Your Beauty Products
Now that your vanity table is complete, it’s time to organize your beauty products. Sort through all your items and declutter by getting rid of any expired or unused products. Group similar items together, such as makeup, skincare, hair care, etc., and store them in the designated storage spaces on your table.

You can also label containers or use drawer dividers to keep everything in its place and easily accessible. Regularly clean and declutter your vanity table to maintain a neat and functional space for your daily routines.
Step 9: Use It!
The most important step in making a DIY vanity table is using it! Incorporate it into your daily routine and enjoy the benefits of having a designated space for your beauty rituals. Experiment with different makeup looks, try new hairstyles or simply take some time to pamper yourself. Your DIY vanity table is more than just a functional piece of furniture; it’s a reflection of your personality and a space for self-care and self-expression.
Following these steps on how to make vanity table and adding your personal touch will result in a beautiful, functional, and customized vanity table that you can be proud of. So gather your supplies, get creative, and enjoy creating the perfect vanity table for all your beauty needs!
Additional Tips and Ideas
- Consider adding a magnifying mirror to make it easier to apply intricate makeup or skincare products.
- If you have limited space, consider using a wall-mounted shelf or floating shelves as a compact alternative to a traditional vanity table.
- Use drawer liners or fabric to add an extra touch of style to your storage options.
- Incorporate a small trash bin or recycling bin into your vanity table setup for easy disposal of used beauty products and packaging.
- Customize the color and finish of your vanity table to match your desired aesthetic. You can use paint, stain, or contact paper to achieve various looks.
- Install a power strip near your vanity table to easily plug in and charge electronic devices such as hair tools or phone chargers.
- Use a desk organizer or makeup bag for on-the-go storage of frequently used beauty products.
Conclusion
Creating your own DIY vanity table is a rewarding experience that combines functionality, creativity, and personal flair. By following these steps on how to make vanity table, you can design a space that caters to your beauty needs while reflecting your unique style. From selecting the right materials and lighting to organizing your products and adding decorative touches, every detail plays a role in making your vanity table special.
Most importantly, this project not only provides a practical solution but also offers the joy of crafting something personalized. Take pride in your creation, use it to enhance your daily routines, and enjoy the convenience and charm of your custom vanity table. With the right tools and materials, a DIY vanity table can be a perfect addition to your bedroom, offering both functionality and style.
How to Make Vanity Table
About the Author
Adrian Green, a lifelong woodworking enthusiast, shares his passion for the craft through The Woodenify Blog. With a foundation built on years of hands-on experience in his father’s woodworking shop, Adrian is dedicated to helping others learn and grow in the world of DIY woodworking. His approach to woodworking combines creativity, practicality, and a deep appreciation for the art of building with your own hands. Through his blog, he inspires individuals of all skill levels to embark on their own woodworking journeys, creating beautiful, functional pieces of furniture and décor.
Professional Focus
- Specializes in DIY woodworking projects, from furniture to home décor.
- Provides step-by-step guides and practical tutorials for woodworkers of all skill levels.
- Dedicated to helping readers build confidence and skill through easy-to-follow instructions and tips.
- Passionate about fostering a community of makers who can share, learn, and grow together.
Education History
- University of Craft and Design – Bachelor of Fine Arts (BFA) in Woodworking and Furniture Design
- Woodworking Apprenticeships – Extensive hands-on training with skilled craftsmen to refine carpentry and furniture making techniques.
- Online Courses & Masterclasses – Continued education in advanced woodworking techniques, design principles, and specialized tools
Expertise:
- DIY woodworking, carpentry, furniture making, and home décor projects.
- Creating accessible tutorials and guides for beginner to advanced woodworkers.
- Sharing the joys and satisfaction of woodworking, from raw materials to finished products.