Are you tired of constantly relying on electricity to heat your home? Do you want to reduce your carbon footprint and become more self-sufficient?
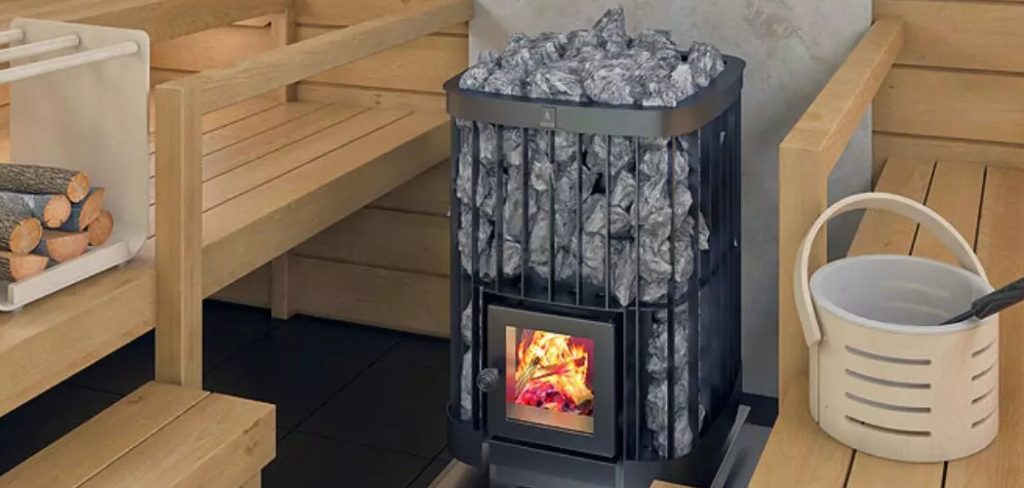
How to make wood burning stove is a practical and rewarding project that can provide an efficient and sustainable source of heat. Whether you’re looking for an off-grid heating solution, a backup heat source, or simply enjoy the charm of crafting your own functional equipment, building a wood-burning stove can be a fulfilling endeavor. This guide will walk you through the essential steps and materials needed to construct a durable and practical stove, ensuring safety and optimal performance.
With some basic tools, a little patience, and creativity with wood burning ideas, you’ll have a working wood burning stove to serve your needs.
What Are the Benefits of Building a Wood-Burning Stove?
Building your own wood burning stove has many benefits, making it a popular choice among DIY enthusiasts and off-grid living enthusiasts. Here are some of the advantages of building your own wood-burning stove:
- Cost-effective: Building your wood-burning stove can save you money compared to buying a pre-made one. You have control over the materials used and can choose more affordable options.
- Customization: By building your stove, you have full control over its design and features. You can customize it to fit your specific needs and preferences.
- Self-sufficiency: For those living off-grid or in remote areas, having a self-built wood-burning stove means not relying on electricity or gas for heating and cooking.
- Eco-friendly: Wood is a renewable and sustainable source of energy, making wood-burning stoves a more environmentally friendly option compared to fossil fuels.
- Heating Efficiency: Wood-burning stoves can provide efficient heat compared to traditional fireplaces. They are designed to burn wood at a higher temperature, resulting in more effective heating for your home.
- Cooking Capabilities: Many DIY wood-burning stove designs include a built-in cooking surface, which can be helpful during power outages or for outdoor cooking.
- Fun Project: Building your own wood-burning stove can be a fun and rewarding DIY project that allows you to learn new
What Will You Need?
To build your own wood-burning stove, you will need the following materials:
- A large metal container or barrel (such as a 55-gallon drum)
- Fire bricks or heat-resistant stones
- Metal pipe for ventilation and chimney
- Metal grates or racks for holding wood
- High-temperature paint
- Tools such as saws, drills, and welding equipment
You may also want to gather some additional materials such as insulation, fireproof caulk, and gaskets to improve the efficiency and safety of your stove.
9 Easy Steps on How to Make Wood Burning Stove
Step 1. Choose Your Container
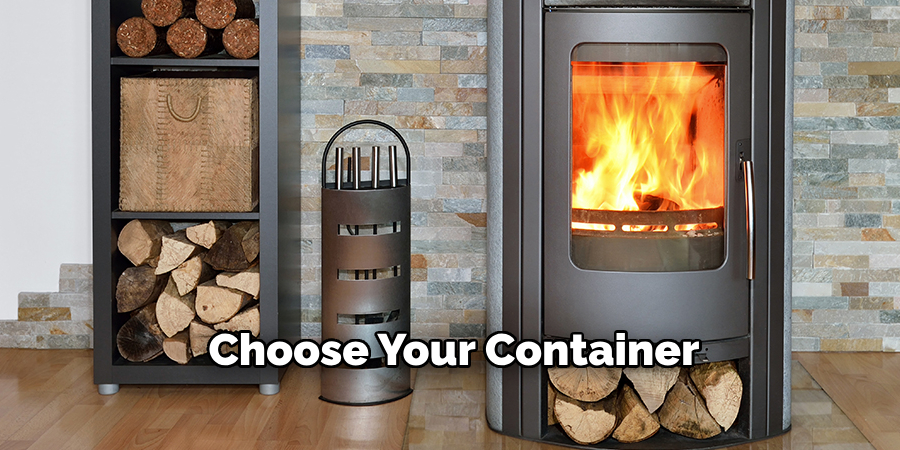
Selecting the right container is crucial for building a functional and efficient wood-burning stove. Opt for a durable, heat-resistant container such as a 55-gallon metal drum or any similar-sized metal barrel. Ensure the container is free from rust, holes, or weak spots that could deteriorate when exposed to high temperatures.
If you’re considering reusing an old drum or metal container, clean it thoroughly beforehand to remove any residues, coatings, or substances that may emit harmful fumes when heated. The size and shape of the container will also influence how much wood the stove can hold and how effectively it radiates heat. Consider your intended use, whether it’s for outdoor heating, cooking, or a workshop, to ensure the container suits your needs.
Step 2. Design the Opening
The opening plays a critical role in the functionality and safety of your DIY wood stove. Start by determining the size and placement of the opening based on the container you are using. The opening will serve as the entry point for adding wood, so it must be large enough to accommodate the fuel while allowing for proper airflow. A well-designed opening also simplifies the cleaning process by providing easy access to remove ash and debris.
Next, consider how to secure the opening. Adding a hinged door with a latch can help control airflow and regulate the burn rate, which improves the stove’s efficiency. When selecting materials for the door, ensure they can withstand high temperatures and prolonged exposure to heat.
Step 3. Create the Ventilation System
Proper ventilation is crucial for the stove’s performance and safety. Begin by identifying the ideal location for the ventilation outlets. Typically, vents should be placed near the top of the stove to allow hot air and gases to escape efficiently, while also ensuring a consistent draw of fresh air through the bottom opening. When designing the vents, consider incorporating adjustable dampers or sliders. These mechanisms give you greater control over the airflow, allowing you to fine-tune the fire’s intensity and optimize fuel use.
Step 4. Install the Metal Grates

Metal grates play a crucial role in ensuring the efficiency and durability of your stove. Start by selecting grates made of high-quality, heat-resistant materials such as cast iron or stainless steel. These materials can withstand intense heat and prolonged use without warping or degrading. When installing the grates, ensure they are the proper size to fit securely within the stove’s frame, leaving enough space for airflow and ash collection. Position the grates above the bottom of the stove to create a clear space for the firewood or fuel to sit. This setup allows oxygen to circulate beneath the fire, encouraging more effective combustion and reducing smoke production.
Step 5. Attach the Chimney
The chimney is a critical component of the stove, as it facilitates the safe and efficient expulsion of smoke and harmful gases produced during combustion. Begin by selecting a chimney pipe made of high-quality, heat-resistant material, such as stainless steel, to ensure durability and longevity. Carefully align the chimney pipe with the stove’s designated exhaust outlet. To create a secure connection, use heat-resistant sealant or gaskets to ensure there are no gaps where smoke could escape.
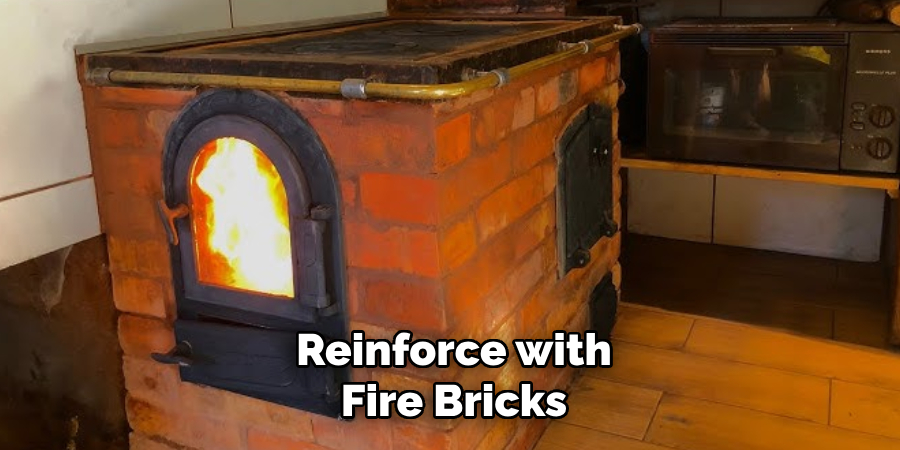
Step 6. Reinforce with Fire Bricks
Fire bricks are an essential component to reinforce the stove’s interior, as they provide superior heat resistance and help to protect the structure of the stove from extreme temperatures. Begin by selecting fire bricks that are specifically designed for use in high-temperature environments. Carefully line the inside of the stove’s combustion chamber with these bricks, ensuring they are placed snugly and evenly. Use a high-temperature adhesive or furnace cement to secure the bricks in place, which will prevent them from shifting during use. Reinforcing with fire bricks not only increases the stove’s durability but also enhances its efficiency by retaining and reflecting heat inside the chamber.
Step 7. Seal with Insulation and Fireproof Materials
To complete this step, begin by selecting appropriate insulation materials designed to withstand high temperatures, such as ceramic fiber insulation or fireproof boards. Measure and cut the insulation to fit snugly around the exterior of the combustion chamber, ensuring there are no gaps that could allow heat to escape. Once the insulation is in place, secure it firmly using brackets, high-temperature adhesives, or fire-resistant fasteners, depending on the design of your stove.
Step 8. Apply High-Temperature Paint
High-temperature paint serves both functional and aesthetic purposes when applied to a stove. It is specifically formulated to endure extreme heat without peeling, cracking, or emitting harmful fumes. Before applying the paint, ensure the surface of the stove is clean, dry, and free from dust, grease, or rust. Use a wire brush or sandpaper to remove any debris or corrosion that could affect adhesion.
Once the surface is prepared, apply the paint in thin, even layers using a brush or spray applicator, allowing each coat to dry completely before adding the next. This not only enhances the stove’s durability but also provides a polished, professional finish that complements your space. Select a paint color that suits your decor, keeping in mind that darker colors tend to better retain and radiate heat.
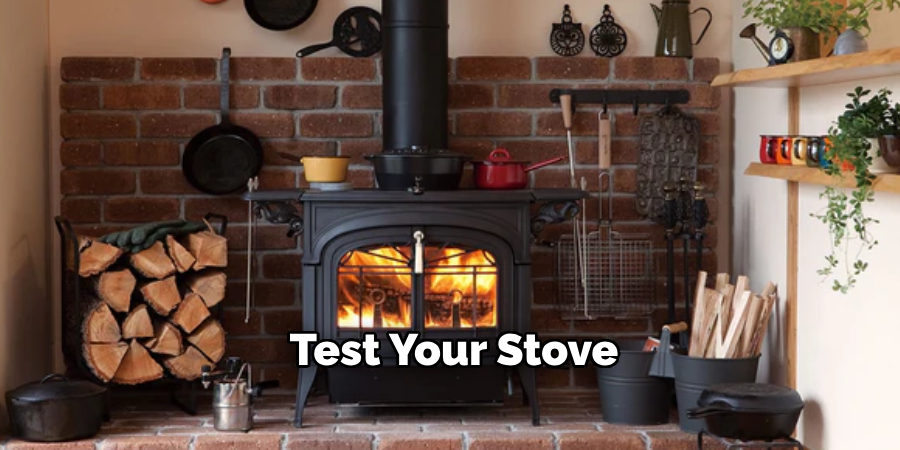
Step 9. Test Your Stove
Once the paint has fully cured and your stove is ready for use, it’s time to test its functionality to ensure safety and efficiency. Begin by starting a small, controlled fire using dry kindling or firewood. Monitor the stove closely as it heats up for the first time, paying attention to any unusual odors or smoke, which may occur as the paint cures under high temperatures. Ensure that all connections, such as the chimney or vent pipes, are properly sealed and free of leaks to promote the safe release of smoke and gases.
By following these steps, you can ensure that your new wood-burning stove is properly installed and ready for use.
Conclusion
How to make wood burning stove requires careful planning, attention to safety, and the right materials to ensure efficiency and reliability.
From selecting the proper design and fire-resistant materials to ensuring proper ventilation and sealing, every step is crucial for a functional and safe stove. Additionally, adherence to local building codes and regulations is essential to guarantee that the stove operates safely and meets legal requirements.
With proper craftsmanship and maintenance, a well-built wood-burning stove can provide a sustainable and cost-effective source of heat for years to come.
About the Author
Adrian Green, a lifelong woodworking enthusiast, shares his passion for the craft through The Woodenify Blog. With a foundation built on years of hands-on experience in his father’s woodworking shop, Adrian is dedicated to helping others learn and grow in the world of DIY woodworking. His approach to woodworking combines creativity, practicality, and a deep appreciation for the art of building with your own hands. Through his blog, he inspires individuals of all skill levels to embark on their own woodworking journeys, creating beautiful, functional pieces of furniture and décor.
Professional Focus
- Specializes in DIY woodworking projects, from furniture to home décor.
- Provides step-by-step guides and practical tutorials for woodworkers of all skill levels.
- Dedicated to helping readers build confidence and skill through easy-to-follow instructions and tips.
- Passionate about fostering a community of makers who can share, learn, and grow together.
Education History
- University of Craft and Design – Bachelor of Fine Arts (BFA) in Woodworking and Furniture Design
- Woodworking Apprenticeships – Extensive hands-on training with skilled craftsmen to refine carpentry and furniture making techniques.
- Online Courses & Masterclasses – Continued education in advanced woodworking techniques, design principles, and specialized tools
Expertise:
- DIY woodworking, carpentry, furniture making, and home décor projects.
- Creating accessible tutorials and guides for beginner to advanced woodworkers.
- Sharing the joys and satisfaction of woodworking, from raw materials to finished products.