Wood flowers, also known as sola wood flowers, are a versatile and eco-friendly alternative to traditional blooms. Crafted from the bark of the tapioca plant or bamboo, these flowers are lightweight, durable, and customizable. Whether you’re looking to create stunning home décor, unique bouquets, or handmade gifts, wood flowers offer endless possibilities for creativity.
In this guide on how to make wood flowers, we’ll walk you through the process of making your own wood flowers, allowing you to add a personal and sustainable touch to any project. DIY wood flowers are a creative and lasting way to add a rustic charm to your home decor, offering a unique alternative to traditional floral arrangements.
Why Make Your Own Wood Flowers?
Crafting your own wood flowers has many benefits. First and foremost, it allows you to have complete control over the design and color of your blooms. Traditional flowers can be limited in terms of size, shape, and color options, but with wood flowers, you can create any type of bloom you desire.
Additionally, by making your own wood flowers, you are reducing your environmental impact. Traditional flowers often require a lot of resources to grow and transport, contributing to carbon emissions and pollution. Wood flowers, on the other hand, are made from sustainable materials that do not harm the environment.
Materials Needed
To make your own wood flowers, you will need:
- Wood Shavings or Chips (Can Be Purchased or Made From Scrap Wood)
- Floral Wire
- Hot Glue Gun and Glue Sticks
- Water-based Dye or Acrylic Paint
- Wire Cutters
- Scissors
7 Step-by-step Guides on How to Make Wood Flowers
Step 1: Prepare your Materials
Begin by gathering all the materials listed. Ensure you have enough wood shavings or chips for the number of flowers you plan to make.
Cut your floral wire to the desired length for the stems, and organize your hot glue gun, glue sticks, dye or paint, wire cutters, and scissors within easy reach. Lay everything out on a clean, flat surface to create an efficient and clutter-free workspace. This preparation will make the crafting process smoother and more enjoyable.
Step 2: Dye or Paint the Wood Shavings
Choose the colors you want for your wooden flowers and prepare your dye or paint accordingly. If using dye, mix it in a bowl or container large enough to soak the wood shavings. For paint, thin it slightly with water if needed to ensure an even application.
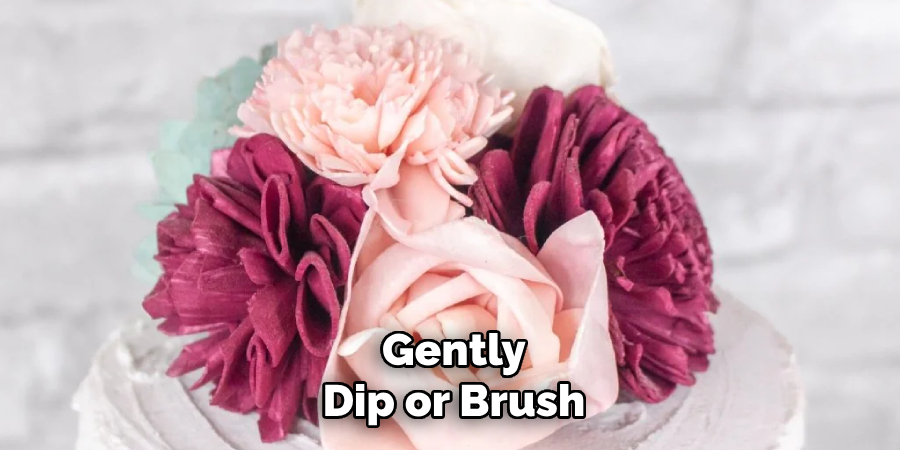
Gently dip or brush the wood shavings with your chosen colors, ensuring full coverage. Lay the dyed or painted shavings on a drying rack or parchment paper to dry completely. This step adds vibrant, life-like hues to your creations and sets the foundation for beautiful, handcrafted flowers.
Step 3: Cut Floral Wire and Prepare Glue Gun
Measure and cut pieces of floral wire to the desired length for your flower stems. The length will depend on how tall you want your flowers to be, but a standard recommendation is around 10 to 12 inches.
Use wire cutters for a clean cut. Once the wires are ready, plug in your glue gun and allow it to heat up. Make sure you have glue sticks on hand so you can work efficiently. This step is crucial for assembling the flowers and ensuring they have a sturdy, elegant structure.
Step 4: Glue Wood Shavings onto Floral Wire
Take small clusters of wood shavings and carefully apply a thin line of hot glue along one end of the shaving. Quickly press the glued section of the wood shaving onto the floral wire, starting at the top of the wire, to form the center of the flower. Hold it in place for a few seconds to ensure it adheres securely.
Continue adding more wood shavings around the top of the wire, layering them slightly to create a full, petal-like appearance. Repeat this process until the desired shape and density for your flower is achieved. Be cautious while handling the glue gun to avoid burns and work methodically for a neat finish.
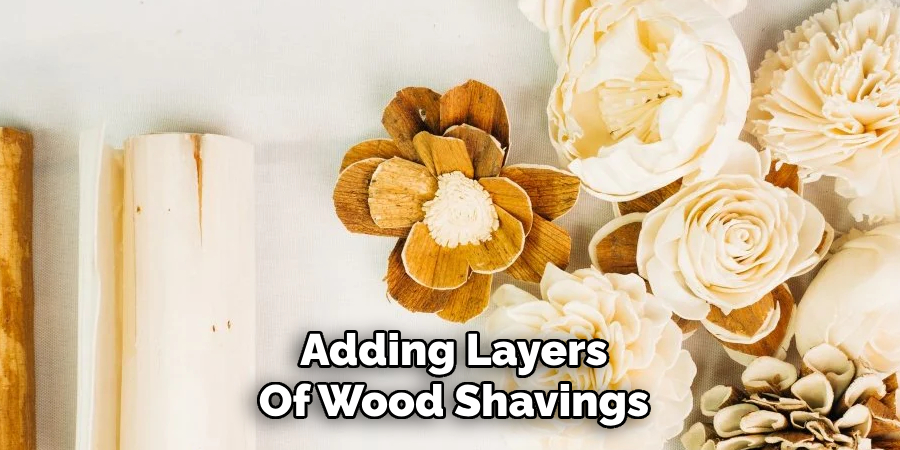
Step 5: Add More Layers
Continue adding layers of wood shavings, gluing them in place as you go. You can vary the size and shape of each layer to create different petal shapes for your flowers. Make sure to leave enough space at the top of the wire to attach leaves later on.
As you add more layers, your flower will start to take shape and look fuller. You can experiment with different colors of wood shavings or even mix in some natural unpainted ones for a more rustic look.
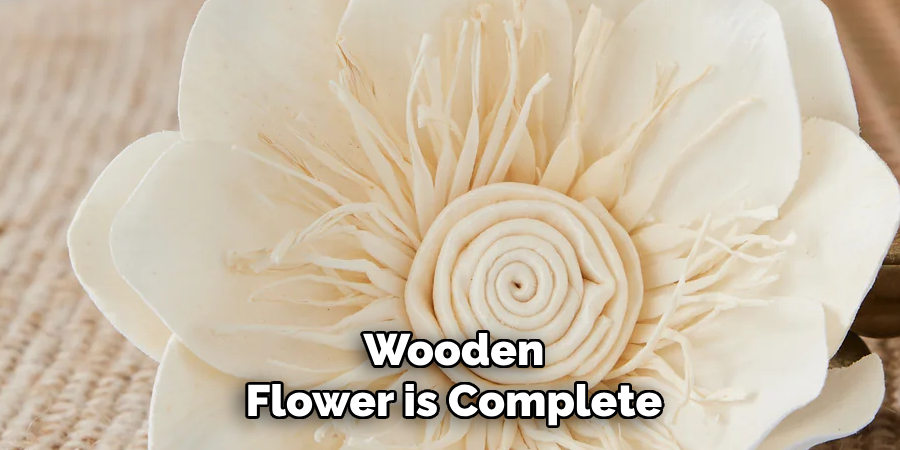
Step 6: Attach Leaves
Once your flower is complete, it’s time to add some leaves. Cut out leaf shapes from green cardstock or construction paper and attach them to the wire stem using hot glue. You can also use real leaves from outside if you’d like.
Place the leaves at the base of the flower, right where it meets the stem. This will help give it a more realistic look and hide any gaps between layers of wood shavings. You can also add smaller leaves along the stem for a fuller and vibrant look.
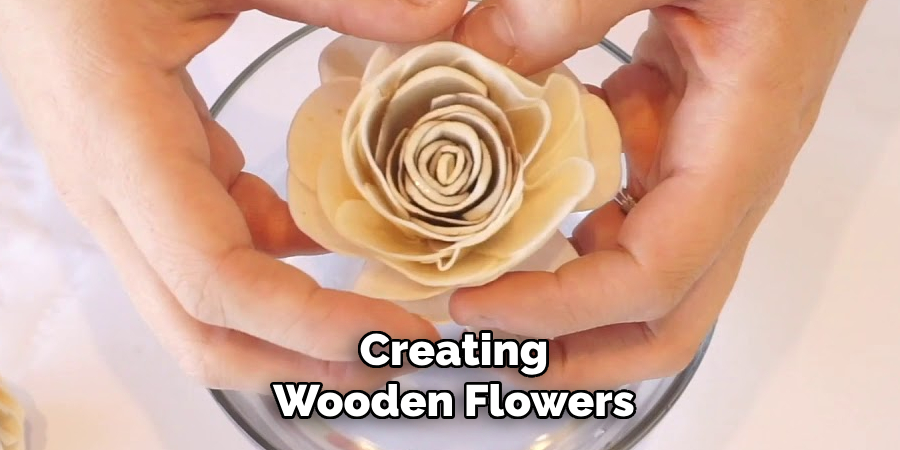
Step 7: Display Your Wooden Flower
Now that your wooden flower is complete, it’s time to display it! You can place it in a vase or jar filled with sand or pebbles for stability. You can also attach a magnet to the back and display it on your fridge or other metal surfaces. Get creative with how you want to showcase your unique wooden flower!
Following these steps on how to make wood flowers, you can create multiple wooden flowers and arrange them in a bouquet for a beautiful centerpiece or gift. You can also experiment with different types of wood and paint colors to create your own unique designs.
Additional Tips and Ideas
- Experiment with different types of wood shavings, such as those from pine, cedar, or even colored paper.
- Add a touch of color by painting the edges of each layer before assembling. This will give your wooden flower a more dynamic and playful look.
- Consider incorporating other materials like twine, ribbon, or beads to add texture and dimension to your flower.
- Use different patterns or shapes for the petals, such as ovals, hearts, or even animal shapes. This will make each flower stand out even more.
- Don’t limit yourself to just flowers! You can use the same technique to create other objects like butterflies, leaves, or even entire trees.
- If you want to make larger flowers, simply use longer sticks or skewers for the stem and cut larger circles for the petals.
- Think outside of traditional bouquets and consider using your wooden flowers as decorations on wreaths, in wall hangings, or as part of a centerpiece.
- Experiment with different finishes for your wooden flowers. You can leave them natural for a rustic look, paint them in bright colors for a pop of fun, or even add glitter or sparkles for a touch of glamour.
- If you have access to a wood-burning tool, you can also add intricate designs and details to your wooden flowers before assembling them.
- Don’t be afraid to mix and match materials! Combine wooden flowers with real flowers, paper flowers, or fabric flowers to create unique and dynamic arrangements. Play around with different textures and colors for a one-of-a-kind look.
Frequently Asked Questions
Q: Can I Use a Burning Tool to Add Designs to My Wooden Flowers?
A: Yes, using a wood-burning tool is a great way to add intricate designs and details to your wooden flowers. It allows for precise and detailed designs, making your flowers even more unique and beautiful.
Q: What Other Materials Can I Combine with Wooden Flowers?
A: You can combine wooden flowers with a variety of materials such as real flowers, paper flowers, or fabric flowers. Mixing and matching materials adds depth and texture to your arrangements, giving them a dynamic and eye-catching look.
Q: How Do I Care for My Wooden Flowers?
A: Wooden flowers are low maintenance and do not require much care. However, it is best to keep them away from direct sunlight to prevent fading. You can also use a soft cloth or feather duster to gently remove any dust buildup on the flowers. If they get dirty, you can lightly wipe them with a damp cloth and let them air dry. Avoid using harsh chemicals or cleaners as they can damage the flowers.
Q: Can I Customize My Wooden Flowers?
A: Yes! One of the great things about wooden flowers is that they are highly customizable. You can choose from a variety of colors, shapes, and sizes to create your own unique arrangements. You can also paint or dye the flowers to match your home decor or add a personal touch. Some shops even offer custom orders, allowing you to design your own bouquet or centerpiece.
Conclusion
Creating wooden flowers is an enjoyable and rewarding craft that allows you to express your creativity and showcase your style. With endless possibilities for customization, you can design arrangements that are truly unique and personal.
Whether you’re crafting wooden flowers for home décor, gifts, or special events, the result is a beautiful and lasting creation that will be cherished for years to come. Unleash your imagination and start crafting today! Thanks for reading this article on how to make wood flowers.
About the Author
Adrian Green, a lifelong woodworking enthusiast, shares his passion for the craft through The Woodenify Blog. With a foundation built on years of hands-on experience in his father’s woodworking shop, Adrian is dedicated to helping others learn and grow in the world of DIY woodworking. His approach to woodworking combines creativity, practicality, and a deep appreciation for the art of building with your own hands. Through his blog, he inspires individuals of all skill levels to embark on their own woodworking journeys, creating beautiful, functional pieces of furniture and décor.
Professional Focus
- Specializes in DIY woodworking projects, from furniture to home décor.
- Provides step-by-step guides and practical tutorials for woodworkers of all skill levels.
- Dedicated to helping readers build confidence and skill through easy-to-follow instructions and tips.
- Passionate about fostering a community of makers who can share, learn, and grow together.
Education History
- University of Craft and Design – Bachelor of Fine Arts (BFA) in Woodworking and Furniture Design
- Woodworking Apprenticeships – Extensive hands-on training with skilled craftsmen to refine carpentry and furniture making techniques.
- Online Courses & Masterclasses – Continued education in advanced woodworking techniques, design principles, and specialized tools
Expertise:
- DIY woodworking, carpentry, furniture making, and home décor projects.
- Creating accessible tutorials and guides for beginner to advanced woodworkers.
- Sharing the joys and satisfaction of woodworking, from raw materials to finished products.