Creating wooden pumpkins is a delightful and versatile craft project that adds rustic charm to seasonal decor. These whimsical decorations can be customized to suit various styles and preferences, making them perfect for fall festivities and home adornment. In this comprehensive guide, we’ll explore the art of making wood pumpkins, offering ten creative methods for how to make wood pumpkins.
From selecting the right wood and tools to carving, painting, and embellishing, we’ll cover everything you need to know to bring these charming pumpkins to life. Whether you’re a seasoned crafter or new to woodworking, making wood pumpkins provides an enjoyable and rewarding way to celebrate the autumn season and infuse your home with cozy, seasonal flair. With a bit of creativity and a few simple techniques, you can create unique and eye-catching wooden pumpkins that will delight friends and family alike.
Popularity and Versatility of Wood Pumpkins
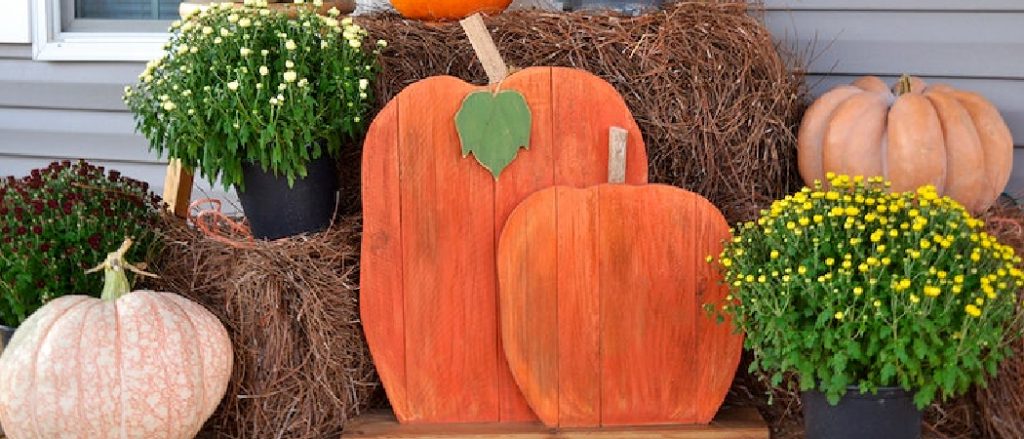
Wood pumpkins have surged in popularity as a favored decorative element for the autumn season. This rise can be attributed to their timeless appeal and the warm, rustic touch they bring to home decorations. Unlike their real counterparts, wooden pumpkins do not perish, making them a sustainable option that can be reused year after year.
Their versatility is another key advantage; wood pumpkins can be styled to complement any decor theme, from traditional to modern minimalist. Crafters can paint, stain, carve, or even leave them in their natural wooden state to match the desired aesthetic. Additionally, wood pumpkins are not just limited to Halloween but also serve as a staple decoration throughout the entire fall season, including Thanksgiving, adding to their appeal and utility.
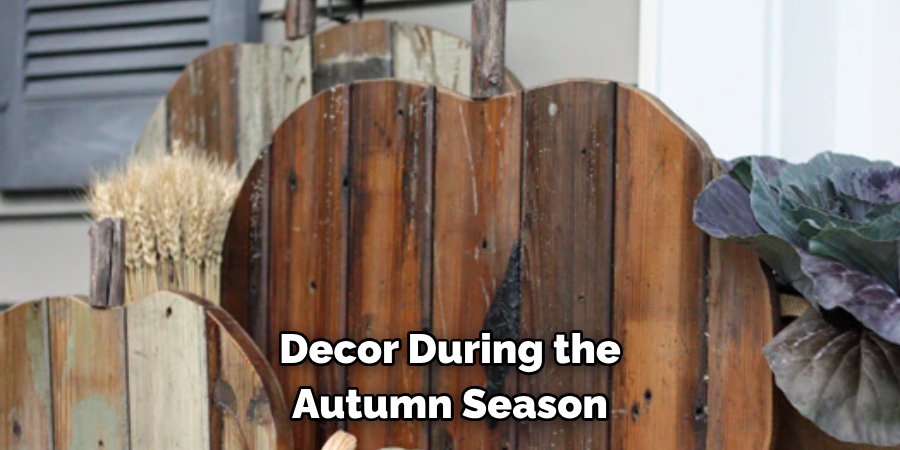
Importance of Handcrafted Decor in Autumn
The significance of handcrafted decor during the autumn season cannot be overstated. It embodies the essence of warmth, creativity, and personal touch that resonates with the coziness of fall. Handmade wooden pumpkins, along with other crafted decorations, enrich our living spaces with a unique charm that mass-produced items simply cannot replicate. Engaging in crafting these decorative pieces also offers a rewarding opportunity for individuals and families to come together, fostering a sense of community and shared achievement.
Beyond their aesthetic appeal, these creations are a testament to the joy of craftsmanship and the value of adding a personal touch to our surroundings. In a world that increasingly values authenticity and sustainable practices, handcrafted decor stands out as a meaningful and eco-friendly choice for celebrating the beauty of autumn.
Characteristics of Wooden Pumpkins
Wooden pumpkins are distinguished by their unique traits and characteristics that make them a favored choice for autumn decorations. Primarily, the natural texture of wood adds a layer of tactile appeal and visual warmth, encapsulating the essence of fall. Each wooden pumpkin is inherently unique due to variations in wood grain, color, and imperfections, thus ensuring that no two pieces are exactly alike.
This individuality enhances their charm and appeal, making them stand out among other seasonal decorations. Additionally, wooden pumpkins are durable and sturdy, capable of withstanding the test of time and the elements, especially if treated or used indoors. Their adaptability in design allows for endless creativity, with options to carve, paint, or enhance them with additional materials, such as metal leaves or raffia bows, further broadening their decorative potential. Whether used as centerpieces, door decorations, or accent pieces, wooden pumpkins add a distinctive and lasting touch to fall decor.

Common Uses of Wooden Pumpkins
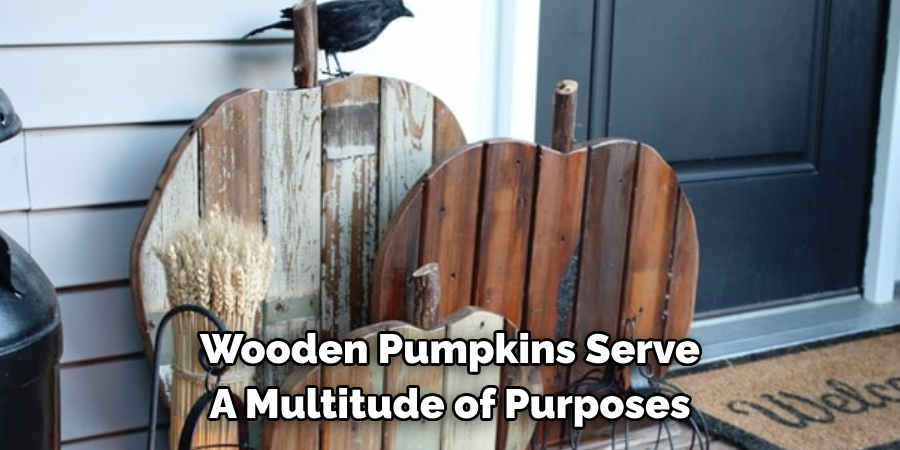
Wooden pumpkins serve a multitude of purposes beyond mere decoration, integrating functionality and aesthetic appeal. Their popularity soars during the fall season, where they find a place in various settings and events. A common use is in home decor, where they can be displayed on mantels, bookshelves, entryway tables, or used as centerpieces during festive dinners. Wooden pumpkins also excel in outdoor decor, adorning porches, garden paths, or patios, offering a welcoming atmosphere.
Apart from personal home decoration, they are prevalent in seasonal events like autumn fairs, Halloween parties, and Thanksgiving gatherings, enriching these occasions with their rustic charm. Additionally, wooden pumpkins make splendid gifts, embodying the heartwarming spirit of the season and the thoughtfulness of handcrafted items. Their versatility extends to educational settings as well, where they can be used as teaching aids for children learning about seasons, holidays, and crafting. Whether for decorative, practical, or educational purposes, wooden pumpkins bring a touch of fall’s magic to every setting.
Benefits of Handcrafting Wooden Pumpkins
Handcrafting wooden pumpkins presents several unique benefits that extend beyond the aesthetic enhancement of autumn decor. Firstly, the process itself is a therapeutic activity that fosters creativity, reduces stress, and provides a sense of accomplishment upon completing a project.
Engaging in the creation of wooden pumpkins allows individuals to express their artistic vision, contributing to an emotional and mental well-being boost. Additionally, crafting these decorative pieces offers a sustainable alternative to purchasing mass-produced decorations, aligning with eco-friendly practices by repurposing wood and reducing waste.
This hands-on approach also affords the opportunity to personalize decor, ensuring that each creation reflects personal style and sentiment, making the decorations much more meaningful. Furthermore, handcrafting wooden pumpkins can be a communal activity, strengthening bonds between family and friends through shared crafting sessions.
Lastly, the skills and techniques learned during the crafting process are valuable, potentially nurturing a lifelong hobby or even paving the way to artisanal entrepreneurship. In essence, the act of creating wooden pumpkins is not only about adding to one’s fall decor but also about enriching one’s life with creativity, sustainability, and personal connection.
Tools and Materials Needed
To begin crafting your own wooden pumpkins, a selection of basic tools and materials is required to ensure a smooth creation process. Essential tools include:
- Saw: A handsaw or jigsaw is necessary for cutting the wood into pumpkin shapes. Safety should be a priority when using any kind of saw.
- Sandpaper: Various grits of sandpaper are needed to smooth the edges and surfaces of the wood, eliminating any sharp or rough areas.
- Drill (optional): For those wishing to add holes for decoration or to create a space for lighting, a drill with various sized bits will be useful.
- Paints and Brushes: Acrylic paints are recommended for their ease of use and durability. Brushes of various sizes will allow for detail work and broad coverage.
- Wood Stain (optional): For a more rustic look, wood stain can be applied to enhance the natural grain of the wood.
- Sealer: Applying a sealer will protect your wooden pumpkins from wear and the elements, especially if they will be displayed outdoors.
Materials needed include
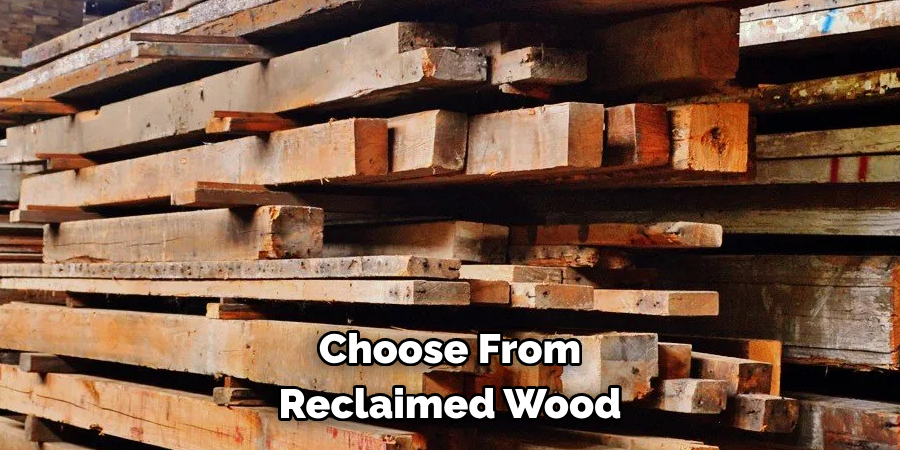
- Wood: Choose from reclaimed wood, pallets, or new lumber based on the desired finish and availability. Consider thickness and size depending on the scale of your project.
- Decorative Elements: Twine, metal leaves, raffia, or any other autumnal embellishments will add a unique touch to your pumpkins.
- Glue: Wood glue or a hot glue gun will be necessary for attaching decorative elements securely.
Gathering these tools and materials in advance will streamline the crafting process, making it an enjoyable and creative endeavor. With everything in hand, you’re ready to start creating your very own handcrafted wooden pumpkins, perfect for enhancing the autumn ambiance of your home or as thoughtful gifts for friends and family.
10 Methods How to Make Wood Pumpkins
1. Selecting the Right Wood:
Begin by selecting the appropriate wood for your wooden pumpkins. Softwoods like pine or cedar are easy to carve and work with, while hardwoods like oak or maple provide durability and a polished finish. Choose wood that is free of knots, cracks, or imperfections to ensure a smooth carving surface. Remember, the quality of your wood will directly impact the final appearance and longevity of your wooden pumpkin.
2. Preparing the Wood:
Once you’ve selected your wood, prepare it for carving by cutting it into blocks or pieces of the desired size and shape for your pumpkins. Use a saw or woodcutting tools to create uniform pieces that will serve as the base for your wooden pumpkins. Make sure to smooth out any rough edges or splinters with sandpaper before beginning your carving process.
Next, sketch out a design on the wood using a pencil or marker. You can use templates or create your own unique design. This will help guide your carving and ensure that you don’t accidentally remove too much wood in the wrong places.
3. Designing Your Pumpkins:
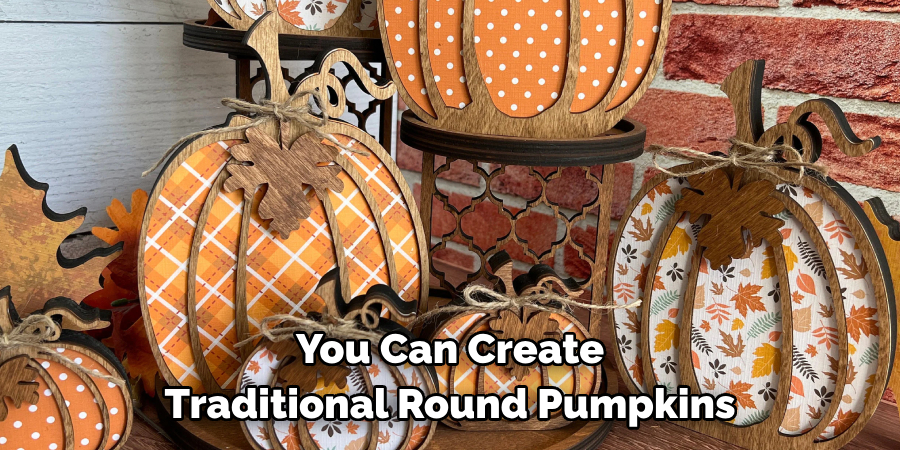
Before you begin carving, sketch out your pumpkin designs on the wood blocks. You can create traditional round pumpkins or experiment with different shapes and sizes for a unique look. Consider adding details like ridges, stems, and leaves to enhance the realism of your wooden pumpkins. Once you have your designs sketched out, it’s time to start carving. However, before you start carving, here are some additional tips to take your pumpkin designs to the next level.
4. Carving the Pumpkins:
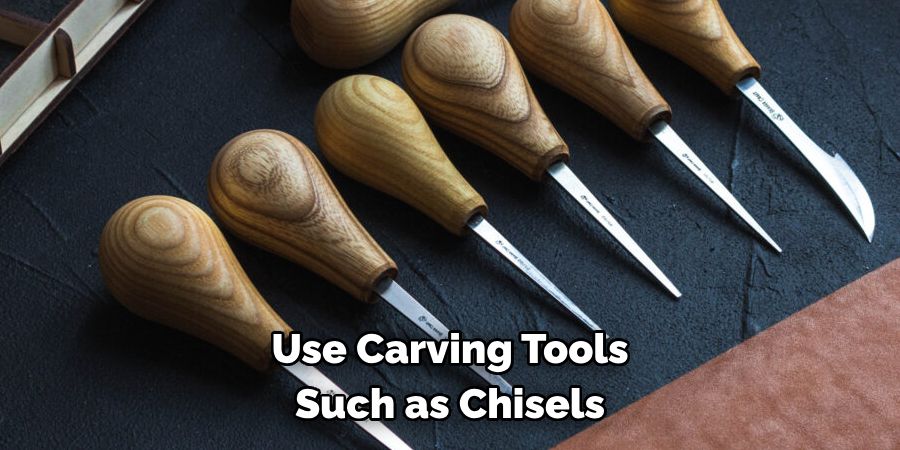
Use carving tools such as chisels, gouges, or woodcarving knives to carve the pumpkin shapes into your wood blocks. Start by roughing out the basic shape of the pumpkin, then gradually carve away material to create depth and texture. Take your time and work carefully to achieve smooth, clean lines and realistic-looking pumpkins. You can also use smaller carving tools to add finer details such as grooves, ridges, and facial features like eyes, noses, and mouths.
Once you have finished carving your pumpkins, use a wood sandpaper or file to smooth the edges of your carvings. This will help give them a more polished look and prevent any rough or jagged edges that could potentially cause splinters.
After sanding, you can also choose to add color to your pumpkins using wood stains or acrylic paints. This will give your pumpkins a more vibrant and realistic appearance. You can mix different colors together to create unique shades for your pumpkins, or even use a dry brush technique to add highlights and shadows.
5. Adding Texture and Detail:
Once you’ve carved the basic shape of your pumpkins, add texture and detail to enhance their appearance. Use carving tools to create ridges and indentations that mimic the texture of a real pumpkin’s skin. You can also carve out eyes, noses, and mouths for jack-o’-lantern-style pumpkins, or add decorative patterns and designs for a more whimsical look. Though traditional carving tools work well for these tasks, you can also use household objects like toothpicks, spoons, and forks to create unique textures.
To add even more detail, consider incorporating other materials into your pumpkin designs. For example, you can use different colored paints or markers to draw intricate designs on the surface of your pumpkins. You can also glue on small craft objects like googly eyes, beads, or sequins to create a fun and playful effect. For a more sophisticated look, try using lace or fabric to wrap around your pumpkin and add a touch of elegance.
Additionally, you can experiment with lighting to further enhance the texture and detail of your pumpkins. Placing a small LED light inside each pumpkin will add an eerie glow to your designs and make them stand out even more. You can also use different colored lights or place candles inside for a traditional flickering effect.
6. Sanding and Smoothing:
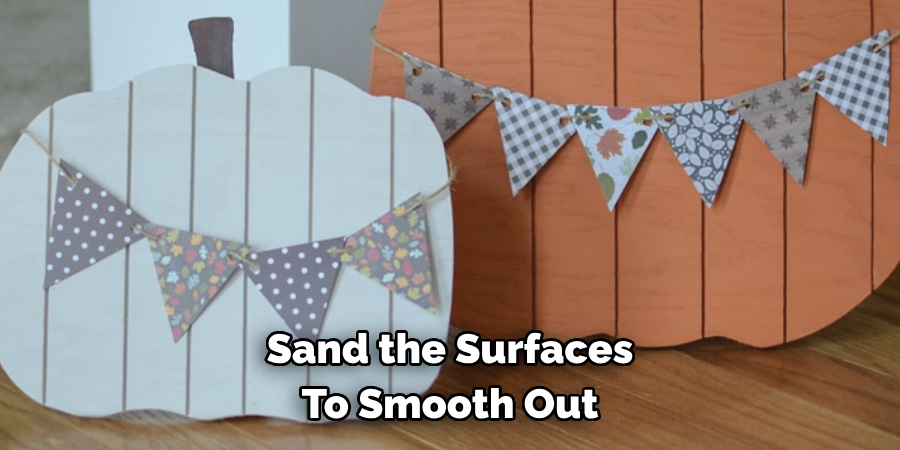
After carving and detailing your wooden pumpkins, sand the surfaces to smooth out any rough edges or uneven areas. Start with coarse-grit sandpaper to remove any large imperfections, then progressively move to finer-grit sandpaper for a smooth finish. Pay attention to detail and take your time to achieve a polished appearance. Once you are satisfied with the smoothness, wipe off any remaining dust or debris with a damp cloth and let it dry completely.
Next, consider adding some texture to your wooden pumpkins by using different tools such as a dremel tool or wood burning tool. These can create intricate patterns and designs on the surface of the pumpkin, adding dimension and interest to your creation.
7. Painting or Staining:
Once your wooden pumpkins are carved and sanded, you can paint or stain them to add color and personality. Use acrylic paints or wood stains in autumnal hues like orange, yellow, and brown to create a realistic pumpkin look. Alternatively, you can get creative with bright colors and patterns for a more whimsical aesthetic.
8. Adding Stems and Leaves:
To complete the look of your wooden pumpkins, add stems and leaves using additional pieces of wood or other materials.
You can carve stems from small branches or dowels and attach them to the top of each pumpkin using wood glue or nails. For leaves, cut out shapes from green felt or fabric and glue them to the stems. You can also use real leaves from your backyard or fake ones from a craft store. Get creative and add different sizes and shapes of stems and leaves to each pumpkin for a more realistic look.
To add additional texture and dimension, you can also paint the stems and leaves with different shades of brown and green to mimic the colors found in nature. Use a dry brushing technique to lightly layer on the paint and create a more natural look.
Another option is to wrap twine or ribbon around the stems for a rustic touch. You can also add small details like knots or bows to make each pumpkin unique.
9. Embellishing with Accessories:
Get creative with embellishments to personalize your wooden pumpkins further. Add decorative accents like ribbons, twine, or fabric bows around the stems for a festive touch. You can also use craft supplies like googly eyes, buttons, or sequins to add whimsy and character to your pumpkins.
10. Displaying Your Creations:
Once your wooden pumpkins are complete, find the perfect spot to display them in your home or outdoor space. Arrange them on a mantel, tabletop, or porch steps to create a charming autumnal vignette. Mix and match different sizes, shapes, and colors for visual interest, and enjoy the cozy ambiance they bring to your seasonal decor. You can also use them as a centerpiece for your fall dinners or Thanksgiving feast.
Another great way to display your wooden pumpkins is by incorporating them into a wreath or garland. You can attach them with wire or hot glue, along with some fall foliage and other seasonal accents, to create a unique and festive decoration for your front door or fireplace mantel.
Conclusion
In conclusion, crafting wood pumpkins offers a delightful way to add rustic charm and seasonal flair to your home decor. By following the outlined steps and tapping into your creativity, you can create unique and personalized wood pumpkins that enhance any space.
From selecting the right wood and tools to designing and assembling the pumpkins, each step is an opportunity to infuse your own style and artistic touch. Adding decorative details such as painting, carving, or embellishments further elevate the charm of these wooden creations.
Whether displayed indoors or outdoors, wood pumpkins bring warmth and character to any setting, making them a beloved addition to seasonal decorations. Follow these simple instructions outlined in this blog post about how to make wood pumpkins, and you’ll be able to get the job done with ease.
About the Author
Adrian Green, a lifelong woodworking enthusiast, shares his passion for the craft through The Woodenify Blog. With a foundation built on years of hands-on experience in his father’s woodworking shop, Adrian is dedicated to helping others learn and grow in the world of DIY woodworking. His approach to woodworking combines creativity, practicality, and a deep appreciation for the art of building with your own hands. Through his blog, he inspires individuals of all skill levels to embark on their own woodworking journeys, creating beautiful, functional pieces of furniture and décor.
Professional Focus
- Specializes in DIY woodworking projects, from furniture to home décor.
- Provides step-by-step guides and practical tutorials for woodworkers of all skill levels.
- Dedicated to helping readers build confidence and skill through easy-to-follow instructions and tips.
- Passionate about fostering a community of makers who can share, learn, and grow together.
Education History
- University of Craft and Design – Bachelor of Fine Arts (BFA) in Woodworking and Furniture Design
- Woodworking Apprenticeships – Extensive hands-on training with skilled craftsmen to refine carpentry and furniture making techniques.
- Online Courses & Masterclasses – Continued education in advanced woodworking techniques, design principles, and specialized tools
Expertise:
- DIY woodworking, carpentry, furniture making, and home décor projects.
- Creating accessible tutorials and guides for beginner to advanced woodworkers.
- Sharing the joys and satisfaction of woodworking, from raw materials to finished products.