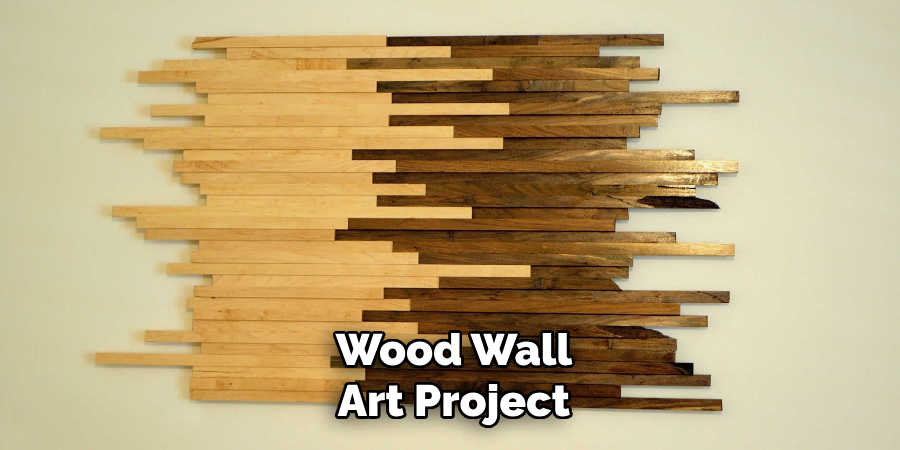
Are you looking for a unique and creative way to design wooden art wall decor? Consider making your wood wall art! It is a fun and fulfilling DIY project and adds a touch of personality and charm to any room.
How to make wood wall art is a fulfilling and creative way to add a personalized touch to your home décor. Whether you’re looking to design a rustic centerpiece or a modern geometric installation, the possibilities for wood wall art are endless. This craft allows you to experiment with different types of wood, stains, paints, and patterns, creating a piece that reflects your unique style.
With just a few tools, materials, and imagination, you can transform simple wood into stunning artwork that enhances any space.
What Are the Benefits of Making Wood Wall Art?
Apart from having a one-of-a-kind piece that can’t be found in stores, there are numerous other benefits to making wood wall art. Here are just a few:
- Cost-effective: Buying decorative items for your home can quickly add up. Making your wood wall art is a budget-friendly alternative and often costs less than buying a pre-made piece.
- Customizable: When making your wood wall art, you have complete control over the design, size, and color scheme. This allows you to create something that perfectly fits your style and space.
- Personal Touch: Whether incorporating meaningful quotes or using old furniture or pallets, making your wood wall art allows you to add a personal touch to your home decor.
- Eco-friendly: By repurposing or upcycling wood, you’re creating something beautiful, reducing waste, and helping the environment.
What Will You Need?
Before you begin your wood wall art project, gathering all the necessary materials and tools is important. Here are some essential items you’ll need:
- Wood: This is the key component of your artwork. You can use any type of wood, such as pine, cedar, or reclaimed wood.
- Saw: You’ll need a saw to cut the wood into the desired shape and size.
- Sandpaper: Sanding is important in creating smooth edges and surfaces for your wood wall art.
- Paints/Stains: Depending on your chosen design, you may need paints or stains to add color to your piece.
- Brushes/Rags: These are essential for applying paints or stains to your wood.
- Hammer/Nails: If you plan on creating a collage or using multiple pieces of wood, you’ll need these tools to secure them together.
- Hanging Hardware: Once your wood wall art is complete, you’ll want to hang it up. Make sure to have the necessary hardware, such as hooks or sawtooth hangers.
Once you have all the tools and materials, it’s time to start creating your wood wall art!
8 Easy Steps on How to Make Wood Wall Art
Step 1. Plan Your Design
Before starting, take some time to plan your design carefully. Consider the purpose and look you’re aiming for, whether it’s a minimalist, rustic, or abstract piece. Sketch your design on paper to visualize the final product and take measurements to
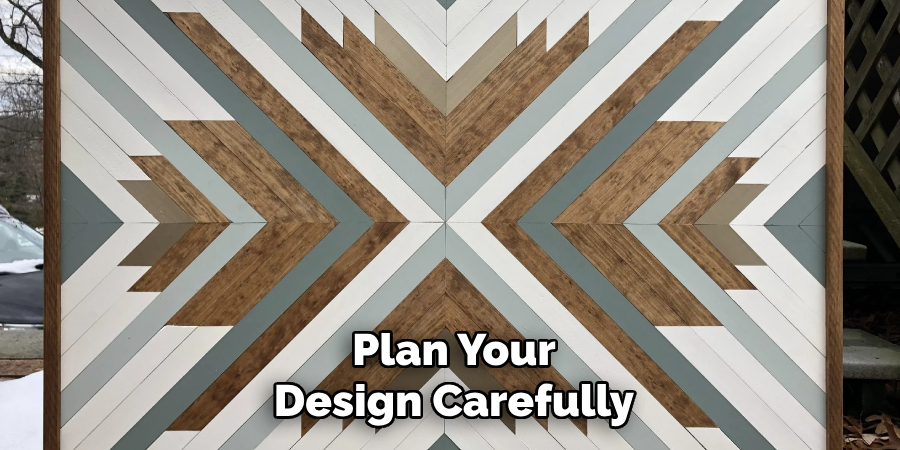
determine the size of your wall art. Consider the colors, patterns, and textures you want to incorporate, as well as the layout if you combine multiple pieces of wood. This step is crucial as it sets the foundation for the entire project, helping ensure that your tools and materials align with your vision. A well-thought-out plan will also save you from making unnecessary adjustments later on.
Step 2. Gather Your Materials and Tools
Once you have a clear plan, gather all the materials and tools for the project. The materials may include wood pieces, paint or stain, sandpaper, wood glue, nails, or screws, depending on your design. For tools, you’ll likely need a saw, a hammer or nail gun, a measuring tape, a level, and possibly a sander or drill. Having all your supplies ready at the start ensures you can work efficiently without interruptions. Double-check that your materials are in good condition and your tools function correctly to avoid delays. Being prepared at this stage will make the crafting process much smoother.
Step 3. Prepare Your Workspace
Before you begin assembling your project, setting up a clean and organized workspace is essential. Choose a well-lit area with enough room to move around and easily access your materials and tools. Cover your work surface with a protective layer, such as a drop cloth or old newspaper, to prevent damage or stains. Ensure your workspace is safe by securing loose cords and storing sharp tools properly when not in use. A well-prepared workspace enhances efficiency and promotes safety throughout the crafting process.
Step 4. Measure and Cut Your Materials
Accurate measurements are crucial to ensuring your project comes together smoothly. Use a measuring tape or ruler to measure your materials carefully, marking the dimensions with a pencil or chalk. Double-check your measurements before cutting to avoid

errors that could waste materials or compromise your project. Depending on the type of material, use the appropriate cutting tool—scissors for fabric, a saw for wood, or a utility knife for softer materials. Take your time during this step, as precision here will save you from potential difficulties later in the process. Always wear protective gear, like gloves or safety goggles, to keep cutting safe.
Step 5. Assemble Your Project
With your materials accurately measured and cut, it’s time to start assembling your project. Refer to your plans or instructions to ensure everything aligns correctly. Use adhesives, screws, nails, or other binding tools as needed to join the materials. Work systematically, starting with the foundational pieces before moving on to smaller components. Check your progress frequently to ensure stability and accuracy, making adjustments as necessary. Patience is key during assembly, as rushing can lead to mistakes. Keeping your workspace organized and focused will help you achieve the best results.
Step 6. Finishing Touches
Once the assembly is complete, it’s time to add the finishing touches to your project. Sand any rough edges to create a smooth surface and apply paint, stain, or sealant to enhance the appearance and durability. Double-check that all components are securely fastened and appropriately aligned. This step is your chance to refine the details, ensuring that the final product meets your expectations. Take pride in your work, and don’t hesitate to make minor adjustments for a professional look. After everything is complete, clean your workspace and enjoy a job well done!
Step 7. Maintenance and Care
Regular maintenance and proper care are essential to ensure your project’s longevity. Inspect the components periodically for any signs of wear or damage and address these issues promptly to prevent further deterioration. Keep surfaces clean by wiping away dirt or debris and reapply protective finishes like sealant or paint as needed to preserve durability and appearance. Storing your project in a safe, dry location can also help protect it from environmental factors.
Step 8. Troubleshooting Common Issues
Even with careful planning and execution, issues may occasionally arise. If you notice misaligned components, gently loosen and re-adjust them to ensure proper alignment. For loose attachments, tighten screws or bolts as needed, but be careful not to overtighten, which could cause damage. If surface finishes show signs of bubbling, peeling, or discoloration, clean the affected area thoroughly and reapply the finish following the manufacturer’s instructions. Addressing problems promptly helps maintain the quality and function of your project, ensuring lasting performance.

By following these steps and incorporating your creativity and personal touch, you can create unique and beautiful wall art from wood.
5 Things You Should Avoid
- Using Wet or Improperly Dried Wood: Moisture in wood can cause warping, cracking, or even mold over time. Always ensure the wood is properly dried and treated before starting your project.
- Ignoring Safety Precautions: Failing to use safety equipment like goggles, gloves, and a mask can result in accidents or exposure to harmful dust and chemicals. Prioritize your safety!
- Skipping Surface Preparation: Painting or staining without sanding the wood can result in an uneven finish. Always sand and clean the surface thoroughly to ensure the best outcome.
- Using Low-Quality Tools or Materials: Poor-quality tools or paints can produce unsatisfactory results. Invest in good-quality materials to achieve a professional and durable piece.
- Overcomplicating the Design: Trying overly intricate designs without the necessary skills or tools can lead to frustration and mistakes. Start with simple designs and progress as your ability improves.
By avoiding these common mistakes and following the steps outlined in this guide, you can confidently create beautiful and unique wood wall art to enhance your home decor.
Conclusion
How to make wood wall art can be a rewarding and creative process when approached with careful planning and attention to detail.
You can ensure a high-quality result by avoiding common mistakes such as using improperly dried wood, neglecting safety measures, or skipping surface preparation. Start with a clear design plan, use reliable tools and materials, and take your time to hone your skills. Remember, simplicity often leads to elegance, so focus on executing your vision precisely and carefully.
With patience and practice, you can produce beautiful, unique wood wall art pieces to enhance any space.
About the Author
Adrian Green, a lifelong woodworking enthusiast, shares his passion for the craft through The Woodenify Blog. With a foundation built on years of hands-on experience in his father’s woodworking shop, Adrian is dedicated to helping others learn and grow in the world of DIY woodworking. His approach to woodworking combines creativity, practicality, and a deep appreciation for the art of building with your own hands. Through his blog, he inspires individuals of all skill levels to embark on their own woodworking journeys, creating beautiful, functional pieces of furniture and décor.
Professional Focus
- Specializes in DIY woodworking projects, from furniture to home décor.
- Provides step-by-step guides and practical tutorials for woodworkers of all skill levels.
- Dedicated to helping readers build confidence and skill through easy-to-follow instructions and tips.
- Passionate about fostering a community of makers who can share, learn, and grow together.
Education History
- University of Craft and Design – Bachelor of Fine Arts (BFA) in Woodworking and Furniture Design
- Woodworking Apprenticeships – Extensive hands-on training with skilled craftsmen to refine carpentry and furniture making techniques.
- Online Courses & Masterclasses – Continued education in advanced woodworking techniques, design principles, and specialized tools
Expertise:
- DIY woodworking, carpentry, furniture making, and home décor projects.
- Creating accessible tutorials and guides for beginner to advanced woodworkers.
- Sharing the joys and satisfaction of woodworking, from raw materials to finished products.