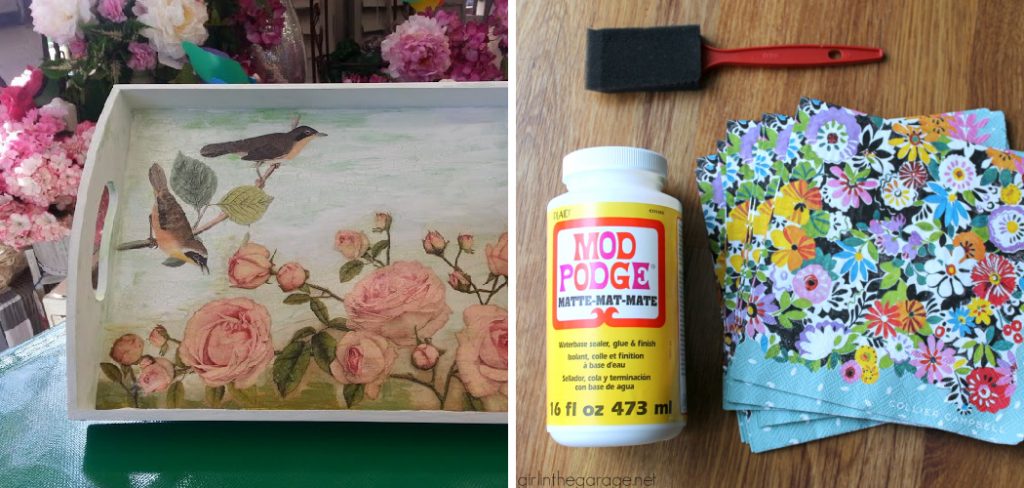
Mod Podge is a versatile crafting medium that serves as a glue and a sealer, making it an essential tool for artists and DIY enthusiasts. Whether you’re creating unique home decor items, personalizing gifts, or indulging in fun crafting sessions, Mod Podge can elevate your projects.
One popular application is using decorative napkins to adorn wooden surfaces, which can transform plain wood into stunning artistic pieces. This article aims to provide a comprehensive step-by-step guide on how to Mod Podge napkins on wood, ensuring that you can successfully achieve beautiful results.
From preparing your materials to applying those final touches, you will learn the techniques needed to master this delightful crafting method. Let your creativity flourish as you explore the endless possibilities of Mod Podging with napkins!
Materials and Tools Needed
Essential Materials
To complete your Mod Podge project, gather the following essential materials: a wooden surface that you wish to decorate, Mod Podge (either matte or glossy depending on your preference), decorative napkins featuring your desired designs, a foam brush or paintbrush for application, and a pair of scissors for trimming.
Optional materials that can enhance your project include sandpaper for smoothing the wood surface, an acrylic sealer for added durability, and paint for a base coat to complement your napkins.
Tools and Workspace Preparation
In addition to the essential materials, you will need some tools to facilitate your crafting process. A foam brush or paintbrush is necessary for applying Mod Podge, while scissors and a craft knife will assist in cutting your napkins to size. It’s also crucial to prepare your workspace to avoid mess.
Protect your area by laying down newspapers or a plastic sheet to catch any spills or drips, ensuring a tidy and enjoyable crafting experience. This preparation will allow you to focus on your creative process without distractions.
Preparing the Wooden Surface
A well-prepared wooden surface is crucial for achieving a flawless Mod Podge application. The first step in this process is sanding the wood, which helps create a smooth finish that allows the napkin to adhere better while preventing any imperfections from affecting the final look of your project.
Sanding the Wood
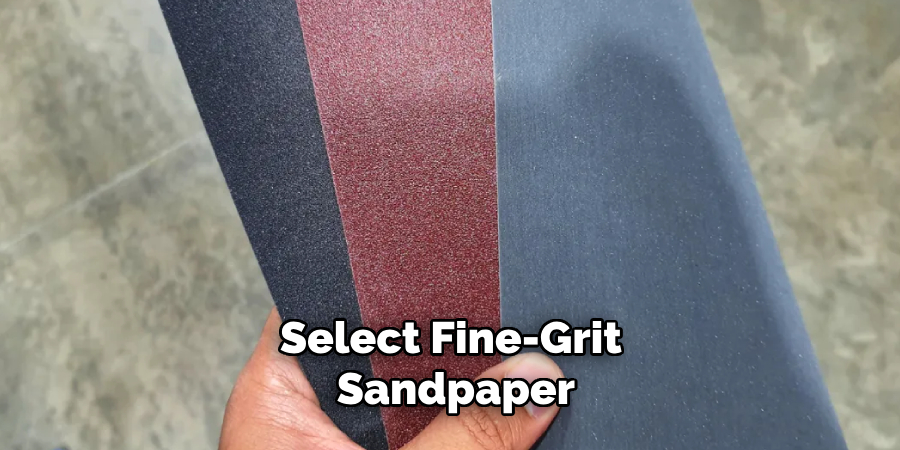
Select fine-grit sandpaper (220-grit is recommended) and ensure the wood is clean and dry. Gently sand the surface in the direction of the grain to avoid creating scratches. Be sure to cover all areas, paying extra attention to any rough spots or edges. After sanding, use a slightly coarser grit (like 120-grit) for any stubborn areas. Once satisfied with the smoothness, remove the dust by wiping it down with a tack or soft, dry cloth.
Cleaning the Surface
After sanding, it’s essential to clean the surface thoroughly. Use a damp cloth to wipe away any dust and debris accumulated during sanding. Be sure to let the wood dry completely before proceeding to the next steps, as moisture can affect adhesion.
Optional: Painting the Wood
For a more vibrant and personalized look, consider adding a base coat of paint before applying the napkins. Choose colors that complement the napkin designs to create a cohesive aesthetic.
When painting, allow sufficient drying time, ideally 1-2 hours or as recommended by the paint manufacturer, to ensure the surface is ready for Mod Podge application. This extra layer enhances the overall design and acts as an additional protective barrier for the wood beneath, providing durability to your finished project.
How to Mod Podge Napkins on Wood: Preparing the Napkins
Proper preparation of your napkins is essential for a successful Mod Podge project. This involves selecting the right napkin, carefully separating its layers, and cutting the designs to fit your wooden surface.
Choosing the Right Napkin

When selecting napkins, consider designs that complement your overall project theme and color scheme. Look for patterns that resonate with your artistic vision and ensure the napkin size is appropriate for the wooden surface you are decorating. Additionally, think about the placement of the designs on the wood; visualize how they will look and fit together to achieve a harmonious final result.
Separating Napkin Layers
Most decorative napkins have multiple layers—typically two or three—with the top layer containing the printed design. To achieve the best results in your decoupage project, carefully separate the printed layer from the plain layers beneath. Gently peel apart the layers, discarding the plain tissue layers while retaining only the top layer featuring your desired design. This step is crucial, as using only the printed layer ensures a smoother application with clearer visuals.
Cutting and Arranging the Napkin
Once you have the top layer ready, cut out specific designs or shapes from the napkin using sharp scissors. After cutting, arrange the pieces on the wood to plan your final design. This allows you to visualise the overall composition before adhering the napkin with Mod Podge, ensuring everything aligns perfectly.
How to Mod Podge Napkins on Wood: Applying Mod Podge
Applying Mod Podge is the key step in achieving a beautiful finish for your project. This versatile medium not only acts as an adhesive but also provides a protective seal over your design. Here’s a detailed process to ensure the best results when applying Mod Podge to your wooden surface and napkins.
01.Applying the First Layer of Mod Podge
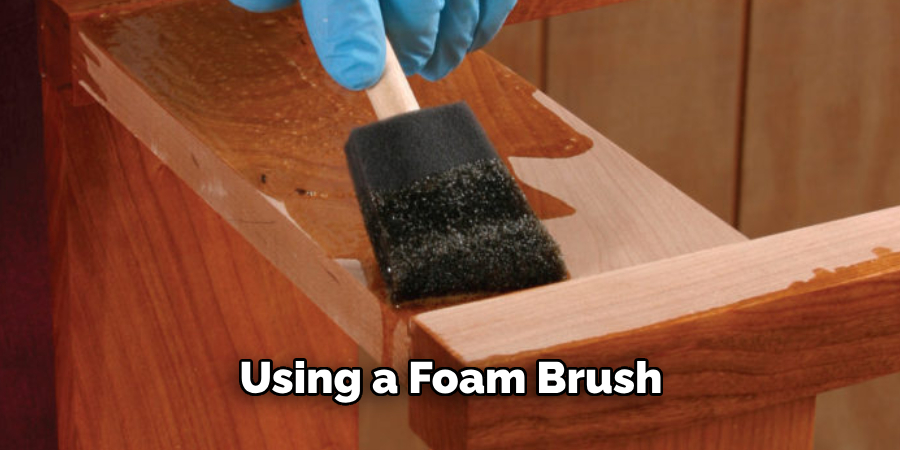
Begin by using a foam brush to apply a thin, even layer of Mod Podge directly onto the prepared wooden surface. Make sure you spread it lightly to avoid excessive product build-up, which can lead to bubbles. Working in small sections is advisable, as this allows you to manage the application more effectively.
To avoid bubbles, use smooth, straight strokes and keep the brush moving in the same direction. If you notice any bubbles forming, gently retract the brush and apply more Mod Podge to the area, or use a fine mist of water to help release the trapped air. Ensure that the layer is uniform and covers the entire area where you will place your napkin.
02.Placing the Napkin on the Wood
Once the first layer of Mod Podge is applied and is still wet, carefully place the prepared napkin on the surface. Align it just as you envisioned during the arrangement phase, ensuring that it fits perfectly.
Use your fingers or a soft brush to gently smooth out any wrinkles or bubbles, starting from the center and working your way outwards. This technique helps to apply even pressure to avoid tearing the delicate napkin paper. If you find the napkin is not adhering perfectly, don’t force it; gently lift it and re-position it as needed, taking care not to stretch or rip the paper.
Taking your time during this step will ensure a neat application free from unsightly creases that can detract from the overall appearance of your project.
03.Sealing the Napkin with Mod Podge
After the napkin is in place and smoothed down, it is time to seal it with another layer of Mod Podge.
Using a clean foam brush, apply a top coat of Mod Podge over the napkin, ensuring you use gentle strokes to avoid tearing or disturbing the delicate paper. It’s important to cover the entire napkin thoroughly to ensure complete adhesion and protection. Be cautious and work in one direction, using light pressure to avoid altering the design beneath.
Allow the first coat to dry completely before applying additional layers, especially if you want a glossy finish. This final sealing layer not only enhances the durability of your craftsmanship but also provides a consistent sheen across your wooden surface, creating a professional-looking piece.
Finishing Touches
To achieve a polished and durable finish for your Mod Podge project, it’s essential to consider additional layers and adequate drying time.
After sealing the napkin with the first layer of Mod Podge, you may choose to apply two to three more layers, especially if your project will be exposed to moisture or heavy use. Each layer enhances the durability of the finish while also adding depth to the design.
Allow at least 1-2 hours of drying time between each coat, ensuring that the surface is completely dry before proceeding. This helps in preventing any potential lifting or bubbling of the napkin. Once you’ve applied the final coat, allow a longer drying period of 24-72 hours for the project to fully cure.
Optional: Sanding and Sealing
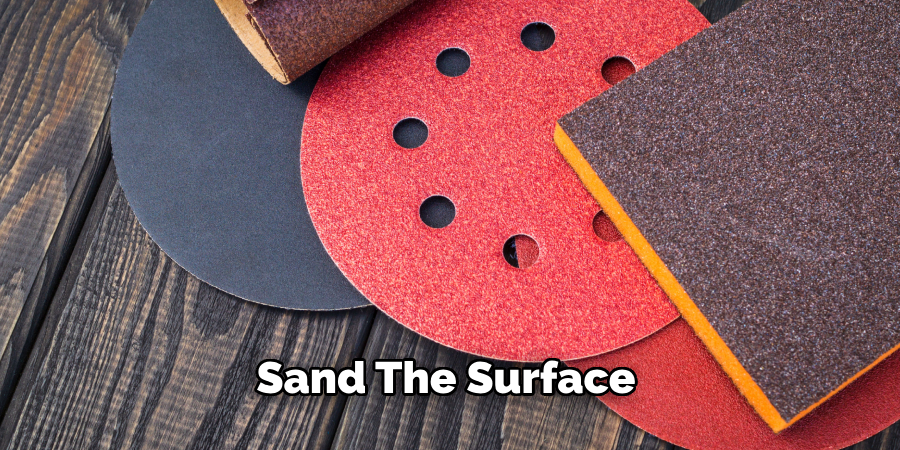
For an ultra-smooth finish, lightly sand the surface between layers with fine-grit sandpaper once each layer is dry.
This step minimizes any roughness and aids in preparing the surface for the next application. After your final layer has dried completely, consider applying an acrylic sealer for additional protection and shine. When selecting a sealer, opt for one that is compatible with Mod Podge.
Look for water-based options for easier cleanup, and choose between a matte or glossy finish, depending on your desired aesthetic. This final touch will not only enhance the appearance of your project but also ensure its longevity.
Creative Ideas and Variations
To elevate your decoupage projects, consider experimenting with various napkin designs that can complement different themes and occasions.
For instance, floral patterns work wonderfully for spring decorations, while rich, textured napkins can evoke a rustic feel for autumn displays. You can create beautiful collage effects by combining multiple napkin pieces and layering designs to add depth and interest to your project. This approach allows you to mix and match designs, resulting in a unique composition that speaks to your creative vision.
Design Variations
Varying your choice of napkins can transform a project’s aesthetic. For a festive look, opt for seasonal designs during holidays, or use abstract patterns for modern decor. Mixing traditional motifs with contemporary elements can yield visually striking results, keeping your projects fresh and exciting.
Enhancing with Additional Elements
Consider incorporating embellishments such as glitter, beads, or paint accents to further enhance your decoupage creations. These additions can provide a tactile dimension and sparkle, making your project stand out.
Moreover, you can combine Mod Podge techniques with other crafting methods like stenciling or stamping to add intricate details that complement the napkin designs and enrich the overall composition.
Troubleshooting Common Issues
Dealing with Wrinkles and Bubbles
Wrinkles and bubbles can be frustrating when working with napkins and Mod Podge, but there are effective strategies to manage them. To smooth out wrinkles, work gently from the center outward using a soft brush or your fingers, applying even pressure. Prevent these issues by ensuring the surface is perfectly prepared and by applying Mod Podge in thin, even layers.
Using a brayer can also help press the napkin firmly onto the surface, reducing the risk of bubbles forming.
Repairing Tears and Mistakes
If you encounter a tear in your napkin or find that your Mod Podge layer isn’t smooth, don’t worry; there are simple repair techniques. For a torn napkin, carefully align the pieces and apply a small amount of Mod Podge to the area, smoothing it out with a clean brush.
If the Mod Podge layer is uneven, lightly sand the surface once completely dry, and then apply a fresh layer over the affected area to blend and conceal the mistake.
Conclusion
In summary, mastering how to mod podge napkins on wood involves several key steps, from selecting your napkin and preparing the surface, to applying layers of Mod Podge and sealing your project for durability.
Remember to take your time during each stage to ensure a neat and attractive finish. Don’t hesitate to unleash your creativity by experimenting with various napkin designs, layering techniques, and additional embellishments to make each piece uniquely yours. The versatility of Mod Podge crafts allows you to explore countless possibilities, enabling you to transform ordinary wooden surfaces into stunning works of art.
As you become more comfortable with the process, encourage yourself to take risks and try new designs, and enjoy the rewarding journey of creating beautiful decoupage projects that reflect your personal style.
About the Author
Adrian Green, a lifelong woodworking enthusiast, shares his passion for the craft through The Woodenify Blog. With a foundation built on years of hands-on experience in his father’s woodworking shop, Adrian is dedicated to helping others learn and grow in the world of DIY woodworking. His approach to woodworking combines creativity, practicality, and a deep appreciation for the art of building with your own hands. Through his blog, he inspires individuals of all skill levels to embark on their own woodworking journeys, creating beautiful, functional pieces of furniture and décor.
Professional Focus
- Specializes in DIY woodworking projects, from furniture to home décor.
- Provides step-by-step guides and practical tutorials for woodworkers of all skill levels.
- Dedicated to helping readers build confidence and skill through easy-to-follow instructions and tips.
- Passionate about fostering a community of makers who can share, learn, and grow together.
Education History
- University of Craft and Design – Bachelor of Fine Arts (BFA) in Woodworking and Furniture Design
- Woodworking Apprenticeships – Extensive hands-on training with skilled craftsmen to refine carpentry and furniture making techniques.
- Online Courses & Masterclasses – Continued education in advanced woodworking techniques, design principles, and specialized tools
Expertise:
- DIY woodworking, carpentry, furniture making, and home décor projects.
- Creating accessible tutorials and guides for beginner to advanced woodworkers.
- Sharing the joys and satisfaction of woodworking, from raw materials to finished products.