Are you thinking of mounting your TV on the plywood wall but not sure how to do it? Well, you have come to the right place. This guide will walk you through the steps to successfully mount your TV on a plywood wall.
Mounting a TV on a plywood wall may seem daunting, but with the right tools and a bit of know-how, it can be a straightforward process. Whether you’re setting up a home theatre or simply aiming to save floor space, securely attaching your TV to a plywood wall ensures both safety and an optimal viewing experience.
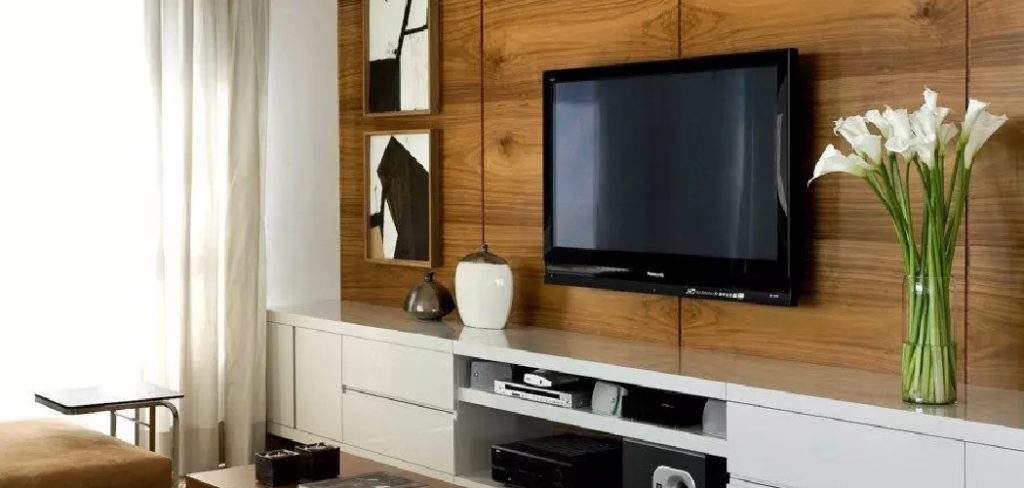
This guide on how to mount TV on plywood wall will walk you through each step, from selecting the correct mounting bracket to ensuring your TV is level and secure. By following these instructions, you can achieve a professional-looking installation that enhances your living space.
What are the Benefits of Mounting Your TV on a Plywood Wall?
Before we dive into the steps, let’s first discuss why mounting your TV on a plywood wall is a great idea. Here are some of the benefits:
- It Saves Space: Mounting your TV on a plywood wall can free up valuable floor space and make your room feel more spacious.
- Improved Viewing Experience: Mounting your TV at eye level can significantly enhance your viewing experience, reducing strain on the neck and providing a more comfortable position for extended periods of watching.
- Sleek and Modern Look: A wall-mounted TV looks sleek and modern, adding a touch of elegance to any room.
- Safety: By securely mounting your TV on the plywood wall, you eliminate the risk of it toppling over and causing injuries, especially if you have young children or pets in the house.
These are just some of the benefits, but there are many more. Let’s discuss how to mount your TV on a plywood wall.
What You Will Need
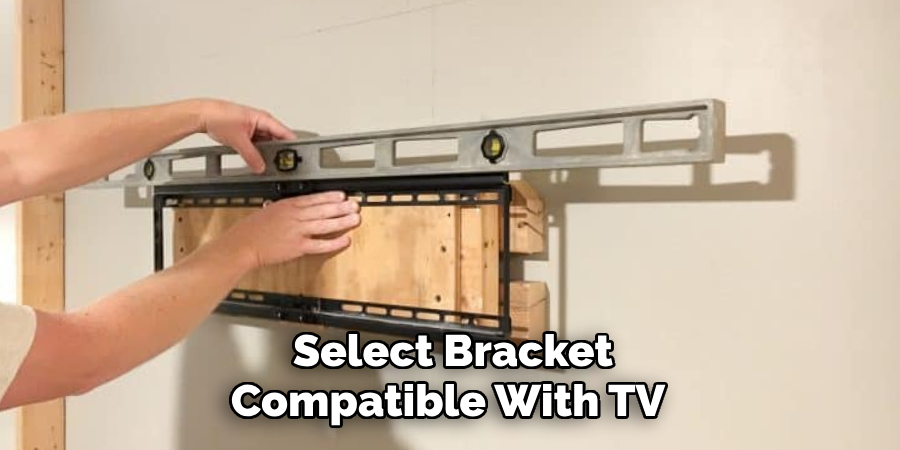
- TV Mounting Bracket: Make sure to select a bracket compatible with your TV size and the plywood wall.
- Drill and Drill Bits: You will need a drill to make pilot holes in the plywood wall.
- Screws and Anchors: The screws and anchors should be included in the TV mounting bracket kit, but it’s always a good idea to have extra ones on hand.
- Level: This will ensure that your TV is mounted straight and even.
- Pencil and Measuring Tape: These tools will come in handy when marking the location for the bracket and drilling pilot holes.
- Stud Finder: This tool will help you locate the studs in your plywood wall, which are essential for a secure TV mount.
- Assistant: It’s always helpful to have extra hands when mounting a TV on a plywood wall.
Once you have all the necessary tools and equipment, you can start the mounting process.
10 Easy Steps on How to Mount TV on Plywood Wall:
Step 1: Choose the Right Location
The first step is determining where on the plywood wall you want to mount your TV. Consider factors such as viewing angle, distance from the seating area, and any potential obstructions. Use a measuring tape and mark the center point of where you want your TV to be mounted.
Step 2: Locate the Studs
Using a stud finder, locate the studs behind your plywood wall. Studs are vertical wooden beams that provide structural support to your wall and are crucial for securely mounting your TV. Move the stud finder horizontally across the wall to indicate when it has found a stud. Mark the edges of the stud lightly with a pencil. Knowing the position of the studs will help you determine the best spots to drill your mounting brackets.
Step 3: Mark and Drill Pilot Holes
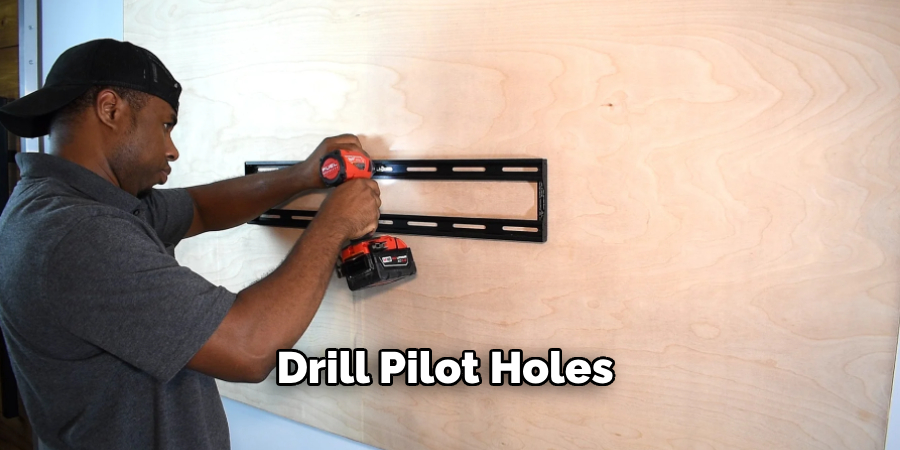
With the locations of the studs marked on the wall, hold the TV mounting bracket against the wall where you want your TV to be mounted. Make sure the bracket is level using a level tool. Mark the points where you will need to drill pilot holes so that they align with the studs. Drill pilot holes at the marked locations; these holes will make it easier to screw the mounting bracket to the wall without splitting the wood.
Step 4: Attach the Mounting Bracket to the Wall
Position the mounting bracket over the pilot holes. Using screws that are long enough to penetrate the plywood and go into the studs, attach the bracket to the wall. Start by inserting screws into the top holes and tighten them until the bracket is secure but still slightly adjustable. Check the alignment again with a level tool and make any necessary adjustments. Once the bracket is level, fully tighten all the screws.
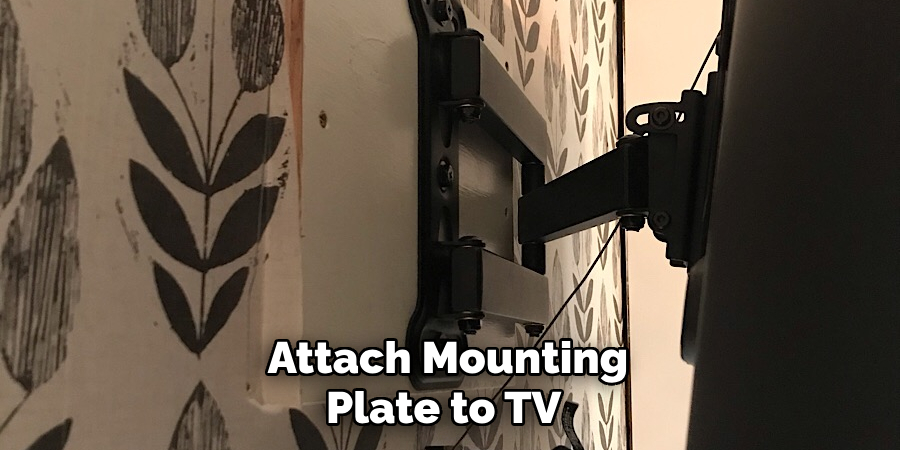
Step 5: Attach the Mounting Plate to Your TV
Now that the mounting bracket is securely attached to the plywood wall, it’s time to affix the mounting plate to the back of your TV. Most mounting brackets come with a compatible mounting plate that is designed to fit the standard VESA (Video Electronics Standards Association) mounting holes on the back of flat-screen TVs.
- Identify the Mounting Holes: Locate the VESA mounting holes on the back of your TV. These holes are typically arranged in a square or rectangular pattern and may have protective covers that must be removed.
- Align the Mounting Plate: Position the mounting plate so that its holes align perfectly with the VESA holes on your TV. If your TV is large or heavy, ask an assistant to help hold the mounting plate in place.
- Insert the Screws: Using the screws provided in your TV mounting bracket kit, attach the mounting plate to your TV. Start by inserting all screws loosely to ensure they are all properly aligned. Once all screws are in place, tighten them securely using a screwdriver. Be cautious not to over-tighten, as this could damage your TV.
- Check Stability: Gently tug on the mounted plate to ensure it is firmly attached and does not wobble or shift. The plate should be snug against the back of your TV.
Once the mounting plate is attached, you are ready to hang the TV onto the wall-mounted bracket. Ensure all screws and connections are secure to prevent any accidents or damage.
Step 6: Hang the TV on the Wall-Mounted Bracket
With the mounting plate securely attached to the back of your TV, it’s time to hang it on the wall-mounted bracket. This step may require an assistant to help lift and position the TV properly.
- Lift the TV: Carefully lift the TV, holding it from the sides or bottom. Avoid placing pressure on the screen.
- Align the Mounting Plate with the Bracket: Position the TV so that the mounting plate lines up with the corresponding hooks or slots on the wall-mounted bracket.
- Secure the TV to the Bracket: Gently lower the TV onto the bracket, ensuring that the mounting plate hooks or slides into place. You should hear or feel a distinctive click or snap once the TV is securely attached.
- Check Stability: After hanging the TV, ensure it is firmly attached and does not wobble. Apply gentle pressure to various points to ensure it is securely mounted.
- Safety Lock: If your mounting bracket has a safety lock or securing mechanism, engage it now to prevent the TV from accidentally being dislodged.
Once this step is completed, your TV should be securely mounted on the plywood wall. Ensure the connections are tight and revisit the stability regularly to maintain safety.
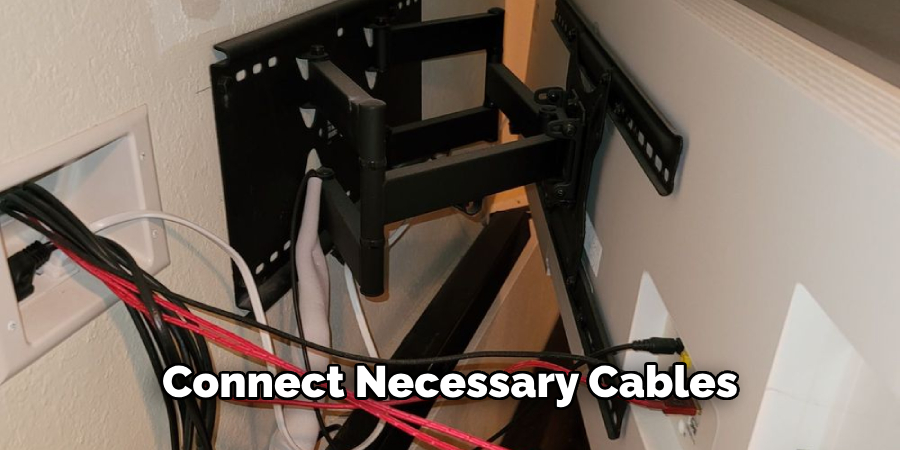
Step 7: Connect the Cables
Before you start enjoying your newly mounted TV, connecting all necessary cables is essential. This step ensures that your TV is ready for use with all your devices and services.
- Identify the Ports: Locate all the necessary ports on the back or side of your TV, such as HDMI, USB, and power ports.
- Connect the Cables: Attach the cables to the appropriate ports. For example, connect your HDMI cable from your cable box or gaming console to the HDMI port on your TV. Attach any other required cables, such as the power cord, antenna, or Ethernet cable.
- Manage the Cables: Use cable management ties or clips to neatly bundle the cables and secure them behind the TV. This helps maintain a tidy appearance and prevents cables from dangling and potentially being damaged.
Connecting and managing the cables ensures a clean and organized setup, making your TV viewing experience even more enjoyable.
Step 8: Power On and Configure Your TV
With the TV mounted and all cables connected, the next step is to power on and configure your TV. This involves setting up the initial settings, connecting to Wi-Fi, and configuring any additional devices.
- Power On the TV: Using the remote control, turn on your TV.
- Initial Setup: Follow the on-screen instructions to set up your TV. This may include choosing your language, connecting to Wi-Fi, and scanning for channels.
- Configure Devices: Ensure that any connected devices, such as a soundbar, gaming console, or streaming device, are recognized and properly configured.
- Adjust Settings: Take a moment to adjust the picture and sound settings to your preference for the best viewing experience.
Completing this step ensures your TV is fully functional and optimized to your liking.
Step 9: Final Inspection and Enjoyment
Now that your TV is mounted, connected, and configured, it’s time for a final inspection to ensure everything is in order and ready for use.
- Visual Check: Inspect the TV and the mounting bracket visually to make sure there are no visible signs of strain, damage, or instability.
- Test Stability: Gently nudge the TV to ensure it remains securely fastened and does not wobble or shift out of place.
- Cable Check: Verify that all cables are properly connected and not pinched or excessively bent. Ensure that the cable management system effectively keeps cables neat and out of sight.
- Remote Functionality: Test the remote control functionality to confirm that all buttons are responsive and the TV responds as expected.
- Picture and Sound Quality: Play a range of content to check the picture quality and sound. Adjust settings if necessary to achieve optimal performance.
Completing this final step ensures that your setup is safe, tidy, and ready for enjoyment. You can now sit back, relax, and confidently enjoy your newly mounted TV’s stability and functionality.
Step 10: Schedule Regular Maintenance
Regular maintenance is crucial to ensure your mounted TV’s longevity and optimal performance. Follow these tips to keep your setup in top condition:
- Dust and Clean: Regularly dust the TV screen and surrounding area using a microfiber cloth. Avoid using harsh chemicals or abrasive materials that could damage the screen.
- Inspect Mounting Hardware: Periodically check the mounting bracket and screws to ensure they remain tight and secure. Look for any signs of wear or stress, and address any issues immediately.
- Check Cable Connections: Ensure that all cables remain securely connected and free from tangles or damage. Reorganize cables as necessary to maintain a tidy setup.
- Update Software: Keep your TV’s firmware and software updated to the latest version to benefit from new features, bug fixes, and improved performance.
- Test Remote Control: Change the batteries in your remote control as needed and ensure all buttons function correctly.
By scheduling regular maintenance, you can extend the life of your TV and ensure a consistently high-quality viewing experience.
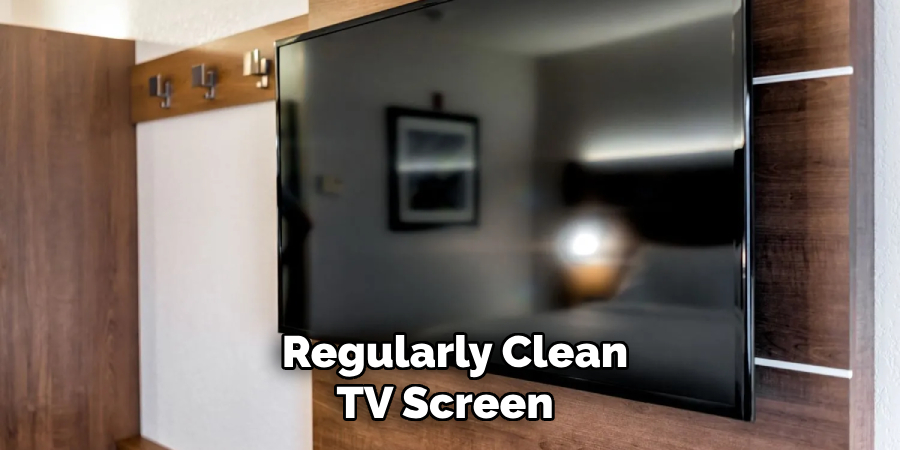
With these steps and tips, you can confidently mount your TV on a plywood wall and enjoy all the benefits of having a sleek, space-saving setup. Whether you’re watching your favorite shows, playing games, or hosting movie nights with friends and family, your mounted TV will provide both functionality and style to any room in your home.
5 Additional Tips and Tricks:
- Use a Stud Finder: Even though you’re mounting on plywood, locating and aligning with wall studs is beneficial. This helps distribute the weight more evenly and enhances stability. Use a stud finder to locate the studs behind the plywood for additional support.
- Choose the Right Screws: Selecting the appropriate screws and anchors is crucial for a secure mount. Use screws that are long enough to penetrate both the plywood and the studs behind it. Opt for heavy-duty wall anchors if you cannot align with studs.
- Consider a Tilt or Swivel Mount: If you want the flexibility to adjust the angle and direction of your TV, consider investing in a tilt or Swivel Mount. These types of mounts allow you to position your TV for optimal viewing from various seating positions.
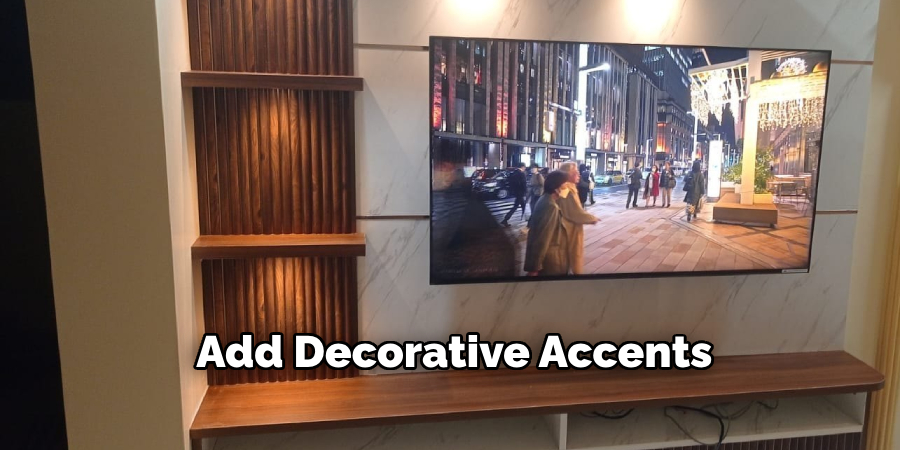
- Add Decorative Elements: To further enhance the aesthetics of your TV mount, consider adding decorative accents such as a framed piece of artwork or floating shelves to display plants or other decor items. This adds a touch of personality and style to your setup.
- Seek Professional Help: If you’re uncomfortable mounting your TV yourself, it’s always best to seek professional help. They have the expertise and tools to safely and effectively install your TV, giving you peace of mind and ensuring a high-quality installation.
By following these steps and tips, you can confidently mount your TV on a plywood wall and create a functional and stylish entertainment setup in your home.
5 Things You Should Avoid:
- Using Incorrect Hardware: Avoid using screws and anchors that are too short or not designed for heavy loads. Improper hardware can lead to instability and potential damage to both the wall and the TV.
- Ignoring Weight Limits: Be sure to check the weight limits of both the mounting bracket and the wall anchors. Mounting a TV that exceeds these limits can cause the mount to fail, resulting in damage or injury.
- Skipping Measurements: Failing to measure accurately can result in a poorly positioned TV that might not be level or centered. Take your time to measure and mark the wall correctly before drilling any holes.
- Neglecting Cable Management: Poor cable management can create a cluttered look and lead to cable pinching or damage. Plan your cable routes and use cable ties or covers to keep them tidy and protected.
- Disregarding Safety Precautions: Following all safety guidelines, including wearing protective gear and using the right tools, is essential. Avoid rushing through the process, as this can lead to mistakes that compromise the safety and stability of your setup.
By avoiding these common pitfalls, you can ensure a safe and secure installation that provides both functionality and aesthetics in your home entertainment space.
Is Plywood Strong Enough for TV?
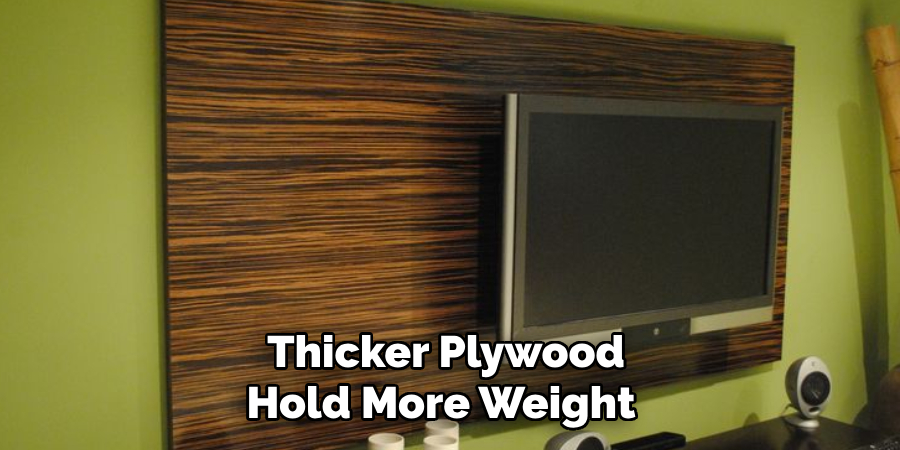
The answer to this question depends on the thickness and quality of the plywood, as well as the weight and size of your TV. Generally, thicker and higher-grade plywood can hold more weight than thinner or lower-quality options. It’s always best to consult a professional for advice on whether your specific plywood will be strong enough to mount a TV.
Alternatively, you can reinforce the plywood by adding additional layers or using a mounting bracket that spreads the weight across a larger area. This will provide extra support and increase the overall strength of the setup. Remember to always prioritize safety and follow recommended weight limits when mounting a TV on plywood.
Overall, properly installed and reinforced plywood can be a reliable option for mounting a TV, but it’s crucial to take necessary precautions and use appropriate hardware.
Conclusion
How to mount tv on plywood wall requires careful planning, the right tools, and adherence to safety guidelines. You can create a secure and aesthetically pleasing setup by selecting the appropriate mounting bracket, using the correct hardware, and ensuring that the plywood can support the TV’s weight.
Regular maintenance, like inspecting mounting hardware and managing cables, ensures your TV’s longevity and optimal performance. By following these expert tips and avoiding common mistakes, you can enjoy a sleek and functional entertainment area in your home, providing both convenience and style.
Always remember, if you’re unsure about any step of the process, seeking professional help can offer peace of mind and guarantee the best results.
About the Author
Adrian Green, a lifelong woodworking enthusiast, shares his passion for the craft through The Woodenify Blog. With a foundation built on years of hands-on experience in his father’s woodworking shop, Adrian is dedicated to helping others learn and grow in the world of DIY woodworking. His approach to woodworking combines creativity, practicality, and a deep appreciation for the art of building with your own hands. Through his blog, he inspires individuals of all skill levels to embark on their own woodworking journeys, creating beautiful, functional pieces of furniture and décor.
Professional Focus
- Specializes in DIY woodworking projects, from furniture to home décor.
- Provides step-by-step guides and practical tutorials for woodworkers of all skill levels.
- Dedicated to helping readers build confidence and skill through easy-to-follow instructions and tips.
- Passionate about fostering a community of makers who can share, learn, and grow together.
Education History
- University of Craft and Design – Bachelor of Fine Arts (BFA) in Woodworking and Furniture Design
- Woodworking Apprenticeships – Extensive hands-on training with skilled craftsmen to refine carpentry and furniture making techniques.
- Online Courses & Masterclasses – Continued education in advanced woodworking techniques, design principles, and specialized tools
Expertise:
- DIY woodworking, carpentry, furniture making, and home décor projects.
- Creating accessible tutorials and guides for beginner to advanced woodworkers.
- Sharing the joys and satisfaction of woodworking, from raw materials to finished products.
