Are you planning to move your piano to hardwood floors? Congratulations! You have landed on the right page.
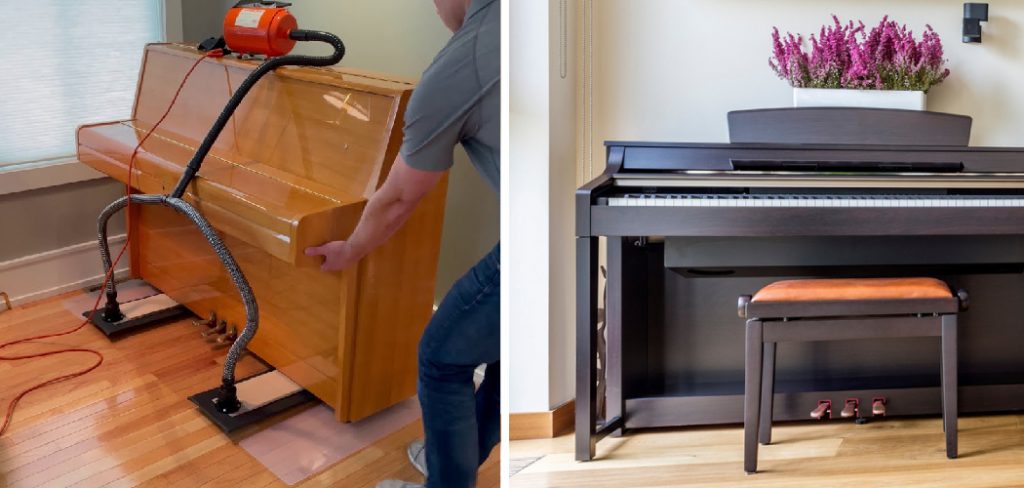
Moving a piano on hardwood floors requires careful planning and execution to avoid damage to the instrument and the floors. Pianos are heavy and cumbersome and possess delicate components that can be easily damaged if not handled correctly. Hardwood floors, while durable, can be scratched, dented, or otherwise damaged under the weight and movement of a piano.
This guide is designed to provide you with the essential tips and techniques on how to move a piano on hardwood floors, ensuring that both your piano and hardwood floors remain pristine throughout the process. Whether you’re rearranging your living space or relocating to a new home, this guide will assist you every step of the way.
What are the Benefits of Moving a Piano on Hardwood Floors?
Moving a piano on hardwood floors has several advantages over moving it on other types of flooring. Here are some benefits to consider:
- Smooth Surface: Unlike carpets or rugs, hardwood floors provide a smooth surface for moving your piano across. This makes it easier to maneuver the piano without any obstructions.
- Damage Prevention: Hardwood floors are less likely to get damaged during the move than other flooring types, such as tiles or vinyl. This is because hardwood floors are more resistant to scratches, dents, and scuffs.
- Easy Cleaning: In case of accidents or spills during the move, cleaning up hardwood floors is much easier than on other flooring types. This is especially important when dealing with heavy and delicate items like a piano.
- Durability: Hardwood floors are known for their durability, making them ideal for moving heavy objects like pianos. They can withstand the weight and movement of a piano without easily getting damaged.
Now that we know the benefits of moving a piano on hardwood floors let’s discuss how you can do it safely and efficiently.
What Will You Need?
Before we dive into the steps on how to move a piano on hardwood floors, here are some essential items you’ll need to gather:
- Furniture sliders or moving blankets
- A dolly or hand truck
- Straps or ropes
- Packing tape
- Bubble wrap or blankets for padding and protection
Once you have gathered these items, you can start moving your piano.
9 Easy Steps on How to Move a Piano on Hardwood Floors
Step 1: Prepare the Piano
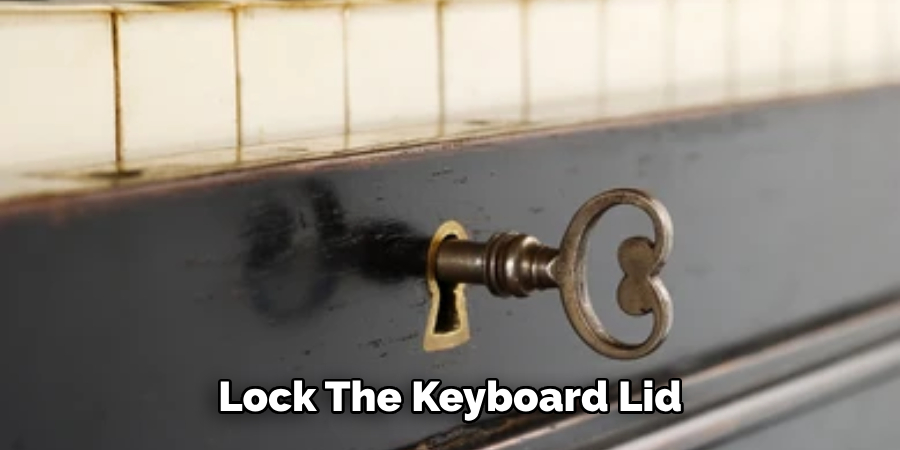
Before you begin the physical process of moving your piano, it’s crucial to properly prepare it to ensure its safety. Close and lock the keyboard lid to protect the keys. If the lid doesn’t lock, ensure it’s securely closed, and consider wrapping the piano with stretch wrap to keep it shut.
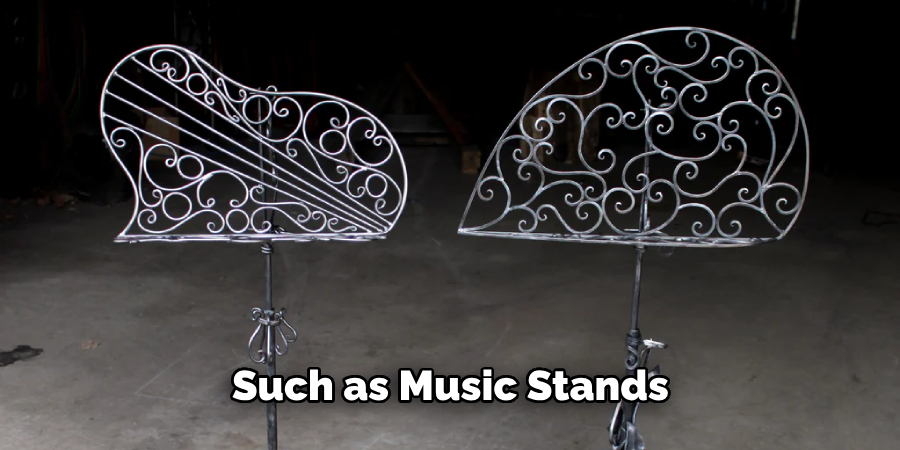
Remove any detachable parts, such as music stands or decorative panels, to prevent them from getting lost or damaged during the move. Wrap these parts separately in bubble wrap or a soft cloth for protection. Label them if necessary to make reassembly easier.
Next, wrap the piano’s body in moving blankets or furniture pads. Secure these blankets using packing tape, ensuring the tape doesn’t come into contact with the piano’s surface to avoid damage to the finish. Be generous in covering all sides of the piano, as these blankets serve as the first line of defense against bumps, scratches, and other forms of damage.
Step 2: Lift the Piano Properly
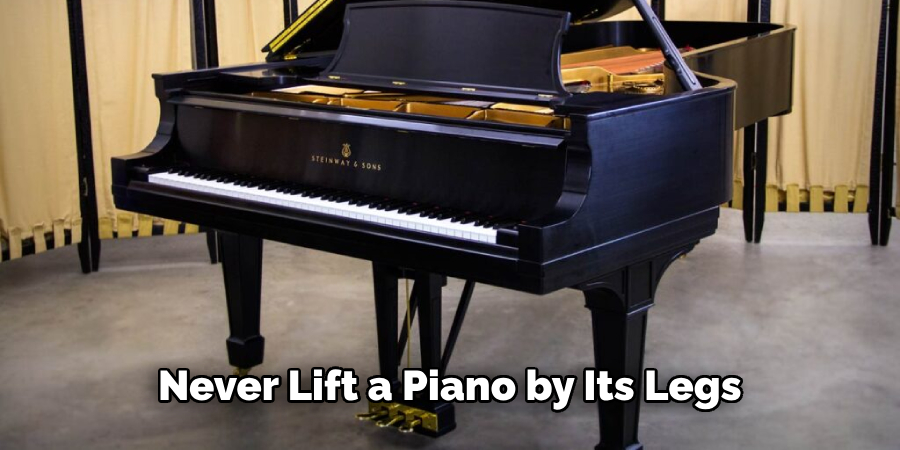
Lifting a piano requires caution and proper technique to avoid injury and damage. Never lift a piano by its legs, as they are extremely vulnerable and easily break. Instead, have at least two people (preferably four if it’s a grand piano) positioned at the front and back ends of the piano for an upright model or on each side for a grand piano. Lifting with your legs, not your back, is important to minimize the risk of injury.
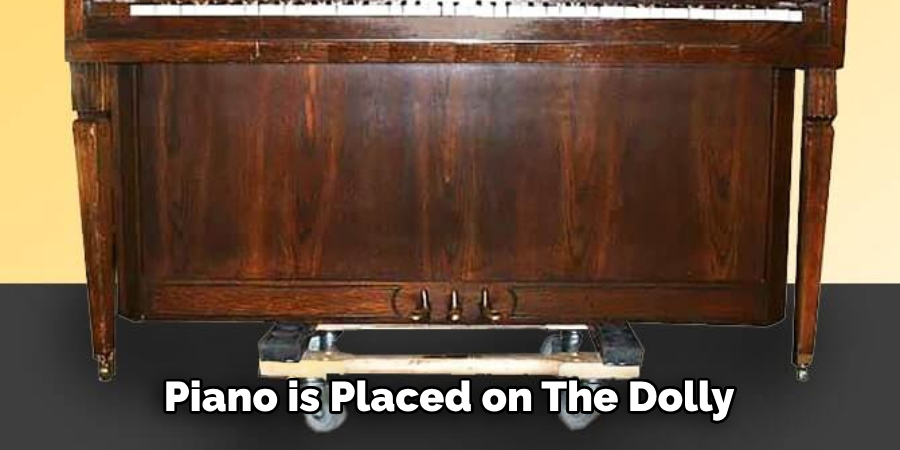
If the piano is too heavy or awkward for you and your helpers, consider hiring professional piano movers with the experience and equipment to safely handle the weight and dimensions. Once the piano is lifted, carefully place it onto a dolly or hand truck equipped to handle its weight, ensuring it’s centered to avoid tipping.
Step 3: Secure the Piano on the Dolly or Hand Truck
Once the piano is placed on the dolly or hand truck, ensure it’s positioned centrally to maintain balance. Use straps or ropes to tightly secure the piano to the dolly, ensuring it won’t slip or move during transportation. The straps should be tight enough to hold the piano in place but not so tight as to cause damage to its body.
It’s also important to pay any points where the straps contact the piano using bubble wrap or extra moving blankets. This additional padding prevents scratches and dents on the piano’s finish. Double-check the piano’s security on the dolly before moving to ensure it’s safely attached and won’t shift during movement.
Step 4: Move the Piano Slowly and Carefully
With the piano secured on the dolly or hand truck, move it toward its destination. Move slowly and with caution, ensuring you’re aware of the path and any potential obstacles such as doorways, corners, or steps.
It’s important to communicate clearly and constantly with your helpers to coordinate movements and prevent sudden jolts or shifts that could damage the piano or the hardwood floors.
When approaching thresholds or small steps, lifting the piano slightly rather than rolling it over to protect both the instrument and the flooring is crucial. If possible, lay down plywood sheets or additional moving blankets on the path to create a smoother surface and protect the floors from scratches or dents.
Step 5: Navigate Through Doorways and Narrow Spaces
Measuring beforehand can save a lot of trouble when moving the piano through doorways and narrow spaces. Ensure the piano will fit through all passageways without forcing it through. Remove the door from its hinges if the space is too tight to provide additional clearance.
When guiding the piano through these tight spots, one person should lead to steer the dolly, while others focus on balancing the piano and protecting its edges. Clear communication is key in these moments, as it moves slowly to ensure you have full control over the piano’s movement.
This careful navigation protects the piano from damage and preserves the integrity of your hardwood floors, preventing scratches and gouges.
Step 6: Place the Piano in Its New Location
Once you have successfully navigated the piano through doorways and narrow spaces to its new location, carefully lower it from the dolly or hand truck. Ensure that the area where you place the piano is clean and debris-free to avoid scratching the hardwood floors.
Consider using furniture sliders under the piano’s legs before placing them down to facilitate future movements and further protect the flooring.
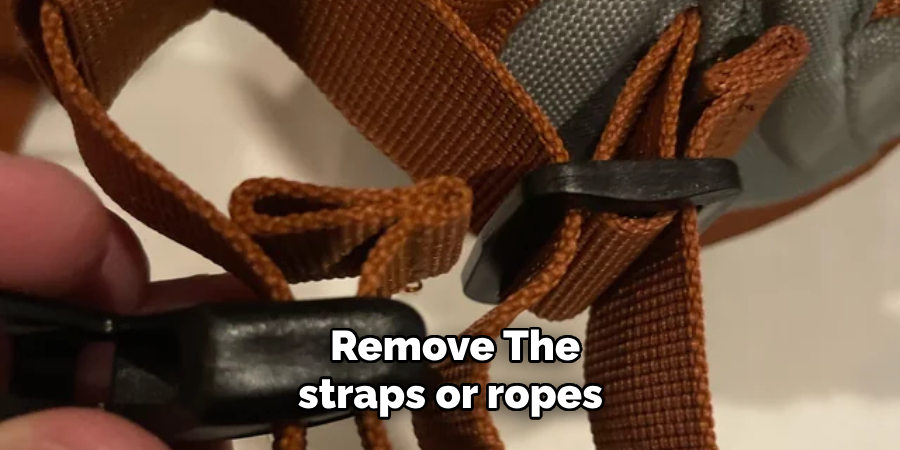
Gently place the piano on the ground by lifting it with the same caution and technique used when initially lifting it. Remove the straps or ropes and then the moving blankets or bubble wrap, ensuring the piano’s surface isn’t damaged in the process.
Considering its acoustics and layout, ensure the piano is positioned correctly in its new space. Finally, if necessary, reattach any removed parts, such as the music stand or decorative panels, and unlock the keyboard lid.
Step 7: Tuning and Maintenance Post-Move
After the piano is in place in its new location, allowing it some time to acclimate to its new environment before playing it is crucial. The change in humidity and temperature can affect the strings and tuning. It is recommended to wait at least a month before tuning the piano to give it sufficient time to adjust.
Consulting a professional piano tuner is advisable to ensure the instrument is properly calibrated and to address any internal issues that may have arisen during the move.
Additionally, take this time to thoroughly clean the piano and inspect it for any potential damage or adjustments needed after the move. Proper maintenance and tuning will ensure your piano sounds its best and remains a cherished instrument for years.
Step 8: Regular Piano Care and Maintenance
After settling your piano into its new location and ensuring it is properly tuned, establishing a routine for regular care and maintenance is essential.
Dust the piano regularly with a soft, dry cloth to prevent buildup that can eventually damage the wood finish. Avoid using chemical cleaners, as they can harm the piano’s surface.
Additionally, be mindful of the piano’s environment; consistent humidity and temperature are key to preventing the wood from warping and the strings from stretching or contracting, affecting the sound quality.
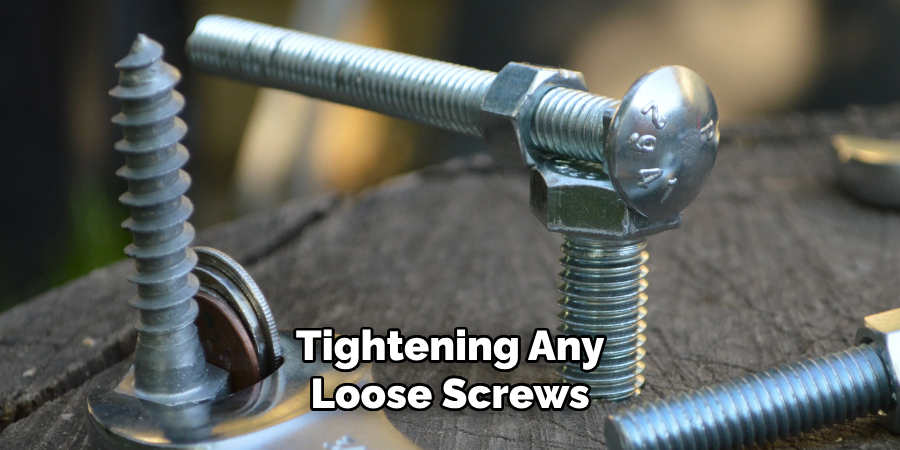
It’s advisable to have a professional piano technician inspect your piano annually for a comprehensive checkup, which includes adjusting the action, tightening any loose screws, and making minor repairs if necessary. This ongoing care will help preserve your piano’s sound quality, appearance, and overall health, ensuring it remains an integral part of your home and music life for many years.
Step 9: Enjoying Your Piano
After the piano is securely placed, tuned, and maintained, it’s finally time to enjoy the fruits of your labor. Whether practicing for personal enjoyment, composing, or performing for others, your piano will now be an even more integral part of your musical journey in its new location.
Remember to make the most of this experience by exploring different musical styles and compositions, enhancing your skills, and keeping your love for music vibrant.
Additionally, consider hosting a small performance for friends and family to celebrate your piano’s successful move and setup.
This marks a new beginning in your musical practice and creates lasting memories with your loved ones, all centered around the joy of music.
Following these steps and taking the necessary precautions, you can successfully move your piano without damaging it or your hardwood floors.
5 Additional Tips and Tricks
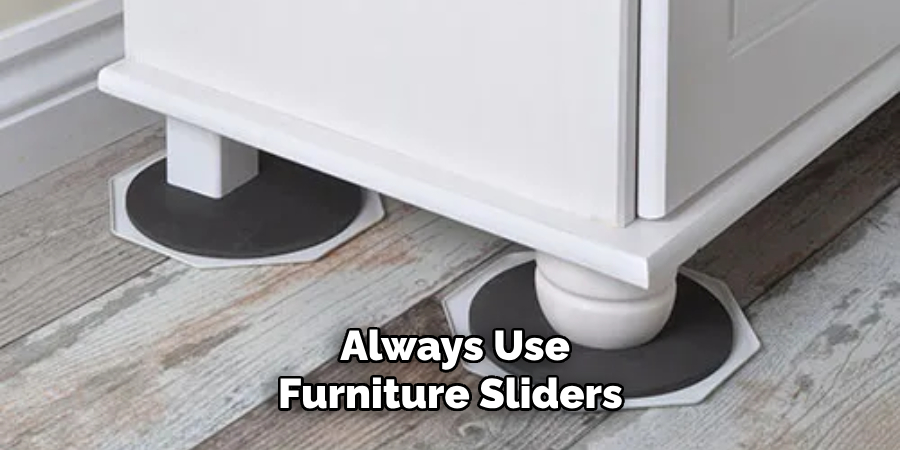
- Use Furniture Sliders: Furniture sliders can be an absolute game-changer when moving a heavy piano across hardwood floors. They’re designed to distribute the weight evenly and allow for a smooth glide across the surface, significantly reducing the risk of scratches and damage to your floors. You can find furniture sliders at most hardware or home improvement stores.
- Protect the Corners: When moving a piano, it’s important to protect the hardwood floors and the corners of the walls and doorways. These areas are susceptible to damage from bumps and scrapes, so using corner guards or padded blankets can provide an extra layer of protection.
- Clear a Path: Before you start moving the piano, make sure to clear a path from its current location to its final destination. Remove any obstacles, such as rugs or furniture that may get in the way and potentially cause accidents or damage.
- Enlist Help: Moving a piano is not a one-person job. It’s important to have at least two or three people helping to distribute the weight and ensure a safe and smooth move. Make sure everyone is on the same page and knows their role in the process.
- Take Breaks: Moving a piano can be physically demanding, so it’s important to take breaks throughout the process. This will prevent exhaustion and allow you to carefully plan and strategize your next move. Taking a few extra breaks is better than injuring yourself or damaging the piano or floors.
With these additional tips and tricks, you can confidently move your piano across hardwood floors without worrying about causing any damage.
5 Things You Should Avoid When Moving a Piano on Hardwood Floors
- Dragging the Piano: Never attempt to drag the piano across the floor. This can cause severe scratches and gouges in the hardwood, leading to costly repairs. Always use furniture sliders or a piano dolly to ensure it moves smoothly without direct contact with the floor.
- Ignoring the Weight Distribution: Avoid positioning all the piano’s weight on one side or area. It’s crucial to balance the weight evenly to prevent causing indentations or damage to the hardwood floors. Proper planning and the use of additional supports can help distribute the weight more evenly.
- Skipping Floor Protection: Pay attention to the importance of protecting your hardwood floors before moving the piano. Even if using sliders or a dolly, laying down a protective pathway of plywood or thick cardboard can provide an extra layer of security against unexpected drops or slips.
- Forgetting to Lock the Keyboard Lid: Forgetting to secure the keyboard lid can lead to accidental damage to the keys or the internal mechanism of the piano. Ensure the lid is locked or securely fastened before moving the piano to avoid costly damages.
- Rushing the Process: Trying to move a piano quickly can lead to mistakes, accidents, and damage. Take time to plan every step, communicate clearly with anyone helping, and proceed with caution and patience. Rushing increases the risk of injury and damage to the piano and the floors.
By avoiding these common mistakes, you can ensure a successful and stress-free piano move across hardwood floors.
Does Moving a Piano Damage It?
Moving a piano can potentially cause damage to the instrument, especially if not done correctly or with proper precautions. The weight and size of a piano make it vulnerable to scratches, dents, and other types of damage during the moving process. Damage can also occur to hardwood floors if the piano is not moved carefully.
However, with proper planning and following the tips mentioned in this guide, you can minimize the risk of damage to the piano and the floors. It is important to take your time, use proper equipment, and enlist help when moving a piano to ensure a safe and successful move without causing any damage.
In addition, hiring professional piano movers is always an option if you are uncomfortable or unsure about moving it yourself.
Can You Roll a Piano on a Hardwood Floor?
Yes, you can roll a piano on a hardwood floor if done correctly. This means using furniture sliders or a piano dolly to distribute the weight and allow smooth movement without direct contact with the floor. It’s important to take precautions such as protecting the corners of walls and doorways, clearing a path, and enlisting help to ensure a safe and damage-free roll.
You should avoid dragging or rolling the piano without proper equipment, as this can damage both the piano and the hardwood floors. Taking the necessary precautions and using additional tips and tricks in this guide will help you successfully move your piano across hardwood floors without any issues.
Conclusion
How to move a piano on hardwood floors requires careful planning, the right tools, and a methodical approach to prevent damage to both the piano and the flooring. The key lies in preparation, from using furniture sliders to protect the floor to securing the piano itself and ensuring the weight is evenly distributed.
The guidance provided in this guide emphasizes the importance of taking precautions such as clearing the path, using floor protection, and enlisting sufficient help to make the process smoother and safer.
Although the task may seem daunting, adhering to these best practices can significantly reduce the risks. If uncertainty persists, or to guarantee the safety of your instrument and floors, consulting with or hiring professional piano movers may be the wisest course of action.
Ultimately, with the right preparation and care, moving a piano across hardwood floors can be accomplished successfully without damaging the floor.
About the Author
Adrian Green, a lifelong woodworking enthusiast, shares his passion for the craft through The Woodenify Blog. With a foundation built on years of hands-on experience in his father’s woodworking shop, Adrian is dedicated to helping others learn and grow in the world of DIY woodworking. His approach to woodworking combines creativity, practicality, and a deep appreciation for the art of building with your own hands. Through his blog, he inspires individuals of all skill levels to embark on their own woodworking journeys, creating beautiful, functional pieces of furniture and décor.
Professional Focus
- Specializes in DIY woodworking projects, from furniture to home décor.
- Provides step-by-step guides and practical tutorials for woodworkers of all skill levels.
- Dedicated to helping readers build confidence and skill through easy-to-follow instructions and tips.
- Passionate about fostering a community of makers who can share, learn, and grow together.
Education History
- University of Craft and Design – Bachelor of Fine Arts (BFA) in Woodworking and Furniture Design
- Woodworking Apprenticeships – Extensive hands-on training with skilled craftsmen to refine carpentry and furniture making techniques.
- Online Courses & Masterclasses – Continued education in advanced woodworking techniques, design principles, and specialized tools
Expertise:
- DIY woodworking, carpentry, furniture making, and home décor projects.
- Creating accessible tutorials and guides for beginner to advanced woodworkers.
- Sharing the joys and satisfaction of woodworking, from raw materials to finished products.