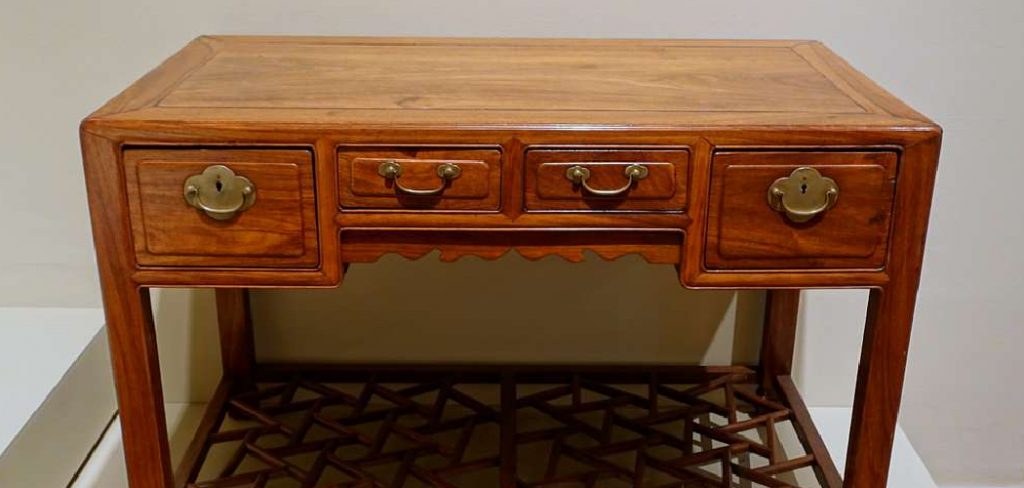
Updating an old secretary desk can not only rejuvenate your space but also infuse a sense of personal style into your home office or study area. If you’re looking to breathe new life into a piece of furniture that holds both utility and charm, this guide is for you. We will walk you through the step-by-step process of how to paint a secretary desk, ensuring you end up with a beautiful and durable finish.
Why Paint Your Secretary Desk?
Painting your secretary desk is a cost-effective way to revamp an old piece of furniture. A fresh coat of paint can dramatically change its look, making it fit better with your current decor. It’s also a fantastic way to personalize a standard piece of furniture, transforming it into something uniquely yours.
Gather Your Materials
Before you begin, gather all the necessary materials:
- Sandpaper (120-grit and 220-grit)
- Tack cloth
- Primer
- Paint (latex or chalk paint)
- Brushes and rollers
- Painter’s tape
- Drop cloth
- Screwdriver
- Wood filler (if needed)
Having everything ready will make the painting process smoother and more enjoyable.
7 Steps for How to Paint a Secretary Desk
Preparing the Desk
Preparation is key to achieving a professional-looking paint job. Start by removing any hardware, such as knobs and handles, using a screwdriver. This will prevent them from getting in the way or getting paint on them.
Next, place the desk on a drop cloth to protect your floors. Use painter’s tape to cover any areas you do not want to paint, such as glass panels or intricate inlays.

Cleaning the Surface
Once the desk is prepped, clean it thoroughly to remove any dust, grime, or oils that could interfere with the paint adhering properly. Use a damp cloth with mild soap, then dry the surface completely with a clean towel.
Sanding the Desk
Sanding the desk is crucial for a smooth finish. Begin with 120-grit sandpaper to remove any existing finish, varnish, or uneven spots. After the initial sanding, follow up with 220-grit sandpaper to create a fine, smooth surface. Use a tack cloth to remove all sanding dust.
Fixing Imperfections
Inspect the desk for any dents, scratches, or holes that need filling. Use wood filler to repair these imperfections, then allow it to dry completely. Once dry, sand the filled areas smooth with 220-grit sandpaper and clean off any dust with a tack cloth.
Choosing the Right Primer
Priming is a crucial step that should not be skipped. A good primer will help the paint adhere better and last longer. Choose a primer suitable for the type of paint you are using. Apply a thin, even coat of primer using a brush or roller, and allow it to dry according to the manufacturer’s instructions.
Applying the Paint
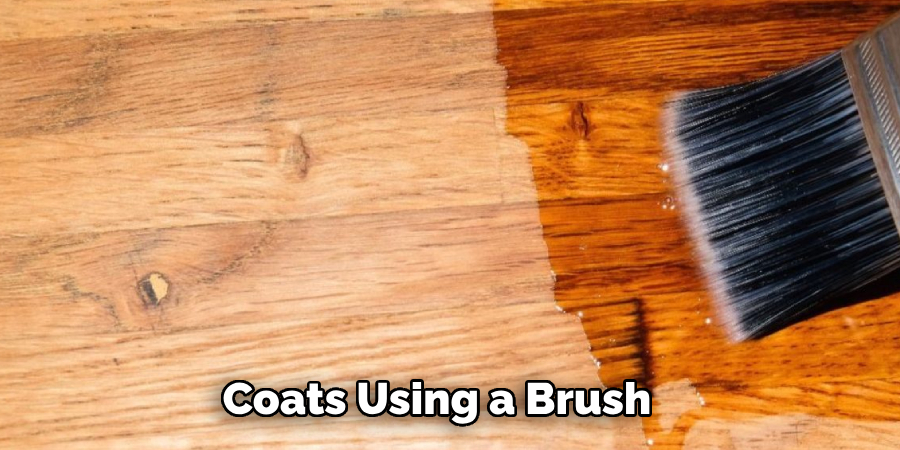
When it comes to painting, you have options. Latex paint is durable and easy to clean, while chalk paint offers a vintage, matte finish that’s easy to distress for a shabby chic look. Whichever paint you choose, apply it in thin, even coats using a brush for details and a roller for larger, flat surfaces.
Allow each coat to dry completely before applying the next one. This will ensure a smooth, streak-free finish. Depending on the color and type of paint, you may need two to three coats for full coverage.
Painting the Details
Secretary desks often have intricate details that may require a bit more attention. Use a small, high-quality brush to carefully paint these areas. Take your time to avoid drips and ensure even coverage.
Adding a Protective Finish
Once the final coat of paint has dried completely, applying a protective finish is essential for ensuring the longevity of your newly painted secretary desk. A clear topcoat, such as polyurethane or a wax finish, can, stains, and wear while enhancing the overall appearance. If you opt for a water-based polyurethane, apply it with a clean brush in thin layers, allowing each coat to dry thoroughly before adding another—typically two to three coats are recommended for optimal protection.
For a softer, more matte finish, consider using a furniture wax; simply apply with a soft cloth, buffing it to a sheen after it dries. Make sure to follow the manufacturer’s instructions for the best results, and let the desk cure for a few days before putting it back into regular use. This added layer will ensure that your transformation not only looks great but also stands the test of time.
Reattaching Hardware
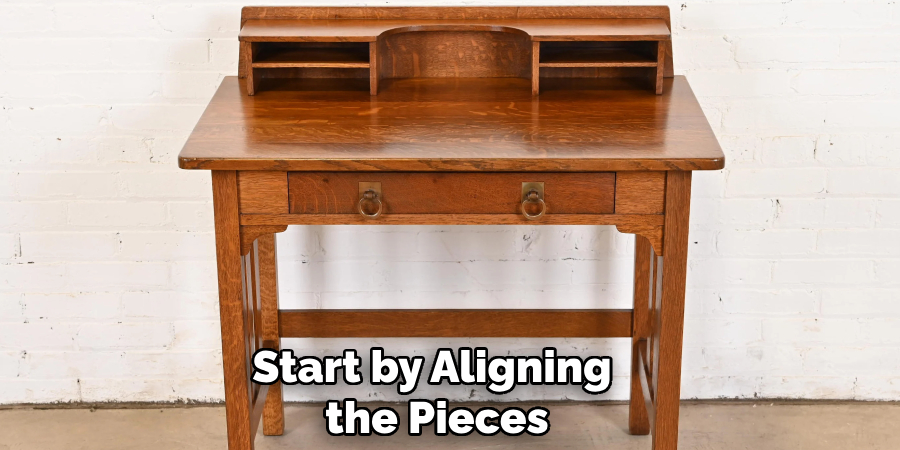
After your protective finish has cured, it’s time to reattach the hardware to your secretary desk. Begin by gathering all the knobs, handles, and hinges you previously removed. If you opted for a new hardware style to update the desk’s look, ensure that everything is laid out and organized for easy access. Start by aligning the pieces in their respective locations, making sure that any screws or attachments fit snugly. Using a screwdriver, carefully secure each piece without overtightening, as this can strip the screw holes or damage the paint. Finally, step back and admire your work—your freshly painted secretary desk is now complete and ready to showcase your personal style!
Styling Your Desk
Now that your secretary desk is beautifully painted and the hardware has been reattached, it’s time to style it to reflect your personal taste and create a functional workspace. Consider the following tips to enhance its aesthetic appeal and usability:
Choose a Theme
Select a theme that complements the rest of your space. Whether you prefer a minimalist look, vintage charm, or a vibrant, modern style, choose decor and accessories that align with your chosen theme.
Add Functional Accessories
Incorporate items that make your desk both stylish and practical. A stylish desk organizer can help keep your stationery in place, while decorative trays can hold important documents. Consider adding a chic lamp to provide adequate lighting, especially for nighttime work.
Personal Touches
Infuse your personality into the design by adding personal touches. Display framed photos, artwork, or inspirational quotes that resonate with you. Plants, whether real or faux, can also bring life to your desk, improving air quality while adding a touch of nature.
Consider the Layout
Be mindful of how you arrange items on your desk. Ensure that the most frequently used items are easily accessible, while decorative elements can be positioned for maximum visual impact. A well-organized desk not only looks great but also boosts productivity.
Maintenance Tips
To keep your freshly painted secretary desk looking its best, regular maintenance is essential. Here are some helpful tips to ensure its longevity:
- Dust Regularly: Use a soft, dry cloth to dust the surface of your desk weekly. This will help prevent the buildup of dirt and grime that can dull the paint’s finish.
- Avoid Harsh Chemicals: When cleaning, opt for mild soap and water. Avoid using abrasive cleaners or pads that could scratch the paint.
- Protect From Direct Sunlight: Position your desk away from direct sunlight to prevent fading and deterioration of the paint. If that’s not possible, consider using window treatments to filter the light.
- Use Coasters and Mats: Always place coasters under drinks and use desk mats for hot items to prevent heat or moisture damage.
- Touch Up as Needed: Keep a small amount of leftover paint for touch-ups. Address any nicks or scratches promptly to maintain the desk’s appearance.
Things to Consider When Styling Your Secretary Desk
As you embark on the journey of styling your newly painted secretary desk, it’s important to keep a few key considerations in mind to ensure both aesthetics and functionality are achieved:
- Space and Scale: Evaluate the size of your desk and the surrounding area. Choose decor and accessories that are proportionate to the desk’s dimensions and your room’s scale to maintain balance and harmony.
- Functionality vs. Aesthetics: While it’s easy to get carried away with beautiful decor, remember that your desk should primarily serve its purpose. Prioritize practical items that enhance your workflow before layering on decorative elements.
- Color Palette: Consider the existing color scheme of your room. Choosing decor that complements or contrasts effectively with your desk’s new colour will tie the room together and create a cohesive look.
- Lighting Considerations: Ensure that your desk is adequately lit for functionality. Natural light is ideal, but also incorporate task lighting to enhance visibility, especially during evening hours or in dimly lit spaces.
- Ease of Access: Be mindful of the layout of your items. Frequently used items should be easily accessible, while decorative pieces can be placed in more prominent visual locations.

Conclusion
Painting a secretary desk is a rewarding project that can transform an outdated piece of furniture into a stunning focal point for your home. The process requires some preparation and patience, but the result is well worth the effort. By following this guide, you can achieve a professional finish that reflects your personal style and enhances your space. Hopefully, this article gave you some helpful tips about how to paint a secretary desk successfully, so now that you have the proper knowledge on how to get the job done, why not give it a try today?
About the Author
Adrian Green, a lifelong woodworking enthusiast, shares his passion for the craft through The Woodenify Blog. With a foundation built on years of hands-on experience in his father’s woodworking shop, Adrian is dedicated to helping others learn and grow in the world of DIY woodworking. His approach to woodworking combines creativity, practicality, and a deep appreciation for the art of building with your own hands. Through his blog, he inspires individuals of all skill levels to embark on their own woodworking journeys, creating beautiful, functional pieces of furniture and décor.
Professional Focus
- Specializes in DIY woodworking projects, from furniture to home décor.
- Provides step-by-step guides and practical tutorials for woodworkers of all skill levels.
- Dedicated to helping readers build confidence and skill through easy-to-follow instructions and tips.
- Passionate about fostering a community of makers who can share, learn, and grow together.
Education History
- University of Craft and Design – Bachelor of Fine Arts (BFA) in Woodworking and Furniture Design
- Woodworking Apprenticeships – Extensive hands-on training with skilled craftsmen to refine carpentry and furniture making techniques.
- Online Courses & Masterclasses – Continued education in advanced woodworking techniques, design principles, and specialized tools
Expertise:
- DIY woodworking, carpentry, furniture making, and home décor projects.
- Creating accessible tutorials and guides for beginner to advanced woodworkers.
- Sharing the joys and satisfaction of woodworking, from raw materials to finished products.