Painting children’s furniture, such as tables and chairs, can be a delightful and rewarding project that breathes new life into old pieces. Not only does it provide an opportunity for creative expression, but it also allows you to tailor the colors and designs to match your child’s personality or room decor.
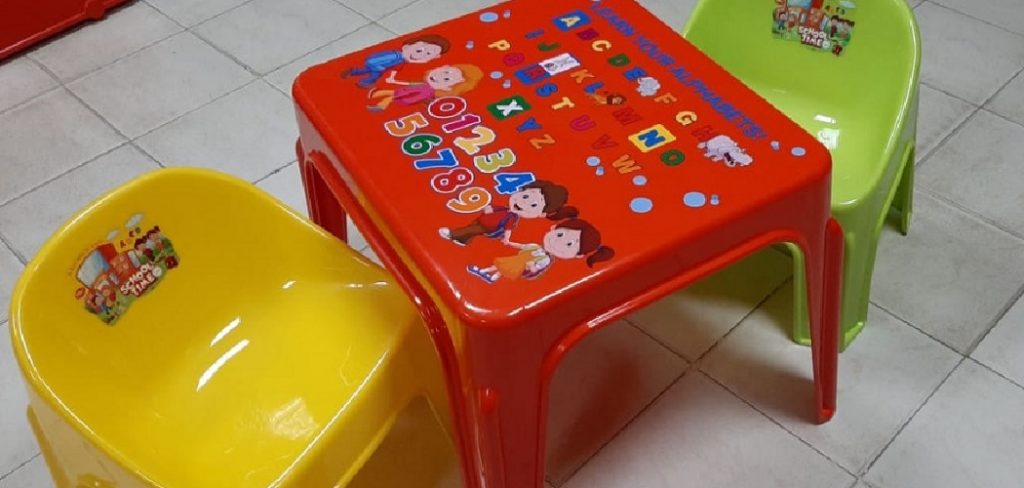
This guide on how to paint children’s table and chairs will walk you through the steps needed to transform plain furniture into vibrant, fun items that can spark joy and imagination in your child’s play area. Whether you’re updating a thrift store find or refreshing a well-loved piece, the process can be enjoyable for both you and your little ones.
Why Paint Children’s Table and Chairs?
There are many reasons why you might want to paint your child’s furniture. Perhaps the pieces have seen better days and could use a fresh coat of paint to make them look new again. Or maybe your little one has outgrown the current colour scheme or theme, and you want to update it without having to purchase new furniture. Whatever your reason may be, painting is an easy and budget-friendly way to give old items a fresh start.
The best part about painting children’s furniture is that it allows you to be creative and make something unique for your child. You can choose from a variety of colors, patterns, and designs to match your interests and preferences. Plus, involving your child in the process can be a fun bonding activity.
Materials Needed
Before getting started, make sure you have all the necessary materials on hand:
Sandpaper or Sanding Block:
This will help you smoothen out any rough or uneven surfaces on the furniture.
Primer:
A good quality primer is essential for promoting paint adhesion and ensuring a smooth finish.
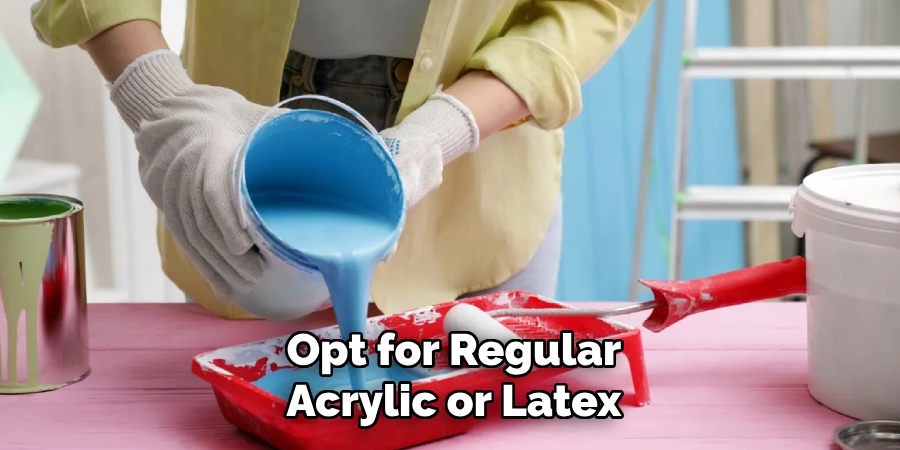
Paint:
Choose a non-toxic, child-friendly paint in your desired ccolor s). You can opt for regular acrylic or latex paint or go with speciality paints designed specifically for children’s furniture.
Brushes:
A variety of brush sizes will come in handy for different areas and details. Natural bristle brushes are best suited for oil-based paints, while synthetic bristles work well with latex paints.
Painter’s Tape:
This will protect any areas that you do not want to get painted, such as the legs of chairs or the edges of a table.
Drop Cloth:
To protect your floors or work surfaces from paint spills.
7 Step-by-step Guides on How to Paint Children’s Table and Chairs
Step 1: Prepare the Furniture
Preparation is key to achieving a beautiful finish on your painted furniture. Start by cleaning the table and chairs thoroughly to remove any dirt, grease, or sticky residues that may affect paint adhesion. Use a mild soap and water solution, then allow the pieces to dry completely.
Next, inspect the surfaces for any scratches, dents, or peeling paint. If you find any imperfections, use sandpaper or a sanding block to smooth them out, focusing on areas that will be visible after painting. Once the surface is smooth, wipe away any dust with a damp cloth.
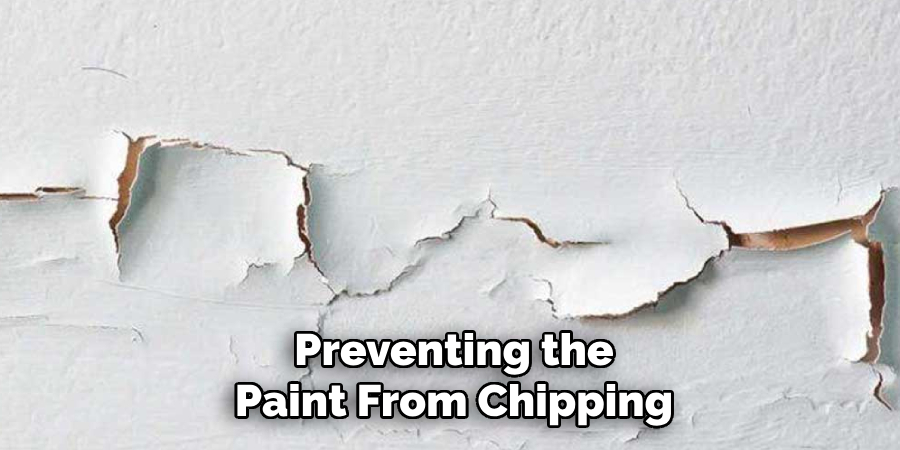
Step 2: Prime the Furniture
Applying a coat of primer to your furniture is crucial for achieving a professional-looking finish. It acts as an intermediary layer between the surface and the paint, promoting better adhesion and preventing the paint from chipping or peeling.
Before priming, make sure to stir the primer well and pour it into a paint tray. Use a brush or roller to apply an even coat of primer over the furniture, following the direction of the wood grain. Allow the primer to dry completely before proceeding to the next step.
Step 3: Choose Your Paint Colour(s)
Selecting the right paint color is an exciting part of the process that allows for personal expression. Consider your child’s preferences, their room decor, and the overall theme you want to create. Bright, bold colors can energize a playroom, while softer pastels can create a calm, inviting atmosphere.
Don’t hesitate to mix and match different colors for a more playful touch or to create patterns such as stripes or polka dots. Additionally, test the colors on a small area or on a piece of cardboard to see how they look once dried—lighting can significantly affect the appearance of paint. This step is not only about aesthetics, but also about cultivating a space that reflects your child’s personality and sparks their creativity.
Step 4: Paint the Furniture
Once the primer is dry, it’s time to paint! Use a brush or roller to apply an even coat of paint over the furniture, again following the direction of the wood grain. Depending on your chosen paint type and coverage, you may need to apply multiple coats for a solid, opaque finish. Be sure to allow each coat to dry completely before applying the next one.
For more intricate details or designs, use smaller brushes or even stencils. This is where you can get creative and involve your child in adding their personal touch.
Step 5: Add Finishing Touches
Adding finishing touches can elevate your painted furniture and give it a polished look. Once the final coat of paint is completely dry, carefully remove the painter’s tape to reveal clean lines. If desired, consider applying a clear, non-toxic sealer or topcoat to protect the paint and enhance its durability, especially since children’s furniture is subject to more wear and tear.
Choose finishes such as satin or semi-gloss for added appeal. For extra character, you may also add decorative elements like stencils or stickers that match your child’s interests—perhaps favorite characters or fun shapes. Finally, allow everything to cure according to the product instructions before using the furniture to ensure the durability of your hard work.

Step 6: Clean Up
Once you’ve completed painting and added the finishing touches, it’s time to clean up your workspace. Start by carefully removing any drop cloths or protective coverings folding them up for future projects. Wipe down any surfaces that may have gotten paint splatters or spills using a damp cloth and a mild cleaner if necessary.
Clean your brushes and rollers according to the paint manufacturer’s instructions; for water-based paints, simply rinse them in warm, soapy water, while oil-based paints usually require a solvent such as mineral spirits. Proper cleaning ensures your tools remain in good condition for your next creative venture. Finally, dispose of any paint cans or materials according to local regulations, and be sure to store any leftover paint in a cool, dry place labelled with the project details for future touch-ups.
Step 7: Enjoy Your Newly Painted Furniture
Congratulations, you’ve successfully transformed your children’s table and chairs into a fun and functional piece of furniture! Allow the paint to cure completely before using it. When ready, invite your child to enjoy their newly painted furniture by using it for meals, homework, or creative activities.
Take pride in knowing that not only have you saved money by upcycling old furniture, but also created a personalized space for your child that reflects their unique style. Don’t forget to snap some photos of the finished product and share them with family and friends! Happy painting!
Additional Tips
Safety First:
Always ensure that the workspace is well-ventilated, especially when working with paint and primers. Consider wearing masks and gloves to protect yourself from fumes and skin irritation. Additionally, if you have young children around, make sure to keep all paint and tools out of their reach.
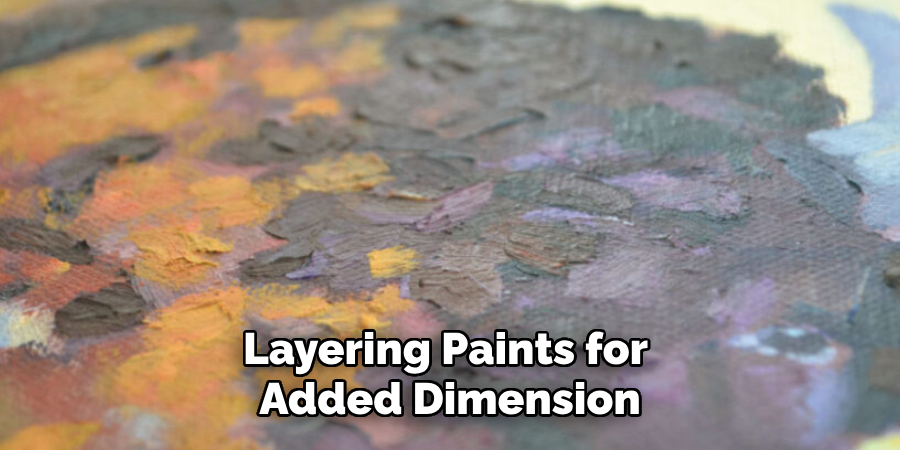
Experiment with Different Techniques:
Apart from using different colors, you can also experiment with techniques such as distressing or antiquing for a vintage look or layering paints for added dimension. Don’t be afraid to try new things and see what works best for your furniture piece!
Upcycle Other Furniture Pieces:
This painting process can be used on various furniture pieces, not just children’s tables and chairs. Consider upcycling other items in your home that may need a fresh coat of paint. This is an excellent way to give old furniture a new lease on life and save money on buying new pieces.
Involve Your Child:
Don’t be afraid to involve your child in the painting process. Not only does it teach them valuable skills, but it also allows them to express their creativity and have a sense of ownership over their furniture. They can even help with choosing colors and patterns for a truly personalized piece! Remember to provide age-appropriate tasks and supervise them closely at all times.
With these tips and steps on how to paint children’s table and chairs, you can easily transform old, worn-out furniture into vibrant new pieces that are sure to bring joy and functionality to your child’s space. Happy painting!
Conclusion
Transforming your child’s furniture through painting not only revitalises the space but also creates an opportunity for creativity and bonding. By following the steps outlined on how to paint children’s table and chairs, from preparation to cleanup, you can achieve stunning results that reflect your child’s personality and interests. Remember, the process is just as important as the outcome; involve your child, experiment with colours and techniques, and take joy in the journey of upcycling.
With care and creativity, your DIY project can become a cherished part of your home, encouraging your child to engage in their environment and fostering a sense of pride in their personalized space. Happy painting!
About the Author
Adrian Green, a lifelong woodworking enthusiast, shares his passion for the craft through The Woodenify Blog. With a foundation built on years of hands-on experience in his father’s woodworking shop, Adrian is dedicated to helping others learn and grow in the world of DIY woodworking. His approach to woodworking combines creativity, practicality, and a deep appreciation for the art of building with your own hands. Through his blog, he inspires individuals of all skill levels to embark on their own woodworking journeys, creating beautiful, functional pieces of furniture and décor.
Professional Focus
- Specializes in DIY woodworking projects, from furniture to home décor.
- Provides step-by-step guides and practical tutorials for woodworkers of all skill levels.
- Dedicated to helping readers build confidence and skill through easy-to-follow instructions and tips.
- Passionate about fostering a community of makers who can share, learn, and grow together.
Education History
- University of Craft and Design – Bachelor of Fine Arts (BFA) in Woodworking and Furniture Design
- Woodworking Apprenticeships – Extensive hands-on training with skilled craftsmen to refine carpentry and furniture making techniques.
- Online Courses & Masterclasses – Continued education in advanced woodworking techniques, design principles, and specialized tools
Expertise:
- DIY woodworking, carpentry, furniture making, and home décor projects.
- Creating accessible tutorials and guides for beginner to advanced woodworkers.
- Sharing the joys and satisfaction of woodworking, from raw materials to finished products.