Painting a Kallax unit can be a simple yet transformative project that allows you to personalise and refresh your space. With its clean lines and versatile design, the Kallax is not only practical for storage but also serves as a stylish addition to any room.
In this guide, we’ll explore how to paint kallax, materials, and tips needed to achieve a professional-looking finish, ensuring your Kallax not only meets your storage needs but also complements your decor beautifully. Whether you’re looking for a bold colour statement or a subtle update, this project is perfect for both beginner and experienced DIY enthusiasts.
The Popularity of IKEA’s Kallax Shelving Unit
IKEA’s Kallax shelving unit has gained widespread popularity due to its functional design and affordability. Its modular nature allows for versatile configurations, making it ideal for various spaces such as living rooms, home offices, and bedrooms. Additionally, the Kallax comes in a variety of sizes and finishes, catering to a broad range of aesthetic preferences and interior styles.
The minimalist design complements contemporary decor, while its robust construction ensures durability. Moreover, the ability to customise the unit with doors, baskets, and other accessories adds to its appeal, as users can create a storage solution that meets their specific needs while expressing personal style. This remarkable blend of form and function continues to make Kallax a beloved choice among shoppers seeking stylish, practical storage options.
Understanding the Kallax Shelving Unit
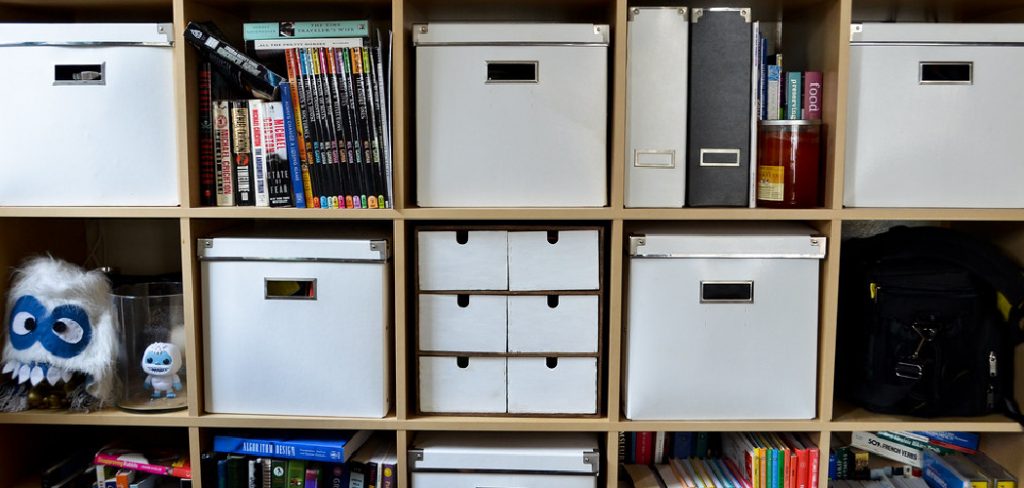
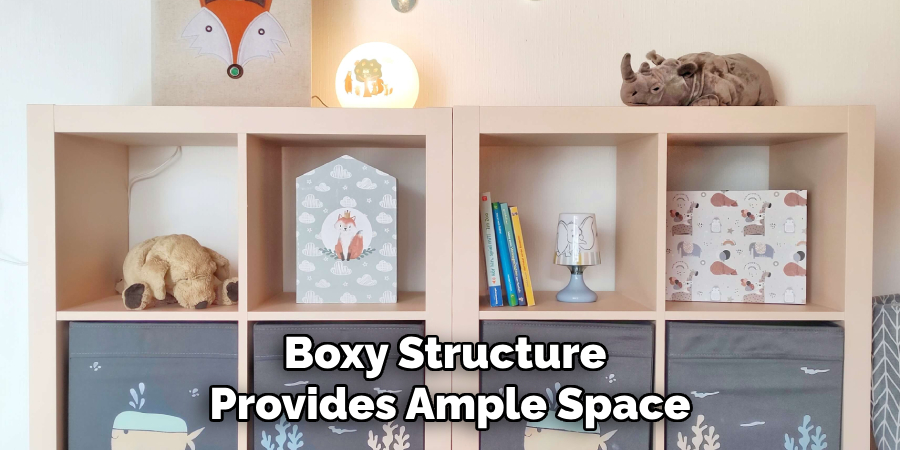
The Kallax shelving unit is designed with both versatility and practicality at its core. Its simplistic, boxy structure provides ample space for storing and displaying books, decorative items, and other essentials.
Manufactured with high-quality particleboard and finished with a melamine coating, the Kallax is not only easy to clean but also resistant to scratches and moisture, making it suitable for various environments. The unit is available in multiple finishes, such as white, oak, and black-brown, allowing it to blend seamlessly with any interior decor.
Additionally, the open-back design of certain Kallax models encourages airflow, making them ideal for use as room dividers. Understanding these key features enables users to maximise the potential of the Kallax shelving unit, tailoring it to suit individual needs and preferences while enhancing their living space.
Common Uses and Configurations of the Kallax in Home Decor
The Kallax shelving unit is remarkably adaptable, making it a suitable choice for various applications throughout the home. One popular use is as a bookcase, where the cube-shaped compartments can house not just books but also decorative bins or baskets for added storage, keeping the space tidy while infusing personality. In living rooms, Kallax units can serve as stylish media storage, accommodating televisions, gaming consoles, and audio components while also displaying decorative items like plants and art pieces.
In bedrooms, Kallax can function as a creative bedside table, offering a combination of open and closed storage for essentials and personal items. Further, the unit is often utilised as a room divider in open-plan living spaces, creating distinct areas without sacrificing light or openness.
With the ability to stack units or place them side by side, homeowners can customise configurations to meet their specific needs, ensuring that the Kallax remains a practical and fashionable addition to any decor scheme.
Assessing Your Kallax

Before diving into a painting project, it’s crucial to assess your Kallax unit to determine its condition and the best approach for your transformation. Start by inspecting the surface for any scratches, dents, or wear and tear, as addressing these imperfections will help achieve a smoother finish.
Clean the surfaces thoroughly to remove dust, grime, and any existing oils that may hinder paint adhesion. Additionally, consider the current colour and finish of your Kallax; this might influence your choice of paint type and the number of coats required to achieve optimal coverage. Understanding your unit’s condition will guide your preparation and ensure your painting project yields the desired results.
Preparing Your Workspace
Creating an efficient and organised workspace is essential for a successful painting project. Start by selecting a well-ventilated area to avoid inhaling fumes from the paint. It’s advisable to work outdoors or in a garage, but if that’s not possible, ensure that windows are opened to promote airflow. Lay down a drop cloth or old newspaper to protect the floor and surrounding surfaces from paint splatters.
Gather all necessary materials, such as paint, brushes, rollers, painter’s tape, and sanding supplies, and keep them within arm’s reach to minimise interruptions. Additionally, wearing old clothes or an apron can help prevent any accidental stains on your attire.
Finally, consider placing the Kallax on a pair of sawhorses or an elevated surface to make painting easier and keep it off the ground, which will further support a clean and efficient workspace.
10 Steps for How to Paint Kallax
- Choose Your Paint: Select a high-quality paint suitable for furniture, such as acrylic or latex paint, preferably in a sheen that complements your desired finish (matte, satin, or glossy).
- Gather Materials: You’ll need painter’s tape, a drop cloth or newspaper, a paintbrush or roller, sandpaper (240-grit), primer (if necessary), and a clear sealant for protection.
- Prepare the Area: Lay down a drop cloth to protect your floors and any surrounding furniture from spills and splatters. Ensure the area is well-ventilated.
- Remove Hardware: If your Kallax unit has any handles or knobs, take them off to avoid painting them and to ensure a cleaner finish.
- Clean the Surface: Wipe down the Kallax with a damp cloth to remove dust and grease. Allow it to dry completely.
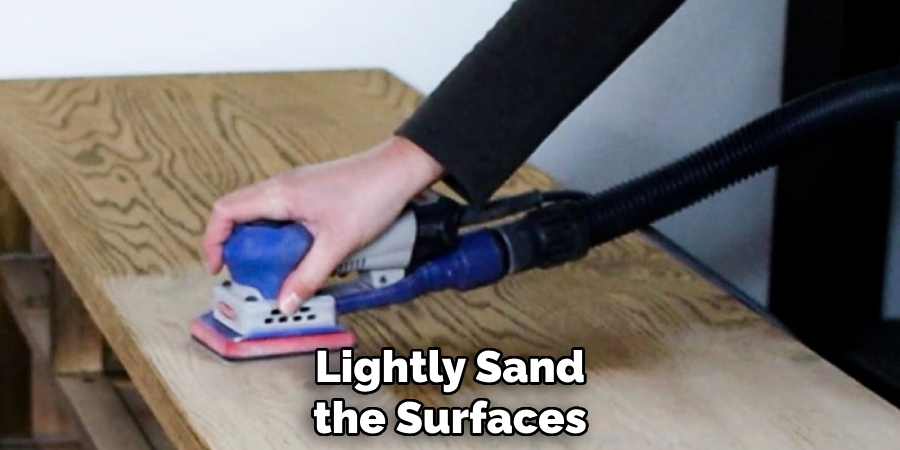
- Sand the Surface: Lightly sand the surfaces of the Kallax to promote better paint adhesion. Wipe away any dust created from sanding with a clean cloth.
- Prime If Necessary: If you’re painting over a dark colour or a surface that may bleed through, apply a coat of primer. Allow it to dry according to the manufacturer’s instructions.
- Tape Off Edges: Use painter’s tape to cover any areas you want to protect from paint, such as edges and the floor.
- Apply Paint: Using a brush or roller, apply the paint in even strokes. Start with the edges and details, and then fill in the larger areas. Allow the first coat to dry as per the paint can instructions before applying a second coat.
- Finish with a Sealant: Once the paint has fully dried, apply a clear sealant to protect the finish from scratches and wear. Reattach any hardware that was removed, and enjoy your newly painted Kallax!
Choosing the Right Paint and Finish
Selecting the appropriate paint and finish for your Kallax unit is crucial to ensuring a durable and aesthetically pleasing result. Begin by considering the material of the shelving unit; most Kallax units are made from a particleboard or MDF that requires specific types of paint for optimal adhesion and longevity.
For a smooth, professional look, acrylic or latex paints are highly recommended, as they adhere well and can withstand everyday wear and tear.
When it comes to finish, think about the desired aesthetic in your space. A matte finish offers a soft, understated appearance, while satin provides a subtle sheen that can help reflect light and enhance the colour. Glossy finishes, on the other hand, are perfect for high-traffic areas since they are more resistant to stains and easier to clean.
Additionally, consider using paint that includes a primer for better coverage, particularly if you’re changing from a dark to a lighter colour. Always test a small area first to see how the paint looks when dry, ensuring it matches your vision before proceeding with the entire unit.
Things to Consider When Painting Your Kallax
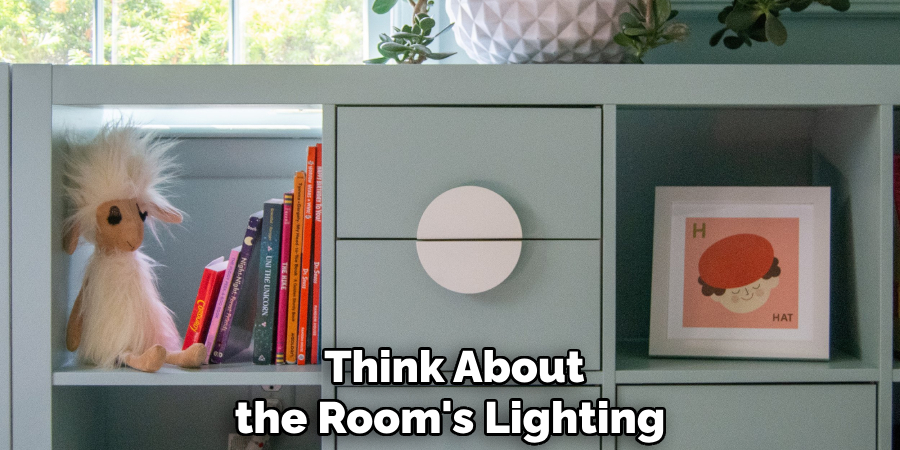
When embarking on your Kallax painting project, there are several important factors to consider to ensure the best possible outcome. First, think about the room’s lighting; natural light can significantly impact how the paint colour appears, so it’s wise to test swatches in the intended space. Additionally, consider the overall colour scheme of the room to ensure that your new Kallax complements existing decor.
Another consideration is the usage of the Kallax unit—will it primarily hold books, decorative items, or be used as a storage space for frequently accessed items? This will influence not only the colour and finish you choose but also the type of sealant to apply, as a more durable finish may be necessary for high-traffic storage. Lastly, take into account the time required for each step in the process; proper preparation, application, and drying time will be essential to achieve a smooth, professional result. Planning ahead will help you manage your project effectively, leading to a beautifully transformed piece.
Conclusion
Painting your Kallax unit can be a rewarding project that breathes new life into your space while providing a personal touch to your home decor. With careful preparation, the right materials, and attention to detail, you can achieve a professional-looking finish that enhances both the functionality and aesthetic appeal of your furniture. Remember to consider the various factors discussed, such as paint type, finish, and the Kallax’s intended use, to ensure your final result is both attractive and durable. Thanks for reading, and we hope this has given you some inspiration on how to paint kallax!
About the Author
Adrian Green, a lifelong woodworking enthusiast, shares his passion for the craft through The Woodenify Blog. With a foundation built on years of hands-on experience in his father’s woodworking shop, Adrian is dedicated to helping others learn and grow in the world of DIY woodworking. His approach to woodworking combines creativity, practicality, and a deep appreciation for the art of building with your own hands. Through his blog, he inspires individuals of all skill levels to embark on their own woodworking journeys, creating beautiful, functional pieces of furniture and décor.
Professional Focus
- Specializes in DIY woodworking projects, from furniture to home décor.
- Provides step-by-step guides and practical tutorials for woodworkers of all skill levels.
- Dedicated to helping readers build confidence and skill through easy-to-follow instructions and tips.
- Passionate about fostering a community of makers who can share, learn, and grow together.
Education History
- University of Craft and Design – Bachelor of Fine Arts (BFA) in Woodworking and Furniture Design
- Woodworking Apprenticeships – Extensive hands-on training with skilled craftsmen to refine carpentry and furniture making techniques.
- Online Courses & Masterclasses – Continued education in advanced woodworking techniques, design principles, and specialized tools
Expertise:
- DIY woodworking, carpentry, furniture making, and home décor projects.
- Creating accessible tutorials and guides for beginner to advanced woodworkers.
- Sharing the joys and satisfaction of woodworking, from raw materials to finished products.