Painting oak cabinets can transform the look of your kitchen or bathroom while providing a cost-effective alternative to replacement. With their sturdy structure and classic appeal, oak cabinets serve as a great foundation for a fresh new finish.

This guide on how to paint oak cabinets will walk you through the necessary steps, from preparing the surfaces and selecting the right paint to applying techniques that ensure a professional-looking result. Whether you’re looking for a timeless white finish or a bold color choice, this process will help you achieve a beautiful, updated appearance that enhances the overall aesthetic of your space.
What is Oak?
Oak is a type of hardwood commonly used in cabinetry and furniture. Its sturdy construction, beautiful grain pattern, and durability make it a popular choice for homeowners seeking quality and longevity in their home furnishings. Oak cabinets can be found in a variety of styles, including traditional, contemporary, and rustic designs.
You can identify oak by its light to medium brown color and distinct grain pattern, which features straight lines with occasional wavy or spiral designs. Oak is also known for its strength, making it an ideal choice for cabinets that need to withstand heavy use.
Needed Materials
Before starting the painting process, it’s essential to gather all the necessary materials. This ensures a smooth and efficient process while avoiding any delays or interruptions.
Sandpaper (Medium and Fine Grit):
Sandpaper is essential for prepping the surface of oak cabinets for paint. Medium grit sandpaper (120-150) removes any rough or uneven areas, while fine grit sandpaper (220-240) smooths out the surface for a flawless finish.
Tack Cloth:
After sanding, it’s crucial to remove any dust particles from the surfaces. A tack cloth is a sticky cloth specifically designed for this task and helps ensure a clean surface before painting.
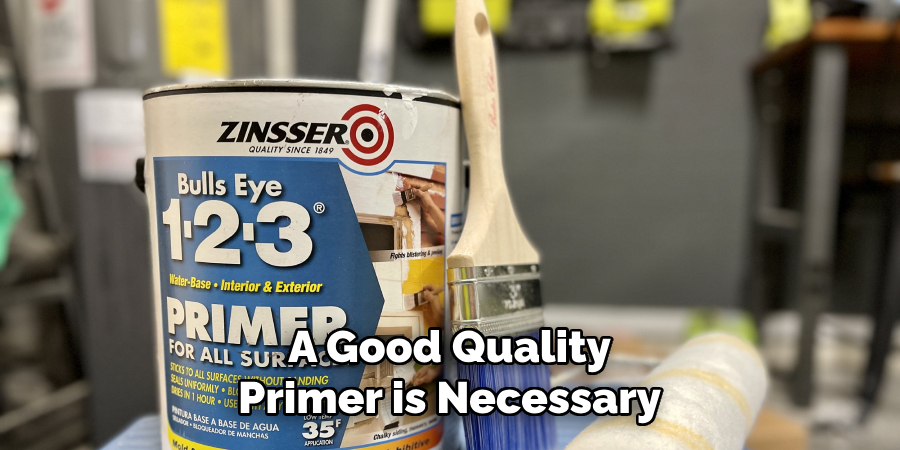
Primer:
A good quality primer is necessary to help the paint adhere to the oak cabinets properly. Choose a primer that specifically states it can be used on wood surfaces.
Paint:
When it comes to selecting paint for your oak cabinets, there are various options to consider. You can choose from a variety of finishes such as matte, satin, or gloss and select a color that complements your desired look.
Paintbrushes:
Invest in high-quality paintbrushes for the best results. A 2-3 inch angled brush is ideal for painting large areas, while smaller brushes can be used for detailed work.
Painter’s Tape:
Painter’s tape is essential for creating clean lines and protecting any areas you don’t want to get painted. Make sure to use high-quality tape that won’t leave residue or damage the surfaces when removed.
Drop Cloths:
Protect your floors and countertops with drop cloths to catch any paint drips or spills. Old sheets or plastic tarps work well as drop cloths, too.
8 Step-by-step Guidelines on How to Paint Oak Cabinets
Step 1: Remove Cabinet Doors and Hardware
Before you begin the painting process, it’s crucial to remove the cabinet doors and any hardware, such as knobs and hinges. Start by carefully unscrewing the hardware from each door, placing the screws in a labeled container to avoid losing them.
Next, detach the cabinet doors from the frames by unscrewing them from the hinges. If possible, remove any adjustable shelving as well to ensure you can easily paint the entire cabinet structure without obstructions. This step will provide easier access to all surfaces, resulting in a professional-looking finish.
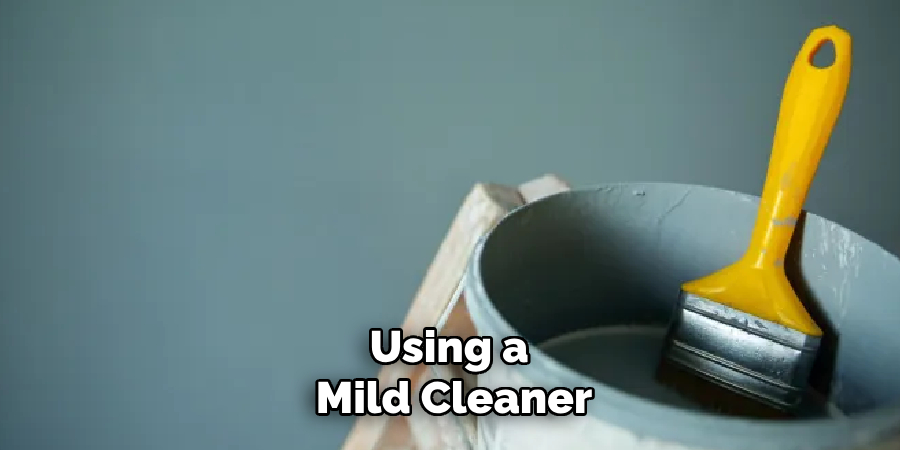
Step 2: Clean and Prep the Surfaces
Using a mild cleaner, thoroughly clean all surfaces of the cabinets to remove any dirt, grease, or grime. Once cleaned, rinse with water and allow the surfaces to dry completely.
Next, use medium grit sandpaper to sand down all surfaces of the cabinets. This step will help the primer and paint adhere better to the oak cabinets. After sanding, use a tack cloth to remove any dust particles from the surfaces.
Step 3: Prime the Cabinets
Using a high-quality primer specifically designed for wood surfaces, apply an even coat over all areas of the cabinets using a paintbrush or roller. Follow the manufacturer’s instructions for drying times, but typically, a primer will need to dry for at least 24 hours before painting.
Priming is crucial for achieving a smooth and lasting finish, as it helps seal the wood and creates an even surface for the paint to adhere to.
Step 4: Paint the Cabinets
Once the primer has fully dried, it’s time to start painting! Using a high-quality paintbrush or roller, apply an even coat of paint in long, smooth strokes. Start from the top of each cabinet door and work your way down for best results.
If using multiple coats of paint, make sure each layer is completely dry before applying the next one. This process may take several days, but it will result in a more durable and professional-looking finish.
Step 5: Add a Second Coat of Paint
For an even more solid and uniform finish, consider adding a second coat of paint. This step is optional, but it can help cover any imperfections or uneven areas from the first layer of paint. Again, make sure each layer is dry before applying the next one.
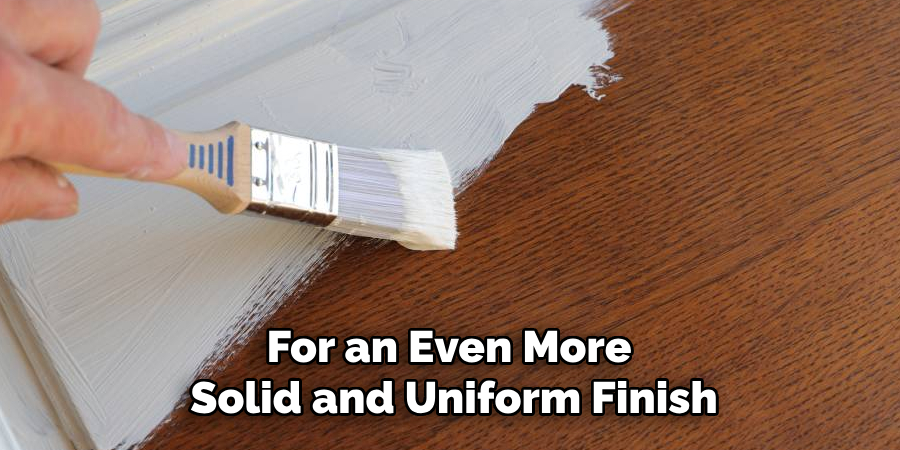
The number of coats needed will depend on the type and color of paint used, but typically, two coats are sufficient for oak cabinets.
Step 6: Let Dry and Reattach Hardware
After the final coat of paint has fully dried, carefully reattach the cabinet doors to the frames using the same screws and hinges. This step may require an extra set of hands to ensure proper alignment.
Once attached, clean your hardware with a mild cleaner and dry it before screwing them back onto each door.
Step 7: Apply a Protective Finish (Optional)
For added protection and a glossy finish, consider applying a clear protective topcoat over the painted cabinets. This step is optional but can help prevent scratches and chips in the paint over time.
You can choose from various finishes, such as polyurethane or wax, depending on your preference and the type of paint used.
Step 8: Let Cure Before Use
After completing all previous steps, allow the cabinets to cure for a few days before using them. This will ensure that the paint has fully dried and hardened, resulting in a more durable finish.
Following these step-by-step guidelines on how to paint oak cabinets will help you achieve beautiful and professionally painted oak cabinets that will instantly update the look of your kitchen. With the right materials, tools, and techniques, painting oak cabinets can be a simple and rewarding DIY project. So go ahead and give it a try!
Frequently Asked Questions
Q: Do I Need to Sand My Cabinets Before Painting?
A: Yes, sanding is an essential step in preparing oak cabinets for painting. It helps remove any existing finish and creates a rough surface for the primer and paint to adhere to. This will result in a more professional-looking finish and a longer-lasting coat of paint.
Q: How Long Does It Take for Painted Cabinets to Fully Cure?
A: The time needed for painted cabinets to fully cure can vary depending on factors such as humidity, temperature, and type of paint used. However, it is recommended to let them cure for at least 3-4 days before using them to ensure the paint has fully dried and hardened.
Q: Can I Use a Different Type of Topcoat Over My Painted Cabinets?
A: Yes, you can choose from various types of topcoats, such as polyurethane or wax, depending on your preference and the type of paint used. Just make sure to follow the manufacturer’s instructions for application and drying times.
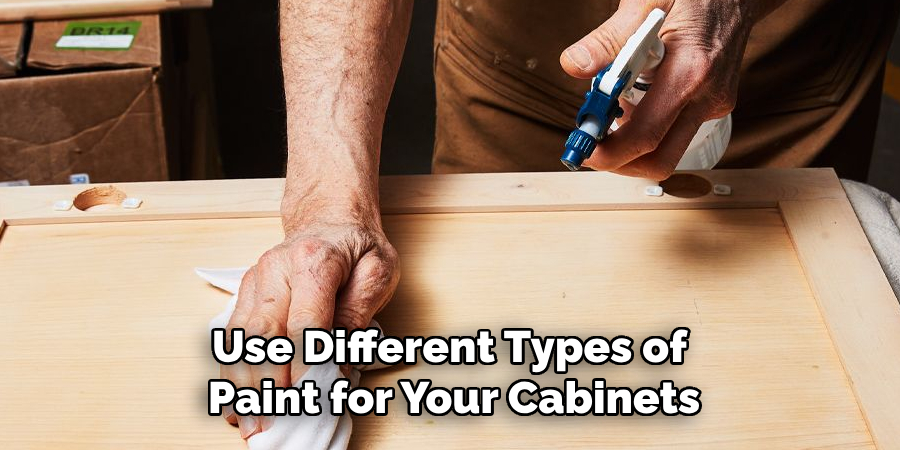
Q: Can I Paint My Cabinets With a Different Type of Paint, Such as Chalk or Milk Paint?
A: Yes, you can use different types of paint for your cabinets. Just make sure to choose a high-quality paint specifically designed for wood surfaces and follow the manufacturer’s instructions for application and drying times. Keep in mind that some types of paints may require additional steps, such as sealing with a topcoat.
Q: Can I Paint Over Stained Oak Cabinets?
A: Yes, you can paint over stained oak cabinets. However, it is essential to properly prepare the surfaces by thoroughly cleaning and sanding them before applying primer and paint. Using a high-quality primer designed for wood surfaces will also help achieve a smooth and long-lasting finish.
Conclusion
Painting oak cabinets can significantly enhance the aesthetic appeal of your kitchen or bathroom while prolonging the lifespan of the cabinetry. By following these systematic steps on how to paint oak cabinets—removing hardware, cleaning and prepping surfaces, applying primer and paint, and taking the time to let everything cure—you can achieve a professional-looking finish.
Remember, patience is key; ensuring that each layer dries properly before proceeding to the next will yield the best results. With the right materials and techniques, your newly painted cabinets will not only look stunning but also stand up to the demands of daily use, transforming your space for years to come.
About the Author
Adrian Green, a lifelong woodworking enthusiast, shares his passion for the craft through The Woodenify Blog. With a foundation built on years of hands-on experience in his father’s woodworking shop, Adrian is dedicated to helping others learn and grow in the world of DIY woodworking. His approach to woodworking combines creativity, practicality, and a deep appreciation for the art of building with your own hands. Through his blog, he inspires individuals of all skill levels to embark on their own woodworking journeys, creating beautiful, functional pieces of furniture and décor.
Professional Focus
- Specializes in DIY woodworking projects, from furniture to home décor.
- Provides step-by-step guides and practical tutorials for woodworkers of all skill levels.
- Dedicated to helping readers build confidence and skill through easy-to-follow instructions and tips.
- Passionate about fostering a community of makers who can share, learn, and grow together.
Education History
- University of Craft and Design – Bachelor of Fine Arts (BFA) in Woodworking and Furniture Design
- Woodworking Apprenticeships – Extensive hands-on training with skilled craftsmen to refine carpentry and furniture making techniques.
- Online Courses & Masterclasses – Continued education in advanced woodworking techniques, design principles, and specialized tools
Expertise:
- DIY woodworking, carpentry, furniture making, and home décor projects.
- Creating accessible tutorials and guides for beginner to advanced woodworkers.
- Sharing the joys and satisfaction of woodworking, from raw materials to finished products.