Are you tired of your old plywood cabinets? Do you want to give them a fresh new look? Painting your plywood cabinets is an easy and cost-effective way to transform your kitchen or bathroom. With the right tools and techniques, you can achieve professional-looking results. In this guide, we will walk you through the process of how to paint plywood cabinets.
Plywood is a versatile and durable material that provides a smooth surface that takes paint well when adequately prepared. Whether you’re looking to match new decor, cover up signs of wear, or simply update the appearance of your cabinetry, painting can offer a significant transformation.
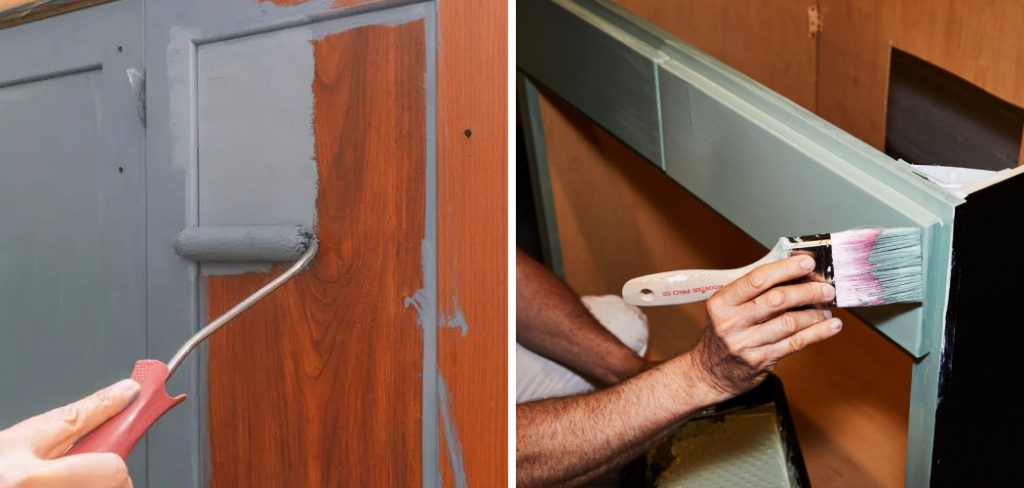
This guide will walk you through the steps necessary to achieve professional-looking results, from initial preparation to the final coat, ensuring your cabinets turn out as you’ve envisioned.
What are the Benefits of Painting Plywood Cabinets?
Painting your plywood cabinets has several benefits, including:
- Cost-effective: Painting is a budget-friendly alternative to replacing your cabinets entirely.
- Customization: You can choose from various colors and finishes to match your personal style and home decor.
- Fresh Look: Over time, cabinets can become dull or discolored. A fresh coat of paint can make them look brand new.
- Increased Durability: Painting your cabinets can add an extra layer of protection against scratches, stains, and other damages.
Now that you know the benefits let’s dive into how to paint plywood cabinets.
What Will You Need?
Before you begin, gather all the necessary materials:
- Screwdriver
- Sandpaper (medium grit)
- TSP cleaner or degreaser
- Primer
- Paintbrushes/rollers
- Painter’s tape
- Drop cloths
- High-quality paint in your desired color and finish.
It’s essential to use high-quality materials for the best results.
10 Easy Steps on How to Paint Plywood Cabinets:
Step 1. Remove Cabinet Doors and Hardware
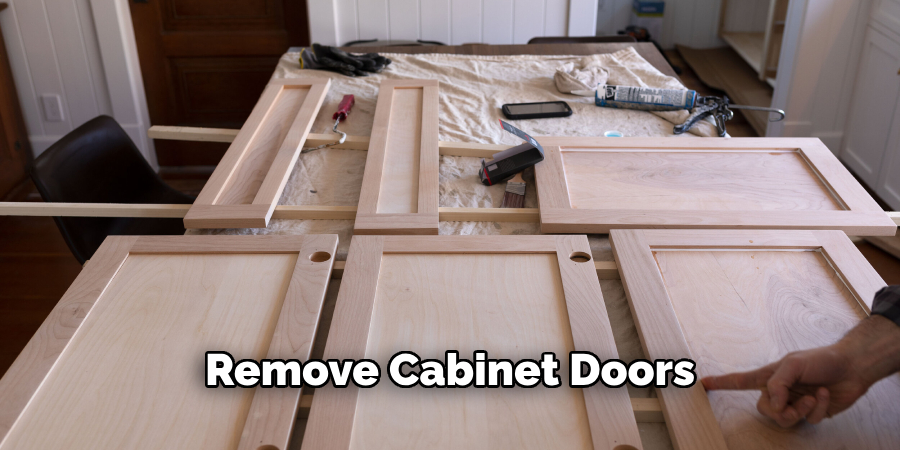
Start by removing the cabinet doors, drawers, and any removable hardware, such as hinges, handles, and knobs. This will make it easier to paint each part evenly and avoid getting paint on the hardware. You can use a screwdriver for this task. Be sure to label each door and its corresponding location on the cabinet to simplify reassembly later. Place all screws and hardware in a labeled container to avoid losing any small pieces.
Step 2. Clean the Surfaces
Next, clean all surfaces thoroughly using a TSP cleaner or a degreaser to remove dirt, grease, or grime. Cleaning is crucial to ensuring that the paint adheres properly and that you achieve a smooth finish. Use a sponge or cloth to apply the cleaner and rinse with water. Let the surfaces dry completely before proceeding to the next step.
Step 3. Sand the Cabinets
Sanding is a critical step that should not be overlooked, as it helps to create a smooth surface for the primer and paint to adhere to. Start by using medium-grit sandpaper, around 120 to 150 grit, to lightly sand all surfaces of the cabinets, including doors and drawer fronts. This process helps remove any existing finish and gives the primer a better grip. Be sure to sand in the direction of the wood grain to avoid scratching the plywood. Once you’ve completed the initial sanding, use a finer grit sandpaper, such as 220 grit, for a second pass to ensure an ultra-smooth surface.
After sanding, thoroughly wipe down all surfaces with a damp cloth or tack cloth to remove any dust and debris. Proper sanding and cleaning will ensure the best adhesion for your primer and paint, resulting in a professional-looking finish.
Step 4. Apply Painter’s Tape
To protect areas that you don’t want to paint, apply painter’s tape around the edges of the cabinets, countertops, and adjoining walls. Carefully press the tape down to avoid any seepage of paint underneath. This will help you achieve clean, sharp lines and keep your paint job looking neat and professional.
Step 5. Prime the Surfaces
Priming the surfaces is an essential step that sets the foundation for a flawless paint job. High-quality primer helps to seal the porous surface of the plywood and provides a strong base for the paint to adhere to, ensuring long-lasting results. Choose a primer compatible with your plywood material and the type of paint you plan to use. Oil-based primers are generally recommended for plywood because they offer excellent adhesion and stain-blocking properties.
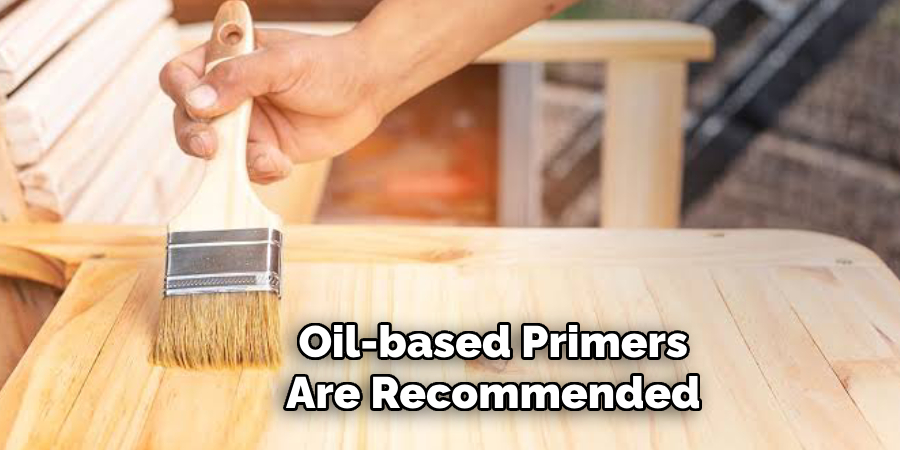
Start by stirring the primer thoroughly to ensure it is fully mixed. Using a paintbrush or roller, apply a thin, even coat of primer to all cabinet surfaces, including doors, drawers, and the cabinet frame. Make sure to cover all nooks and crannies for an even finish. Work in long, smooth strokes, following the direction of the wood grain, to avoid leaving brush marks and to achieve better coverage.
Allow the primer to dry completely as the manufacturer recommends; this usually takes a few hours but can vary depending on the specific product and environmental conditions. Once the first coat of primer is dry, lightly sand the surfaces with fine-grit sandpaper to remove any imperfections or raised grains that may have appeared. Wipe away any sanding dust with a tack cloth or damp cloth to maintain a clean surface for painting.
Step 6. Apply the First Coat of Paint
Once the primer is dry and the surfaces have been sanded and cleaned, it’s time to apply the first coat of paint. Choose a high-quality paint designed for cabinets or woodwork, as these paints are formulated to provide a durable finish. Use a paintbrush for corners and detailed areas and a roller for larger, flat surfaces to ensure even coverage.
Stir the paint thoroughly before starting to ensure even color distribution. Begin using the paintbrush to paint the edges, corners, and detailed areas first. Then, use the roller to apply a thin, even coat of paint to the larger surfaces, following the direction of the wood grain. Be careful not to apply too much paint simultaneously to avoid drips and uneven coverage.
Step 7. Allow the First Coat to Dry
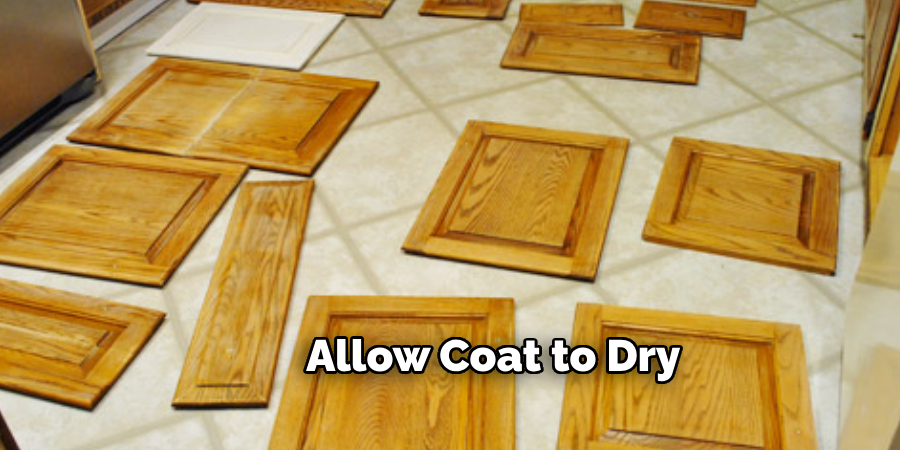
After applying the first coat of paint, it’s crucial to let it dry thoroughly before proceeding to the next step. This drying time ensures that the paint has properly adhered to the primed surface and will prevent any smudging or imprints. Refer to the paint manufacturer’s recommendations for drying times, but generally, it can take several hours.
While waiting for the paint to dry, inspect the surface for any imperfections such as drips or uneven areas. Lightly sand these spots with fine-grit sandpaper and clean off any dust with a tack cloth. This will help to achieve a smooth, professional-looking finish. Patience is key here; rushing this step can compromise the quality of your final result.
Step 8. Apply the Second Coat of Paint
Once the first coat of paint has dried and you’ve addressed any imperfections, it’s time to apply the second coat. This additional layer enhances the durability and richness of the color, giving your cabinets a professional-grade finish. As with the first coat, you will need a paintbrush for detailed areas and a roller for larger surfaces.
Begin by stirring the paint thoroughly to ensure a consistent color. Use the paintbrush to cover edges, corners, and intricate sections first. Then, proceed with the roller to apply a thin, even coat of paint on the larger, flat surfaces, moving in the direction of the wood grain. Be careful not to apply too much paint at once to prevent drips and ensure smooth coverage.
Allow the second coat to dry completely according to the manufacturer’s guidelines. This step is crucial for achieving a durable finish, so patience is essential. Once the second coat is fully dry, examine the surfaces for any additional touch-ups that may be necessary. Lightly sand any trouble spots and clean off the dust with a tack cloth before proceeding.
Step 9. Reattach the Cabinet Doors and Hardware
After the final coat of paint has dried thoroughly, you can reattach the cabinet doors, drawers, and hardware. Carefully follow the labels you made earlier to ensure each door and piece of hardware is placed in its original location. Using a screwdriver, reinstall hinges, handles, and knobs, making sure all screws are securely fastened. This step brings your cabinets back together and showcases the fresh, new look you’ve achieved.
Step 10. Enjoy Your Newly Painted Cabinets
With everything reassembled, step back and admire your work. Your newly painted plywood cabinets should now look refreshed and professionally finished. I appreciate the effort you’ve put into the project, and I enjoy the updated aesthetic and functionality of your space. Regular maintenance and gentle cleaning will help preserve the beauty and durability of your painted cabinets for years to come.
By following these ten straightforward steps, you can transform your plywood cabinets from dull and worn to sleek and stylish.
5 Additional Tips and Tricks
- Clean Thoroughly: Before you start painting, ensure the surface of the plywood cabinets is thoroughly cleaned. Remove all dust, grease, and grime using a mild detergent solution and a soft cloth. This step is crucial for the paint to adhere properly.
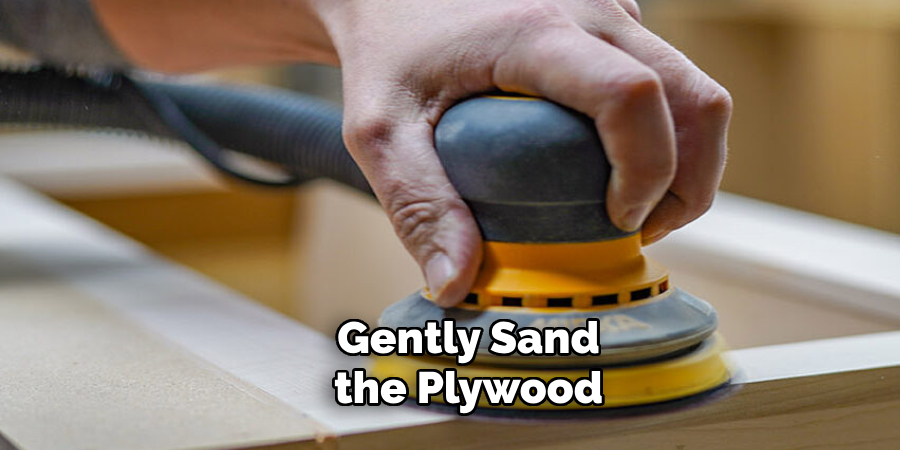
- Sand the Surface: Gently sand the plywood surface with fine-grit sandpaper (around 220 grit) to create a smooth, even texture. This helps enhance the primer and paint’s adhesion. Once you’re done, make sure to wipe off any sanding dust with a tack cloth.
- Use a Quality Primer: It is essential to apply a high-quality primer specifically designed for wood surfaces. The primer will block any stains and ensure that the paint adheres well to the plywood. Allow it to dry completely before proceeding to the next step.
- Apply Thin Coats: When you start painting, use thin coats of paint rather than a single thick one. This helps in preventing drips and achieving a more even finish. Allow each coat to dry thoroughly before applying the next one.
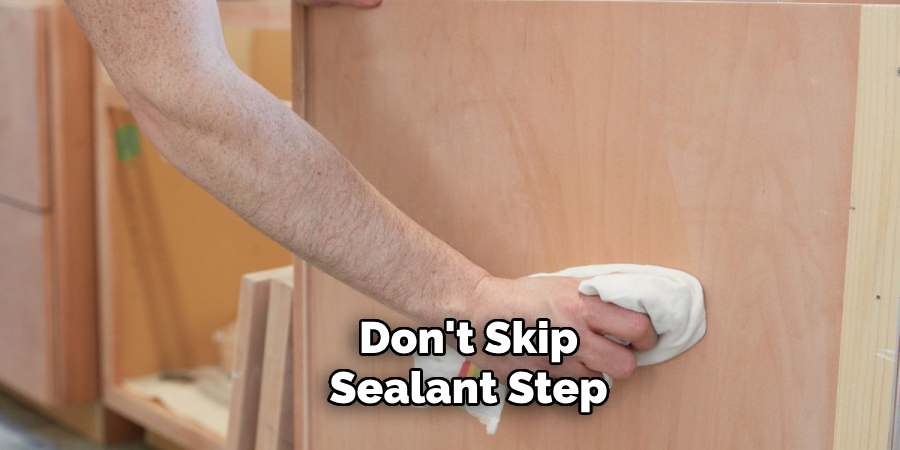
- Seal for Durability: Consider applying a clear protective sealant once the paint is completely dry. This not only adds a layer of durability but also helps maintain the paint’s fresh look for a longer period, protecting the cabinets from everyday wear and tear.
With these additional tips and tricks, your plywood cabinets will have a professional-looking finish that will last for years to come.
5 Things You Should Avoid
- Skipping the Cleaning Step: One common mistake is not cleaning the surface properly before painting. Any dust, grease, or grime left on the plywood can compromise the adhesion of the paint, resulting in a poor finish and potential peeling.
- Ignoring the Sanding Process: Failing to sand the plywood surface can lead to an uneven paint job. Skipping this step may leave rough patches that make the paint look uneven and affect its durability.
- Using the Wrong Type of Primer: Not all primers suit plywood surfaces. Using a general-purpose primer instead of one specifically designed for wood can result in inadequate bonding between the paint and the plywood, leading to peeling and chipping over time.
- Applying Thick Coats of Paint: It’s tempting to apply a thick coat of paint to speed up the process, but this often leads to drips and an uneven finish. Thick coats take longer to dry and can trap air bubbles, ruining the smooth appearance.
- Neglecting the Sealant: Skipping the final sealant step can leave the painted surface vulnerable to scratches, stains, and general wear and tear. A sealant protects the paint and helps preserve its color and finish, extending the life of your painted cabinets.
Following these additional tips and avoiding common mistakes can ensure a successful paint job for your plywood cabinets.
5 Different Painting Techniques
- Brush Technique: Using a high-quality brush, apply paint in even strokes, following the grain of the plywood. This technique is best for smaller areas, allowing for more control and precision.
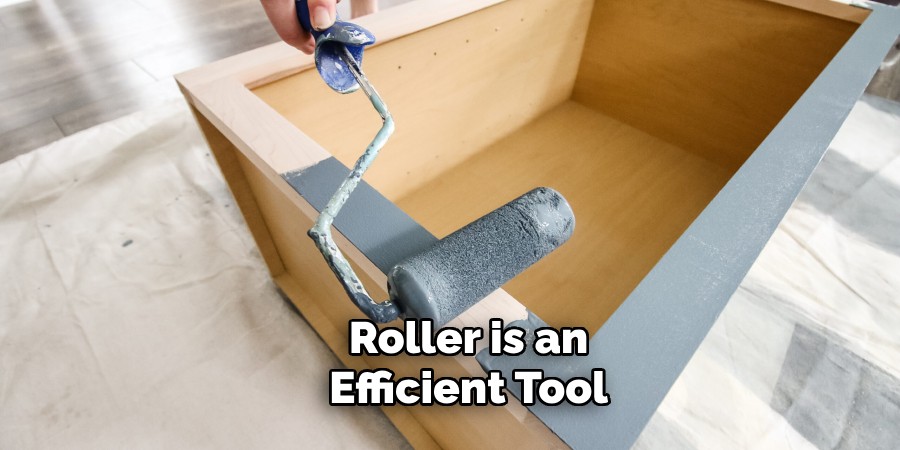
- Roller Technique: A roller is an efficient tool for covering larger surfaces quickly and evenly. Use a foam or microfiber roller to achieve a smooth finish without leaving brush marks.
- Spray Technique: For a professional-looking finish, consider using a paint sprayer. This technique requires some practice and equipment but can result in a smooth and flawless finish.
- Sponge Technique: Dabbing paint onto the plywood with a sponge can create an interesting texture and depth to the painted surface. This technique works well for creating a distressed or weathered look.
- Stenciling Technique: Stenciling is a fun and creative way to add patterns or designs to your plywood cabinets. Use stencils in various shapes and sizes, along with different paint colors, to achieve a unique and personalized look.
Whether you choose to use one of these techniques or combine them for a customized look, make sure to practice and test them on a small area before applying them to your entire cabinet. This will help you perfect the technique and ensure a beautiful finish for your plywood cabinets.
What Kind of Paint Do You Use on Plywood Cabinets?
When it comes to painting plywood cabinets, it’s important to use a paint specifically designed for wood surfaces.
- Latex Paint: Latex paint is a popular choice for painting plywood cabinets. It dries quickly, has low odor, and comes in various colors and finishes.
- Oil-based Paint: Oil-based paints are also suitable for plywood cabinets but require longer drying times and have a stronger odor.
- Chalk Paint: Chalk paint is a great option for achieving a vintage or distressed look on plywood cabinets. It’s easy to work with and dries quickly.
- Milk Paint: Like chalk paint, milk paint is also popular for creating rustic and antique finishes on plywood cabinets.
- Spray Paint: As mentioned earlier, spray paint can also be used to paint plywood cabinets, but it requires additional equipment and practice.
When choosing a paint, make sure to consider the type of finish you want and any specific requirements for wood surfaces. It’s also important to properly prepare the cabinets and use thin coats for a smooth and long-lasting finish.
Can You Paint Directly on Plywood?
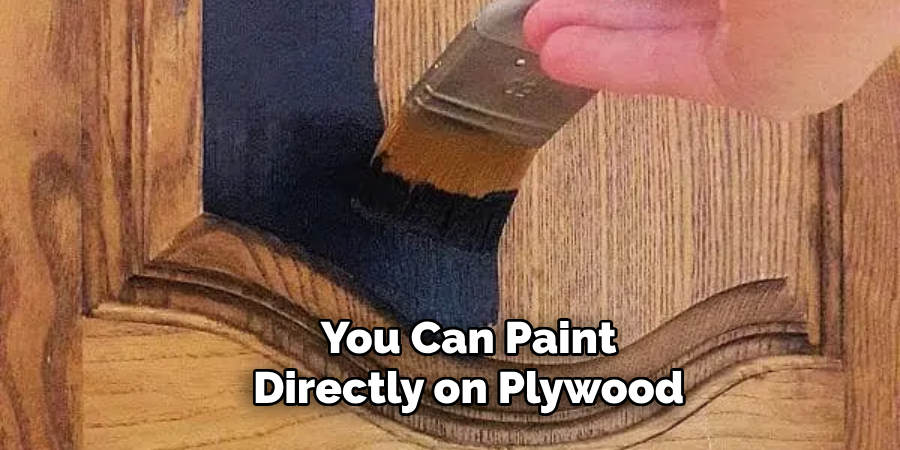
Yes, you can paint directly on plywood. However, to ensure a smooth and long-lasting finish, it’s important to properly prepare the surface before painting. This includes cleaning, sanding, and priming the plywood surface.
Additionally, using quality paint designed for wood surfaces and applying thin coats will help achieve the best results. Skipping any of these steps may result in an uneven or easily damaged finish.
In conclusion, painting plywood cabinets can be a cost-effective and creative way to update your living space. With the right preparation, techniques, and paint choices, you can achieve a professional-looking finish lasting years.
Conclusion
How to paint plywood cabinets can completely transform the aesthetic of your space, offering a fresh, new look at a fraction of the cost of replacement. The key to achieving a professional and durable finish lies in meticulous preparation and adherence to best practices.
Start by thoroughly cleaning to remove dust, grease, or grime. Sand the surface to eliminate rough patches and ensure better paint adhesion. Use a primer specifically formulated for wood to create a solid foundation for your paint. Opt for thin, even coats of paint to avoid drips and achieve a smooth finish. Don’t neglect the final step of applying a sealant to protect your work and prolong the life of your cabinets.
By carefully following these steps and choosing the right techniques and materials, you can achieve stunning results that will elevate your living space for years to come.
About the Author
Adrian Green, a lifelong woodworking enthusiast, shares his passion for the craft through The Woodenify Blog. With a foundation built on years of hands-on experience in his father’s woodworking shop, Adrian is dedicated to helping others learn and grow in the world of DIY woodworking. His approach to woodworking combines creativity, practicality, and a deep appreciation for the art of building with your own hands. Through his blog, he inspires individuals of all skill levels to embark on their own woodworking journeys, creating beautiful, functional pieces of furniture and décor.
Professional Focus
- Specializes in DIY woodworking projects, from furniture to home décor.
- Provides step-by-step guides and practical tutorials for woodworkers of all skill levels.
- Dedicated to helping readers build confidence and skill through easy-to-follow instructions and tips.
- Passionate about fostering a community of makers who can share, learn, and grow together.
Education History
- University of Craft and Design – Bachelor of Fine Arts (BFA) in Woodworking and Furniture Design
- Woodworking Apprenticeships – Extensive hands-on training with skilled craftsmen to refine carpentry and furniture making techniques.
- Online Courses & Masterclasses – Continued education in advanced woodworking techniques, design principles, and specialized tools
Expertise:
- DIY woodworking, carpentry, furniture making, and home décor projects.
- Creating accessible tutorials and guides for beginner to advanced woodworkers.
- Sharing the joys and satisfaction of woodworking, from raw materials to finished products.
