Painting wood gold can give furniture or decor a luxurious, vintage, or glamorous look. Whether you’re revamping accent furniture, picture frames, decorative trim, or creating festive holiday crafts, a golden touch adds an elegant and timeless charm. The process requires attention to detail, from selecting the right materials to preparing the surface correctly and applying the paint.

A smooth, shiny gold finish can elevate any space or project, making it stand out as a bold and sophisticated statement piece. This guide will walk you through every step of the process, covering essential tools, preparation techniques, and the key to mastering “how to paint wood gold” for a durable and beautiful result. With these instructions, anyone can transform plain wooden surfaces into dazzling pieces of art.
Choosing the Right Type of Gold Paint
Selecting the right gold paint is crucial for achieving the desired finish on your wooden surface. The type of paint you choose will depend on the project’s requirements, your preferred application method, and the final look you want to achieve.
Spray vs. Brush-On Gold Paint
Spray paint is an excellent choice for those who prioritize even coverage and efficiency. It’s especially useful for larger surfaces or when you’re aiming for a smooth, consistent metallic finish without visible brush strokes. On the other hand, brush-on gold paint is ideal for projects that require detailed work or greater control. This option works well for intricate designs, edges, and hard-to-reach areas where precision is essential.
Metallic Paint Finishes
Gold paints are available in a variety of finishes, including matte, satin, and high-shine metallics. Matte and satin finishes offer a more understated and modern look, while high-shine metallic paints create a bold, reflective surface that gives a luxurious effect. Choose a finish based on how subdued or striking you want the end result to appear.
Recommended Brands and Types
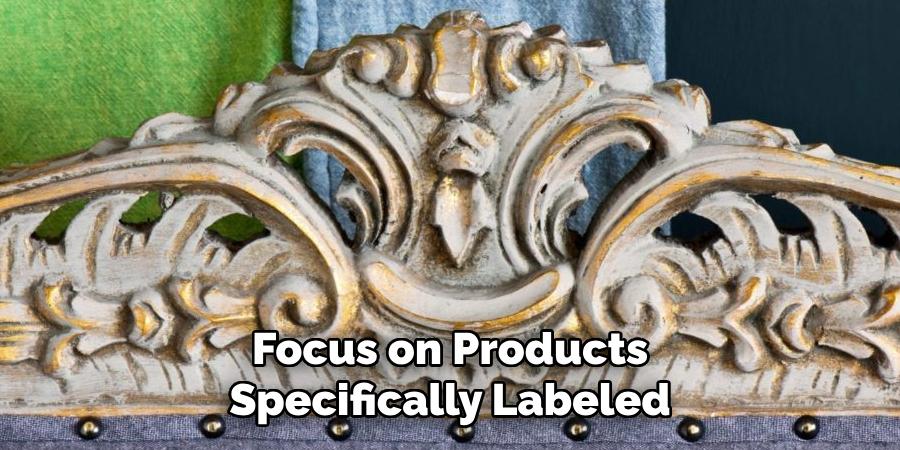
When shopping for gold paint, focus on products specifically labeled for use on wood. Look for paints with strong adhesion and good coverage to ensure durability and smooth application. For a truly spectacular gilded effect, consider using gold leaf paint, which provides a richer, more authentic metallic sheen. Popular brands often offer reliable performance, so researching reviews or consulting experts can help you make an informed choice.
Materials and Tools Needed
To achieve a flawless gold finish on wood, you’ll need the following materials and tools:
- Gold Paint (spray or brush-on): Choose the type that suits your application method.
- Primer Suitable for Wood: Ensures better adhesion and a smooth base.
- Sandpaper (medium and fine grit): For prepping the wood surface and ensuring even application.
- Painter’s Tape: Helps protect areas you don’t want painted.
- Drop cloth or Newspaper: Keeps your workspace clean and free from paint spills.
- Paintbrushes or Spray Can: Select based on your preferred painting technique.
- Clear Sealant or Topcoat: Adds durability and protects the painted surface.
- Safety Gear (mask, gloves, and goggles): Especially important when using spray paint to protect from fumes and splatters.
Having the right tools and safety equipment ensures professional results while keeping the process easy and safe.
Prepping the Wood Surface
Preparing the wood surface is a crucial step to ensure a smooth, flawless finish when painting. Proper preparation not only improves the paint’s adhesion but also contributes to the longevity of the final product.
Clean the Surface
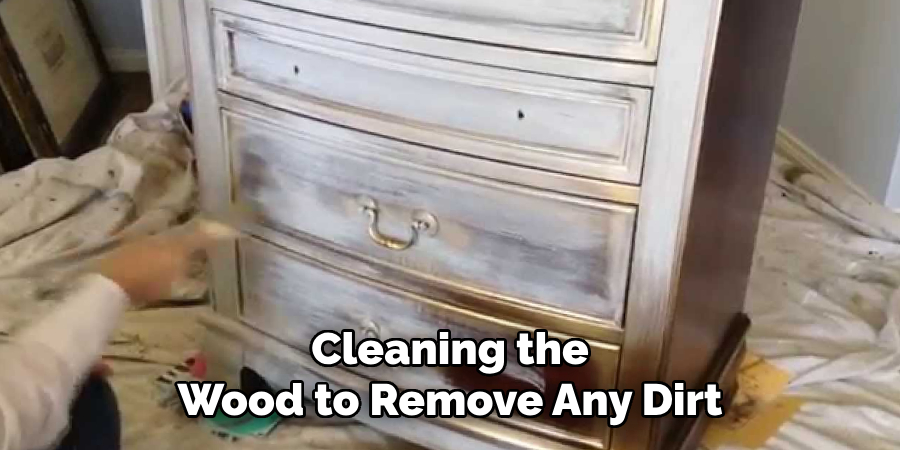
Start by cleaning the wood to remove any dirt, grease, or residue from old polish. Use a damp cloth or a dedicated wood cleaner to wipe the surface thoroughly. Allow the wood to dry completely before proceeding to the next step.
Sanding the Wood
Sanding is essential for creating a good base for paint to adhere to. Begin with medium-grit sandpaper to smooth out imperfections and eliminate any old finish. Focus on achieving an even surface without oversanding. Finish the process by using fine-grit sandpaper to achieve a smooth texture, ready for painting. Always sand in the direction of the grain for the best results.
Taping and Protecting Surroundings
To ensure a neat application, use painter’s tape to mask off areas on the wood that should not be painted. This step prevents unwanted paint marks and ensures clean edges. Additionally, lay down a drop cloth or newspaper to protect your workspace from spills and splatters. Proper protection of the surroundings ensures a clean and hassle-free process.
How to Paint Wood Gold: Applying Primer
Why Primer Matters
Primer plays a crucial role in achieving a professional and durable paint finish. It helps the paint adhere better to the wood, ensuring that the final coat remains intact over time. Additionally, primer prevents blotchiness by creating a uniform surface for the topcoat. Using a white or gray primer is particularly beneficial when painting with gold, as it enhances the paint’s vibrancy and brilliance. Without this step, the color may appear dull or uneven.
How to Apply Primer
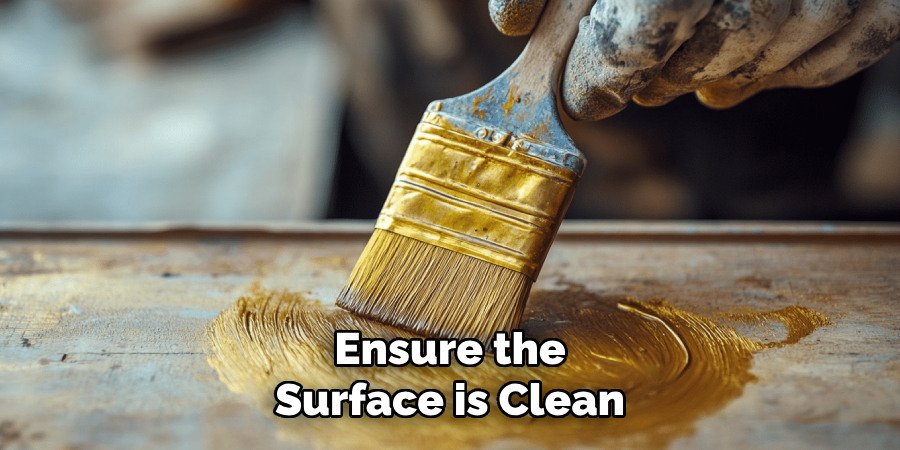
To apply primer, first ensure the surface is clean and free from dust or debris. Using a brush or roller, apply a thin, even coat across the wood surface. If you are using spray primer, shake the can thoroughly and hold it 6–10 inches away from the surface for the best coverage. Spray in a consistent motion to avoid drips or uneven spots. Always ensure that the primer is distributed uniformly for optimal results.
Drying Time
Allow the primer to dry thoroughly, following the drying time indicated on the can—this is typically between 1 and 2 hours. Once the primer is dry, assess the surface. If it feels slightly rough, you can lightly sand it with fine-grit sandpaper to achieve a smoother finish before proceeding to the next step.
Painting the Wood Gold
Brush-On Method
Before starting, stir the gold paint thoroughly to ensure an even color and consistency. Using a high-quality brush is essential for achieving a smooth and professional finish. Dip the brush lightly into the paint and apply thin, even coats to the surface, following the natural grain of the wood. Avoid overloading the brush to prevent drips or uneven application. Allow each coat to dry fully, typically for 1 to 2 hours, before applying additional layers for optimal results.
Spray Painting Method
When using spray paint, start by shaking the can well for at least a minute to mix the contents. Hold the can about 10–12 inches away from the surface and spray using consistent, sweeping motions. Avoid holding the spray in one spot too long to prevent drips. Apply multiple light coats of paint, allowing each coat to dry completely before adding the next. This method ensures more even coverage and a smooth finish.
Number of Coats
For the best results, you will usually need to apply 2–3 coats of gold paint. This helps to achieve full coverage and a rich, vibrant color with depth. Additional coats may be necessary for darker surfaces or to achieve a particular intensity.
Troubleshooting Common Issues
- Drips: If paint drips occur, wait for the area to dry, then sand lightly with fine-grit sandpaper and repaint.
- Streaks or Brush Marks: Use a foam brush instead of a bristle brush, or lightly sand between coats to smooth out imperfections.
By following these steps, your wood surface will be beautifully transformed with a radiant golden finish.
Sealing and Protecting the Finish
Why a Sealant Helps
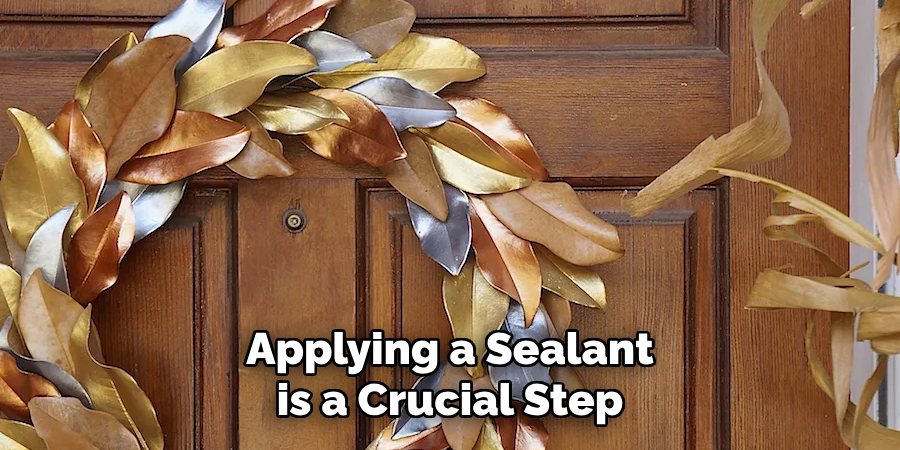
Applying a sealant is a crucial step in ensuring the longevity and durability of your newly finished wood surface. A quality sealant adds a protective barrier that shields the golden finish from wear, scratches, and tarnishing over time. This protective layer not only enhances the appearance of the finish but also makes it resistant to damage caused by moisture, heat, and daily use. Without this step, even the most beautiful finish can quickly lose its luster and show signs of age.
Choosing a Clear Coat
When selecting a clear coat, consider the desired final look of your project. Clear coats are available in various finishes, including matte, satin, and glossy. A matte finish offers a subdued, modern appearance, while satin provides a soft sheen that complements most styles. For those seeking a striking, high-shine effect, a glossy, clear coat is the go-to option. Select a finish that complements your aesthetic preferences and meets your usage requirements.
Applying the Topcoat
For best results, use a clean, high-quality brush or a spray sealant to apply the topcoat in thin, even layers. Avoid overloading the brush to prevent drips and uneven application. Allow each layer to dry completely before applying the next coat—this typically requires 1–2 hours, depending on the product. One to two coats should suffice, but always refer to the manufacturer’s instructions for guidance. A properly sealed finish will ensure your gold-coated wood surface remains stunning and well-protected for years to come.
Creative Ideas and Applications
Decorative Uses
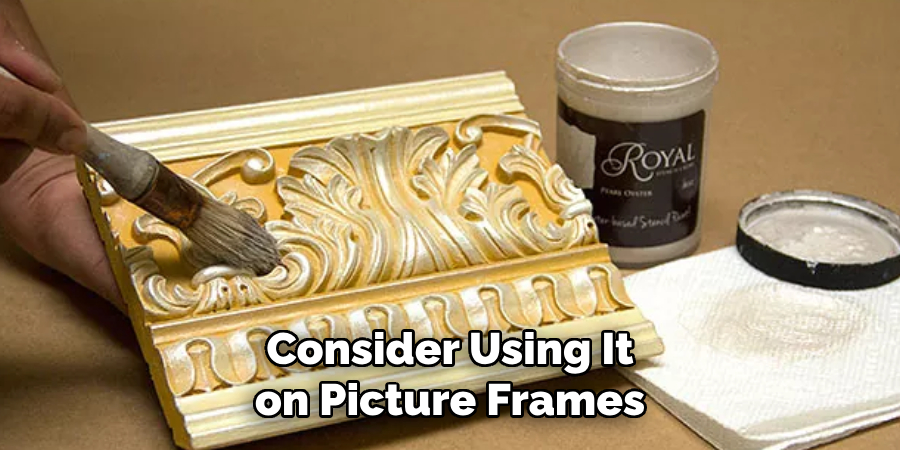
Gold-coated wood can effortlessly elevate the aesthetics of various items in your home. Consider using it on picture frames, mirror borders, candle holders, or even accent furniture such as chairs and side tables. These touches of gold instantly add a luxurious and sophisticated vibe to any space, making them perfect for both modern and classic interior designs.
Mixing with Other Finishes
To create striking contrasts, pair gold-painted wood with complementary finishes. Black and white tones offer a timeless and elegant appeal, while incorporating jewel tones like emerald green or sapphire blue can bring a rich and opulent atmosphere. This combination ensures a balanced yet visually interesting design.
Distressing for a Vintage Look
If you wish to achieve a vintage or antique style, lightly sand the edges of your gold-painted wood pieces after painting. This simple technique reveals subtle imperfections that mimic the charm and character of aged decor, adding a layer of authenticity to your creations.
Conclusion
Painting wood gold can transform plain wood into a bold, elegant statement piece. With the right prep, paint, and finishing touches, your gold-painted wood will be smooth, vibrant, and long-lasting. To achieve the best results, it’s essential to follow each step carefully, ensuring you don’t skip priming or sealing. This attention to detail guarantees durability and a professional finish. Whether you are enhancing your home decor or creating custom pieces, learning how to paint wood gold opens endless design possibilities, allowing you to add a touch of luxury and sophistication to any space.
About the Author
Adrian Green, a lifelong woodworking enthusiast, shares his passion for the craft through The Woodenify Blog. With a foundation built on years of hands-on experience in his father’s woodworking shop, Adrian is dedicated to helping others learn and grow in the world of DIY woodworking. His approach to woodworking combines creativity, practicality, and a deep appreciation for the art of building with your own hands. Through his blog, he inspires individuals of all skill levels to embark on their own woodworking journeys, creating beautiful, functional pieces of furniture and décor.
Professional Focus
- Specializes in DIY woodworking projects, from furniture to home décor.
- Provides step-by-step guides and practical tutorials for woodworkers of all skill levels.
- Dedicated to helping readers build confidence and skill through easy-to-follow instructions and tips.
- Passionate about fostering a community of makers who can share, learn, and grow together.
Education History
- University of Craft and Design – Bachelor of Fine Arts (BFA) in Woodworking and Furniture Design
- Woodworking Apprenticeships – Extensive hands-on training with skilled craftsmen to refine carpentry and furniture making techniques.
- Online Courses & Masterclasses – Continued education in advanced woodworking techniques, design principles, and specialized tools
Expertise:
- DIY woodworking, carpentry, furniture making, and home décor projects.
- Creating accessible tutorials and guides for beginner to advanced woodworkers.
- Sharing the joys and satisfaction of woodworking, from raw materials to finished products.