Are you tired of printing on paper? Do you want to add a unique touch to your designs or crafts? Printing on wood might be the perfect solution for you. Not only does it create a beautiful and rustic look, but it also allows for more creativity and customization in your projects.
Printing on wood can add a rustic and unique touch to your projects, whether they are for personal decorations, custom gifts, or professional crafts. This technique involves transferring images, text, or patterns onto wooden surfaces through various methods such as direct printing, wood burning, or using transfer paper. Each method offers different levels of detail, durability, and effect, allowing for a wide range of creative possibilities.
In this guide on how to print in wood, we will explore the materials needed, step-by-step instructions, and tips to ensure successful and beautiful wood prints.
What Benefits Does Printing on Wood Offer?
There are several benefits to using wood as a medium for printing.
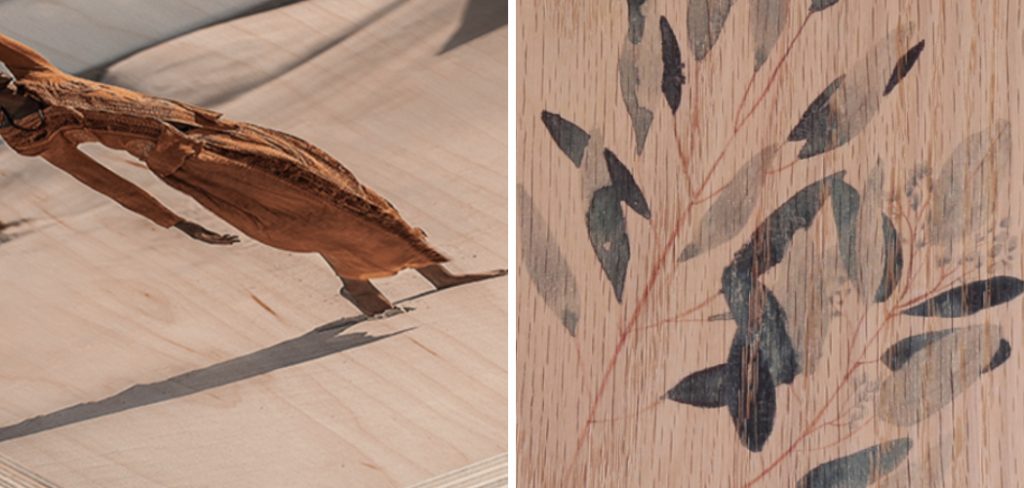
- Unique and Rustic Appearance: Wood’s natural grain and texture add character and charm to any design or image. This gives the printed piece a unique look that is different from traditional paper prints.
- Customization Options: With wood printing, you can customize your projects by choosing the type of wood, size, color, and placement of the print. You can also experiment with different techniques and materials to achieve the desired look.
- Durability: Wood prints are more durable than paper prints, making them perfect for outdoor or high-traffic areas. They are less likely to rip, tear, or fade over time.
- Eco-Friendly: Printing on wood is an eco-friendly option as it reduces the use of paper and utilizes a renewable resource.
These benefits make printing on wood a popular choice for various projects, from home decor to personalized gifts.
What Materials Do You Need?
To print on wood, you will need the following materials:
- Wooden surface (such as a plank or a block)
- Image or design to print (either digitally or hand-drawn)
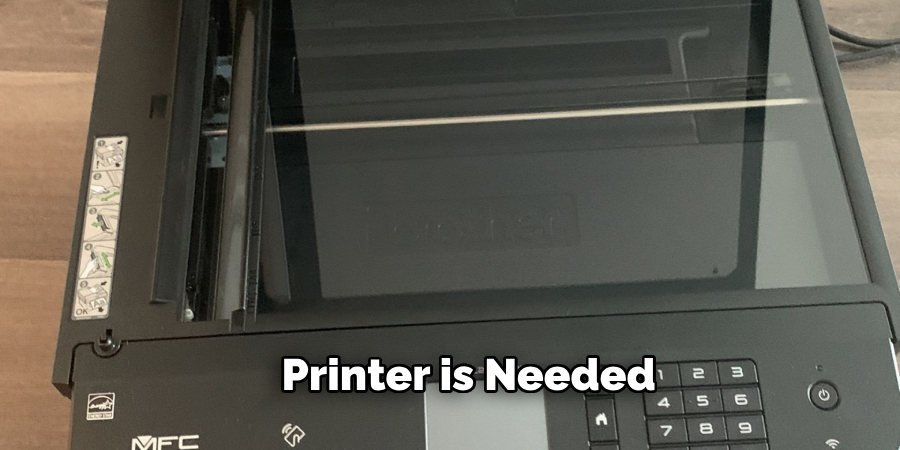
- Printer (inkjet or laser)
- Transfer paper (if using the direct printing method)
- Wood burning tool (if using wood burning method)
- Protective sealant or finish
Once you have gathered these materials, you can start printing on wood.
8 Easy Steps on How to Print in Wood:
Step 1: Choose Your Wood
The first and crucial step in printing on wood is selecting the right type of wood for your project. Depending on your desired outcome, the type of wood you choose can significantly impact the final appearance of your print.
- Wood Type: Different wood species offer distinct textures and grains, affecting how well your image adheres to the surface and how the final product looks. Common choices include pine, birch, and maple. Pine is often preferred for its affordability and soft texture, making it easy to work with. Birch and maple, on the other hand, offer finer grains, allowing for more detailed prints.
- Surface Preparation: Ensure the chosen piece of wood has a smooth and clean surface. Lightly sanding the wood removes any roughness or debris, producing a more professional and polished finish. Use fine-grit sandpaper and wipe away dust with a damp cloth for best results.
- Thickness and Size: The thickness and size of the wood will vary depending on the application. Thicker pieces are generally more stable and durable, ideal for items like plaques and signs, while thinner pieces may be more suitable for coasters or lightweight decorations.
- Condition: The wood should be free from cracks, knots, or significant imperfections that could interfere with printing. If necessary, fill any small holes or dents with wood filler and sand the area smoothly for a perfect printing surface.
Taking the time to select the right wood for your project will ensure a successful and high-quality print.
Step 2: Prepare Your Image
Before printing, you need to have a digital or hand-drawn image ready. You can use any graphic design software or drawing tools to create your design, keeping in mind the dimensions of the wooden surface.
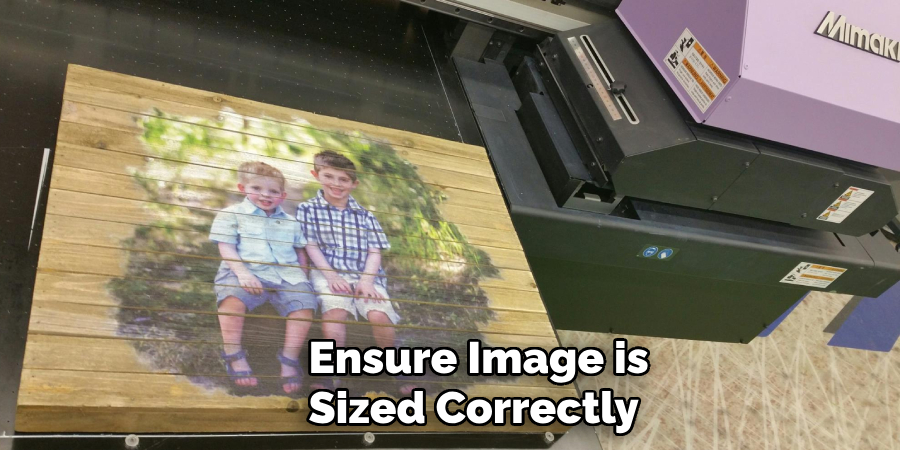
- Image Dimension: It is crucial to ensure that your image is sized correctly according to the wooden surface. Measure the dimensions of the wood and adjust your image accordingly before printing.
- Image Quality: The higher the image’s resolution, the better the final print will be. For digital images, ensure a minimum resolution of 300 DPI (dots per inch) for optimal results.
- Reverse Image: If you are using transfer paper, make sure to reverse your image before printing. This step is necessary as the image will transfer onto the wood in a mirror image.
Step 3: Print Your Image
Once you have your image ready, it is time to print it onto the transfer paper or directly onto the wood surface. Follow these steps depending on the printing method you choose:
Direct Printing Method
- Insert the wooden surface into your printer’s manual feed tray.
- Depending on the type of transfer paper you are using, print your image onto the wood using an inkjet or laser printer.
- Let the paint dry completely before proceeding to the next step.
Transfer Paper Method
- Print your image onto the transfer paper according to the manufacturer’s instructions.
- Cut out the printed image, leaving a small border around it.
- Place the transfer paper face down onto the wooden surface and secure it in place with tape.
- Using a credit card or any other flat tool, firmly rub over the entire image to ensure it transfers onto the wood.
- Carefully peel off the transfer paper and let the paint dry completely before moving on to the next step.
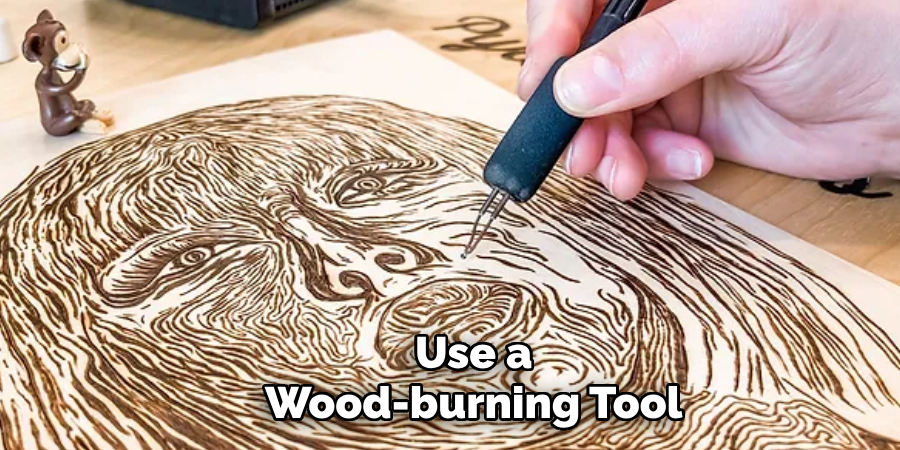
Step 4: Wood Burning (Optional)
You can use a wood-burning tool to create designs or add details to your print for a more unique and rustic look. This technique is especially useful for hand-drawn images or text.
- Use a wood-burning tool with a fine tip to carefully create your desired design on the wooden surface.
- Be sure to work in a well-ventilated area and wear protective gear, as wood burning can produce fumes and heat.
- Once completed, let the print cool down before handling it further.
Step 5: Apply Sealant or Finish
To protect your print and ensure its longevity, applying a sealant or finish is crucial. This step will also enhance the colors and details of your print.
- Choose a sealant or finish suitable for your wood type (e.g., polyurethane for softer woods and lacquer for harder woods).
- Following the manufacturer’s instructions, use a paintbrush or cloth to apply an even coat of sealant or finish to the wooden surface.
- Let it dry completely before proceeding to the next step.
Step 6: Sand and Smooth
After applying the sealant or finish, the wood’s surface might feel slightly uneven due to the coating. Sanding and smoothing the surface is essential for a professional and polished look.
- Choose the Right Sandpaper: Use fine-grit sandpaper (220 grit or higher) to lightly sand the surface. Avoid coarse sandpaper, as it might remove too much of the sealant or damage the print.
- Sanding Technique: Gently sand in a circular motion, applying light pressure. Always sand with the grain of the wood to prevent scratches and maintain a smooth finish.
- Clean Up: After sanding, wipe the surface with a clean, damp cloth to remove any dust or residue. Allow the surface to dry completely before moving on to the final step.
Proper sanding ensures that the surface is smooth to the touch and enhances the overall appearance of your printed wood project.
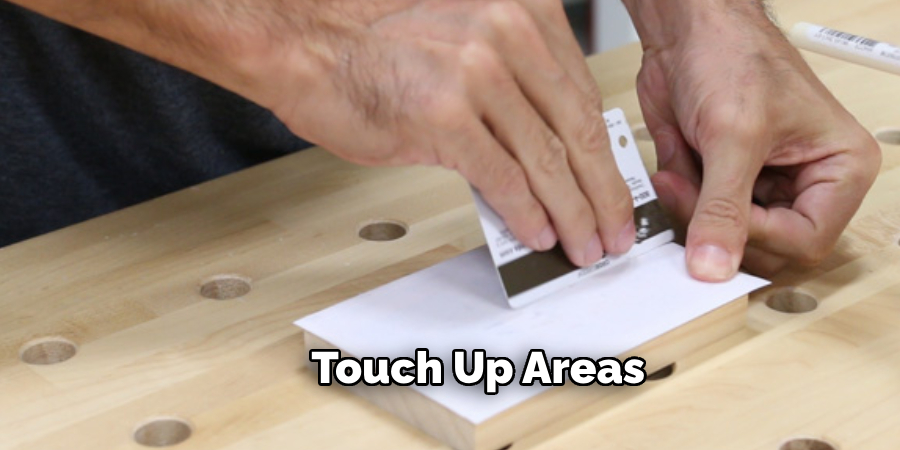
Step 7: Final Inspection and Touch-Ups
Before your wood printing project is complete, it is essential to conduct a final inspection and make any necessary touch-ups to ensure a flawless finish.
- Inspect the Surface: Carefully examine the entire surface of the wood for any imperfections, such as bubbles, rough spots, or uneven edges. Pay close attention to the print quality and ensure that the image is clear and well-defined.
- Smooth Rough Edges: If any edges of the wood feel rough or splintered, use fine-grit sandpaper to smooth them gently. Be cautious not to damage the print or applied finish.
- Apply Additional Coats: Depending on the desired level of protection and gloss, you may choose to apply additional coats of sealant or finish. Allow each coat to dry thoroughly before applying the next one, and sand lightly between coats for the best results.
- Touch-Up Paint: If your print includes painted areas, inspect them for chips or faded spots. If needed, use a small brush to touch up these areas with matching paint.
- Clean and Polish: Finally, clean the surface with a damp cloth to remove fingerprints or dust. For an extra shine, apply a small amount of wood polish or wax, following the manufacturer’s instructions.
Conducting a thorough final inspection and making touch-ups where needed will ensure that your wood printing project has a professional and polished appearance, ready for display or gifting.
Step 8: Display Your Finished Project
After completing all the steps above, your wood printing project is ready to be displayed. Here are some tips for showcasing your work:
- Choose a Location: Find a suitable place to showcase your project, such as a bookshelf, mantelpiece, or wall. Consider the lighting in the chosen area to enhance the visual appeal of the wood print.
- Mounting Options: If you plan to hang your wood print, consider adding hooks or a hanging wire to the back of the wood. Ensure they are securely attached to support the weight of the wood.
- Protection from Elements: If your wood print will be displayed outdoors or in a high-humidity area, ensure it is well-protected. You may need to apply an additional waterproof sealant to safeguard it from elements like rain or excessive moisture.
- Enhancing Display: Consider framing your wood print or placing it on an easel for a more striking presentation. These enhancements can add an artistic touch and complement the print’s overall design.
- Maintenance: To keep your wood print looking its best, dust it regularly with a soft cloth. Avoid using abrasive cleaners or excessive moisture, which can damage the print and wood finish.
By following these steps, you can ensure that your wood printing project is beautifully displayed and maintained, allowing you to enjoy the fruits of your craftsmanship for years to come.
5 Additional Tips and Tricks
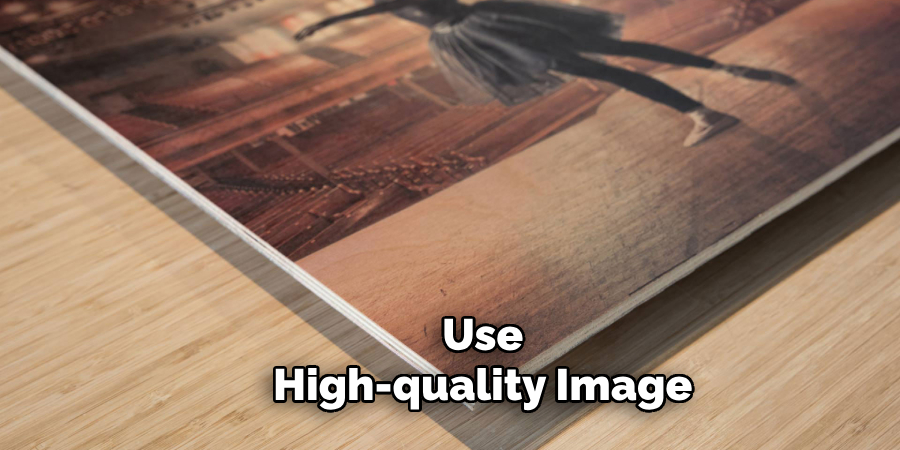
- Use a High-Quality Image: For the best results, start with a high-resolution image. Low-quality images can result in pixelated or blurry prints, detracting from the overall appearance of your project. Ensure your image is clear and detailed, with a resolution of at least 300 DPI (dots per inch).
- Test Print on Scrap Wood: Conduct test prints on scrap wood before committing to your final piece. This allows you to fine-tune your technique, adjust print settings, and experiment with different types of wood or finishes. It also helps you identify and correct potential issues before working on the project.
- Pre-Treat the Wood Surface: Prepare the wood surface with a pre-treatment to improve print adhesion and enhance color vibrancy. Sand the wood and apply a thin layer of gesso or a similar primer. This smooths the surface and creates an ideal base for the transfer process, allowing for better print quality.
- Use a Transfer Medium for Darker Woods: The image might not appear as vibrant as desired when printing on darker woods. Using a transfer medium, like gel medium or Mod Podge, can help brighten the colors and make the image stand out. Apply the transfer medium evenly and ensure it is compatible with both the wood and the printing ink.
- Allow Ample Drying Time: One of the most crucial steps in ensuring a durable wood print is allowing sufficient drying time. Patience is key, whether it’s the initial print, the sealant, or any additional coats. Rushing this process can lead to smudging, flaking, or uneven finishes.
With these additional tips and tricks, you can take your wood printing projects to the next level and achieve professional and eye-catching results.
5 Things You Should Avoid
- Using Low-Quality or Damaged Wood: Avoid starting your project with wood that has visible defects such as knots, cracks, or excessive grain. Low-quality wood can lead to an uneven printing surface and compromise your print’s durability and overall aesthetics.
- Skipping the Sanding Process: Skipping the essential step of sanding the wood can result in poor print adhesion and an uneven finish. Always ensure the wood surface is smooth and debris-free before starting the printing process.
- Ignoring Proper Ventilation: When using chemicals such as sealants, finishes, or transfer mediums, ensure you work in a well-ventilated area. Fumes from these substances can be harmful if inhaled, and working in a poorly ventilated space can lead to health issues.
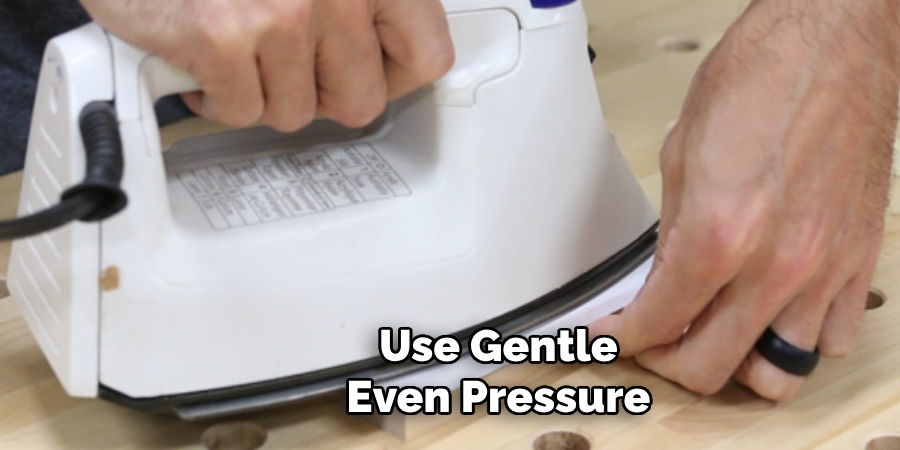
- Applying Too Much Pressure: Applying excessive pressure when transferring the image onto the wood can cause smudging or damage to the print. Use gentle, even pressure to transfer the image effectively without compromising the print quality.
- Neglecting Sealant or Protective Coats: Failing to apply a sealant or protective coat can leave your wood print vulnerable to damage from moisture, dust, and UV rays. Always finish your project with a suitable sealant to enhance its longevity and keep it looking its best.
By avoiding these common mistakes, you can ensure your wood printing projects turn out beautifully and stand the test of time.
5 Different Theme Ideas for Wood Printing
- Nature-Inspired Prints: Use wood’s natural beauty and texture to create stunning prints featuring elements like trees, leaves, or animals. Choose a type of wood that complements your image and experiment with different finishes to enhance the theme.
- Vintage Maps or Photos: Print vintage maps or photos onto wood to create unique pieces. This adds a rustic and nostalgic touch to your décor and can be a conversation starter in any room.
- Inspirational Quotes or Typography: Use wood printing to showcase your favorite quotes, mantras, or words of wisdom. Wood’s natural look and feel add warmth and character to these types of prints, making them perfect for home or office décor.
- Custom Family Portraits: Turn your family photos into works of art by printing them onto wood. This adds a personal touch to your home décor and makes for a meaningful gift for loved ones.
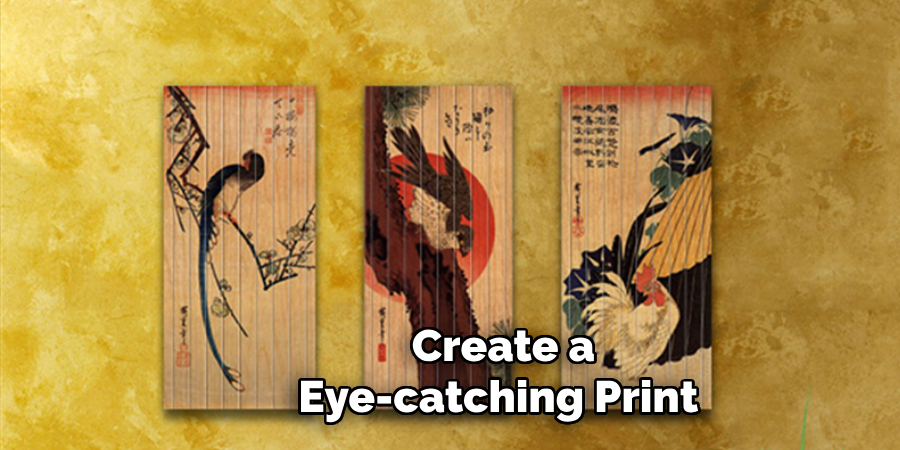
- Pop Art or Graphic Designs: Combining wood and vibrant, bold designs can create striking pieces of art that add a modern twist to traditional wood printing. Experiment with patterns, colors, and images to create a unique, eye-catching print.
Whether you are looking for a rustic or contemporary feel, there are endless possibilities for creating beautiful wood prints that reflect your personal style and add character to your space.
Conclusion
How to print in wood is a versatile and rewarding craft that allows you to merge artistry with nature, creating unique and personalized items that stand out.
You can achieve professional-level results by following a meticulous process—selecting high-quality wood, preparing the surface with sanding and pre-treatment, and using suitable transfer mediums and sealants. Ensure to incorporate additional tips and tricks, such as testing prints on scrap wood and allowing ample drying time, to avoid common pitfalls and enhance the final outcome. Whether you’re crafting a nature-inspired piece, a vintage photo, or a modern graphic design, the possibilities are limitless.
With patience and attention to detail, your wood printing projects will showcase your creativity and stand the test of time, bringing warmth and character to any space.
You Can also check it out to Burn Green Wood
About the Author
Adrian Green, a lifelong woodworking enthusiast, shares his passion for the craft through The Woodenify Blog. With a foundation built on years of hands-on experience in his father’s woodworking shop, Adrian is dedicated to helping others learn and grow in the world of DIY woodworking. His approach to woodworking combines creativity, practicality, and a deep appreciation for the art of building with your own hands. Through his blog, he inspires individuals of all skill levels to embark on their own woodworking journeys, creating beautiful, functional pieces of furniture and décor.
Professional Focus
- Specializes in DIY woodworking projects, from furniture to home décor.
- Provides step-by-step guides and practical tutorials for woodworkers of all skill levels.
- Dedicated to helping readers build confidence and skill through easy-to-follow instructions and tips.
- Passionate about fostering a community of makers who can share, learn, and grow together.
Education History
- University of Craft and Design – Bachelor of Fine Arts (BFA) in Woodworking and Furniture Design
- Woodworking Apprenticeships – Extensive hands-on training with skilled craftsmen to refine carpentry and furniture making techniques.
- Online Courses & Masterclasses – Continued education in advanced woodworking techniques, design principles, and specialized tools
Expertise:
- DIY woodworking, carpentry, furniture making, and home décor projects.
- Creating accessible tutorials and guides for beginner to advanced woodworkers.
- Sharing the joys and satisfaction of woodworking, from raw materials to finished products.