Are you looking to update your home with a new flooring option? Ceramic tile offers a durable and stylish solution that can transform the look of any room.
Laying ceramic tile over a wood floor is a transformative home improvement project that elevates the aesthetic of any room and adds longevity and durability to your flooring. This process, while intricate, can be accomplished with careful planning, the right tools, and a bit of patience. Whether you’re looking to update your kitchen, bathroom, or any other room with a wooden subfloor, installing ceramic tile is an excellent choice for a high-impact upgrade.
In this guide, we’ll walk you through the essential steps and considerations on how to put ceramic tile on a wood floor, from preparing the wooden surface to laying the tiles and everything in between.
What are the Benefits of Installing Ceramic Tile on a Wood Floor?
Before we jump into the step-by-step process, let’s explore the benefits of installing ceramic tile on a wood floor.
- Durability: Ceramic tiles are known for their strength and longevity, making them an excellent option for high-traffic areas.
- Easy Maintenance: Unlike other flooring options, ceramic tile is effortless to clean and maintain. Spills and stains can easily be wiped away, making it a hygienic choice for homes with children and pets.
- Versatility: Ceramic tiles come in various colors, patterns, and sizes, allowing you to create unique designs and styles that fit your personal taste.
- Water Resistance: Ceramic tile is water-resistant, making it an excellent choice for moisture-prone rooms, such as bathrooms and kitchens.
- Cost-effective: Ceramic tile is a budget-friendly flooring option that offers high-quality results and long-term savings on maintenance and replacement costs.
These are just some of the benefits of installing ceramic tile on a wood floor. Now, let’s dive into the step-by-step process.
10 Easy Steps on How to Put Ceramic Tile on a Wood Floor
Step 1. Assess and Prepare the Wooden Subfloor:
The first step in installing ceramic tile over a wood floor is to ensure the subfloor is stable, level, and free of moisture issues. Remove any existing floor coverings, nails, and debris. Check for squeaking boards or loose planks and secure them as necessary. For a solid foundation, the wood floor may need an additional layer of plywood or a backer board to provide a smooth, stable surface for the tiles to adhere to.
Step 2. Apply a Waterproofing Membrane:
After preparing the wooden subfloor, the next crucial step is to apply a waterproofing membrane. This layer acts as a protective barrier, preventing moisture from seeping through and potentially causing damage to both the wooden subfloor and the ceramic tiles. Roll out the waterproofing membrane across the entire floor, cutting it to fit as necessary.

Follow the manufacturer’s instructions for application, ensuring that the membrane is securely adhered to the wood floor. This step is especially important in areas with high moisture, such as bathrooms and kitchens, to ensure the longevity of your flooring project.
Step 3. Determine the Layout of the Tiles:
Before installing the ceramic tiles, it’s essential to plan their layout. This step involves determining the starting point and direction of the tile pattern. Lay out a row of tiles across the floor without adhesive to visualize the pattern and make any necessary adjustments.
This dry layout helps identify any potential issues, such as narrow tile pieces at walls or obstacles, which can be addressed by shifting the layout. Use chalk lines to mark your tile installation’s starting points and guides, ensuring a symmetrical and visually appealing result.
Step 4. Mix and Apply Tile Adhesive:
Once the layout is determined, the next step is mixing the tile adhesive, also known as thin-set mortar. Mix the adhesive following the manufacturer’s instructions to achieve a thick but spreadable consistency.
Starting at your marked point, use a notched trowel to apply an even layer of adhesive over a small area of the floor. The notches in the trowel help ensure a uniform thickness of the adhesive, which is crucial for a level tile installation. Work in small sections to prevent the adhesive from drying out before the tiles are placed.
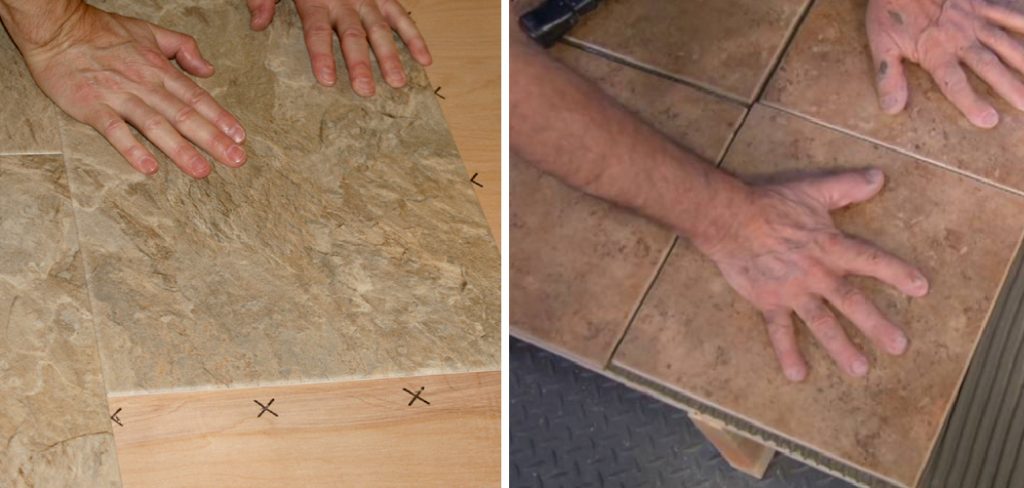
Step 5. Lay the Tiles:
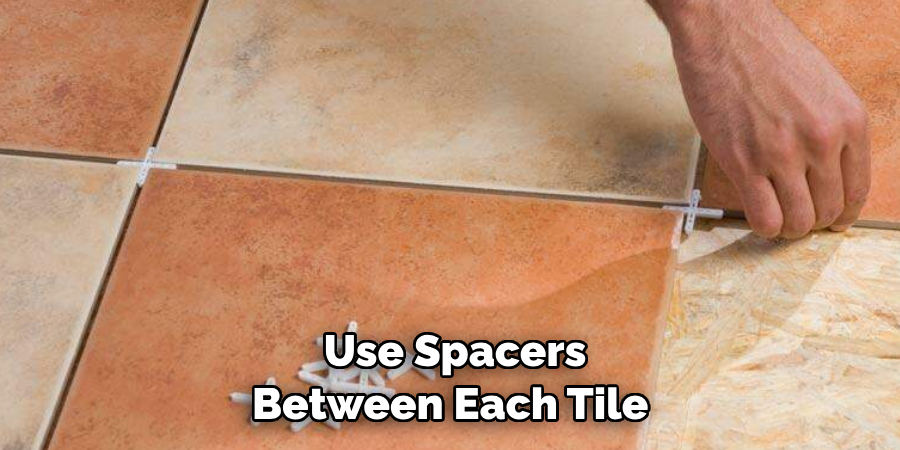
After applying the adhesive, carefully place the first tile onto the floor, pressing firmly to ensure it adheres properly. Use spacers between each tile to maintain consistent gaps for grouting. Continue laying tiles, working in small sections, and aligning them with your chalk lines and the adjacent tiles.
Pay close attention to the layout pattern you planned, making adjustments as necessary to ensure straight lines and even spacing. Use a tile cutter or wet saw for precise cuts if you need to cut tiles to fit around edges or obstacles. Regularly check for levelness using a spirit level, and adjust the tiles by pressing down or adding more adhesive underneath as needed.
Step 6. Allow Adhesive to Dry:
Once all the tiles are in place, allowing the adhesive to dry thoroughly before moving on to the next steps is crucial. Refer to the adhesive manufacturer’s instructions for the recommended drying time, which typically ranges from 24 to 48 hours. Avoid walking on the tiles or applying any pressure that could shift them out of alignment during this period.
This waiting time ensures the adhesive sets properly, providing a strong bond between the tiles and the subfloor. Patience during this phase is key to ensuring the longevity and durability of your new ceramic tile floor.
Step 7. Apply Grout:
With the adhesive fully dried and the tiles securely in place, the next step is applying grout to fill the gaps between the tiles. Choose a grout color that complements your tiles to achieve a cohesive look. Mix the grout according to the manufacturer’s instructions until you achieve a smooth, paste-like consistency.
Using a rubber grout float, apply it at an angle to the gaps, pressing firmly to ensure it fills the spaces completely. Be careful to only grout the gaps, avoiding the tile surfaces as much as possible. After applying the grout, wait for about 15-20 minutes for it to partially set, then use a damp sponge to gently clean the excess grout off the tile surfaces. Be sure to rinse the sponge frequently to avoid leaving a haze on the tiles.
Step 8. Seal the Grout Lines:
After the grout has completely dried, which typically takes about 24 hours but can vary depending on humidity and temperature, the next critical step is sealing the grout lines. This process involves applying a grout sealer to the dried grout to protect it from moisture and stains. Ensure the area is well-ventilated and follow the manufacturer’s instructions for application.
Most sealers come with an applicator brush or sponge for easy application. It’s important to cover every grout line thoroughly, as this will ensure the longevity and durability of your flooring, especially in areas exposed to high moisture. Allow the sealer to dry completely, according to the product’s directions, before walking on the floor or resuming normal use of the room.
Step 9. Final Inspection and Cleaning:
After the grout sealer has fully dried, conduct a final inspection of the floor to ensure that all tiles are securely in place and that the grout lines are even and free of excess sealer. Look closely for any missed spots, particularly around edges and corners, which may require touching up.

Using a soft, clean cloth, gently buff the tiles to remove any remaining haze and polish the surface for a pristine finish. If necessary, a mild cleaning solution can be used to remove stubborn residue.
Finally, place furniture and appliances back into the room, being careful not to drag them across the new tiles. Your ceramic tile floor installation is now complete, ready to enhance the beauty and functionality of your space for years to come.
Step 10. Maintenance and Care:
Regular maintenance and proper care are essential to ensure your new ceramic tile floor remains in pristine condition. Sweep or vacuum the floor daily to remove dirt and debris that can scratch the surface.
For more thorough cleaning, use a damp mop with a mild detergent or a tile cleaner recommended by the manufacturer. Avoid using abrasive cleaners or scrubbing pads, which can damage the tile and grout.
In high-traffic areas, consider placing rugs or mats to minimize wear. Additionally, periodically check and reapply grout sealer as needed, typically every one to two years, to protect against moisture and stains.
By following these simple steps for installing ceramic tile flooring, you can achieve a beautiful and durable result that will elevate the aesthetics and functionality of your space.
5 Additional Tips and Tricks
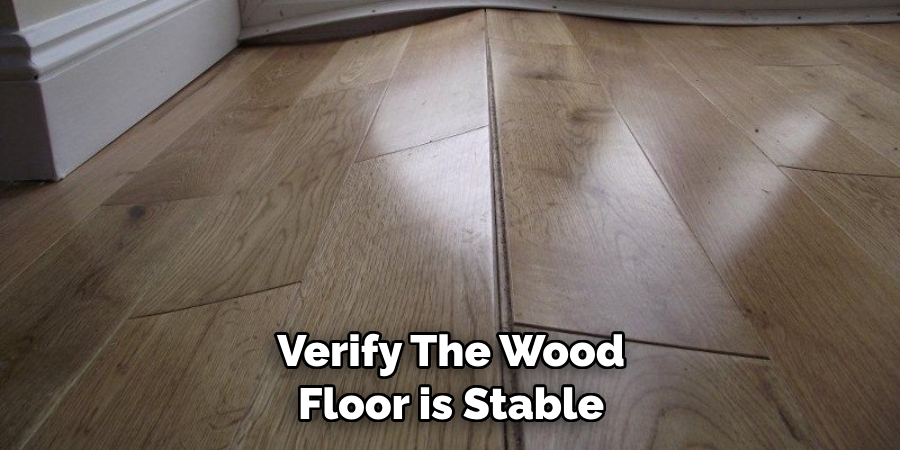
- Ensure a Stable Base: Before laying ceramic tiles, verify the wood floor is stable and movement-free. Installing a cement backer board on top of the wood floor can provide a firm, stable base for the tiles.
- Proper Adhesive Selection: Use a flexible thin-set mortar specifically designed for wood substrates. This type of adhesive accommodates the slight movements of wood floors, reducing the risk of tile cracking.
- Acclimate Your Tiles: Just as with wood, it’s crucial to allow your ceramic tiles to acclimate to the room’s humidity and temperature where they will be installed. This can help prevent warping or cracking after the installation.
- Expansion Joints: Install expansion joints at all perimeters and where the tile meets other flooring types. Wood floors expand and contract with changes in moisture and temperature, so these joints will prevent the tiles from buckling.
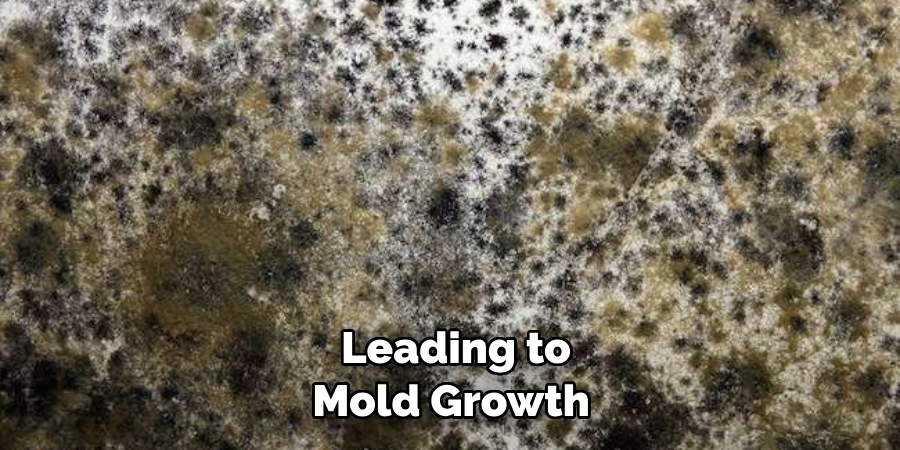
- Waterproof Membrane: Consider applying a waterproof membrane over the wood floor before tiling, especially in moist areas, like bathrooms. This membrane helps protect the wood from water damage and prevents mold growth beneath the tiles.
With these additional tips, you can ensure a successful and long-lasting ceramic tile installation on top of your wood floor.
5 Things You Should Avoid
- Skipping the Acclimation Process: Failing to allow your tiles and wood substrate to acclimate to the room’s environmental conditions can lead to expansion or contraction after installation, causing cracks in the tiles or issues with the adhesive.
- Neglecting a Waterproof Membrane: Especially critical in moisture-prone areas, bypassing the step of installing a waterproof membrane can damage the wood floor beneath the tiles, potentially leading to mold growth and degradation of the installation.
- Using the Wrong Adhesive: Opting for a regular thin-set mortar rather than one that is flexible and designed for wood can result in adhesive failure. Wood naturally moves and shifts, and the wrong type of adhesive could lead to tiles cracking or coming loose.
- Ignoring the Need for Expansion Joints: Expansion joints allow for the natural expansion and contraction of wood flooring. Without these, tiles may press against each other and buckle, leading to a failed installation.
- Installing Tiles Directly onto Unstable Wood Floors: Laying ceramic tiles on top of a wood floor that hasn’t been checked for stability and levelness can lead to movement under the tiles, resulting in cracking and an uneven surface. Always ensure the base is stable and adequately prepared before beginning your tile installation.
Following these tips and avoiding common mistakes can ensure a successful ceramic tile installation on top of your wood floors.
5 Different Design Ideas
- Herringbone Pattern: Lay your ceramic tiles in a herringbone pattern to create a stunning visual effect. This classic design adds depth and interest to any room.
- Mixed Media: Combine different types of wood flooring with ceramic tiles for a unique and stylish look. Mix and match colors, textures, and patterns to create a one-of-a-kind design.
- Mosaic Accents: Incorporate small mosaic tiles as accents within a larger wood floor for added visual interest and texture. This is an excellent way to add a touch of color or pattern without overwhelming the space.
- Chalkboard Tiles: Use chalkboard ceramic tiles to create a fun and functional space. They can be used as a backsplash in the kitchen or as a creative accent wall in a child’s bedroom.
- Wood Look Ceramic Tiles: For those who love the look of wood but want the durability and water resistance of ceramic tiles, there are now options available that mimic the appearance of wood. These tiles come in various colors and patterns, allowing you to achieve the look of wood without maintenance.
With these design ideas, you can get creative and personalize your ceramic tile installation on top of your wood floors to suit your style and needs. The possibilities are endless!
What Do You Put Between Tile and Wood Flooring?
When installing ceramic tiles on top of wood floors, a suitable material must be used between the two surfaces. This material acts as a barrier and helps prevent issues that can arise from the different properties of wood and tile.
The most commonly used material for this purpose is cement backer board, which is a thin layer of concrete with reinforced mesh in between. This board provides a stable and solid base for the tiles, preventing them from cracking or coming loose due to movement in the wood floor. A cement backer board can also help level out any uneven wood floor sections.

Another option is using uncoupling membranes specifically designed for installing tile over problematic substrates such as wood. These membranes allow for slight movement between the wood and tile, reducing the risk of cracking or failure.
Sometimes, a waterproof membrane between the tile and wood flooring may also be used. This is especially important in moisture-prone areas such as bathrooms or kitchens to protect the wood from water damage.
Regardless of which material you choose, following proper preparation techniques and ensuring a stable base before installing your ceramic tiles on top of wood flooring is crucial. This will help to ensure a successful and long-lasting installation.
Which Glue is Best for Ceramic?
The best type of glue for ceramic tiles will depend on the specific project and surface being used. However, in general, there are a few types of adhesive that are commonly recommended for ceramic tile installation:
- Thin-set Mortar: This is the most commonly used adhesive for ceramic tiles and is made of cement, sand, and a bonding agent. It provides a strong bond and is resistant to water, making it suitable for use in moisture-prone areas.
- Mastic: This adhesive is made of a sticky, paste-like substance and is often used for smaller, lighter ceramic tiles. It is easier to work with than thin-set mortar but is not as durable and may not be suitable for larger or heavier tiles.
- Epoxy Adhesive: This two-part adhesive creates a very strong bond, making it suitable for heavy or large ceramic tiles. It also has high resistance to water and chemicals.

When selecting an adhesive for your ceramic tile installation, consider the size and weight of the tiles and the surface on which they will be installed.
Conclusion
How to put ceramic tile on a wood floor can significantly enhance your home’s aesthetic and value. You can achieve a durable and beautiful installation by following the detailed guidelines provided, including ensuring a stable base, selecting the proper adhesive, acclimating your tiles, incorporating expansion joints, and applying a waterproof membrane.
Additionally, being mindful of common pitfalls such as skipping the acclimation process, neglecting waterproofing, using the wrong adhesive, overlooking the need for expansion joints, and installing tiles on unstable wood floors are crucial for success.
With careful preparation and adherence to these best practices, your ceramic tile installation on a wood floor will not only look professional but also stand the test of time.
About the Author
Adrian Green, a lifelong woodworking enthusiast, shares his passion for the craft through The Woodenify Blog. With a foundation built on years of hands-on experience in his father’s woodworking shop, Adrian is dedicated to helping others learn and grow in the world of DIY woodworking. His approach to woodworking combines creativity, practicality, and a deep appreciation for the art of building with your own hands. Through his blog, he inspires individuals of all skill levels to embark on their own woodworking journeys, creating beautiful, functional pieces of furniture and décor.
Professional Focus
- Specializes in DIY woodworking projects, from furniture to home décor.
- Provides step-by-step guides and practical tutorials for woodworkers of all skill levels.
- Dedicated to helping readers build confidence and skill through easy-to-follow instructions and tips.
- Passionate about fostering a community of makers who can share, learn, and grow together.
Education History
- University of Craft and Design – Bachelor of Fine Arts (BFA) in Woodworking and Furniture Design
- Woodworking Apprenticeships – Extensive hands-on training with skilled craftsmen to refine carpentry and furniture making techniques.
- Online Courses & Masterclasses – Continued education in advanced woodworking techniques, design principles, and specialized tools
Expertise:
- DIY woodworking, carpentry, furniture making, and home décor projects.
- Creating accessible tutorials and guides for beginner to advanced woodworkers.
- Sharing the joys and satisfaction of woodworking, from raw materials to finished products.