Teak wood is a highly durable and weather-resistant hardwood that is prized for its strength, longevity, and natural beauty. Commonly used in both indoor and outdoor furniture, teak is particularly valued for its ability to withstand the elements without warping or rotting. Over time, however, even resilient teak surfaces can lose their luster due to exposure to sunlight, moisture, and everyday use. How to refinish a teak dining table not only restores its natural elegance but also removes stains, weathering, and signs of wear, thereby extending the table’s lifespan for years to come.
Whether your table is lightly worn or heavily weathered, this guide will walk you through the step-by-step process of how to refinish dining room table properly. By following these instructions, you can bring new life to your furniture and ensure it remains a centerpiece in your home or outdoor space.
Understanding Teak and When It Needs Refinishing
Teak’s Natural Properties
Teak is a remarkably durable hardwood renowned for its high oil content, which provides natural resistance to water, pests, and decay. Its dense grain structure and weather-resistant qualities make it an ideal choice for both indoor and outdoor furniture. Over time, teak develops a silver-gray patina that many find appealing; however, for those who prefer its original golden hue, refinishing is key to maintaining its classic look.
Signs Your Table Needs Refinishing
There are several indicators that your teak dining table may need refinishing. A dull, gray, or faded surface often indicates prolonged exposure to sunlight or inadequate maintenance. Stains, water spots, or signs of mold and mildew are additional warning signs, particularly for outdoor tables exposed to moisture. Rough or uneven textures, caused by age or wear, can compromise your table’s smooth finish and comfort, signaling the need for intervention.
Indoor vs. Outdoor Teak
The location of your table plays a significant role in determining its refinishing needs. Indoor teak furniture is typically shielded from harsh elements, requiring gentler cleaning and minimal sanding. Outdoor teak, however, endures constant exposure to sunlight, rain, and humidity, necessitating deeper cleaning, heavier sanding, and occasional sealing to restore its former luster. Understanding these differences will help ensure that your teak dining table receives proper care.
Tools and Materials Needed
Proper maintenance or refinishing of teak furniture requires specific tools and materials to achieve the best results. Below is a list of essential items categorized by their purpose to help guide the process.
Cleaning Supplies
- Mild Dish Soap, Water, Soft Brush or Sponge – For regular cleaning to remove dirt and grime.
- Teak Cleaner or Vinegar + Baking Soda – Ideal for tackling deeper stains or restoring heavily weathered teak surfaces.
Refinishing Tools
- Sandpaper (grits 80, 120, 220) – For sanding down the surface, starting with coarse grit and progressively moving to finer grit for a smooth finish.
- Orbital Sander (optional for large surfaces) – Speeds up the sanding process and ensures an even finish.
- Clean Rags or Tack Cloth – Removes dust and debris before applying finishes.
Finishing Supplies
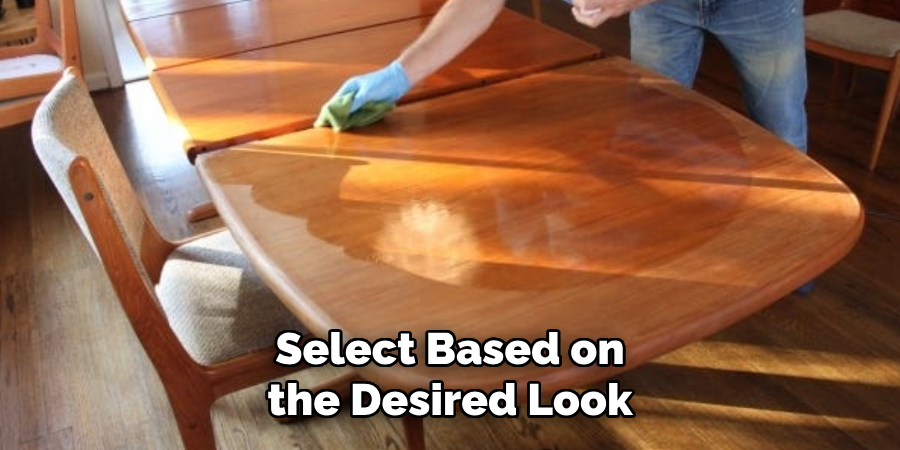
- Teak Oil, Teak Sealer, or Clear Varnish – Select based on the desired look and level of protection. Teak oil enriches the wood’s natural color, while sealer adds durability without altering the finish.
- Paintbrush or Cloth Applicator – For even application of finishing products.
- Drop Cloth or Protective Sheeting – Keeps the workspace clean and protected during refinishing.
With these tools and materials, you’ll be well-equipped to clean, refinish, and protect your teak furniture effectively.
How to Refinish a Teak Dining Table: Cleaning and Preparing the Table
Preparing your teak table for refinishing is a crucial step to ensure the best results. Follow these steps to clean and prepare the table effectively:
Step 1: Initial Cleaning
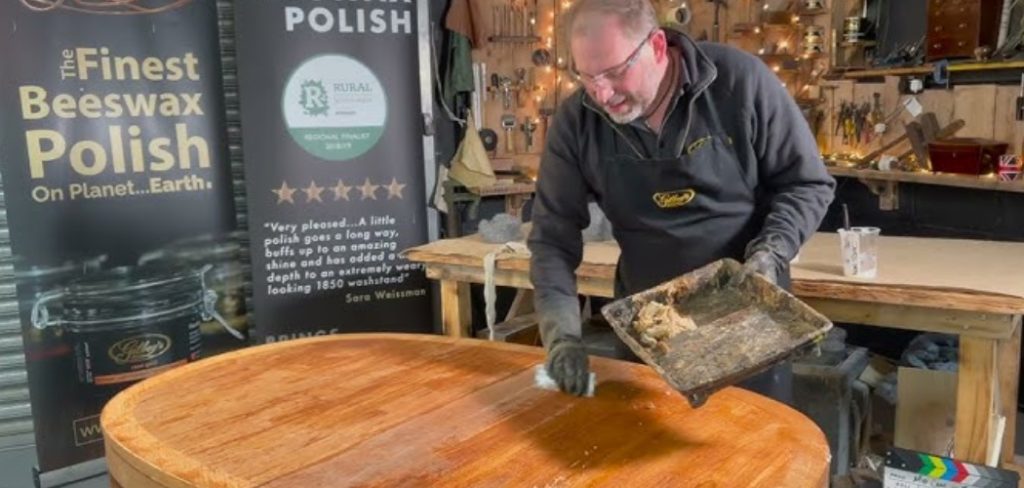
Begin by removing any dust and loose debris from the surface using a dry, soft cloth. Next, wash the table thoroughly with mild soap and warm water. Use a soft-bristled brush or sponge to gently scrub the surface, working into the grain to ensure all dirt and grime are removed. Rinse the table with clean water and allow it to air dry.
Step 2: Deep Cleaning (if needed)
If the table has stubborn stains, mildew, or an uneven appearance, a deep clean may be necessary. Apply a teak cleaner or an alternative solution made by mixing vinegar and baking soda. Gently scrub the affected areas with a brush, using care not to damage the wood’s natural texture. Once cleaned, rinse the table with fresh water to remove any residual cleaning solution, and let it dry completely for 24–48 hours. Ensuring the table is dry is essential to prevent moisture from being trapped under the finishing products.
Step 3: Protect the Surroundings
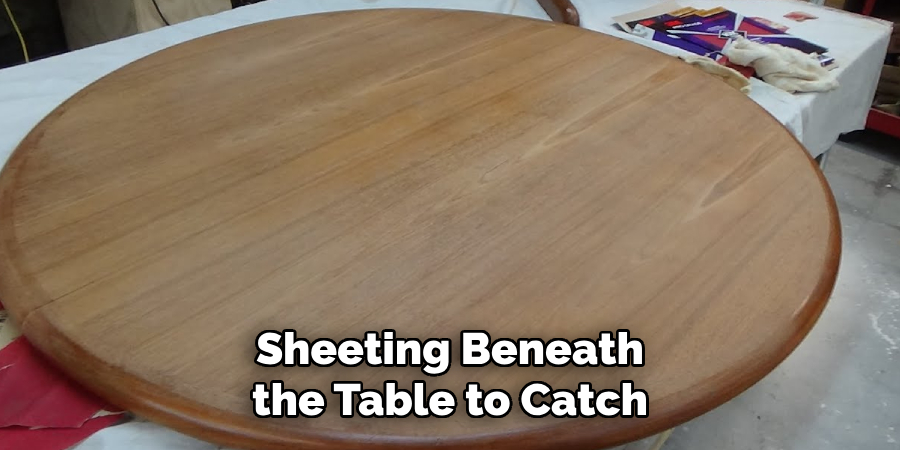
Move the table to a well-ventilated area or outdoors to create a clean and safe workspace. Lay down a drop cloth or protective sheeting beneath the table to catch any dust, spills, or drips that may occur during the cleaning and refinishing process. This step not only keeps your work area tidy but also prevents damage to surrounding surfaces.
Sanding the Surface
Sanding the surface is a critical step in refinishing a table, as it helps remove old finishes, smooth imperfections, and prepare the wood for a fresh coat of stain or paint. Follow these detailed steps to ensure a flawless outcome.
Step 1: Choosing Grit
The type of sandpaper grit you use will largely depend on the condition of your table. For heavily weathered or rough surfaces with old finishes, it’s best to begin with medium-grit sandpaper, such as 80–120 grit, to strip away the damaged layer effectively. Once the surface is even and free from old coatings, switch to fine-grit sandpaper, around 220 grit, for the final pass. This will smooth the wood and create an ideal surface for applying finishing products.
Step 2: Sanding Method
Proper sanding technique ensures a smooth result while preserving the integrity of the wood. Always sand in the direction of the wood grain to minimize the risk of scratches or gouges, which can mar the final appearance. For large, flat areas, such as tabletops, use an orbital sander to save time and achieve a uniform finish. Curved or detailed sections, such as table legs or bevels, should be sanded carefully by hand to maintain accuracy and prevent damage to intricate designs.

Step 3: Cleaning After Sanding
Once sanding is complete, thoroughly clean the table to remove all traces of dust, which could interfere with the application of finishes. Wipe down the entire surface with a tack cloth to capture fine particles and ensure a pristine workspace. Inspect the table under good lighting for any missed spots or rough areas, and sand as needed to touch up imperfections before moving on to the next phase. A clean, smooth surface is vital for professional-level results.
Applying Teak Oil, Sealer, or Finish
Step 1: Choosing a Finish
Selecting the right finish for your table is essential to achieve the desired look and level of protection. Here are some options to consider:
- Teak Oil: This option enhances the natural color and grain of the wood, giving it a rich, warm appearance. However, it requires periodic reapplication to maintain its effect over time.
- Teak Sealer: Ideal for long-lasting protection without altering the table’s natural color. Unlike oil, it prevents water and stain penetration with minimal maintenance.
- Varnish or Polyurethane: These finishes create a glossy and highly durable surface, making them best suited for indoor use where long-term wear and tear is a concern.
Step 2: Applying the Finish
When applying your chosen finish, follow these steps for optimal results:
- Use a high-quality brush or a clean, lint-free cloth to apply teak oil or sealer evenly across the surface. Work in the direction of the wood grain to ensure a smooth, consistent coat.
- Allow the product to penetrate the wood for 15–30 minutes (refer to the product instructions) before wiping off any excess with a clean cloth. This prevents a sticky residue from forming on the surface.
- Make sure the table dries thoroughly between coats. Drying times may vary depending on the finish and environmental conditions, so consult the manufacturer’s recommendations.
Step 3: Optional Second Coat
For an even smoother finish and additional protection:
- Lightly sand the surface with fine-grit sandpaper (220-grit or higher) between coats to promote adhesion and achieve a polished look.
- Apply a second coat if desired, following the same process as the first. Multiple coats can provide a deeper color and enhanced durability, particularly for outdoor tables exposed to the elements.
Patience and attention to detail during this phase will ensure your table looks and performs beautifully for years to come.
Maintenance Tips After Refinishing
Regular Cleaning
To keep your refinished table looking its best, make regular cleaning a priority. Dust the surface frequently using a soft, dry cloth, and wipe up any spills immediately to avoid staining. When deeper cleaning is needed, use a mild soap mixed with water, taking care to avoid harsh chemicals that could damage the finish.

Protecting the Finish
Prevent damage to the finish by using coasters and placemats. These simple measures help shield your table from heat, moisture, and scratches. Additionally, avoid placing your table in direct sunlight for long periods, as this can cause fading or discoloration over time.
Reapplying Finish
To maintain the durability and appearance of your refinished table, plan on reapplying the finish every 6–12 months, depending on how frequently the table is used and its exposure to environmental factors. Prior to reapplication, lightly sand the surface and clean it to ensure proper adhesion of the new coat. Regular upkeep will not only extend the life of the table but also preserve its polished and refined look for years to come.
Conclusion
Refinishing your teak dining table restores its natural beauty and helps it last for decades. By following the steps of proper cleaning, sanding, and finishing, you can transform even the most weathered teak into a like-new condition. Regular maintenance, including gentle cleaning and periodic reapplication of finish, will preserve your refinishing efforts and ensure your table remains a stunning centerpiece year-round. Learning how to refinish a teak dining table empowers you to care for this valuable furniture piece effectively, extending its lifespan and retaining its elegant appearance for years to come.
About the Author
Adrian Green, a lifelong woodworking enthusiast, shares his passion for the craft through The Woodenify Blog. With a foundation built on years of hands-on experience in his father’s woodworking shop, Adrian is dedicated to helping others learn and grow in the world of DIY woodworking. His approach to woodworking combines creativity, practicality, and a deep appreciation for the art of building with your own hands. Through his blog, he inspires individuals of all skill levels to embark on their own woodworking journeys, creating beautiful, functional pieces of furniture and décor.
Professional Focus
- Specializes in DIY woodworking projects, from furniture to home décor.
- Provides step-by-step guides and practical tutorials for woodworkers of all skill levels.
- Dedicated to helping readers build confidence and skill through easy-to-follow instructions and tips.
- Passionate about fostering a community of makers who can share, learn, and grow together.
Education History
- University of Craft and Design – Bachelor of Fine Arts (BFA) in Woodworking and Furniture Design
- Woodworking Apprenticeships – Extensive hands-on training with skilled craftsmen to refine carpentry and furniture making techniques.
- Online Courses & Masterclasses – Continued education in advanced woodworking techniques, design principles, and specialized tools
Expertise:
- DIY woodworking, carpentry, furniture making, and home décor projects.
- Creating accessible tutorials and guides for beginner to advanced woodworkers.
- Sharing the joys and satisfaction of woodworking, from raw materials to finished products.