Are you fed up with the unsightly appearance and musty smell that mold growth has brought to your baseboards? Don’t worry; removing mold from baseboards is easier than you may think. In this guide, we will discuss different methods on how to remove mold from baseboards, as well as steps you can take to prevent it from coming back.
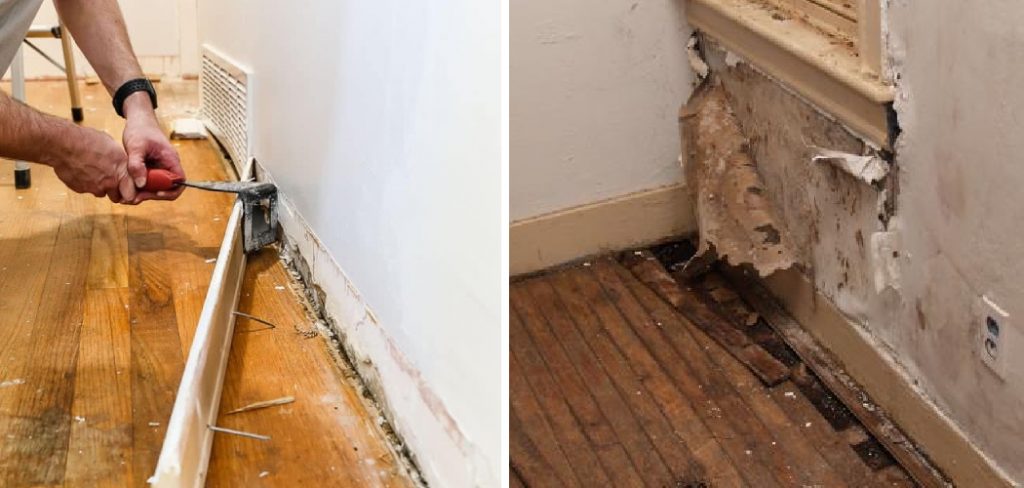
Discovering mold on the baseboards in your home can be both unsettling and unsightly, not to mention potentially hazardous to your health. Mold thrives in moist environments, making baseboards in kitchens, bathrooms, and other damp areas prime targets. Fortunately, with the right approach, removing mold from your baseboards is a manageable task that can significantly improve your home’s air quality and aesthetic appeal.
This guide will walk you through the steps needed to effectively tackle mold on your baseboards, ensuring a cleaner, healthier living environment.
What Causes Mold on Baseboards?
Mold growth on baseboards is often a result of excess moisture and poor ventilation. Some common causes of mold on baseboards include:
- Water Leaks: Leaky pipes, faucets, or roofs can introduce moisture into your home, creating the perfect environment for mold growth.
- High Humidity Levels: Areas with high humidity levels, such as bathrooms and basements, are prone to mold growth, especially with poor ventilation.
- Condensation: Poor insulation or lack of proper ventilation can lead to condensation on baseboards, providing the moisture needed for mold growth.
Understanding the root cause of mold on your baseboards can help you prevent future occurrences and keep your home safe and free from mold.
What Will You Need?
Before you begin the process of removing mold from your baseboards, gather the necessary supplies. Here are some items that may come in handy:
- Protective Gear: Mold can be harmful to your health, so make sure to wear protective gear such as gloves, goggles, and a mask.
- Cleaning Solution: There are various cleaning solutions available for removing mold from baseboards, such as bleach, vinegar, or commercial mold remover.
- Scrub Brush: A stiff-bristled brush will help you remove the mold from your baseboards.
- Sponge or Cloth: Use a sponge or cloth to remove excess moisture and cleaning solution.
With these items on hand, you are ready to tackle the mold on your baseboards.
10 Easy Steps on How to Remove Mold From Baseboards
Step 1. Prepare the Area:
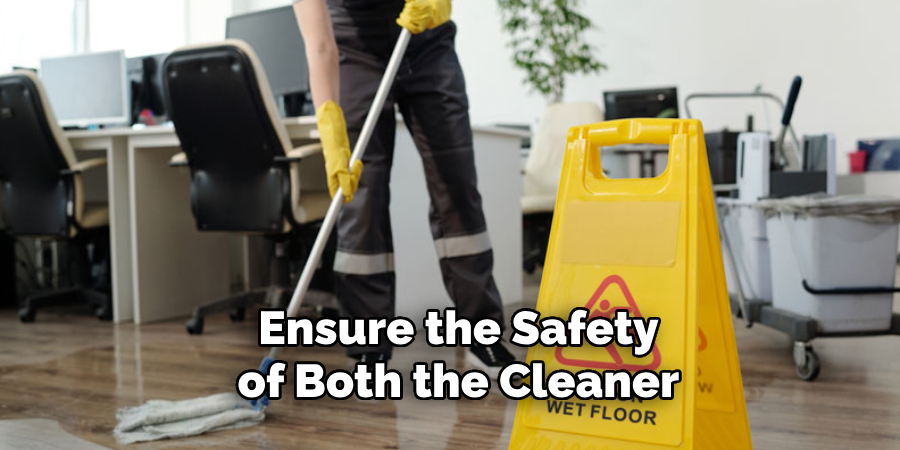
Before beginning the mold removal process, it’s essential to properly prepare the area to ensure the safety of both the cleaner and the home. Start by opening windows to allow for ventilation, which helps to dissipate any fumes from cleaning solutions and reduces the concentration of mold spores in the air. If the affected area is in a room without windows, consider using a fan to help circulate the air.
Next, move any furniture or household items away from the baseboards to provide clear access and prevent damage or contamination. Covering the floor and nearby items with a plastic sheet or old newspapers can also protect against drips or spills of the cleaning solution. Preparing the area facilitates easier cleaning and helps safeguard your health and property during the mold removal process.
Step 2. Protect Yourself:
Before you start tackling the mold, it’s crucial to ensure your own safety. Put on your protective gear, including gloves, goggles, and a mask, to protect yourself from mold spores and the chemicals used in cleaning solutions. Mold can cause respiratory issues and irritate the skin and eyes, so thorough protection is necessary.
Ensure that your gloves are durable enough to prevent any cleaning solution from reaching your skin, and your mask should be capable of filtering out mold spores effectively. Doing so will help minimize your exposure to mold and its associated risks while you clean.
Step 3. Choose Your Cleaning Solution:
Selecting the right cleaning solution is a vital step in the mold removal process. Depending on the severity of the mold infestation and the type of surface you are cleaning, you may opt for a natural solution like vinegar or a more potent cleaner like bleach. Mix equal parts white vinegar and water in a spray bottle for a natural approach. This mixture is effective against most types of mold and is safe for most surfaces.
If you’re dealing with a more stubborn mold, a solution of one part bleach to ten parts water may be necessary. However, bleach can discolor surfaces and release harsh fumes, so use it cautiously and only in well-ventilated areas. Alternatively, there are commercial mold removers available that are specifically designed to tackle mold on various surfaces. Whichever solution you choose, test it on a small, inconspicuous area of your baseboard first to ensure it doesn’t damage the finish.
Step 4. Apply the Cleaning Solution:

Now that you have chosen your cleaning solution, it’s time to apply it to the mold-infected area of your baseboards. If you’re using a spray bottle, thoroughly mist the moldy surface, ensuring the solution covers the mold completely. For solutions applied with a sponge or cloth, dampen your applicator in the solution and apply generously to the mold.
Allow the cleaning solution to sit on the surface for at least 10 minutes. This waiting period gives the solution ample time to break down and kill the mold spores. Be sure to complete this essential step, as it significantly increases the effectiveness of the mold removal process.
Step 5. Scrub the Mold Away:
After allowing the cleaning solution to sit for the recommended time, it’s time to scrub the mold from the baseboards. Use a stiff-bristled brush to firmly scrub the affected areas. The bristles will help to loosen and remove the mold and any accumulated dirt or debris from the surface.
Be thorough in your scrubbing to ensure that all the mold is removed, but also be cautious not to damage the baseboard’s finish. Sometimes, a toothbrush can be used for tight corners or difficult-to-reach spots where a larger brush may not fit. After scrubbing, the mold should be significantly reduced or completely removed from the surface.
Step 6. Rinse the Area:
Once you have thoroughly scrubbed the mold away, it’s important to rinse the area with clean water to remove any residual cleaning solution and mold spores. Use a clean sponge or cloth, dampened with water, to gently wipe down the treated baseboards.
This step ensures that no cleaning solution remains on the surface, which could damage the finish over time or cause irritation if left to dry. Rinse thoroughly but carefully, avoiding excessive water that could soak into the baseboards or the wall. After rinsing, Pat the area dry with a clean towel or cloth to remove any lingering moisture.
Step 7. Dry the Area Thoroughly:
Ensuring the baseboards and the surrounding area are completely dry is critical after rinsing. This can be achieved by patting the area dry with a clean cloth and then allowing air to circulate freely around the treated surface. If you have a fan or dehumidifier, consider using it to help speed up drying. No moisture must remain, as dampness can encourage mold to re-form. Check the area periodically over the next 24 to 48 hours to ensure it stays dry and the mold does not return.
Step 8. Prevent Future Mold Growth:
Preventing future mold growth is key to maintaining a healthy and clean home environment. After the mold removal process, consider applying a mold-resistant primer and paint to your baseboards and surrounding walls. These products contain ingredients that inhibit mold growth, offering an added layer of protection.
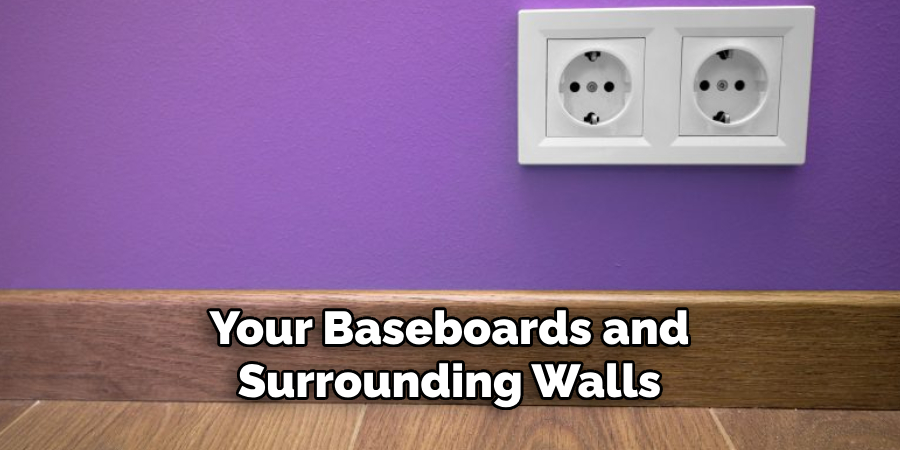
Additionally, address any underlying issues contributing to high humidity levels or moisture in your home, such as leaks or poor ventilation. Regularly inspect areas prone to mold, keeping them clean and dry, and use dehumidifiers in damp spaces like basements or bathrooms. Taking these preventative measures can significantly reduce the likelihood of mold recurring and ensure your living spaces remain safe and comfortable.
Step 9. Monitor the Area for Signs of Mold Reappearance:
After completing the mold removal and prevention steps, it’s essential to regularly monitor the treated area for any signs of mold returning. Mold can grow back if the conditions that facilitated its initial growth persist. Check the area at least once a month, looking for any indications of moisture or new mold growth.
If you notice mold reappearing, address it immediately to prevent it from spreading. Regular monitoring and quick action upon the first sign of mold can help you maintain a clean and healthy living environment, reducing the risk of extensive mold damage and health issues associated with mold exposure.
Step 10. Conduct Regular Maintenance Checks:
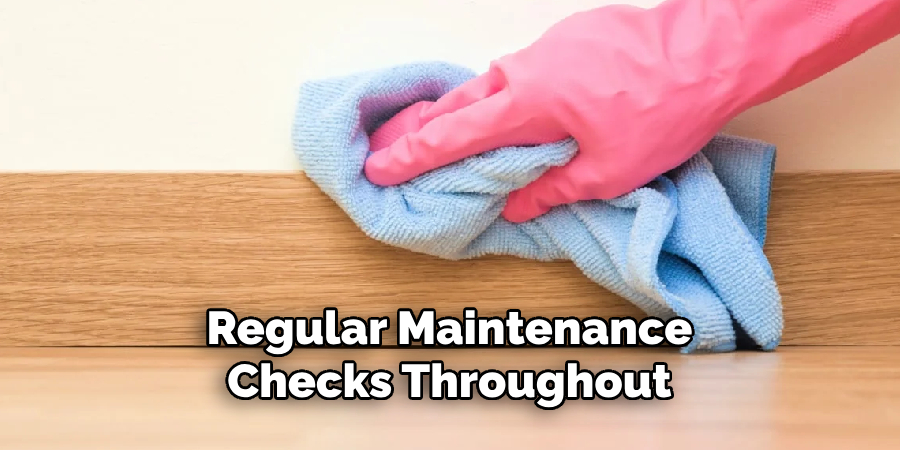
To keep your home mold-free in the long term, conducting regular maintenance checks throughout your property is crucial. Focus on areas that are prone to dampness and humidity, such as bathrooms, kitchens, and basements. Inspect plumbing for leaks, ensure your home’s ventilation systems are functioning correctly, and check that gutters and downspouts direct water away from your home’s foundation.
These preventative maintenance steps can significantly lower the risk of mold growth by addressing the root causes of moisture accumulation. By integrating these checks into your routine home maintenance schedule, you can create a healthier living environment and avoid the need for frequent mold remediation.
By following these steps and taking preventative measures, you can effectively tackle mold on your baseboards and keep your home free from the potential hazards of mold growth.
5 Additional Tips and Tricks
- Maximize Natural Light and Air Flow: Open windows and doors to increase sunlight and air circulation in your home. Mold thrives in dark, damp environments, so letting in fresh air and sunlight can naturally deter mold growth.
- Use Essential Oils for Prevention: Essential oils such as tea tree oil and clove oil have natural mold-killing properties. Add a few drops to your cleaning solution or diffuse them in your home to inhibit mold growth and leave a pleasant scent.
- Regular Vacuuming: Regularly vacuuming the floors and baseboards can help remove dust and potential mold spores. Use a vacuum with a HEPA filter to ensure mold spores are captured and not released back into the air.
- Check and Maintain Indoor Humidity Levels: Use a hygrometer to monitor your home’s humidity levels, striving to keep them below 60%. High humidity promotes mold growth, so consider using a dehumidifier in moisture-prone areas.
- Seal Gaps and Cracks: Inspect your baseboards and the walls they’re attached to for any gaps, cracks, or holes. Use caulk to seal these areas to prevent moisture from seeping in, providing a breeding ground for mold.
With these tips and tricks, you can effectively remove and prevent mold growth on your baseboards, keeping your home clean and healthy.
5 Things You Should Avoid When Removing Mold from Baseboards
- Avoid Using Bleach on Porous Surfaces: While bleach can be effective on non-porous surfaces, it’s not recommended for wood or drywall. It can damage the surface and may not effectively penetrate to kill the mold at its roots.
- Don’t Ignore Ventilation: Always ensure the area is well-ventilated when cleaning mold. Mold spores can become airborne during cleaning; without proper ventilation, you could inhale these potentially harmful spores.
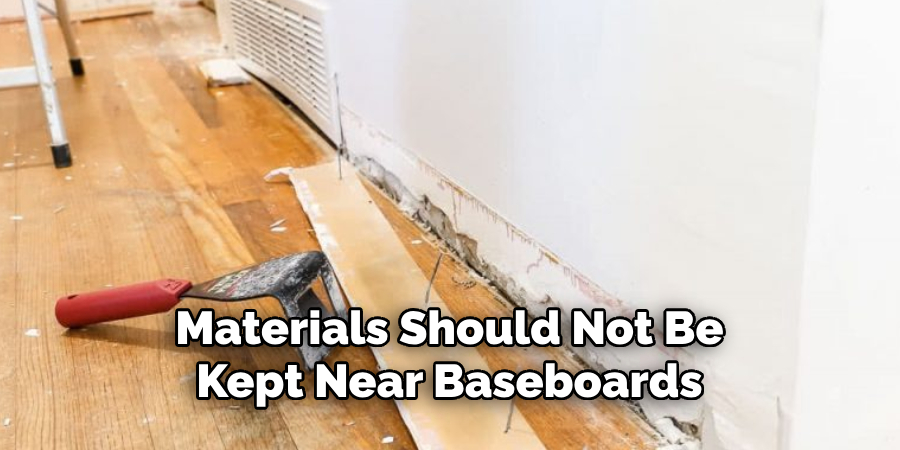
- Avoid Keeping Wet Items Nearby: Wet or damp materials should not be kept near baseboards or any areas prone to mold. These create ideal conditions for mold to grow again, even after thoroughly cleaning it.
- Don’t Delay the Drying Process: After cleaning and rinsing the affected area, it’s imperative to dry it as quickly as possible. Lingering moisture is a primary culprit in mold recurrence. Avoid slow or inadequate drying methods.
- Avoid Skipping Safety Gear: Never underestimate the importance of wearing gloves, masks, and goggles when dealing with mold. Mold spores can cause health issues, especially for those with allergies or compromised immune systems. Always protect yourself during the cleanup process.
With these tips in mind, you can tackle mold on your baseboards safely and effectively.
What Kills Black Mold Permanently?
While many products and DIY solutions claim to kill black mold permanently, the truth is that mold can return if the conditions for its growth remain. The only way to truly prevent mold from coming back is to address the root cause of moisture and humidity in your home.
Additionally, preventative measures such as regular maintenance checks and a well-ventilated environment can help keep mold at bay. In severe cases, seeking professional help for thorough mold remediation may be necessary to ensure the problem is completely resolved.
By taking proactive steps and addressing any potential moisture issues, you can effectively prevent black mold from growing and protect your home and health.
Can You Leave Vinegar on Mold Overnight?
Leaving vinegar on mold overnight can be a highly effective method for dealing with more stubborn mold infestations. Vinegar, a mild acid, can penetrate porous surfaces to kill mold at its roots. This extended exposure time allows the vinegar to work more thoroughly than a quick application and rinse.
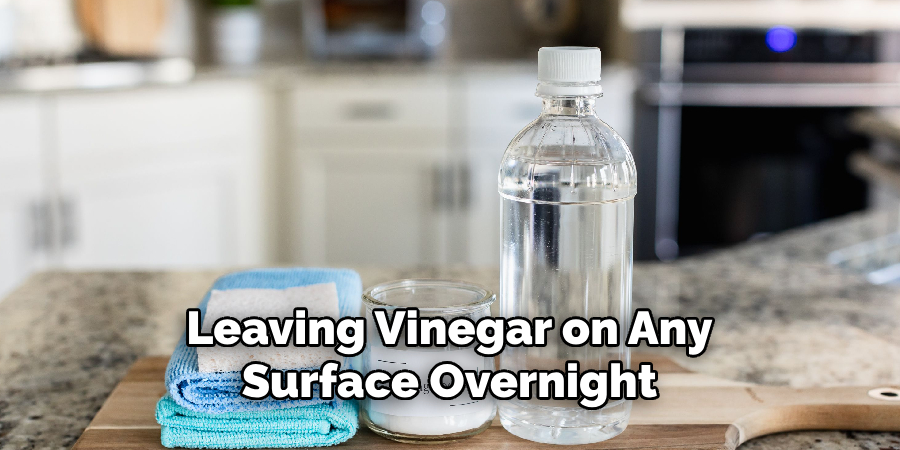
However, it’s crucial to remember that not all materials react well to acidic solutions. Before leaving vinegar on any surface overnight, test a small, inconspicuous area for any adverse reactions. Additionally, ensure the room is well-ventilated to avoid any strong vinegar odors.
After the overnight treatment, wipe away the vinegar and loosen the mold with water and a clean cloth, then dry the area completely to prevent mold regrowth.
What Kills Mold Better, Bleach or Vinegar?
Both bleach and vinegar can effectively kill mold, but they have different properties and should be used in different situations. Bleach is a powerful disinfectant that works well on non-porous surfaces like glass or tile. It can also remove mold’s color, making it less visible.
However, bleach is not recommended for porous materials like wood or drywall, and it does not effectively penetrate to kill mold at its roots. In these cases, vinegar may be a better option as it can penetrate porous surfaces and kill mold from the inside out.
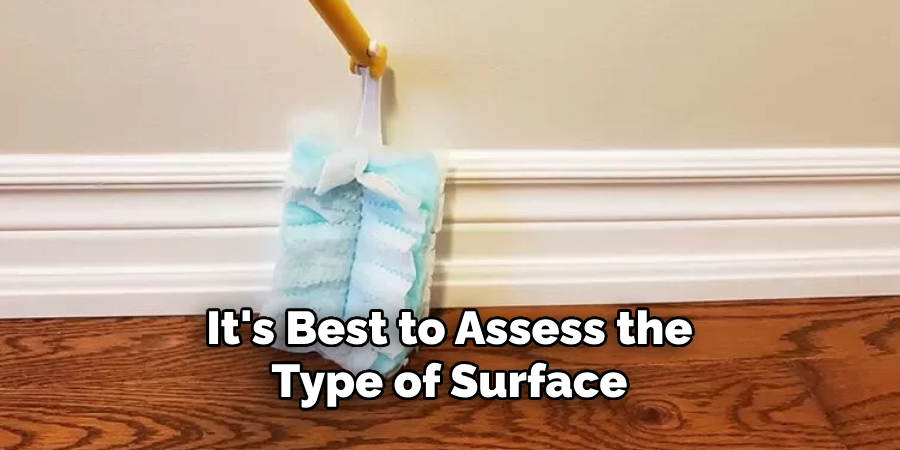
Overall, it’s best to assess the type of surface and severity of the mold before deciding which solution suits your situation. Remember that bleach and vinegar should be used with caution and proper safety gear to avoid any potential health hazards. So, choose the solution that effectively kills mold and is safe for the surface you are treating.
Conclusion
How to remove mold from baseboards requires a careful combination of effective cleaning solutions, preventative measures, and regular maintenance. Homeowners can effectively tackle mold issues by choosing the right products—whether it’s using natural solutions like vinegar or commercial mold removers—and following through with diligent cleaning practices. It’s imperative to address underlying problems such as moisture and humidity to ensure a mold-free environment.
Safety should always be a priority, with proper ventilation and protective gear being non-negotiable during the mold removal process. Ultimately, consistency in monitoring and maintaining the cleanliness and dryness of baseboards and surrounding areas is key to preventing the recurrence of mold.
By applying the insights and strategies this document outlines, you can successfully remove mold from your baseboards and maintain a healthy, mold-free home.
About the Author
Adrian Green, a lifelong woodworking enthusiast, shares his passion for the craft through The Woodenify Blog. With a foundation built on years of hands-on experience in his father’s woodworking shop, Adrian is dedicated to helping others learn and grow in the world of DIY woodworking. His approach to woodworking combines creativity, practicality, and a deep appreciation for the art of building with your own hands. Through his blog, he inspires individuals of all skill levels to embark on their own woodworking journeys, creating beautiful, functional pieces of furniture and décor.
Professional Focus
- Specializes in DIY woodworking projects, from furniture to home décor.
- Provides step-by-step guides and practical tutorials for woodworkers of all skill levels.
- Dedicated to helping readers build confidence and skill through easy-to-follow instructions and tips.
- Passionate about fostering a community of makers who can share, learn, and grow together.
Education History
- University of Craft and Design – Bachelor of Fine Arts (BFA) in Woodworking and Furniture Design
- Woodworking Apprenticeships – Extensive hands-on training with skilled craftsmen to refine carpentry and furniture making techniques.
- Online Courses & Masterclasses – Continued education in advanced woodworking techniques, design principles, and specialized tools
Expertise:
- DIY woodworking, carpentry, furniture making, and home décor projects.
- Creating accessible tutorials and guides for beginner to advanced woodworkers.
- Sharing the joys and satisfaction of woodworking, from raw materials to finished products.