Repainting a shed is essential to maintaining its overall integrity and appearance. Over time, exposure to the elements can lead to weathering, fading, and damage, making regular upkeep crucial for both aesthetic and protective purposes. By learning how to repaint a shed, homeowners can enhance the visual appeal of their outdoor space while extending the structure’s life.
Repainting not only revitalizes the look of the shed but also safeguards it against rot, rust, and other environmental factors that can compromise its durability. This article aims to provide readers with a comprehensive guide on how to effectively repaint a shed, ensuring that they have the necessary knowledge and tools to achieve lasting results.
Assessing the Shed
Inspecting the Current Condition
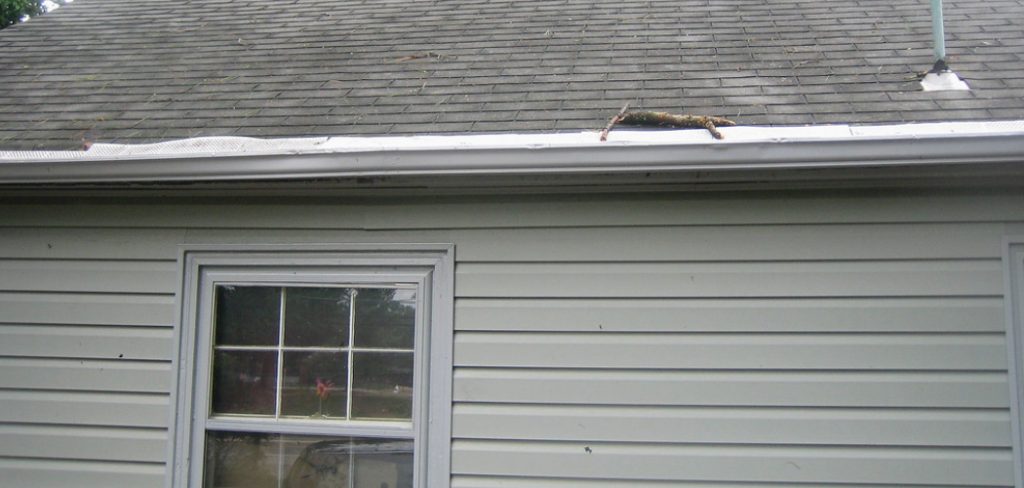
Before commencing the repainting process, it’s vital to thoroughly assess the shed’s current state. Start by checking for any damage, such as areas with peeling paint, signs of rot, or rust that may have developed over time. These issues can significantly affect the longevity of the paint job. It’s equally important to evaluate the surface preparation needs and determine how much cleaning, sanding, or repairs are necessary to restore a smooth and clean surface for painting. Addressing these factors will ensure better paint adhesion and a more durable finish.
Planning the Repainting Project
Once the shed has been assessed, planning the repainting project becomes essential. Begin by choosing the right paint for the job, deciding between exterior latex paint, oil-based paint, or stain. Each option has its pros and cons, so consider factors like durability, drying time, and environmental conditions. Additionally, set up the workspace by clearing the area around the shed, ensuring it’s free of obstacles, and prepping any nearby surfaces to protect them from paint splatters. Establishing an organized and safe workspace is critical for a successful and efficient painting experience.
Preparing the Shed
Cleaning the Surface
Before applying any paint, cleaning the shed thoroughly to ensure a good surface for painting is crucial. Start by removing dirt and debris from the exterior. Use a broom or vacuum to remove loose materials, including leaves, dust, and spiderwebs. It’s time to wash the surface once the shed is free of loose debris.
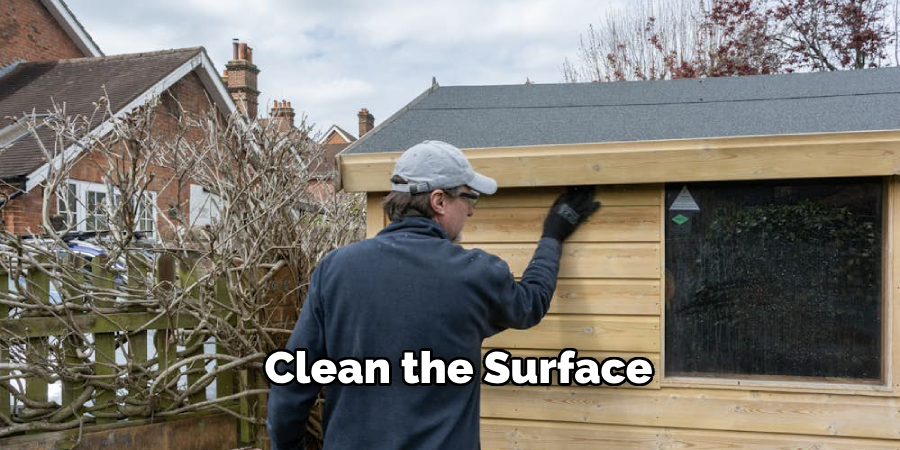
Utilize a pressure washer for a more powerful clean, or a garden hose with a mild detergent will suffice for less severe dirt accumulation. Spray down the entire exterior, making sure to get into any nooks and crannies. Employ a scrub brush for stubborn areas to remove ingrained dirt, mildew, or algae. After washing, it is important to let the shed dry completely; depending on the weather conditions, this may take a few hours. A well-dried surface is key to achieving optimal paint adhesion and durability.
Sanding and Repairing
After cleaning, the next step involves sanding and repairing the surface to ensure it’s smooth and ready for painting. Start with medium to fine grit sandpaper to smooth out any rough patches, peeling paint, or rust spots. This prepares the surface and promotes better paint adhesion once the new coat is applied. Be thorough, paying special attention to areas that are particularly worn or damaged. After sanding, inspect the shed for any holes or cracks that may need repair.
Use wood filler or caulk to fill these imperfections, applying it evenly and adequately sealing the affected areas. Once the filler has dried, sand it down until it is flush with the surrounding surface. Applying a primer is recommended if there are large areas of bare wood or significant repairs. This primer serves as a base layer that helps the paint adhere better enhances longevity, and ensures a uniform finish. After these steps, your shed will be well-prepared for the upcoming repainting process.
How to Repaint a Shed: Painting Process
Choosing the Paint
Selecting the right paint type is crucial for the appearance and longevity of your shed’s new look. For outdoor structures, exterior latex paint is often preferred due to its durability, quick drying time, and ease of cleaning with soap and water. Alternatively, oil-based paints provide a sturdy finish and weather resistance but typically require mineral spirits for clean-up and have longer drying times.
In addition to the paint type, you should choose a finish that aligns with your aesthetic goals and the shed’s role on your property. Matte finishes can create a rustic appearance, while satin finishes offer a slight sheen and are easier to clean, making them a practical choice for sheds used for storage or tools. High-gloss finishes provide excellent durability and are highly reflective, perfect for creating a bold, vibrant look. Consider these factors carefully to ensure a successful repainting project.
Preparing to Paint
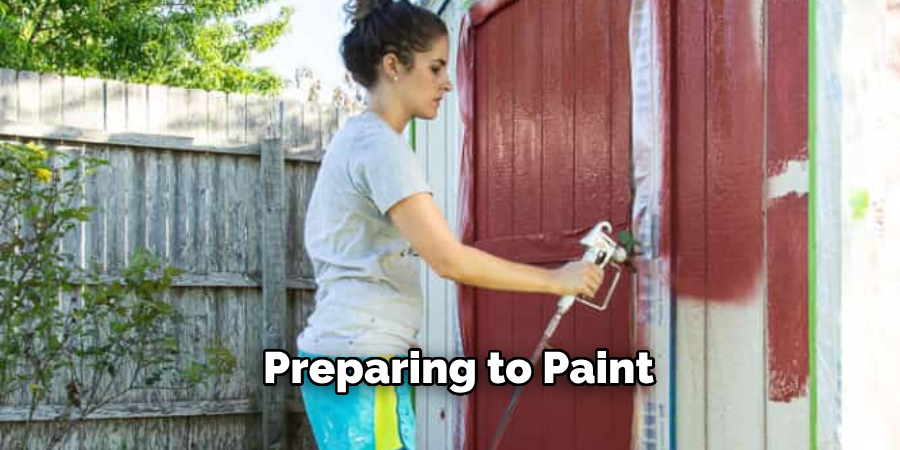
Before diving into the application process, gathering all necessary painting supplies is essential. Arm yourself with high-quality paintbrushes and rollers, as these tools will significantly impact the finish of your shed. Various sizes will be beneficial for reaching different areas, especially corners and intricate details. Additionally, have paint trays on hand to hold the paint and ensure easy access for your brushes and rollers.
Protecting your surroundings is equally important. Lay down drop cloths to cover the ground beneath your shed, making clean-up easier and preventing paint splatters from damaging your lawn or garden. Use painter’s tape to carefully mask off windows, trim, and any areas you wish to keep paint-free, ensuring crisp, clean lines when you finish painting. By preparing thoroughly, you’ll create an efficient workspace that enhances the overall painting experience.
Application Process
With your supplies ready and the area protected, you can now begin painting your shed. Start by stirring the paint thoroughly to ensure an even consistency before pouring it into your paint tray. Using a brush, begin at the edges, cutting in around windows, doors, and any trim. Take your time to make precise strokes, as this will help create clean lines and minimize the need for touch-ups later.
After detailing, switch to a roller for broader areas. A roller can cover large surfaces quickly and evenly, but applying the paint in thin layers is essential. Avoid overloading the roller with paint, as this can result in drips and an uneven finish; instead, use a zigzag pattern followed by long, even strokes to smooth it out.
Once the first coat is complete, allow it to dry according to the manufacturer’s instructions, typically for a few hours. Inspect your work for any spots that may need a second coat for full coverage. When applying the second coat, make sure it aligns with your desired finish; this final layer will enhance the protection and look of your shed, finalizing your hard work in a rewarding transformation.
Post-Painting Care
Cleaning Up
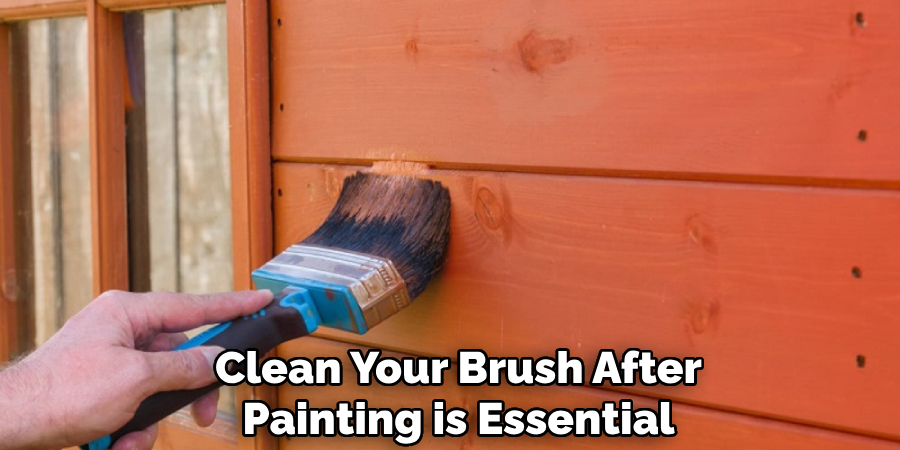
Once you’ve finished painting, cleaning your brushes and rollers is essential to ensure they remain in good condition for future projects. For latex paints, rinse your tools with warm, soapy water until the water runs clear, ensuring no paint residue remains. You’ll need to use the appropriate solvents, such as mineral spirits, to thoroughly clean your tools for oil-based paints. Afterward, lay them flat or hang them to dry, as storing them standing upright can damage the bristles.
Inspecting the Paint Job
After the paint has dried, inspect the job for even coverage. Check for any areas that may appear patchy or uneven, especially around seams and corners. A uniform finish not only enhances the aesthetic appeal of your shed but also assures long-lasting protection against the elements.
If you notice any missed spots or imperfections, it’s wise to undertake touch-up painting. Use the same paint and tools you previously used for consistency. Apply a small amount of paint carefully to the affected areas, feathering the edges to blend with the surrounding paint. This attention to detail will ensure a polished, professional-looking finish that will stand the test of time.
Troubleshooting Common Issues
Peeling or Chipping Paint
Peeling or chipping paint is a common issue that can detract from the overall appearance of your shed. This problem often arises from poor surface preparation, inadequate paint adhesion, or exposure to extreme environmental factors. To address this, identify the affected areas and gently sand them down to remove the loose paint.
Ensure that the surface is clean and dry before applying a high-quality primer, as this will enhance the adhesion of the new paint layer. After priming, repaint the affected sections, using a consistent technique for an even finish. This approach will improve the appearance and prolong the life of your paint job.
Uneven Color or Finish
Uneven color or finish can be frustrating, especially after spending time and effort repainting your shed. This issue typically stems from inconsistent application techniques or the use of different batches of paint, which may have slight variations in shade. To remedy this, it’s essential to reapply paint evenly across the affected areas, using long, smooth strokes to achieve a uniform look.
Additionally, before beginning any painting project, always thoroughly mix the paint throughout, regardless of the brand or finish type. This step ensures consistent color and texture across the entire surface, creating a stunning and cohesive appearance. If necessary, consider applying a third coat to achieve perfect coverage and a professional finish.
Conclusion
In summary, repainting your shed involves several key steps, from thorough preparation and gathering the right supplies to executing the painting process carefully and performing necessary inspections afterward. Whether it’s masking off areas to prevent paint splatters or applying paint in thin layers for an even finish, each stage plays a crucial role in achieving a successful outcome.
Proper preparation cannot be overstated; it serves as the foundation for a resilient and beautiful paint job that can withstand the elements. Now that you know how to repaint a shed and have transformed your outdoor space, take a moment to appreciate your hard work. Enjoy the vibrant new look of your shed, as it enhances your property’s curb appeal and showcases your dedication and pride in maintaining your space.
About the Author
Adrian Green, a lifelong woodworking enthusiast, shares his passion for the craft through The Woodenify Blog. With a foundation built on years of hands-on experience in his father’s woodworking shop, Adrian is dedicated to helping others learn and grow in the world of DIY woodworking. His approach to woodworking combines creativity, practicality, and a deep appreciation for the art of building with your own hands. Through his blog, he inspires individuals of all skill levels to embark on their own woodworking journeys, creating beautiful, functional pieces of furniture and décor.
Professional Focus
- Specializes in DIY woodworking projects, from furniture to home décor.
- Provides step-by-step guides and practical tutorials for woodworkers of all skill levels.
- Dedicated to helping readers build confidence and skill through easy-to-follow instructions and tips.
- Passionate about fostering a community of makers who can share, learn, and grow together.
Education History
- University of Craft and Design – Bachelor of Fine Arts (BFA) in Woodworking and Furniture Design
- Woodworking Apprenticeships – Extensive hands-on training with skilled craftsmen to refine carpentry and furniture making techniques.
- Online Courses & Masterclasses – Continued education in advanced woodworking techniques, design principles, and specialized tools
Expertise:
- DIY woodworking, carpentry, furniture making, and home décor projects.
- Creating accessible tutorials and guides for beginner to advanced woodworkers.
- Sharing the joys and satisfaction of woodworking, from raw materials to finished products.