Ah, cane furniture! It’s like that one friend who’s been around forever, comforting, stylish, and occasionally needing a little TLC. You’ve seen it everywhere – from your grandma’s cozy porch to the chicest of modern cafes, flaunting its timeless appeal like it’s nobody’s business. But what do you do when your beloved cane piece starts looking more shabby than chic?
Fear not, dear reader, for you’ve stumbled upon the ultimate guide on how to repair cane furniture. In this guide, we’re not just going to ramble on about the glory days of cane. Oh no, we’ll roll up our sleeves, grab some glue, and get down to business – ensuring your favorite chair or table is strutting its stuff again. Whether you’re a DIY newbie or a seasoned pro, we’ve got the tips, tricks, and chuckles to help you through the process. Sit tight and prepare to breathe new life into your old treasures, all while keeping the laughter in your heart and (perhaps) a splinter or two in your fingers.
Types of Cane Furniture
Hold onto your hats, folks, because the world of cane furniture is as vast and varied as the internet’s opinions on pineapple on pizza. First up, we’ve got the usual suspects: chairs, sofas, tables, and headboards. These are the backbone of the cane furniture family, showing up in homes across the globe unannounced but always welcome guests.
Now, when it comes to weaving this stuff, we’ve got more diverse techniques than your grandma’s recipe book. Hand-woven cane is the artisanal coffee of furniture – each piece unique, with more attention to detail than your aunt’s Facebook posts. Conversely, machine-woven cane is like fast food – efficient, uniform, and everywhere. And then there’s Reed Cane – the wild card, unpredictable and full of character, much like your cousin who backpacks across Europe every summer.
Styles? Oh, we’ve got styles. From the classic elegance that whispers of old-world charm to contemporary designs that scream, “I follow all the latest trends!” and even Bohemian pieces that look like they were crafted by a free spirit on a spiritual quest in Bali. Each style has its own vibe, ready to turn your living space from “meh” to “wow” with just a few strategic placements. Whether you’re channeling your inner aristocrat or your coastal grandma aesthetic, there’s a cane out there just waiting to spice up your décor.
Importance of Repair
Oh, the importance of fixing up that cane furniture! Picture this: that lovely cane chair that’s been with you through thick and thin, witnessing countless coffee mornings and lazy afternoons. It’s not just a piece of furniture; it’s an extension of your home’s soul. Giving it a little facelift extends its runway life and keeps it looking as snazzy as the day it caught your eye in the store.
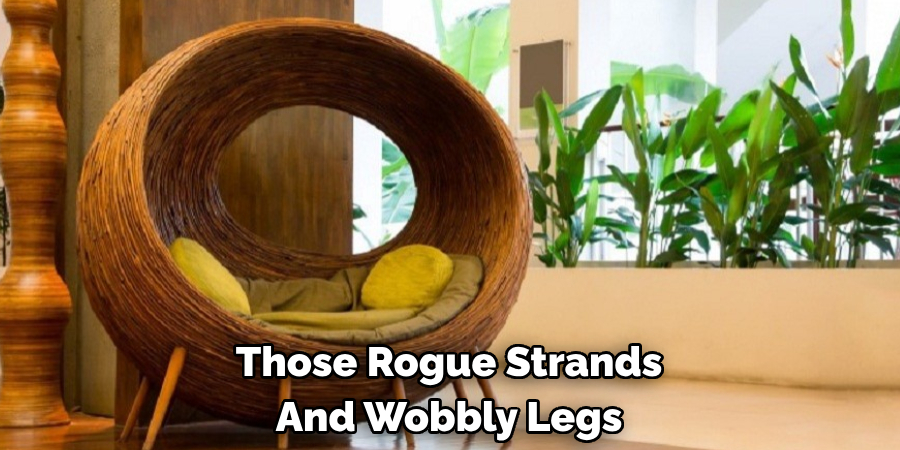
Now, onto the nitty-gritty. You might think, “It’s just a few loose strands, no biggie,” but oh, how the mighty can fall. Those rogue strands and wobbly legs signal the beginning of an unraveling saga you’d want to nip in the bud. Common offenders include the infamous broken strands, making your furniture look like it barely survived a cat attack; loose joints that make every sit an adventurous gamble; and that worn finish that’s screaming for a bit of TLC.
Hold up before you roll up your sleeves and declare war on the damage. Assess the battleground—I mean, your furniture’s condition. Is it a simple spy mission requiring minor strand reinforcements, or are we discussing a full-blown restoration saga? Taking a moment to really understand what you’re dealing with helps you strategize your repair plan efficiently. Remember, every piece of cane furniture has its own story and repair needs. Whether you’re dealing with a chair that’s seen better days or a table that’s lost its luster, knowing what you’re up against is half the battle won.
Tools and Materials
Alrighty, fellow DIY warriors, before we charge into the fray of repairing, we must arm ourselves with the right tools and materials. Think of this as gathering potions and weapons before facing the boss in a video game. First off, you’ll need cane splints — these are your repair wizards, ready to mend those pesky breaks. Next up, glue — not just any glue, but the strong, durable kind that promises to hold your furniture together tighter than your family during the holidays.
Clamps are next on our list; consider these your besties, holding everything in place while the glue does its magic. And don’t forget sandpaper, the trusty sidekick that smooths out all the rough spots, making your furniture as smooth as your pick-up lines.
Now, hold your horses because we’re not about to go in all willy-nilly. Safety is sexy, folks. Always wear gloves to protect those precious digits, and maybe slap on a mask if you’re sanding or dealing with lots of dusty bits. Work in a well-ventilated area because passing out mid-repair is not the plot twist we aim for. Remember, folks, best practices make for the best outcomes and keep you from turning your DIY project into an episode of “Home Repair Gone Wrong.”
How to Repair Cane Furniture: Cane Replacement
Alright, team, it’s showtime in DIY-ville, and today’s episode is “Cane Replacement: A Journey in String.” Sit tight because we’re about to turn that furniture frown upside down.
A. Guidance on Replacing Broken or Damaged Cane Strands Using Traditional Hand-Woven Techniques.
Imagine you’re a surgeon, but instead of a scalpel, you’ve got cane splints, and instead of an operating room, you’re at your dining table. First, gently remove the old, defeated strands, giving them a respectful nod for their service. Now, take a deep breath (remember, confidence is key) and start weaving new strands, mimicking the pattern of the undamaged parts. It’s like playing Twister with your fingers, looping and pulling, ensuring each strand snugly emulates the dance of its predecessors. And voilà, you’ve just performed cane surgery!
B. Tips for Selecting the Right Type and Size of Cane Splints for Repairing Different Areas of Cane Furniture.
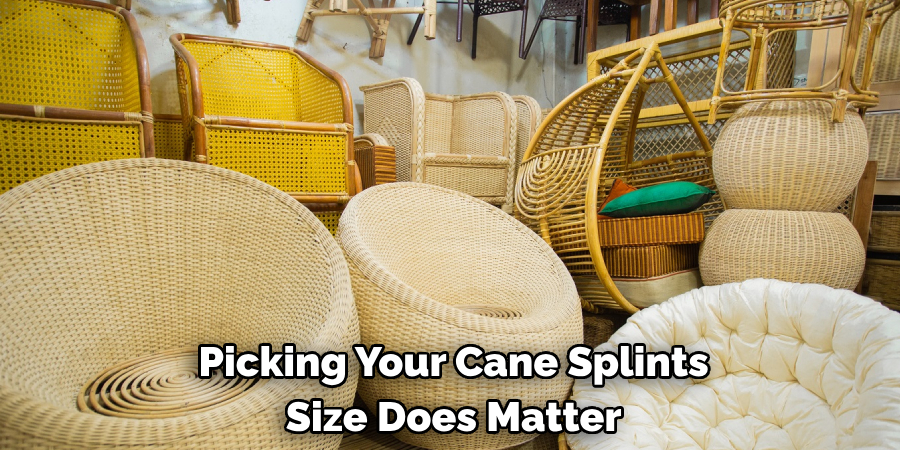
When it comes to picking your cane splints, size does matter. You wouldn’t wear socks on your hands just because they’re sort of similar, right? For those cozy chair seats, aim for medium-thick splints. They’re like the reliable middle child, strong enough to support you yet flexible enough to work with. Headboards and backrests can do with thinner splints since they’re more for looks than for plopping down after a long day.
C. Step-by-Step Instructions on Weaving New Cane Strands to Match Existing Patterns and Ensure Seamless Repairs.
- Identify the Pattern: First, scrutinize the existing work like it’s an abstract painting, understanding its flow and rhythm.
- Prep Your Splints: Soak your splints in water for a quick spa day. This will make them pliable and easy to work with. They’re getting ready for their limelight moment.
- Start Weaving: Begin at the center, working your way outwards, mimicking the original pattern. Think of it as replaying your favorite song but with cane strands.
- Anchor Your Work: Secure the ends with your trusty glue because nobody likes a cane unraveling mid-sit.
- Pat Yourself on the Back: You’ve successfully woven a slice of magic, restored beauty, and saved the day—congrats!
And there you have it, folks — cane replacement, demystified. Now, go forth and rescue that furniture!
How to Repair Cane Furniture: Frame Repair
Alright, DIY mavens, buckle up! We’re veering into the thrilling world of frame repair. It’s like fixing the skeleton of your furniture, making sure it can stand tall and proud (and not collapse under Aunt Martha at the next family gathering).
A. Strategies for Repairing Loose or Broken Frame Joints and Supports in Cane Furniture, Such as Chairs and Sofas.
Imagine your furniture is like a Lego set. When pieces get loose or fall off, it’s not just a bummer; it’s a call to action. The first step in our frame repair saga is a bit like matchmaking – finding which pieces fit back together. Do you have a loose joint? Wood glue is your new best friend. It whispers sweet nothings that keep those joints tight. We’re bringing out the big guns for the dramatic breaks: epoxy resin. It’s like the superhero of adhesives, ensuring broken pieces are history.

B. Tips for Reinforcing Weak Areas and Strengthening Frame Structure Using Wood Glue, Screws, or Braces.
Now, for the bodies out there aching to reinforce like the DIY gods and goddesses you are, here’s the skinny. After coaxing those joints back together with glue, screws can play backup dancer, adding an extra layer of “You’re not going anywhere.” For the parts acting all shy and retiring, a well-placed brace can be the equivalent of a pep talk, ensuring they’re ready to support weight like a champ.
C. Suggestions for Sanding and Refinishing Frame Surfaces to Restore Their Appearance and Protect Against Future Damage.
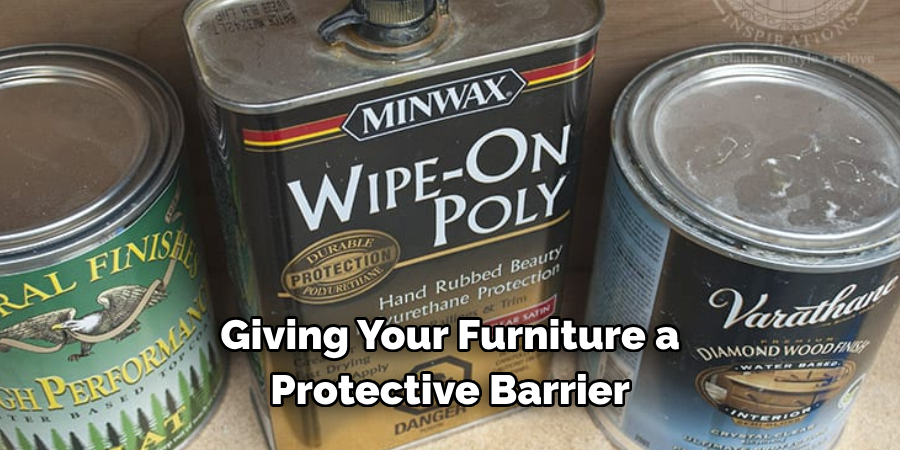
Once the structural integrity is more solid than your grandma’s fruitcake, it’s time for a spa day. Sanding down the frame is like exfoliating, whisking away old, tired skin (or, you know, finish) to reveal the glowing beauty beneath. Choose your sandpaper-like you’d pick a dance partner—carefully and based on the task at hand. Afterward, refinishing is like slapping on that moisturizer, giving your furniture a protective barrier against the elements (or just enthusiastic kids and pets).
And bam! With these tips, your cane furniture won’t just be standing; it’ll be strutting its stuff. Frame repair? Nailed it.
Finishing Touches
Alrighty, handy people, you’ve woven, glued, and braced your way through, but we’re not done yet. It’s time for the cherry on top: the finishing touches. This is where your repaired cane furniture gets that “oomph” to really dazzle. Whether you’re into the au naturel look or want to jazz things up with a splash of color, here’s how to put the final pep in your furniture’s step.
First up, if you’re a fan of the stain, remember it’s all about complementing those cane vibes. Think of staining like choosing your outfit for a second date — you want to impress but still keep it real. Test your stain on a hidden spot to ensure it’s the perfect match; it’s like swiping right on your furniture’s color profile.
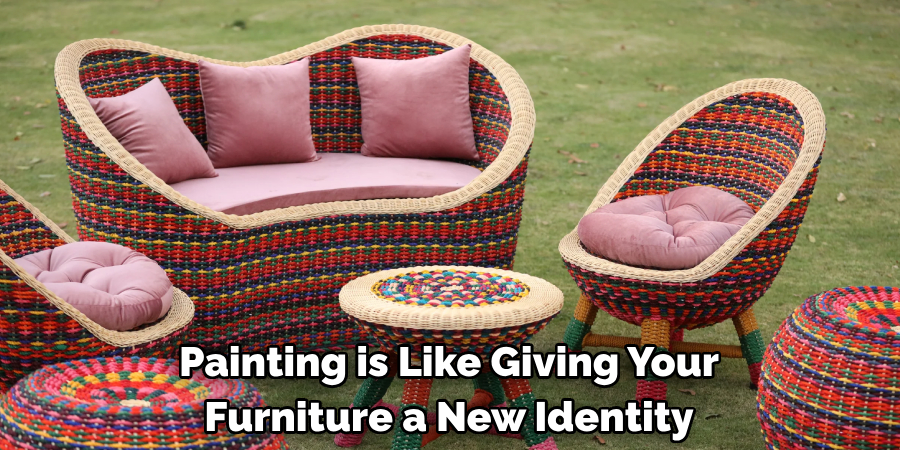
On the flip side, maybe painting’s more your jam. Painting is like giving your furniture a new identity, perfect for when you want a dramatic transformation. Just remember, it’s not a mask. Use a brush with the finesse of a makeup artist to avoid globs and ensure your piece’s features shine through.
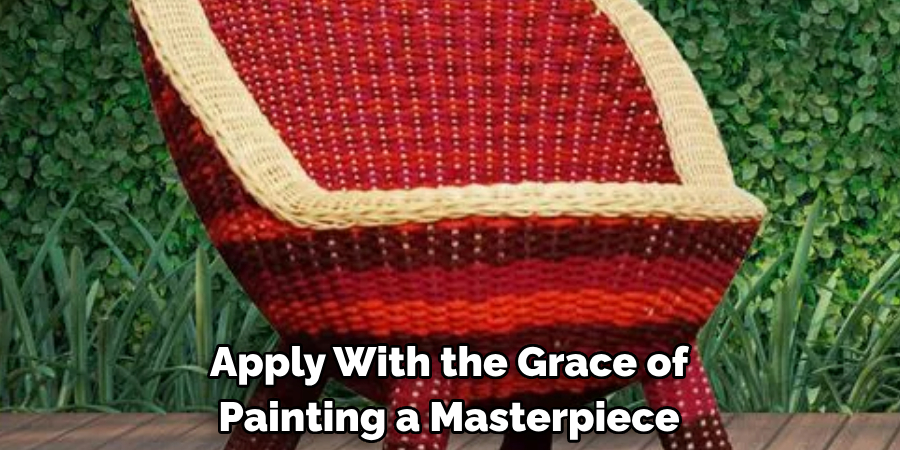
Going for the varnished look? It’s like adding that glossy topcoat to your nails — protection + shine = winning combo. Apply with the grace of painting a masterpiece, ensuring your brushstrokes are as smooth as a jazz tune.
Finally, whatever finish floats your boat, make sure it blends with the rest of your squad. Matching colors and textures is key to avoiding that awkward “this one doesn’t belong” vibe. Think of it like coordinating your furniture’s outfit for a group photo; everyone should look fab together.
Whew! There you go, DIY dynamos. Finishing touches are the secret sauce to making your repaired cane furniture not just stand but leap out in sheer awesomeness. Now, step back, admire your work, and maybe take that well-deserved victory lap around the living room.
Maintenance and Care
Alright, folks, after all that fixing, weaving, and beautifying, you’re pretty much in a committed relationship with your cane furniture. Like any good relationship, it needs a bit of TLC to keep the flame alive. Here’s how to keep your bits of woven wonder-looking spruce and dandy for the long haul.
A. Discussion on Proper Maintenance Practices to Keep Repaired Cane Furniture Looking Its Best for Years to Come.
First off, treat your cane furniture like the treasure it is. This isn’t a fling; it’s for keeps. Avoid placing it in direct sunlight or next to heat sources; those can cause drying and fading faster than a bad dye job. Keep the humidity in check; cane loves moisture, but too much can lead to a messy breakup with mold.
B. Tips for Regular Cleaning, Dusting, and Polishing to Preserve Cane’s Natural Beauty and Extend Its Lifespan.
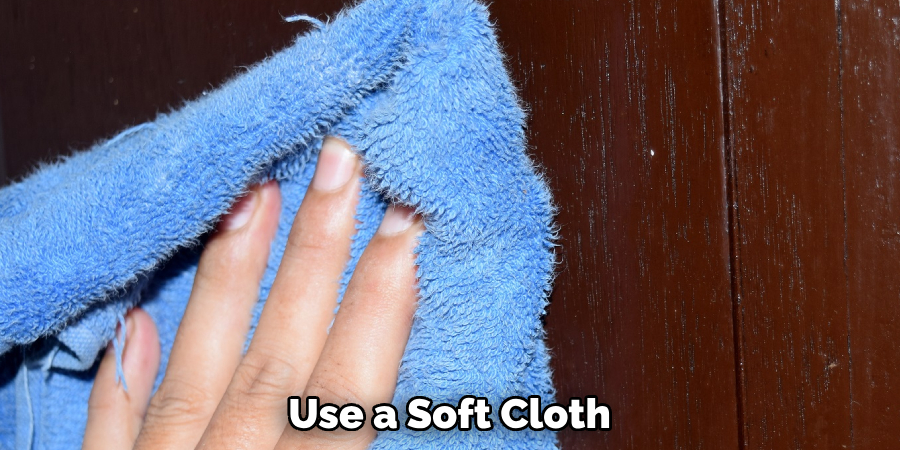
For the routine glow-up, dusting is your best friend. Use a soft cloth or a brush attachment on your vacuum to gently remove the last week’s dust dramas. For a deeper clean, a mild, soapy solution and a soft brush can work wonders, but make sure you play it cool and dry it out thoroughly afterward. Every now and then, a spot of furniture polish can keep the cane gleaming like a freshly waxed surfboard.
C. Suggestions for Preventative Measures and Protective Treatments to Minimize Future Damage and Wear.
To prevent future headaches, consider using seat cushions to distribute weight more evenly, like spreading the love on a peanut butter sandwich. Also, a little spritz of water every once in a while can keep the cane flexible and prevent cracking—think of it as hydrating after a jog. Lastly, for those really looking to go the distance, protective sealants can shield your furniture from the elements, like donning a raincoat before a storm.
And there you have it, champs! With a bit of effort, your cane furniture will stand by you through thick and thin, looking uncompromisingly fabulous all the while. Now, kick back, relax, and enjoy the fruit of your labor without fear of sudden collapse.
Conclusion
Well, knock on wood (or cane, in our case), we’ve had quite the adventure, haven’t we? From tackling the nitty-gritty of “how to repair cane furniture” to turning those previously glum pieces into absolute stunners, we’ve done it all. Cane furniture, with its timeless appeal and enduring value, isn’t just furniture; it’s a piece of history and artistry that you’ve breathed new life into. There’s something profoundly satisfying about restoring these beauties to their former glory. It’s like you’re a part of their story now, a bond sealed with every twist and turn of the cane.
But hey, don’t let the conversation stop here. Slide into our comment section or hit us up on social media with your cane furniture revival tales. Did your chair go from a creaky beast to a sleek feast? We’re all here for it. Share your projects, your success stories, and even those oops moments. In the end, it’s all about inspiring each other and growing this vibrant community of DIY dynamos. Who knows? Your chair today could be someone else’s muse tomorrow.
About the Author
Adrian Green, a lifelong woodworking enthusiast, shares his passion for the craft through The Woodenify Blog. With a foundation built on years of hands-on experience in his father’s woodworking shop, Adrian is dedicated to helping others learn and grow in the world of DIY woodworking. His approach to woodworking combines creativity, practicality, and a deep appreciation for the art of building with your own hands. Through his blog, he inspires individuals of all skill levels to embark on their own woodworking journeys, creating beautiful, functional pieces of furniture and décor.
Professional Focus
- Specializes in DIY woodworking projects, from furniture to home décor.
- Provides step-by-step guides and practical tutorials for woodworkers of all skill levels.
- Dedicated to helping readers build confidence and skill through easy-to-follow instructions and tips.
- Passionate about fostering a community of makers who can share, learn, and grow together.
Education History
- University of Craft and Design – Bachelor of Fine Arts (BFA) in Woodworking and Furniture Design
- Woodworking Apprenticeships – Extensive hands-on training with skilled craftsmen to refine carpentry and furniture making techniques.
- Online Courses & Masterclasses – Continued education in advanced woodworking techniques, design principles, and specialized tools
Expertise:
- DIY woodworking, carpentry, furniture making, and home décor projects.
- Creating accessible tutorials and guides for beginner to advanced woodworkers.
- Sharing the joys and satisfaction of woodworking, from raw materials to finished products.