Are you tired of the dull and worn-out look of your wooden furniture?
How to restain wood furniture is an excellent way to give old or worn pieces a fresh new look while preserving their natural beauty. Whether you’re revitalizing a family heirloom, updating a thrifted find, or simply refreshing your current decor, restaining can breathe new life into wooden surfaces. This process involves removing the old finish, preparing the wood, and applying a new stain to achieve a desired tone and finish. Not only is it a cost-effective alternative to purchasing new furniture, but it also allows you to customize the color and style to match your aesthetic.
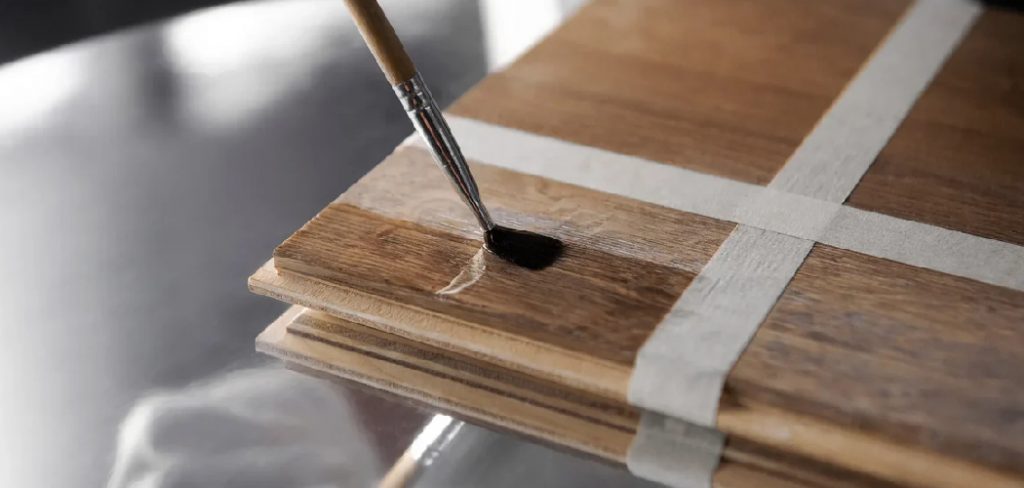
With the right tools and a bit of patience, anyone can transform their wood furniture and create a stunning, long-lasting result.
What Are the Benefits of Restaining Wood Furniture?
Restaining diy wood projects furniture offers numerous benefits, making it a popular choice for those looking to refresh their worn or outdated pieces. Some of the main advantages include:
- Cost-effective: As mentioned earlier, reupholstering is a more budget-friendly option compared to buying new furniture. It allows you to give your old pieces a new look without breaking the bank.
- Customizable: When restoring, you have complete control over the color and finish of your furniture. This allows you to match it with your existing decor or create a unique piece that reflects your style.
- Enhances Durability: By removing the old finish and preparing the wood properly, restaining can improve the durability of your furniture. The new stain and sealant will protect the wood from damage and help it withstand wear and tear.
- Eco-Friendly: Restaining is a sustainable option as it reduces waste by reusing existing furniture instead of buying new. It also minimizes the need for harmful chemicals that are often used in manufacturing new furniture.
- Preserves Sentimental Value: Some pieces of furniture hold special memories or sentimental value, making it difficult to part with them. Restaining allows you to revive these pieces and preserve their sentimental value while giving them a fresh look.
What Will You Need?
Before you begin the staining process, it is essential to gather all the necessary supplies. These materials are readily available at your local hardware store or home improvement center.
- Sandpaper: This abrasive material is used to remove the old finish and prepare the wood for staining.
- Stain and Sealant: The type and color of stain you choose will depend on personal preference, but make sure also to purchase a sealant to protect your newly stained furniture.
- Paintbrushes or Cloths: You will need these tools for applying both the stain and sealant onto your furniture.
- Protective Gear: Restaining can be messy, so it is crucial to wear protective gear such as gloves, goggles, and a dust mask to protect yourself.
- Drop Cloths or Tarps: These will protect your workspace from any spills or drips during the restaining process.
10 Easy Steps on How to Restain Wood Furniture
Step 1: Prepare Your Workspace
Ensure your workspace is well-ventilated and provides ample space to complete the project safely and efficiently. If you’re working indoors, open windows to allow fresh air to circulate and reduce the buildup of fumes from the stain and sealant. Lay down drop cloths or tarps to protect floors and surrounding surfaces from spills or splatters.
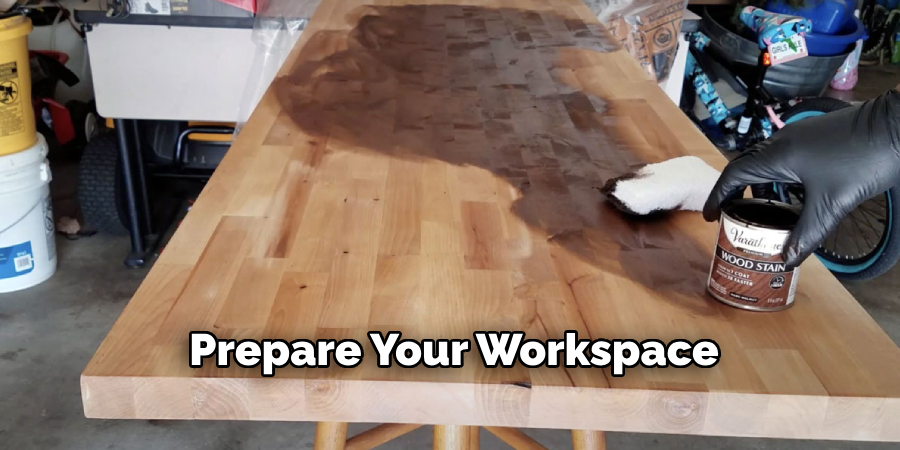
Clear your workspace of any unnecessary items or obstacles that could impede progress during the project. Additionally, ensure you have all your tools and materials easily accessible to streamline the process and avoid interruptions. A well-prepared workspace is essential for a smooth and successful retraining experience.
Step 2: Clean the Furniture
Begin by thoroughly cleaning the furniture to remove any dirt, dust, or grime that may have accumulated over time. Use a soft cloth or sponge with warm, soapy water to gently wipe down the entire surface. For tougher stains or greasy spots, consider using a mild cleaner appropriate for the material of your furniture. Be sure to reach into any crevices or intricate details to ensure the surface is spotless. Once cleaned, rinse off any soap residue with a damp cloth and allow the furniture to dry completely.
Step 3: Remove the Old Finish
To remove the old finish from your furniture, begin by selecting the appropriate stripping agent for the type of finish you’re dealing with, such as varnish, lacquer, or paint. Apply the stripper evenly across the surface using a paintbrush, following the manufacturer’s instructions. Allow the product to sit for the recommended amount of time to soften the old finish. Then, use a scraper or steel wool to gently remove the loosened material, being careful not to damage the underlying wood. For stubborn spots or intricate details, consider using a fine brush or sandpaper.
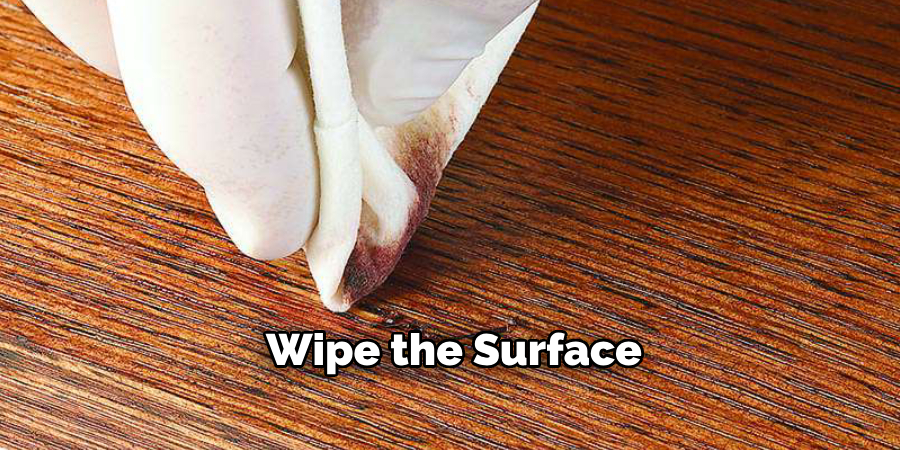
Step 4: Wipe the Surface
Once the old finish has been removed, it’s crucial to thoroughly clean the surface to ensure no residue or chemical stripper remains. Use a clean, damp cloth to wipe down the wood, removing any leftover debris or product. For best results, rinse the cloth frequently and replace it if it becomes too dirty. Allow the wood to dry completely before proceeding to the next step, as any moisture can interfere with the application of a new finish.
Step 5: Apply Wood Conditioner
Wood conditioner helps to prepare the surface for an even application of the stain, especially on softwoods like pine or cedar, which can absorb stain unevenly. Using a clean brush or cloth, apply an even layer of wood conditioner to the entire surface, following the grain of the wood. Be sure to work quickly, as the conditioner should be absorbed evenly without pooling or dripping. Once applied, allow the conditioner to penetrate the wood for the time recommended by the manufacturer, typically 10 to 15 minutes.
Step 6: Apply the Wood Stain
After the wood conditioner has been absorbed and the recommended wait time has passed, it’s time to apply the wood stain. Using a clean brush, foam applicator, or a lint-free cloth, apply the stain in smooth, even strokes, following the direction of the wood grain. Work in manageable sections to ensure consistent coverage and avoid overlaps. For a lighter color, wipe off the excess stain immediately using a clean cloth. For a darker tone, allow the stain to sit on the surface for a longer period before wiping, but do not let it dry completely. Repeat the process as necessary to achieve the desired richness and depth of color. Always follow the manufacturer’s instructions for optimal results.
Step 7: Allow the Stain to Dry
Once the stain has been evenly applied and wiped to your preference, allow it to dry thoroughly before proceeding. Drying times can vary depending on the type of stain used, as well as the humidity and temperature of your workspace. Typically, this can take anywhere from 24 to 48 hours. Ensure the area is well-ventilated to promote even drying. Avoid touching or placing objects on the surface during this period to prevent smudging or uneven finishes.
Step 8: Apply a Second Coat
Once the first coat has dried completely, inspect the surface to ensure it appears even and smooth. If necessary, lightly sand any rough spots using fine-grit sandpaper to prepare the surface for the second coat. Wipe away any dust with a clean, lint-free cloth before proceeding.

Apply the second coat of stain in the same manner as the first, using smooth and even strokes to achieve a consistent finish. The second coat will deepen the color and enhance the overall richness of the wood. Allow the second coat to dry thoroughly, following the same drying time and ventilation guidelines as before.
Step 9: Apply a Sealant
To protect the wood and preserve the stain, apply a high-quality sealant. Choose a sealant that is compatible with the type of stain and the intended use of the wood. Using a clean brush or applicator, apply the sealant evenly in long, smooth strokes to ensure complete coverage of the surface. Pay special attention to corners and edges where the wood may be more vulnerable. Allow the sealant to penetrate and dry according to the manufacturer’s instructions. This layer will provide a durable, protective finish, guarding against moisture, wear, and environmental damage, and ensuring the longevity of your project.
Step 10: Reassemble and Enjoy
Once the sealant has thoroughly dried, carefully reassemble your project piece by piece. Ensure all components are securely fastened and appropriately aligned. Take a moment to admire your hard work and attention to detail. Your finished piece is now ready to be enjoyed, providing both functionality and beauty. Whether it’s a piece of furniture, a decoration, or any other project, you can take pride in knowing you’ve created something protected and long-lasting.
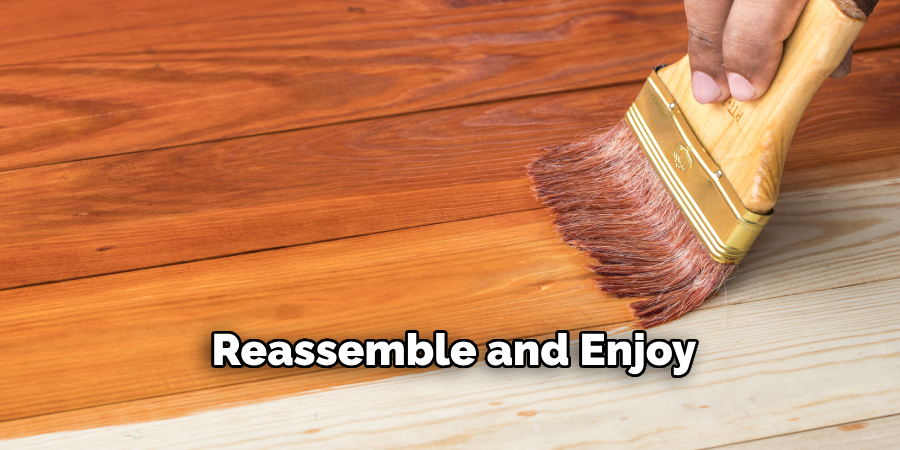
By following these simple steps, you can successfully seal any type of project and ensure its durability for years.
Conclusion
How to restain wood furniture is an excellent way to breathe new life into old or worn pieces, giving them a refreshed and updated appearance.
By carefully preparing the surface through cleaning, sanding, and stripping away the old finish, you can create an ideal base for the new stain. Choosing the right stain and applying it evenly ensures a beautiful and consistent color. Finally, sealing the furniture protects the wood and enhances its durability.
With patience and attention to detail, restoring wood furniture is a rewarding process that allows you to preserve cherished items or achieve a custom look to match your style.
About the Author
Adrian Green, a lifelong woodworking enthusiast, shares his passion for the craft through The Woodenify Blog. With a foundation built on years of hands-on experience in his father’s woodworking shop, Adrian is dedicated to helping others learn and grow in the world of DIY woodworking. His approach to woodworking combines creativity, practicality, and a deep appreciation for the art of building with your own hands. Through his blog, he inspires individuals of all skill levels to embark on their own woodworking journeys, creating beautiful, functional pieces of furniture and décor.
Professional Focus
- Specializes in DIY woodworking projects, from furniture to home décor.
- Provides step-by-step guides and practical tutorials for woodworkers of all skill levels.
- Dedicated to helping readers build confidence and skill through easy-to-follow instructions and tips.
- Passionate about fostering a community of makers who can share, learn, and grow together.
Education History
- University of Craft and Design – Bachelor of Fine Arts (BFA) in Woodworking and Furniture Design
- Woodworking Apprenticeships – Extensive hands-on training with skilled craftsmen to refine carpentry and furniture making techniques.
- Online Courses & Masterclasses – Continued education in advanced woodworking techniques, design principles, and specialized tools
Expertise:
- DIY woodworking, carpentry, furniture making, and home décor projects.
- Creating accessible tutorials and guides for beginner to advanced woodworkers.
- Sharing the joys and satisfaction of woodworking, from raw materials to finished products.