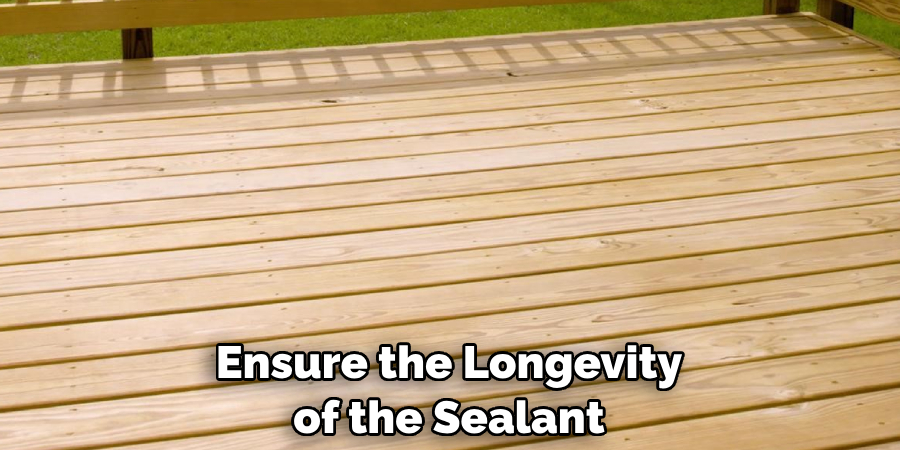
Sealing cut pressure-treated wood is crucial to ensure its longevity and durability. This protective measure shields the wood from moisture, preventing decay, warping, and other damage. Pressure-treated wood, known for its resistance to rot and pests, undergoes a chemical treatment process that helps it endure harsh outdoor conditions.
However, cutting this wood exposes untreated surfaces, making them vulnerable to environmental elements. To maintain its resilience, learning how to seal cut pressure treated wood is essential.
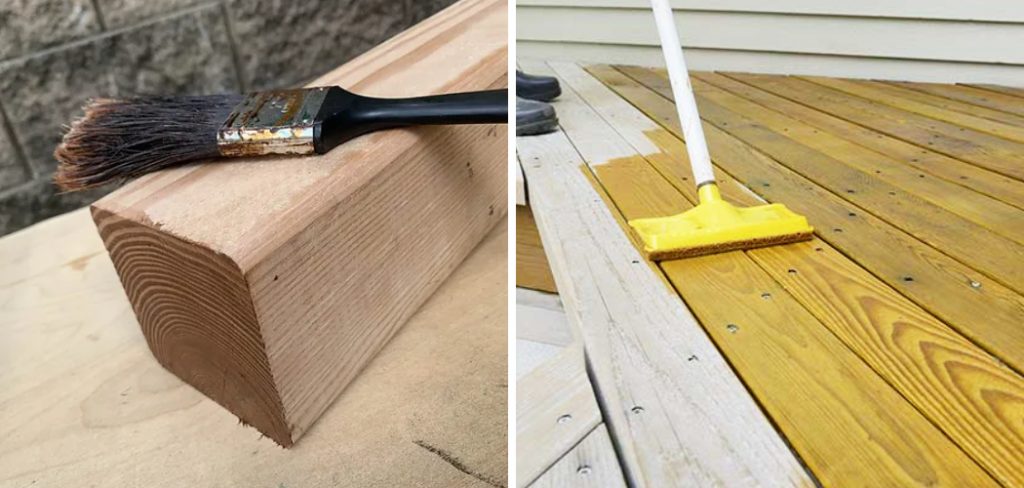
This guide offers a comprehensive approach, detailing the necessary steps to effectively seal cut surfaces and safeguard your wood projects against moisture intrusion. By following these best practices, you can extend the life of your pressure-treated wood and uphold its structural integrity.
Preparation
Before you begin the process of sealing your cut pressure treated wood, preparation is key. This stage involves three crucial steps: understanding the wood you’re working with, selecting the right sealant, and gathering all necessary materials.
A. Understanding Pressure Treated Wood
Pressure treated wood undergoes a chemical treatment process to enhance its resistance to decay, insects, and moisture. This is achieved by infusing the wood with preservatives under high pressure, ensuring the chemicals penetrate deeply into the wood fibers.
While this treatment significantly extends the wood’s lifespan, especially in outdoor settings, the cut ends expose untreated surfaces that need protection. Familiarize yourself with the type of pressure treated wood you’re working with—such as CCA (chromated copper arsenate), ACQ (alkaline copper quaternary), or another variety—as this can influence the choice of sealant.
B. Choosing Suitable Sealant
The next step is selecting the right sealant for your project. It’s important to choose a high-quality exterior wood sealant or stain specifically designed for use on pressure treated wood. These products are formulated to penetrate the wood’s surface, offering enhanced protection against moisture and UV rays.
Consider whether you prefer a clear sealant that preserves the wood’s natural appearance or a tinted stain that offers both protection and color. Ensure the product is compatible with the type of pressure treated wood you’re using and suitable for the specific environmental conditions it will be exposed to.
C. Gathering Materials
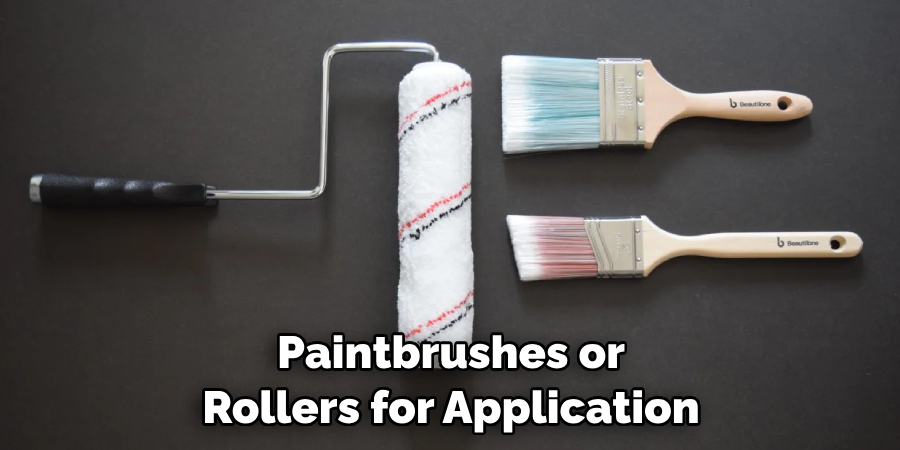
Finally, prepare by collecting all necessary materials for the sealing process. This includes paintbrushes or rollers for application, rags for cleanup, and protective gear such as gloves and safety glasses. A high-quality brush or roller can ensure even coverage and penetration of the sealant into the wood’s surface. Also, have a clean, damp cloth to remove any excess sealant or drips. Preparing all materials beforehand will streamline the sealing process, ensuring a smooth and efficient application.
How to Seal Cut Pressure Treated Wood: Cleaning and Sanding
Ensuring the cut pressure-treated wood is clean and smooth is a vital step in the sealing process. Proper preparation of the wood’s surface and edges ensures that the sealant adheres effectively, providing long-lasting protection.
A. Cleaning Surfaces
Begin by removing any dirt, dust, and debris from the surface of the cut pressure-treated wood. Use a broom or a brush to gently sweep away loose particles. For more stubborn grime or residue, a soft cloth dampened with mild, soapy water can be used to clean the surface.
Avoid using harsh chemicals or abrasive cleaners, as these can damage the wood’s surface. Once cleaned, allow the wood to dry completely before proceeding to the next step. This ensures that the sealant can penetrate the wood effectively.
B. Sanding Rough Edges
After the wood is clean and dry, examine the cut surfaces for rough edges or splinters. Using sandpaper (a medium grit, such as 120 or 150, is usually sufficient) or a hand sander, smooth out these imperfections.
Sanding improves the wood’s appearance and enhances the sealant’s ability to bond with the wood. When sanding, follow the wood grain to avoid creating cross-grain scratches, which can be more difficult to seal and may affect the wood’s final appearance. Take care to remove all rough spots, ensuring a uniform surface.
C. Removing Sawdust
The sanding process generates sawdust, which must be removed before applying the sealant. Wipe the wood surfaces with a damp cloth to pick up any remaining sawdust particles. A tack cloth, designed to capture dust without leaving residue, is an excellent tool for this purpose. It’s important that the wood is as dust-free as possible to ensure proper adhesion of the sealant. Once the surface is clean and free of sawdust, it’s ready for the sealant application.
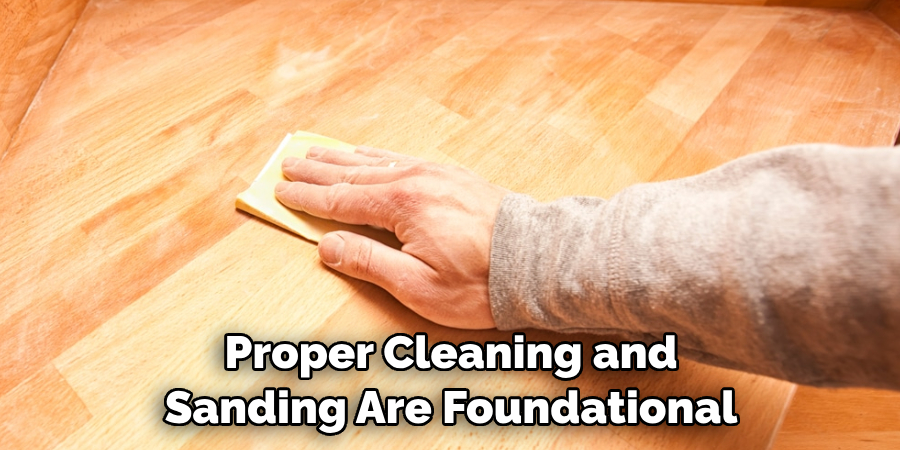
Proper cleaning and sanding are foundational to achieving a well-sealed and preserved wood surface. Taking the time to carefully prepare the cut pressure-treated wood by cleaning surfaces, sanding rough edges, and removing sawdust ensures that the sealant adheres effectively, providing lasting protection against the elements.
How to Seal Cut Pressure Treated Wood: Applying Sealant
The actual application of sealant to your cut pressure-treated wood is the critical step in protecting your project from moisture, rot, and insect damage. To ensure maximum protection and durability, it’s essential to apply the sealant correctly. Follow these steps for a successful application.
A. Stirring Sealant
Before applying the sealant, it’s important to stir it thoroughly. This ensures that all the ingredients are well mixed, providing a consistent finish and effective protection. Some sealants may separate or settle when sitting, so stirring helps reintegrate any heavier elements back into the solution.
Use a stir stick and mix the sealant for a few minutes until you notice a uniform consistency throughout. Avoid shaking the sealant, as this can introduce air bubbles that might affect the finish of the application.
B. Applying Evenly
An even application of the sealant is crucial for effective wood protection. You can use a paintbrush, roller, or sprayer, depending on the size of your project and the sealant manufacturer’s recommendations.
A paintbrush suits smaller projects or areas requiring detailed attention, while a roller can cover larger surfaces more efficiently. A sprayer offers the quickest application but requires more preparation to protect surrounding areas from overspray.
Regardless of the method chosen, ensure the sealant is applied uniformly across all surfaces of the wood, paying special attention to the ends where the wood is most vulnerable. It’s better to apply multiple thin layers rather than one thick layer to avoid drips and ensure proper drying and penetration.
C. Working in Sections
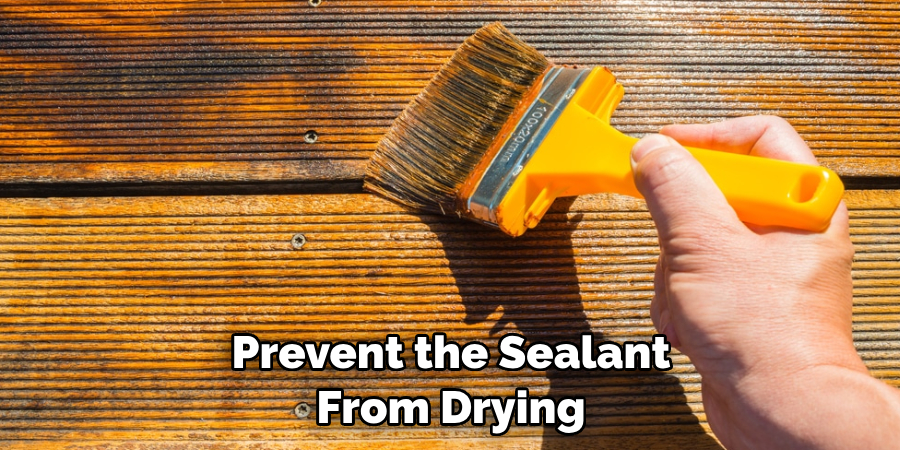
To prevent the sealant from drying before it’s evenly spread, work in manageable sections, especially on larger projects. This technique allows you to focus on achieving an even coat over each section before the sealant begins to tack up.
Depending on the weather conditions and the specific product used, you may have to adjust the size of each section to keep the edge “wet,” which will help when blending the next section for a seamless finish. If you notice the sealant starting to dry or becoming tacky, it’s better to finish your current section and wait for it to dry fully before applying a second coat for complete coverage.
Applying sealant to cut pressure-treated wood is a straightforward process that, when done correctly, significantly extends the life and preserves the beauty of your outdoor wood projects. Remember to follow the sealant manufacturer’s instructions for the best results, and allow adequate drying time before using or placing anything on the sealed surfaces.
Allowing Drying Time
After successfully applying the sealant to cut pressure-treated wood, allowing sufficient drying time is critical for the sealant to fully cure and provide optimal protection. The drying process is crucial, as premature use or exposure can compromise the sealant’s effectiveness, durability, and appearance. Follow these guidelines to ensure proper drying and curing of the sealant.
A. Reading Manufacturer Instructions
Start by consulting the manufacturer’s instructions for specific drying time recommendations and the complete curing process of the sealant. Drying times can vary significantly depending on the type of sealant used, the application thickness, environmental conditions, and the wood’s porosity.
Some products may dry to the touch within a few hours, while others may require several days to fully cure. Adhering to the manufacturer’s guidelines is essential to achieve the best results and ensure the longevity of the sealant’s protective qualities.
B. Protecting from Moisture
During the drying period, it’s important to protect the treated wood surfaces from rain, dew, or any other source of moisture. Moisture can prevent the sealant from curing properly, resulting in a tacky surface or an uneven finish. If possible, move the project indoors or cover it with a tarp or plastic sheeting to keep it dry if rain is forecasted. However, ensure that the covering does not touch the surface of the sealed wood, as this can cause imprints or stick to the sealant.
C. Checking for Complete Drying
To verify that the sealant has fully dried and cured, conduct a simple touch test by gently pressing a finger against the wood surface. If the sealant feels dry to the touch without leaving a fingerprint or feeling tacky, it is likely ready for light use. For a more accurate test, sprinkle a few water drops on the surface; if the water beads up and rolls off, the sealant has cured effectively. Additional drying time may be needed if the water soaks into the wood.
Allowing ample drying time for the sealant to cure is vital in preserving and protecting your pressure-treated wood. This patience ensures that your outdoor projects will withstand the elements and maintain their beauty for years. Always prioritize manufacturer instructions, protect the project from moisture during the drying phase, and perform thorough checks to confirm drying completion before proceeding with any use or further treatments.
Reapplication
The longevity of the sealant on your pressure-treated wood requires regular maintenance and, at times, reapplication. Understanding when and how to reapply sealant will ensure your wood remains protected against the elements, maintaining both its aesthetic appeal and structural integrity over time.
A. Assessing the Need for Reapplication
Inspecting the sealed wood surfaces regularly for signs of wear or damage is essential. Look for fading, peeling, or cracks in the sealant, as well as any signs of moisture penetration like swelling or discoloration of the wood.
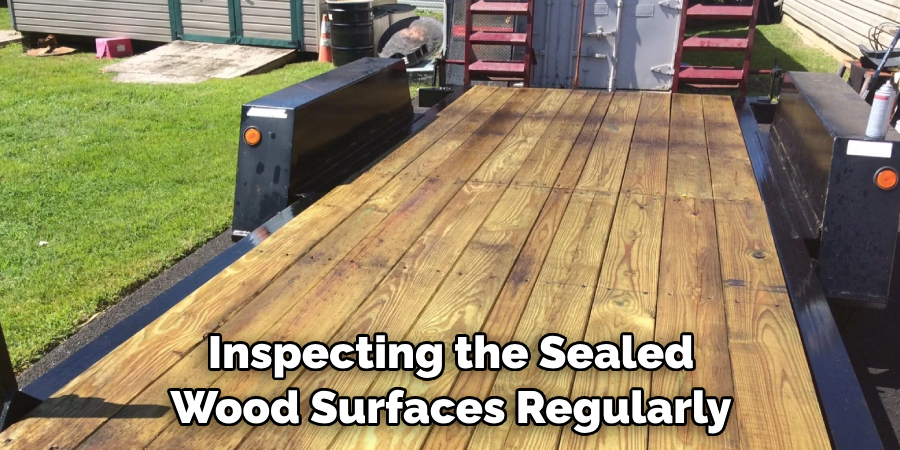
These are clear indicators that the protective layer is compromised and may require reapplication. Performing these inspections annually or bi-annually, depending on your local climate and the wood’s exposure to sunlight and moisture, will help you identify the need for maintenance before significant damage occurs.
B. Sanding and Cleaning
Before reapplying sealant, preparing the wood surfaces properly is critical to ensure the new layer adheres correctly and performs as expected. Start by lightly sanding the wood to remove any peeled or flaked-off sealant, smooth out rough spots, and provide a slightly rough texture for better adhesion.
After sanding, clean the surfaces thoroughly to remove dust, dirt, and other contaminants that could interfere with sealing. A combination of soap and water or a specialized wood cleaner can be used for this purpose. Allow the wood to dry completely after cleaning before proceeding with the reapplication of the sealant.
C. Applying Additional Coats
Once the wood is sanded, cleaned, and dry, it’s ready for the sealant’s reapplication. Follow the same guidelines provided for the initial application, such as stirring the sealant well, applying it evenly with your chosen tool, and working in manageable sections to ensure a uniform coat.
Depending on the condition of the wood and the type of sealant used one or multiple thin coats may be necessary to restore full protection and appearance. Allow each coat to dry as per the manufacturer’s instructions before applying subsequent layers, and ensure the final coat has ample time to cure fully before exposing the wood to moisture or use.
Regular maintenance, including timely sealant reapplication, is key to extending the life of your pressure-treated wood and keeping it looking its best. Always refer to the sealant manufacturer’s recommendations for reapplication intervals and procedures to ensure optimal results.
Maintenance
Maintaining your sealed, pressure-treated wood is essential for preserving its integrity, functionality, and aesthetic appeal over time. Proper care involves regular inspections, cleaning, and touch-ups, along with adopting practices for long-term maintenance.
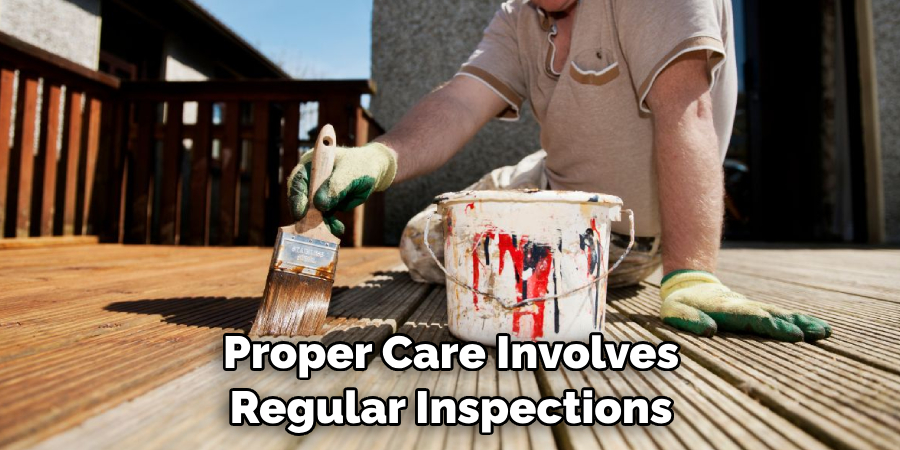
A. Regular Inspection
Regularly inspecting sealed wood surfaces for signs of damage, wear, or moisture infiltration is crucial for early detection and preventive maintenance. Examine the wood for any cracks, splits, peeling sealant, or areas where the wood appears to be discolored or swollen, indicating moisture penetration.
These inspections should be conducted at least once a year or more frequently in harsh climate conditions. Early detection of potential issues allows for timely touch-ups or reapplication of sealant, significantly extending the wood’s lifespan and maintaining its appearance.
B. Cleaning and Touching Up
Cleaning sealed surfaces with mild soap and water helps remove dirt, grime, and biological growth that can accumulate over time, potentially damaging the sealant and the wood underneath. Use a soft brush or cloth to gently clean the surface, avoiding harsh chemicals or power washing at high settings, which can strip the sealant.
After cleaning, inspect the wood for any areas where the sealant has thinned or worn away. Touch up these areas as needed by lightly sanding the surface and applying a new coat of sealant, ensuring the wood remains well-protected against moisture and environmental damage.
C. Long-Term Care
Implementing long-term maintenance practices involves a proactive approach to care for sealed, pressure-treated wood. This includes avoiding direct contact with soil to prevent moisture uptake and rot, positioning sprinklers to minimize water splash, and using furniture pads to prevent scratches and abrasions on deck surfaces.
Additionally, consider applying a UV protectant sealant if your wood is exposed to significant sunlight, as this can help reduce fading and degradation caused by UV rays. Long-term care also involves planning for reapplication of the sealant at the recommended intervals, keeping the wood well-protected and looking its best.
By following these maintenance steps, you can significantly extend the life of your pressure-treated wood, ensuring it remains durable and visually appealing for years to come. Regular attention and care are the keys to preventing common issues and preserving the beauty and functionality of your outdoor wood projects.

Conclusion
We have outlined the critical steps in how to seal cut pressure treated wood, emphasizing the importance of preparation, application, and maintenance. Starting with surface preparation through sanding and cleaning, applying sealant correctly, and adhering to regular maintenance practices, including inspections and touch-ups, each phase plays a vital role in sealing.
Proper sealing is paramount in safeguarding your pressure-treated wood against moisture, UV rays, and everyday wear and tear. It not only extends the life of the wood but also preserves its beauty. The protective barrier the sealant creates prevents rot, decay, and insect infestation, ensuring the durability and longevity of your wood projects.
The satisfaction of observing your pressure-treated wood well-sealed and preserved is unmatched. This outcome is a direct result of dedication and meticulous care in following the detailed process of how to seal cut pressure treated wood. By investing time and effort into this essential task, you have ensured that your wood remains vibrant, durable, and functional for many years to come, highlighting the rewards of diligent maintenance and care.
About the Author
Adrian Green, a lifelong woodworking enthusiast, shares his passion for the craft through The Woodenify Blog. With a foundation built on years of hands-on experience in his father’s woodworking shop, Adrian is dedicated to helping others learn and grow in the world of DIY woodworking. His approach to woodworking combines creativity, practicality, and a deep appreciation for the art of building with your own hands. Through his blog, he inspires individuals of all skill levels to embark on their own woodworking journeys, creating beautiful, functional pieces of furniture and décor.
Professional Focus
- Specializes in DIY woodworking projects, from furniture to home décor.
- Provides step-by-step guides and practical tutorials for woodworkers of all skill levels.
- Dedicated to helping readers build confidence and skill through easy-to-follow instructions and tips.
- Passionate about fostering a community of makers who can share, learn, and grow together.
Education History
- University of Craft and Design – Bachelor of Fine Arts (BFA) in Woodworking and Furniture Design
- Woodworking Apprenticeships – Extensive hands-on training with skilled craftsmen to refine carpentry and furniture making techniques.
- Online Courses & Masterclasses – Continued education in advanced woodworking techniques, design principles, and specialized tools
Expertise:
- DIY woodworking, carpentry, furniture making, and home décor projects.
- Creating accessible tutorials and guides for beginner to advanced woodworkers.
- Sharing the joys and satisfaction of woodworking, from raw materials to finished products.