Selecting the right size for cabinet doors is crucial for both functionality and aesthetic appeal in any cabinetry project. Properly sized doors ensure that cabinets operate smoothly, while also contributing to the overall design of the space.
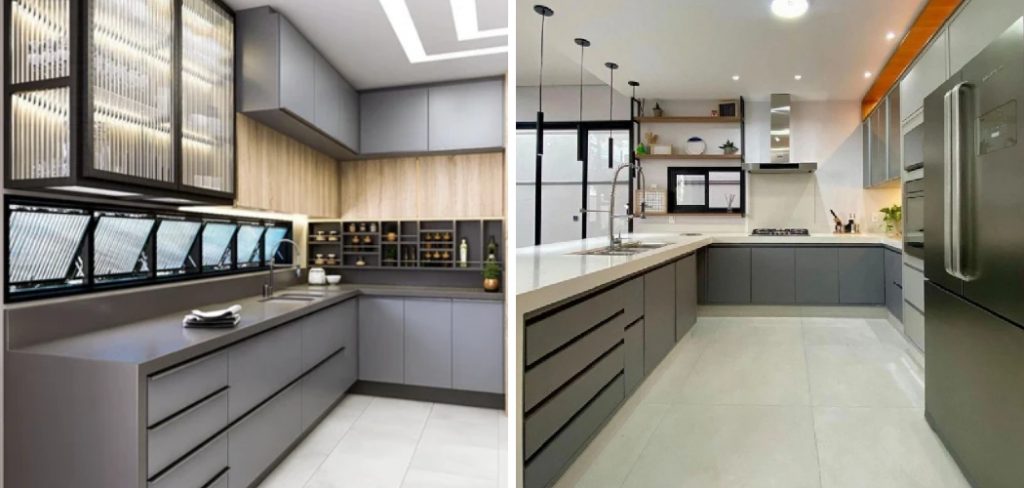
This guide on how to size cabinet doors will walk you through the important steps and considerations needed to measure and determine the correct sizes for your cabinet doors, helping you achieve a professional finish that meets your needs and enhances your home. Whether you are embarking on a DIY renovation or working with a contractor, understanding these sizing guidelines will allow you to make informed decisions throughout the process.
Why Proper Sizing is Important
Proper sizing of cabinet doors is essential for several key reasons. Firstly, it directly impacts the functionality of the cabinetry; doors that are too large may not open fully or could obstruct adjacent drawers and appliances, while doors that are too small can result in wasted space and a disjointed appearance. Additionally, correct sizing plays a significant role in the overall aesthetics of your kitchen or bathroom. Well-fitted doors create a cohesive look and contribute to a polished, professional finish that elevates the design of the entire room.
Furthermore, incorrect sizing can lead to increased wear and tear on hinges and hardware, potentially resulting in costly repairs or replacements. Understanding the importance of proper sizing not only enhances the usability of your cabinets but also ensures a lasting quality in your carpentry projects.
Needed Materials
To successfully size and install your cabinet doors, you will need the following materials and tools:
Measuring Tape:
A measuring tape is an essential tool for accurately determining the dimensions of your cabinet doors. Make sure to use a sturdy, reliable tape measure to ensure precise measurements.
Pencil and Paper:
Having these basic tools on hand will allow you to record your measurements and make any necessary adjustments throughout the sizing process.
Level:
A level is crucial in ensuring that your cabinet doors are installed evenly and straight, creating a professional finish.
Sandpaper:
In case any edges or surfaces need slight adjustments, having sandpaper on hand can help smooth out imperfections for a seamless fit.
Saw:
If you are making custom-sized doors or need to trim down pre-made doors, a saw will be necessary to cut the doors to the correct dimensions.

7 Step-by-step Guides on How to Size Cabinet Doors
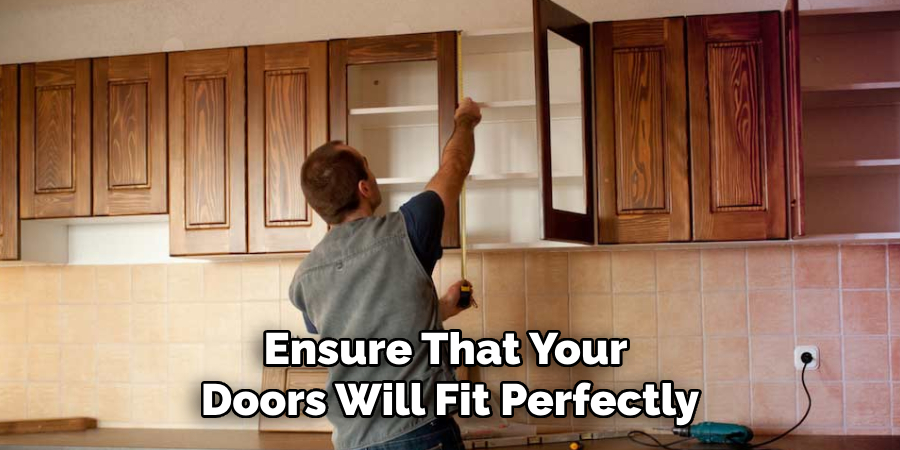
Step 1: Measure the Cabinet Opening
Begin by measuring the cabinet opening to ensure that your doors will fit perfectly. Use your measuring tape to determine the width and height of the opening. Make sure to measure at multiple points along both dimensions; sometimes, cabinets can have slight variances due to settling or construction irregularities.
Record the smallest measurement for both the width and height to ensure that your doors will fit properly without any obstructions. Additionally, measure the depth of the cabinet to confirm that your chosen door style will not overwhelm the existing structure. Accurate measurements at this stage are crucial to the successful sizing of your cabinet doors.
Step 2: Determine Door Overlay
Once you have measured the cabinet opening, the next step is to determine the door overlay. The overlay refers to the portion of the door that overlaps the cabinet frame when the doors are closed. There are generally two types of overlays: full overlay and partial overlay. A full overlay door completely covers the cabinet frame, providing a seamless appearance, while a partial overlay door exposes some of the frame around the edges.
To determine the appropriate overlay for your project, consider the style of cabinetry you wish to achieve, as well as any manufacturer specifications if you’re using pre-made doors. A common full overlay measurement is approximately 1.5 inches on both the top and sides, while a partial overlay typically ranges from 0.5 to 1 inch. Based on your chosen overlay type, adjust the width and height measurements of your cabinet doors accordingly to ensure they fit properly within the cabinet opening. This step is vital for achieving a polished look and optimal functionality.
Step 3: Add Space for Hinges
Next, you will need to account for the space needed for hinges. Using your chosen hinge type, measure and mark where they will be placed on your doors. Typically, hinges require a minimum of 1/2 inch of space on either side of the door, as well as room at the top and bottom for proper installation and operation.
Make sure to factor in this additional space when resizing your doors to ensure that they can open smoothly without any obstructions.
Step 4: Adjust for Door Overhang
If you are using full overlay doors, you may need to adjust for door overhang. This is necessary if you have drawers or an appliance next to the cabinet that could be obstructed when the door is opened. To determine if you need to adjust for overhang, measure from the edge of your cabinet frame to the adjacent object and add 1/8 inch. This measurement will ensure that your doors do not interfere with any surrounding structures and can open freely.
Step 5: Check for Necessary Spacing
In addition to accounting for hinges and overhang, it’s essential to check for any necessary spacing within your cabinetry. For example, if you have multiple cabinets with doors that will open towards each other, make sure there is enough space between them to avoid collisions. Consult manufacturer specifications or use a level to determine the appropriate spacing needed for your specific cabinet configuration.
Step 6: Trim Down or Order Custom Doors
If you are using pre-made doors and need to adjust the size, carefully use a saw to trim them down to your desired measurements. Make sure to sand any rough edges before installation to ensure a clean finish.
Alternatively, if you are ordering custom doors, provide accurate measurements and specifications to ensure that they fit perfectly within your cabinet opening with the proper overlay. Working with a reputable carpenter or manufacturer can help ensure that your doors are made precisely to your specifications.
Step 7: Install Your Cabinet Doors
Once you have properly sized and trimmed (if necessary) your cabinet doors, it’s time to install them. Use your level to ensure that they are straight and adjust as needed. Double check all measurements and spacing before securing the doors in place with screws, making sure not to over-tighten them. With proper sizing and installation, your cabinet doors will not only look great but also function smoothly for years to come.
Following these step-by-step guides on how to size cabinet doors will help you properly size and install your cabinet doors, whether you are starting from scratch or updating your current cabinetry. With the right tools and careful measurements, you can achieve a professional and polished look for your kitchen or any other room in your home. Don’t forget to double-check all measurements before making any cuts or ordering custom doors to ensure a perfect fit. Happy sizing!
Additional Tips for Sizing Cabinet Doors
- Always double-check measurements before ordering or cutting any materials
- Consider using a carpenter’s square to ensure accurate right angles when measuring and trimming doors
- If you are inexperienced with carpentry or working with power tools, consider seeking assistance from a professional
- Take your time when measuring and installing to avoid costly mistakes
- Don’t be afraid to seek advice or additional resources if you are unsure about any steps in the process. Overall, proper measurements and sizing are crucial for the successful installation and functionality of your cabinet doors, so take the necessary time and care to ensure a precise fit. Happy DIY-ing!
Frequently Asked Questions
Q: What Tools Do I Need to Size Cabinet Doors?
A: The necessary tools for sizing cabinet doors include a tape measure, level, saw (if trimming doors), and screws for installation. Additional tools such as a carpenter’s square, power drill, and sandpaper can also be helpful in achieving precise measurements and a clean finish.
Q: Can I Resize Pre-Made Cabinet Doors?
A: Yes, pre-made cabinet doors can be resized by carefully using a saw to trim them down to the desired measurements. However, it is important to note that this should only be done if you are confident in your carpentry skills or have assistance from a professional. An alternative option would be to order custom doors with accurate measurements.
Q: What If My Cabinet Doors Are Too Big for the Opening?
A: If your cabinet doors are too big for the opening, you can either trim them down (if they are pre-made) or order custom doors with accurate measurements. It is essential to carefully measure and double-check all dimensions before making any cuts or ordering custom doors to avoid costly mistakes.
Conclusion
In conclusion, the process of sizing and installing cabinet doors may seem daunting, but with careful planning and accurate measurements, it can be a manageable and rewarding DIY project. By following the steps outlined on how to size cabinet doors, from accounting for hinges and overhangs to ensuring proper spacing, you can achieve not only a visually appealing finish but also functional cabinet doors that enhance your space.
Always remember the importance of precision and take your time throughout the process to avoid mistakes. Whether you’re refreshing your kitchen or outfitting another room in your home, a well-executed cabinet door installation can significantly elevate your cabinetry and overall decor. Embrace the project, and enjoy the satisfaction that comes from creating something functional and beautiful!
About the Author
Adrian Green, a lifelong woodworking enthusiast, shares his passion for the craft through The Woodenify Blog. With a foundation built on years of hands-on experience in his father’s woodworking shop, Adrian is dedicated to helping others learn and grow in the world of DIY woodworking. His approach to woodworking combines creativity, practicality, and a deep appreciation for the art of building with your own hands. Through his blog, he inspires individuals of all skill levels to embark on their own woodworking journeys, creating beautiful, functional pieces of furniture and décor.
Professional Focus
- Specializes in DIY woodworking projects, from furniture to home décor.
- Provides step-by-step guides and practical tutorials for woodworkers of all skill levels.
- Dedicated to helping readers build confidence and skill through easy-to-follow instructions and tips.
- Passionate about fostering a community of makers who can share, learn, and grow together.
Education History
- University of Craft and Design – Bachelor of Fine Arts (BFA) in Woodworking and Furniture Design
- Woodworking Apprenticeships – Extensive hands-on training with skilled craftsmen to refine carpentry and furniture making techniques.
- Online Courses & Masterclasses – Continued education in advanced woodworking techniques, design principles, and specialized tools
Expertise:
- DIY woodworking, carpentry, furniture making, and home décor projects.
- Creating accessible tutorials and guides for beginner to advanced woodworkers.
- Sharing the joys and satisfaction of woodworking, from raw materials to finished products.