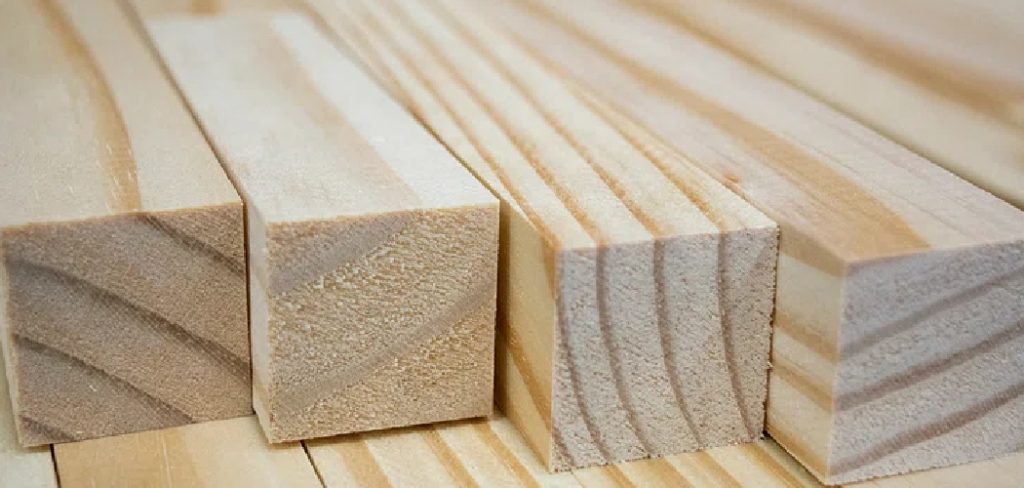
Are you interested in learning how to square plywood? Well, you’re in luck! This guide will walk you through the step-by-step process of squaring plywood for your next woodworking project. As you may know, plywood is a popular material for building furniture or decorative pieces due to its versatility and affordability.
Squaring plywood is an essential step for any woodworking or construction project that requires precision and accuracy. Properly squared plywood ensures that your pieces will fit together seamlessly, providing a solid foundation for whatever you are constructing.
Whether you are building furniture, cabinets, or any other project that depends on exact measurements, understanding how to square the plywood will improve the quality and integrity of your work. This guide will walk you through the steps and tools needed to achieve perfectly squared plywood, enabling you to tackle your projects with confidence.
What Does It Mean to Square Plywood?
Before we discuss squaring plywood, let’s define it. Squaring plywood refers to ensuring that all corners and edges are at perfect right angles, creating a true rectangular shape.
This is especially important for woodworking projects where precision is crucial. Improperly squared plywood can lead to misaligned joints, wobbly furniture, and a general lack of stability in your final piece.
What are the Use Cases for Squaring Plywood?
As mentioned earlier, squaring plywood is essential for any woodworking or construction project that requires precise measurements and angles. Some common use cases include:
- Building Furniture: Whether you are making a table, bookshelf, or bed frame, properly squared plywood will ensure that all the pieces fit together perfectly.
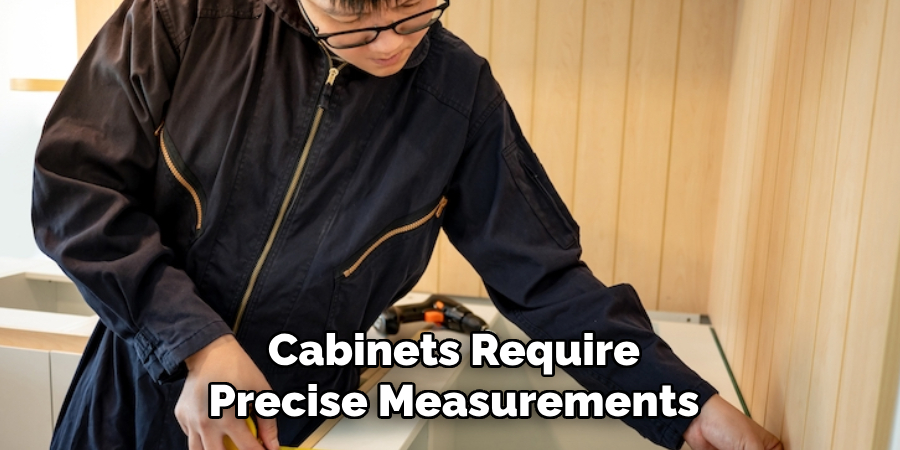
- Making Cabinets: Cabinets require precise measurements and angles for doors to align correctly and drawers to function smoothly.
- Flooring: Squaring plywood is crucial for flooring projects as it allows for seamless installation and prevents any gaps between the planks.
- Wall Paneling: For wall paneling to look professional and polished, all the plywood pieces must be accurately squared to create a seamless appearance.
These are just a few examples, but the truth is that squaring plywood is beneficial for any project that requires precise and accurate measurements.
Tools Needed to Square Plywood
Now that you understand why squaring plywood is important let’s take a look at the tools needed to achieve perfectly squared edges and corners:
- Circular Saw: This power tool will allow you to cut straight lines easily and accurately.
- Measuring Tape: Accurate measurements are essential when squaring plywood, so good-quality measuring tape is a must.
- Square or T-square: These tools will be used to ensure that your corners are at perfect right angles.
- Clamps: Clamping down the plywood in place while cutting will prevent it from moving and ensure a straight cut.
- Safety Gear: Whenever using power tools, it is essential to prioritize safety. Wear safety glasses, gloves, and ear protection when operating the circular saw.
Now that you have all the necessary tools let’s walk through the steps of squaring plywood.
10 Easy Steps on How to Square Plywood:
Step 1. Measure the Length and Width:
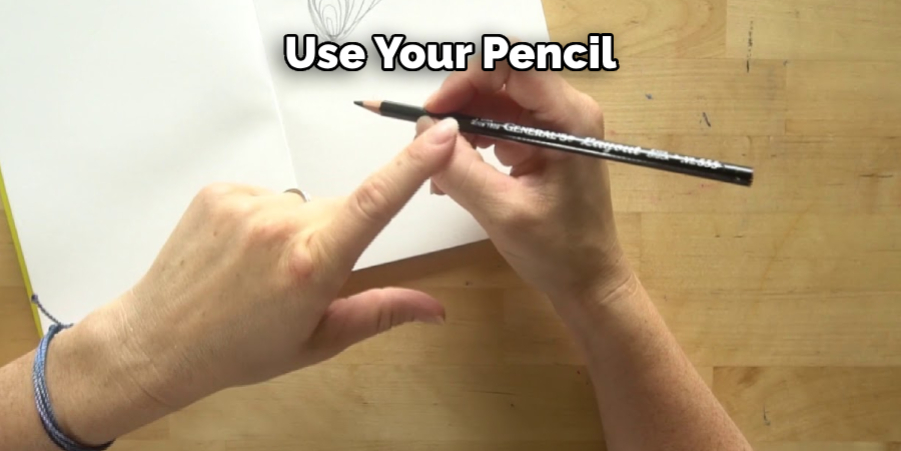
Start by laying your plywood sheet flat on a stable surface. Using your measuring tape or ruler, measure the length and width of the plywood. Accurate initial measurements are crucial for ensuring that the plywood will be square. Mark these measurements with a pencil at multiple points along the edges to create a guide for cutting. This initial step helps ensure that you clearly understand the dimensions you’re working with and provides a reference for subsequent steps.

Step 2. Draw a Reference Line
After you’ve measured the length and width of your plywood sheet, the next step is to draw a reference line. This line will serve as your guide for making precise cuts. Using your carpenter’s square or combination square, align it with the edge of the plywood at one of your measured points. Ensure that the square is flush against the edge to maintain accuracy. Then, use your pencil or marking tool to draw a straight line across the width of the plywood. Repeat this process at the other end of the board to create two parallel reference lines.
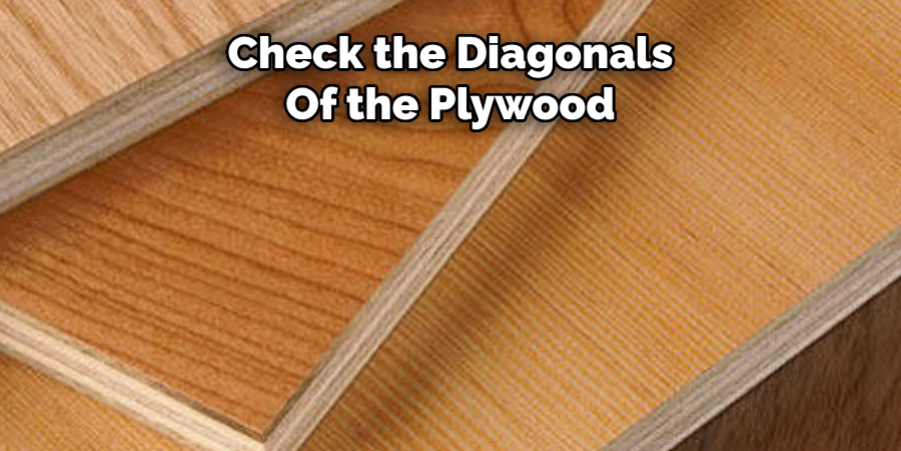
Step 3. Measure the Diagonals:
After drawing your reference line, you will need to check the diagonals of the plywood sheet to ensure it is perfectly squared. Using your measuring tape, measure the distance from one corner of the plywood to the opposite corner, forming an “X” across the sheet. Note this measurement down. Then, measure the other diagonal distance from the remaining two corners. If both diagonal measurements are identical, your plywood is square. If not, you must adjust your reference line and check the measurements again until they are equal. This step is critical as it confirms the squareness of the plywood by validating that both sets of opposite angles are congruent.
Step 4. Adjust as Necessary:
Make the necessary adjustments if your diagonal measurements reveal that the plywood is not square. To do this, slightly shift or realign the corners along your reference line until both diagonal measurements match. This might involve redrawing your reference line and rechecking your measurements. Ensuring the plywood is square at this stage will save you significant time and effort later on, preventing potential issues during assembly.
Step 5. Cut Along the Reference Line:
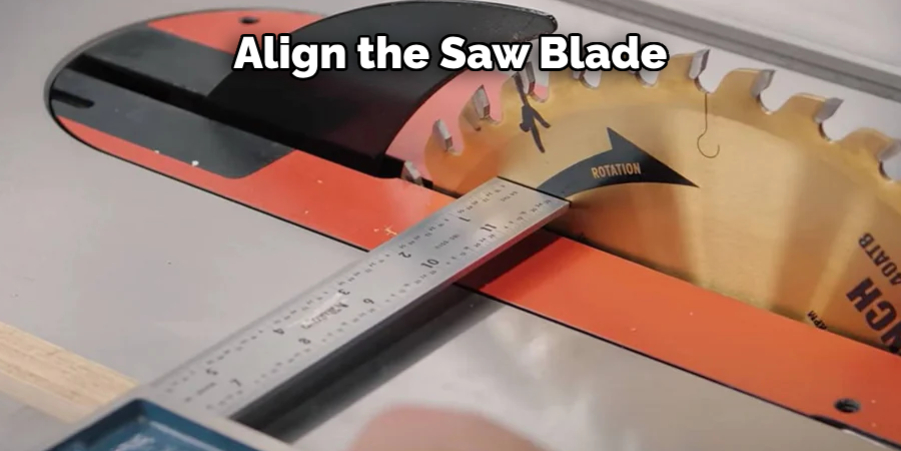
Once you’re confident that your plywood is properly squared, it’s time to cut along the reference line you previously drew. Use a circular saw or table saw for a clean, straight cut. Align the saw blade with your reference line carefully, and make the cut steadily and consistently. This cut will serve as your square edge, which can be used as a guide for further measurements and cuts. Cutting along the reference line is essential to ensure you have a clean, straight edge to work from. Be careful not to cut beyond the reference line, as this will affect the accuracy of your measurements.
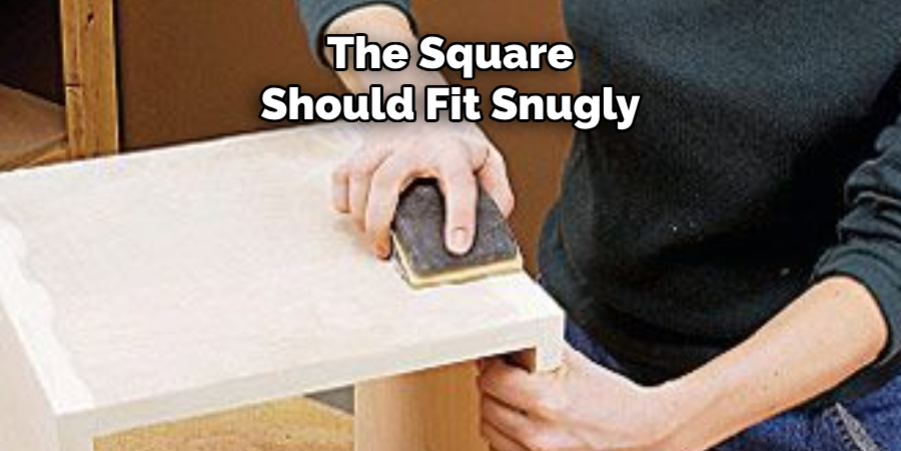
Step 6. Verify the Squareness:
After making your cut, verifying that your plywood is indeed squared is important. Place your carpenter’s square at each corner of the plywood to check the angles. The square should fit snugly against both edges without any gaps. If you find any discrepancies, you may need to make minor adjustments by shaving off small amounts of wood until the angles are perfectly square. Verifying squareness at this stage helps catch any inaccuracies early and ensures a high level of precision for your woodworking project. If you’re satisfied with the results, proceed to the next steps.

Step 7. Mark the Remaining Sides:
With one side of the plywood now squared, use this edge as your new reference point. Measure and mark the remaining sides of the plywood using your measuring tape or ruler. Draw straight lines along these measurements with your carpenter’s square, ensuring they parallel your initial reference edge. This step is vital for maintaining consistent dimensions and angles throughout the entire plywood sheet, facilitating easier assembly and stronger joints in your final project.
Step 8. Cut the Remaining Sides:
Using your circular saw or table saw, carefully cut along the lines you just marked on the remaining sides of the plywood. Make sure to align the saw blade precisely with your markings and maintain a steady hand throughout the cut. This will ensure clean edges and accurate dimensions. Having all sides properly cut and squared will greatly enhance your woodworking project’s overall quality and stability. Try to follow the same cutting process as in Step 5 to create a clean, straight edge.
Step 9. Recheck the Diagonals:
After cutting all the sides, rechecking the diagonals one last time is a good practice. Measure the distance from one corner to the opposite corner across the plywood, then measure the other diagonal. Both measurements should again be identical. If they are, your plywood is perfectly squared. If not, make any necessary final adjustments. This step acts as a final confirmation that your plywood is accurately squared before proceeding to further stages of your project. Don’t skip this step; it can save you from errors and setbacks during assembly.
Step 10. Sand the Edges:
Finally, smooth any rough edges created during the cutting process by sanding the plywood edges. Use medium-grit sandpaper to start, followed by fine-grit sandpaper for a polished finish. Sanding ensures that the edges are smooth to the touch and free from splinters, making them safer and easier to handle. This final touch not only enhances the appearance of the plywood but also prepares it for immediate use in your woodworking project, ensuring a professional and high-quality finish.
By following these steps, you can accurately square your plywood sheet and prepare it for use in your woodworking project. Taking the time to properly measure, mark, and cut your plywood will result in a more precise and stable finished product.
5 Additional Tips and Tricks
- Use a Carpenter’s Square: A carpenter’s square ensures that your edges are perfectly perpendicular. This handy tool allows you to mark right angles accurately for a precise cut.
- Check Diagonals: Measure the diagonals from corner to corner. If both measurements are equal, your plywood is square. If they differ, adjust your cuts accordingly until the diagonals match.
- Straightedge and Clamps: Secure a straightedge along your cutting line using clamps to guide your saw. This setup minimizes the chance of the saw wandering and helps in making a straight and square cut.
- Utilize a Track Saw: If available, a track saw can make life easier by guiding the saw blade along a straight path, ensuring accurate cuts without additional marking.
- Keep Spare Blades: Always keep spare blades on hand. Dull blades can cause splintering and rough edges, resulting in a less-than-perfect cut. Replace your blade at the first sign of dullness to maintain cut precision.
These additional tips and tricks will help you become more efficient and accurate when cutting plywood sheets.
5 Things You Should Avoid
- Rushing the Process: Taking your time is crucial when squaring plywood. Rushing can lead to inaccurate measurements, uneven cuts, and a poor-quality project. Ensure you allocate sufficient time to measure and cut correctly.
- Ignoring Measurement Checks: Failing to double-check your measurements can result in inaccuracies. Always measure twice and cut once to ensure your cuts are precise and the plywood is truly square.
- Using a Dull Blade: A dull saw blade can cause splintering and ragged edges, making achieving a clean and straight cut difficult. Always ensure your blades are sharp and replace them at the first sign of dullness.
- Skipping Safety Precautions: Ignoring safety measures can be dangerous and affect the quality of your cuts. Always wear appropriate safety gear, such as goggles and gloves, and ensure your workspace is well-lit and free of hazards.
- Disregarding Tool Maintenance: Neglecting tool maintenance can lead to subpar performance. Regularly inspect and maintain your tools, especially your saws and measuring devices, to ensure they are in optimal condition for precise work.
By avoiding these common mistakes, you can ensure your plywood-cutting process is efficient and produces high-quality results.
How to Straighten a Plywood Edge?
Straightening a plywood edge is crucial for achieving accurate and precise cuts. Follow these steps to straighten a plywood edge:
- Mark the Cutting Line: First, mark the desired cutting line on your plywood sheet using a pencil or chalk.
- Secure the Plywood: Use clamps to secure your plywood sheet to a flat work surface, with the marked cutting line overhanging the table’s edge.
- Use a Straightedge: Place a straightedge along the marked cutting line, ensuring it is firmly secured to the plywood sheet using clamps.
- Cut Along the Straightedge: Use a circular saw or jigsaw to cut along the straightedge, following your marked cutting line. The straightedge will guide your saw and ensure a straight and accurate cut.
- Check for Straightness: Once the cut is complete, check the edge of the plywood sheet to ensure it is perfectly straight. If needed, make any necessary adjustments using sandpaper or a hand plane.
By following these steps, you can easily straighten a plywood edge and prepare it for precise cuts in your project.
Why Does Plywood Bend?
There are a few common reasons why plywood may bend:
- Humidity: Plywood is susceptible to changes in humidity levels. When exposed to high moisture levels, the wood fibers can absorb water and expand, causing the plywood to bend.
- Uneven Pressure or Weight Distribution: If weight or pressure is applied unevenly on a piece of plywood, it can cause the wood to bend in that direction.
- Lack of Support: Plywood sheets are not rigid and require proper support when being stored or transported. If they are stacked improperly, they may bend due to the weight of other sheets pressing down on them.
- Defects in Manufacturing: Sometimes, plywood may have defects in its layers, such as knots or voids, which can cause it to bend.
- Improper Storage: Storing plywood in a damp or humid environment can cause it to absorb moisture and bend. It is essential to store plywood sheets in a dry and well-ventilated area.
To prevent plywood from bending, ensure proper storage and support, avoid uneven weight distribution, and inspect for defects before use. Additionally, using marine-grade plywood or treating the surface with water-resistant sealants can help protect against moisture-related bending.
Can You Paint Plywood?
Yes, you can paint plywood. However, there are a few things to consider before painting:
- Surface Preparation: Before painting, it is important to prepare the plywood’s surface. This includes sanding down any rough edges or imperfections and cleaning off any dirt or debris.
- Priming: Plywood is porous and can absorb a lot of paint if not properly primed. Using a wood primer specifically designed for plywood before painting is recommended.
- Type of Paint: Avoid using water-based paints on plywood, as they can cause the wood fibers to swell and create an uneven surface. Oil-based or acrylic paints are better options for painting plywood.
- Sealing: To protect your painted plywood from moisture and damage, consider sealing it with a clear protective coat or water-resistant sealant.
You can successfully paint plywood with proper preparation and the right materials to achieve your desired finish. So, whether you are building furniture or completing a DIY project, remember these tips for cutting and working with plywood to ensure accurate and high-quality results.
Conclusion
How to square plywood is a fundamental skill that can drastically improve the quality and precision of your woodworking projects.
By adhering to meticulous measuring techniques, using sharp and well-maintained tools, and taking the necessary time and precautions, you can achieve clean, accurate cuts that ensure your plywood is perfectly square. Avoid common mistakes such as rushing the process, ignoring measurement checks, using dull blades, skipping safety precautions, and neglecting tool maintenance.
You can mitigate risks and create exceptional outcomes by following a step-by-step approach to straightening edges and inspecting for potential issues like bending. With these guidelines, your projects will not only look professional but will also be structurally sound.
About the Author
Adrian Green, a lifelong woodworking enthusiast, shares his passion for the craft through The Woodenify Blog. With a foundation built on years of hands-on experience in his father’s woodworking shop, Adrian is dedicated to helping others learn and grow in the world of DIY woodworking. His approach to woodworking combines creativity, practicality, and a deep appreciation for the art of building with your own hands. Through his blog, he inspires individuals of all skill levels to embark on their own woodworking journeys, creating beautiful, functional pieces of furniture and décor.
Professional Focus
- Specializes in DIY woodworking projects, from furniture to home décor.
- Provides step-by-step guides and practical tutorials for woodworkers of all skill levels.
- Dedicated to helping readers build confidence and skill through easy-to-follow instructions and tips.
- Passionate about fostering a community of makers who can share, learn, and grow together.
Education History
- University of Craft and Design – Bachelor of Fine Arts (BFA) in Woodworking and Furniture Design
- Woodworking Apprenticeships – Extensive hands-on training with skilled craftsmen to refine carpentry and furniture making techniques.
- Online Courses & Masterclasses – Continued education in advanced woodworking techniques, design principles, and specialized tools
Expertise:
- DIY woodworking, carpentry, furniture making, and home décor projects.
- Creating accessible tutorials and guides for beginner to advanced woodworkers.
- Sharing the joys and satisfaction of woodworking, from raw materials to finished products.