Do you want to avoid stacking your wood in a messy and inefficient way? Well, look no further because we have the perfect solution for you! This guide will show you how to stack wood for a fireplace in an organized and practical manner.
Stacking wood for a fireplace is both an art and a science. It requires a good understanding of how wood burns, the space it occupies, and how air circulates through the stack to ensure the wood dries properly. A well-stacked woodpile not only maximizes the longevity of the wood by preventing rot but also ensures that it burns efficiently and safely in your fireplace.
Whether you’re a seasoned firewood collector or a novice looking to prepare for your first winter, this guide will walk you through the essential steps and tips for stacking wood effectively for your fireplace.
Why is Proper Stacking Important?
Before we get into the nitty-gritty of stacking wood, it’s important to understand the importance of doing it properly. Here are a few reasons why proper stacking is crucial:
- Efficient Use of Space: Stacking wood in an organized and compact manner allows you to fit more wood in a smaller space, making it easier to store and transport.
- Proper Drying: A well-stacked pile allows for proper air circulation, which is essential for drying out the wood. Drying your wood properly is key to ensuring it burns cleanly and efficiently.
- Prevents Rot: Stacking wood off the ground prevents moisture from seeping in, reducing the chances of rotting.
- Safety: An organized pile reduces the risk of collapsing stacks that could potentially cause injuries or damage to property.
These are just a few reasons why proper stacking is important. Now, let’s get into the steps for stacking wood effectively.
What Will You Need?
Before you start stacking, gather all the necessary tools and materials. Here’s a list of things you’ll need:

- Wood: Obviously, you’ll need wood to stack. Choose good quality firewood that is dry and free of any mold or rot.
- Space: Pick a location that is away from trees and structures but still easily accessible for your fireplace.
- Tools: Depending on the size and type of wood you’re stacking, you may need tools such as an axe, maul, or saw to cut or split the logs.
- Safety Gear: Always prioritize safety when working with tools. Wear gloves, sturdy shoes, and protective eyewear if necessary.
- A Partner: Stacking wood can be physically demanding, so having a partner can make the job easier and faster.
Once you have everything ready, it’s time to start stacking!
10 Easy Steps on How to Stack Wood for a Fireplace
Step 1: Choose a Suitable Location
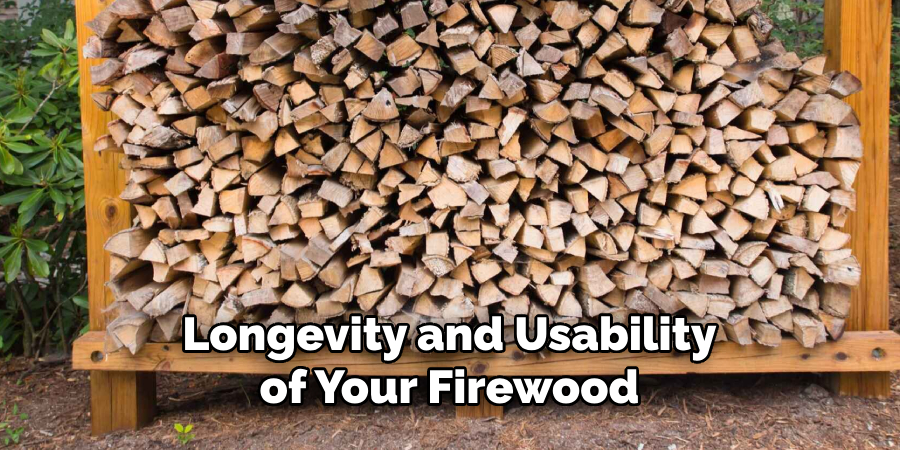
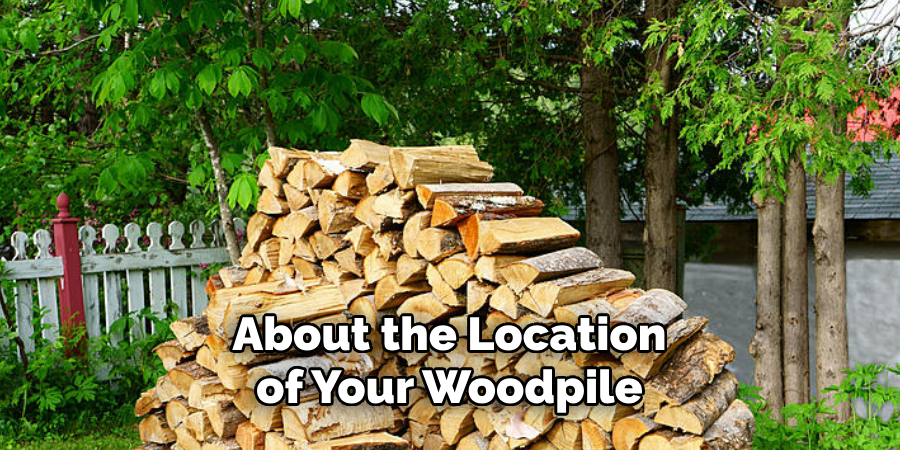
Choosing a suitable location for your woodpile is paramount to ensuring the longevity and usability of your firewood. Your stacking site should be on a flat, dry area with good drainage to prevent water pooling around the wood. It should be positioned in a spot that receives enough sunlight to aid in the drying process but also has some coverage or shade to protect the wood from excessive moisture due to rain or snow.
Furthermore, the location should be conveniently accessible from your home but not too close to structures to minimize the risk of pest infestations transferring from the woodpile to your living areas. Consider the direction of prevailing winds in your area as well, as proper air circulation is crucial for drying the wood. Consider these factors when choosing your stacking location to ensure your wood dries adequately, remains easy to access, and reduces the risk of rot and pests.
Step 2: Prepare the Stacking Ground
Before you begin stacking your wood, it’s essential to prepare the ground where your woodpile will reside. Start by clearing any debris, grass, or stones from the area to create a flat and stable surface. Consider laying down a layer of gravel or using paving stones to improve drainage and prevent ground moisture from affecting the bottom layers of your wood stack.
Build or install a base frame made of wood pallets or similar materials to elevate your firewood off the ground. This keeps the wood dry and facilitates air circulation around the entire stack. Preparing the stacking ground properly enhances the wood’s longevity and contributes to a tidier and more organized woodpile.
Step 3: Lay the Foundation
After preparing the stacking ground, the next step is to lay a sturdy foundation for your woodpile. Begin by stacking the largest or most uniform logs in a single row along the base of your designated stacking area. This row should be as straight and level as possible to ensure stability for the layers that will be stacked on top.
The foundation logs act as a buffer between the ground and the rest of your woodpile, facilitating airflow and minimizing moisture absorption. Make sure that this base layer is solid and well-organized, as it sets the tone for the entire structure of your wood stack.
Step 4: Stack Logs Neatly

Once the foundation is laid, begin stacking your logs neatly and in an orderly fashion. Ensure each log is placed close to its neighbors to minimize gaps but not so tightly that air cannot circulate. It’s beneficial to stack the logs with the bark facing upwards. This orientation helps shed water more effectively, protecting the wood from rain or melting snow.
Alternate the direction of the logs with each layer to increase the stack’s stability. This crisscross pattern allows the stack to support itself, reducing the likelihood of it tipping or collapsing. Remember, a well-structured woodpile promotes better wood drying and facilitates easier access when it’s time to use the logs in your fireplace.
Step 5: Use Supports or End Pillars
To further ensure the stability of your woodpile, consider using supports or creating end pillars. End pillars are built by stacking logs in a vertical position at both ends of the pile, working much like bookends. These pillars need to be constructed carefully and securely, as they play a crucial role in holding up the structure of the stacked wood.
Alternatively, you can use metal or wooden supports inserted into the ground or placed against an existing wall. Supports not only aid in maintaining the structure’s integrity but can also serve as a guide to keep your stacking neat and uniform. Whether you opt for end pillars or external supports, this step prevents your woodpile from spreading outwards or collapsing over time.
Step 6: Maintain the Right Height
When stacking your firewood, it’s important to consider the height of the pile for safety and stability reasons. The ideal height for a stacked woodpile is between 3 to 4 feet. Stacking higher than this can lead to instability, increasing the risk of the pile collapsing. This poses a danger to anyone around it and can damage your firewood.
To ensure your woodpile is manageable and secure, avoid the temptation to stack it too high. Instead, focus on building another row or creating a separate stack if you have more wood. Remember, maintaining a safe and stable woodpile is more important than saving space.
Step 7: Cover the Top of the Pile

After you’ve reached the desired height for your woodpile, the next step is to protect it from excessive moisture. Covering the top of your woodpile is essential, especially if you live in an area prone to frequent rain or snow. Use a tarp, wood cover, or a specialized firewood cover designed for this purpose. Ensure the cover is secured properly to prevent it from being blown away by the wind, but allow the sides of the pile to remain open.
This is crucial for maintaining air circulation, aiding the drying process. When covering, be careful not to seal the pile tightly, as this can trap humidity and promote the growth of mold and mildew, defeating the purpose of stacking the wood properly.
Step 8: Regularly Inspect and Manage the Pile
To ensure your firewood remains in the best condition, it’s crucial to regularly inspect and manage your woodpile. Check for signs of mold, pests, and any unusual moisture buildup. Rotate the wood by bringing older logs to the top or front to use them first, promoting an even drying process across the pile.
This step helps maintain the quality of your firewood and prevents any infestations from spreading to your home or surroundings. Furthermore, it allows you to identify and rectify any stability issues with your pile before they become hazardous. Consistent management and inspection are key to a long-lasting, efficient woodpile.
Step 9: Plan for Long-term Storage
If you plan to store your firewood for over a year, consider creating separate stacks for different seasons. This approach allows you to have optimally dried wood ready for use when needed. Additionally, rotating your stock ensures that older wood is used before it begins to rot or lose its burning efficiency.
For long-term storage, also think about the location of your woodpile. It should be stored in a spot that receives sunlight and has good airflow but is away from direct contact with the elements. By planning for the future and organizing your woodpile with time in mind, you can ensure a steady supply of quality firewood for years to come.
Step 10: Enjoy the Benefits of Your Efforts
After diligently following the steps to properly stack and manage your firewood, it’s time to enjoy the fruits of your labor. A well-organized woodpile ensures that you have a steady supply of dry, ready-to-use firewood and adds an aesthetic appeal to your outdoor space.
Whether you’re gathering around a fire pit with family and friends or cozying up indoors by the fireplace, the warmth and ambiance provided by your firewood are unmatched. Remember, a little effort in preparing and maintaining your woodpile translates into long-term rewards, making those cold winter days and nights more enjoyable and comfortable.
By following these ten steps, you can ensure that your firewood remains in the best condition for use and storage.
5 Additional Tips and Tricks
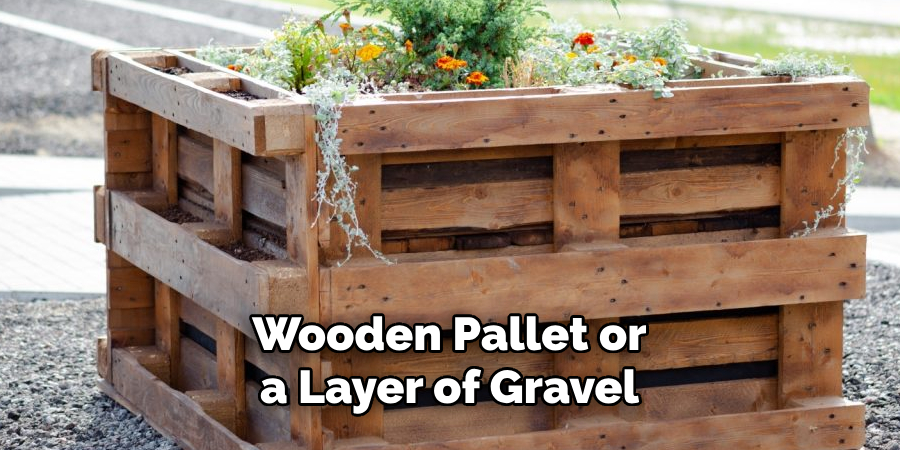
- Use a Sturdy Base: Start with a strong and level base on which to stack your wood. This could be a wooden pallet or a layer of gravel. This prevents moisture from the ground from seeping into the bottom layer of wood.
- Cover the Top: Protect your wood stack from rain and snow by covering the top with a waterproof tarp or specifically designed woodpile cover. Ensure the sides are left open for air to circulate and prevent mold growth.
- Maintain a Gap from Buildings: Place your wood stack at least a few feet away from the exterior walls of your home or any other buildings. This reduces the risk of pests finding their way into your home and allows for better air circulation around the wood.
- Stack with Bark Up: When stacking wood, arrange the pieces so the bark side is up on the top layer. The bark is a natural shield against rain, allowing water to run off easily and helping the wood stay dry.
- Use a Cross-Stack Method for Stability: For increased stability and airflow, consider using a cross-stack method at the ends of your woodpile. This involves alternating the direction of the wood at both ends, creating an aesthetically pleasing and functional ‘log cabin’ effect.
With these additional tips and tricks, you can ensure that your firewood stays dry and ready to use for your next cozy night by the fire.
5 Things You Should Avoid
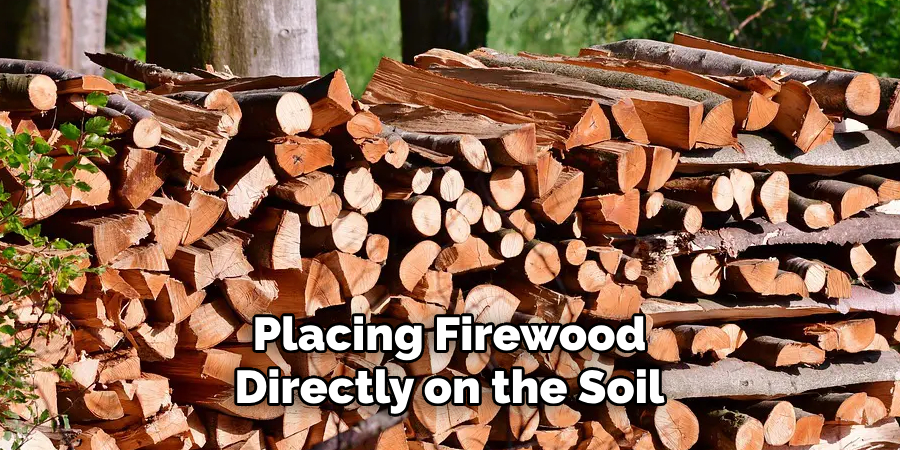
- Don’t Stack Wood Directly on the Ground: Avoid placing firewood directly on the soil, as this will promote rotting and attract pests. Ensuring proper ventilation and drainage is critical for maintaining the quality of your wood.
- Avoid Overcovering the Woodpile: While protecting the top of your stack from rain and snow, completely wrapping your woodpile in a tarp will hinder air circulation, leading to moisture buildup and potentially moldy wood.
- Don’t Stack Against Your House: Keeping your woodpile too close to your home poses a fire hazard and encourages pests. Maintaining a reasonable distance helps protect your home’s structure and reduce pest infestation risks.
- Refrain from Mixing Green and Seasoned Wood: Stacking freshly cut (green) wood with seasoned (dry) wood can slow down the drying process for the greenwood due to moisture transfer. Always separate your wood based on its drying stage for optimal burning.
- Remember the Importance of Organization: Randomly piling wood can lead to instability and reduced airflow, which hampers the seasoning process. Taking the time to stack wood properly ensures it dries evenly and is easier to manage when you’re ready to use it.
By avoiding these common mistakes, you can ensure your firewood is properly stored and ready to provide warmth and comfort during those chilly days.
What is the Pattern for Stacking Firewood?
The most common pattern for stacking firewood is the ‘row’ method, where wood is stacked in rows on top of each other. However, as mentioned above, using a cross-stack method at the ends can increase stability and airflow.
Other patterns that may be used include the ’round’ or ‘circle’ method, where wood is stacked in a circular shape, and the ‘criss-cross’ method, where wood is stacked in a criss-cross pattern. Ultimately, the most important factor when stacking firewood is to ensure proper air circulation for efficient drying and to prevent mold growth.
So choose the best method for your space and needs, but always remember the importance of ventilation and organization.
Is It Better to Stack or Pile Firewood?
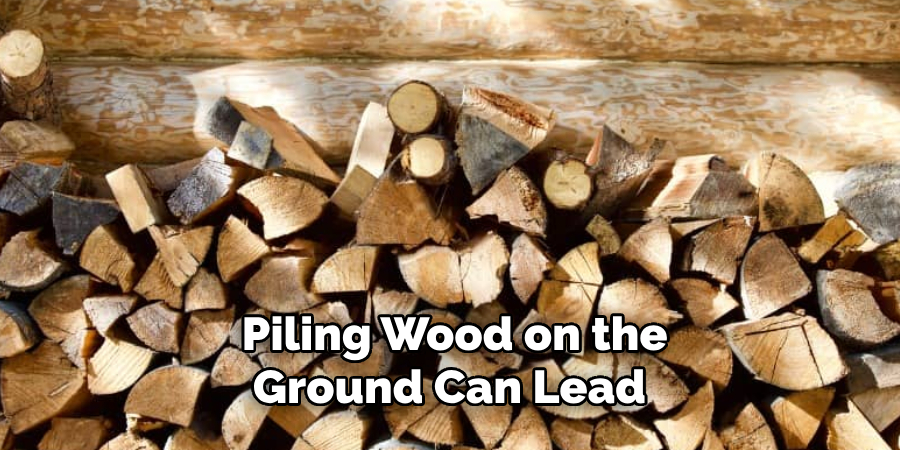
While both methods can effectively store firewood, stacking is generally considered the better option. Piling wood on the ground can lead to rotting, pest infestation, and uneven drying. Stacking the wood off the ground allows for proper ventilation and drainage, preventing these issues and ensuring your firewood stays dry and ready to use.
Additionally, properly stacked wood takes up less space than a pile, making it easier to manage and navigate. It also looks neater and more organized, which can be aesthetically pleasing.
Ultimately, the choice between stacking or piling firewood may depend on personal preference and available space, but stacking is generally considered the most efficient and effective method. So, make sure to stack your wood properly to get the most out of your firewood supply. Keep these tips and tricks in mind, and you’ll be able to enjoy a warm and cozy fire all winter long.
Conclusion
How to stack wood for a fireplace may seem like a simple task, yet it requires attention to detail to maximize efficiency, safety, and wood preservation. This guide has outlined essential tips and common mistakes to avoid, ensuring your firewood is dry, accessible, and ready for use.
Whether you choose the row method, incorporate a criss-cross pattern for stability, or opt for a unique stacking technique, remember the importance of ventilation, protection from the elements, and maintaining proper distance from structures.
By following these guidelines, you can enjoy the comforting warmth of your fireplace all winter long, knowing your firewood is stacked optimally. Fire up the hearth with confidence, and relish the cozy atmosphere it brings to your home.
About the Author
Adrian Green, a lifelong woodworking enthusiast, shares his passion for the craft through The Woodenify Blog. With a foundation built on years of hands-on experience in his father’s woodworking shop, Adrian is dedicated to helping others learn and grow in the world of DIY woodworking. His approach to woodworking combines creativity, practicality, and a deep appreciation for the art of building with your own hands. Through his blog, he inspires individuals of all skill levels to embark on their own woodworking journeys, creating beautiful, functional pieces of furniture and décor.
Professional Focus
- Specializes in DIY woodworking projects, from furniture to home décor.
- Provides step-by-step guides and practical tutorials for woodworkers of all skill levels.
- Dedicated to helping readers build confidence and skill through easy-to-follow instructions and tips.
- Passionate about fostering a community of makers who can share, learn, and grow together.
Education History
- University of Craft and Design – Bachelor of Fine Arts (BFA) in Woodworking and Furniture Design
- Woodworking Apprenticeships – Extensive hands-on training with skilled craftsmen to refine carpentry and furniture making techniques.
- Online Courses & Masterclasses – Continued education in advanced woodworking techniques, design principles, and specialized tools
Expertise:
- DIY woodworking, carpentry, furniture making, and home décor projects.
- Creating accessible tutorials and guides for beginner to advanced woodworkers.
- Sharing the joys and satisfaction of woodworking, from raw materials to finished products.