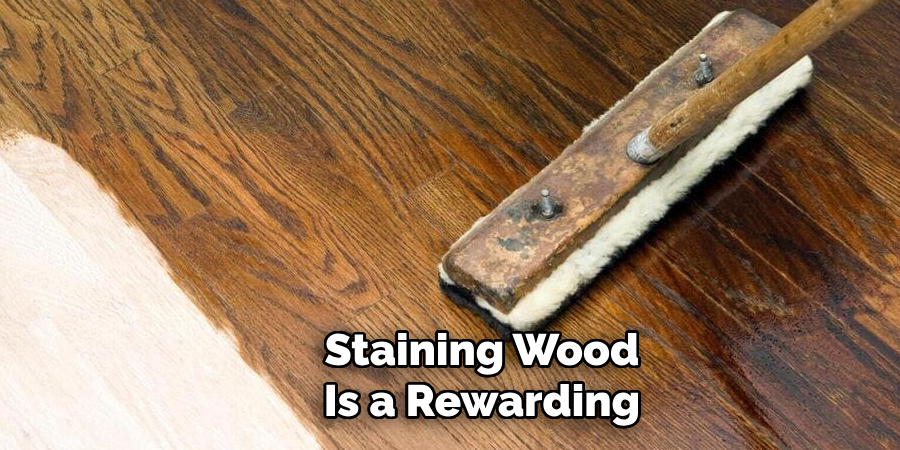
Staining ebony wood can be a rewarding process that enhances its natural beauty and highlights its rich, dark tones. Whether you are refinishing furniture, working on a custom project, or enhancing existing woodwork, understanding the proper techniques and tools is essential to achieving a flawless finish.
This guide on how to stain ebony wood will walk you through the steps necessary to stain ebony wood effectively, ensuring a professional and long-lasting result.
Why Stain Ebony Wood?
Ebony wood, also known as African blackwood, is a prized and rare hardwood that is used in high-end furniture, musical instruments, and other luxury items. It has a deep, dark color with distinct grain patterns that make it stand out from other woods.
However, staining ebony wood can further enhance its natural characteristics and add depth to the already dark hue. In addition to aesthetic reasons, staining ebony wood can also protect it from moisture and UV rays, increasing its durability and longevity.
Needed Materials
- Ebony Wood
- Stain (Oil-based or Water-based)
- Sandpaper (Various Grits)
- Cloth or Brush for Applying Stain
- Protective Gear (Gloves, Mask, Goggles)
- Clear Protective Finish (Optional)

7 Steps on How to Stain Ebony Wood
Step 1: Prepare the Wood
Begin by inspecting the ebony wood surface for any imperfections, such as scratches, dents, or uneven areas. Use sandpaper with a coarse grit to smooth out the surface, working along the grain of the wood. Gradually switch to finer grits to achieve a polished finish. After sanding, wipe the wood clean with a damp cloth to remove any dust or debris.
Ensure the surface is completely dry before proceeding to the staining process. Proper preparation ensures the stain adheres evenly and enhances the wood’s natural beauty.
Step 2: Choose the Right Stain
Once your wood surface is prepped and ready, it’s time to choose the right stain for your project. There are a variety of stains available in different shades and finishes, such as oil-based or water-based stains. It’s essential to consider the type of wood you’re working with and the look you want to achieve before selecting a stain.
Oil-based stains tend to have richer and deeper colors, while water-based stains offer more vibrant and brighter options. Keep in mind that oil-based stains take longer to dry but provide a more durable finish compared to water-based ones. It’s also crucial to pay attention to the label on the stain can for specific instructions and precautions.
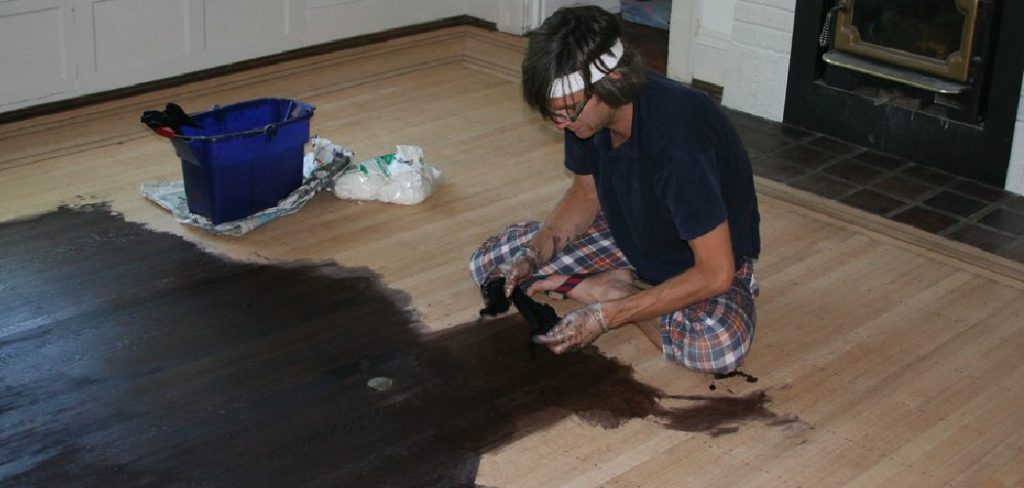
Step 3: Applying the Stain
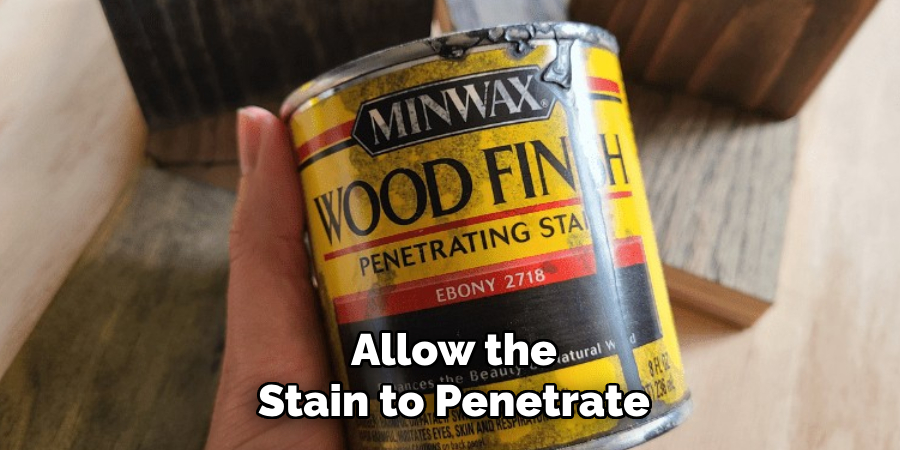
Once you’ve selected the appropriate stain, it’s time to apply it to the wood. Start by using a clean brush, foam applicator, or lint-free cloth to evenly apply the stain in the direction of the wood grain. Work in manageable sections to ensure consistent coverage and avoid leaving any overlapping marks. Allow the stain to penetrate the wood for the recommended time stated on the product label before wiping off any excess with a clean cloth.
For a darker finish, you can apply a second coat after the first has dried. Always follow safety precautions, such as working in a well-ventilated area and wearing gloves to protect your hands. Take your time to achieve an even, polished look.
Step 4: Finishing and sealing
Once the stain has fully dried, it is important to finish and seal the wood to protect it from wear and tear. There are several options for finishing and sealing, including varnish, polyurethane, and wax.
Varnish is a clear topcoat that provides a hard protective layer over the wood. It comes in gloss, semi-gloss, and matte finishes. Varnish can bring out the natural beauty of the wood while also protecting it from scratches and water damage. Polyurethane is another popular option for finishing and sealing wood. It is durable and water-resistant, making it ideal for high-traffic areas like floors or furniture. Polyurethane comes in oil-based and water-based formulas, with the latter being more environmentally friendly.
Step 5: Choosing the Right Finish
Choosing the right finish for your wood project can seem overwhelming, given the many options available. However, the choice ultimately depends on personal preference and the intended use of the finished product.
For a natural, raw look, tung oil or linseed oil are great choices. These finishes penetrate deeply into the wood and enhance its natural color and grain. They also provide some level of protection against water damage.
Step 6: Maintaining Wood Projects
Proper maintenance ensures that your wood project stays in excellent condition and lasts for years to come. Regularly clean your wood surfaces with a soft, damp cloth to remove dust and dirt. Avoid using harsh chemicals that may strip away the finish or damage the wood.
For added care, periodically apply wood polish or a furniture oil to restore the shine and nourish the material. Additionally, keep wood items away from extreme humidity or direct sunlight, as these conditions can cause warping or fading over time. With consistent upkeep, your wood project will remain a timeless piece in your home or workspace.

Step 7: Displaying Your Woodworking Projects
One of the most rewarding aspects of woodworking is being able to display your finished projects. Whether it’s a piece of furniture for your home or a decorative item for a friend, proudly showcasing your work can bring a sense of accomplishment and joy.
Following these steps on how to stain ebony wood and properly care for it will ensure that your project looks its best when on display. The rich, dark color of ebony wood makes it a striking addition to any space.
Frequently Asked Questions
Q: Is Staining Ebony Wood Difficult?
A: Staining ebony wood can be a bit more challenging compared to other types of wood due to its dense and oily nature. However, with proper preparation and technique, it is achievable. The key is to take your time and apply thin coats of stain until you achieve the desired color.
Q: Do I Need to Sand Ebony Wood Before Staining?
A: Yes, it is crucial to sand the ebony wood before staining. This will help open up the pores of the dense wood, allowing for better absorption of the stain. It will also smooth out any imperfections on the surface, ensuring a more even and consistent finish.
Q: Can I Use Any Type of Stain on Ebony Wood?
A: It is recommended to use oil-based stains on ebony wood as they penetrate deeper into the wood and provide a richer color. Water-based stains may not be as effective on this type of wood and may result in a lighter, less vibrant finish. It is always best to test the stain on a small, inconspicuous area before applying it to the entire project.
Q: How Do I Apply Stain to Ebony Wood?
A: To apply stain to ebony wood, start by sanding the surface of the wood with a fine-grit sandpaper. This will prepare the surface for staining and ensure a smooth finish. Next, use a clean, lint-free cloth or brush to apply the stain for a long period of time, even strokes following the direction of the grain. Allow the stain to penetrate for 5-15 minutes before wiping off any excess with a clean cloth. For a darker finish, you can repeat the staining process until you achieve the desired color. Once the stain is dry, apply a clear topcoat to protect the wood and enhance its shine.
Tips
- Sanding the wood before staining is important to achieve a smooth and even finish.
- Make sure to use a clean, lint-free cloth or brush when applying the stain to prevent any debris from getting onto the surface.
- Always follow the direction of the grain when applying stain to ensure an even and natural look.
- If you want a darker finish, you can repeat the staining process multiple times until you reach your desired color.
- It’s important to wipe off any excess stain after allowing it to penetrate for a few minutes. This will prevent blotchiness and unevenness in the final result.
- Applying a clear topcoat after staining will not only protect the surface but also enhance the richness of the color.
- Remember to use a clean and soft cloth when wiping off excess stain or applying topcoat to avoid leaving any lint or fibers on the surface.
- If you are staining a large surface, make sure to work in small sections to prevent the stain from drying too quickly and becoming difficult to spread evenly.
- For a more subtle and natural look, you can mix different shades of stain together before applying them to the surface.
- It’s always a good idea to test out your chosen stain on a small hidden area first before applying it to the entire surface. This will ensure that you are happy with the color and finish before committing to the entire project.
Conclusion
Staining wood is a rewarding process that enhances the natural beauty and character of your projects. By following the steps and tips on how to stain ebony wood outlined, you can achieve a professional and long-lasting finish.
Always take your time, work carefully, and prioritize preparation and testing to ensure the best results. With patience and attention to detail, your stained wood surfaces will not only look stunning but also stand the test of time. Using an ebony wood stain on your furniture can create a sleek, sophisticated finish that highlights the wood’s texture while adding a rich, dark hue to any piece.
About the Author
Adrian Green, a lifelong woodworking enthusiast, shares his passion for the craft through The Woodenify Blog. With a foundation built on years of hands-on experience in his father’s woodworking shop, Adrian is dedicated to helping others learn and grow in the world of DIY woodworking. His approach to woodworking combines creativity, practicality, and a deep appreciation for the art of building with your own hands. Through his blog, he inspires individuals of all skill levels to embark on their own woodworking journeys, creating beautiful, functional pieces of furniture and décor.
Professional Focus
- Specializes in DIY woodworking projects, from furniture to home décor.
- Provides step-by-step guides and practical tutorials for woodworkers of all skill levels.
- Dedicated to helping readers build confidence and skill through easy-to-follow instructions and tips.
- Passionate about fostering a community of makers who can share, learn, and grow together.
Education History
- University of Craft and Design – Bachelor of Fine Arts (BFA) in Woodworking and Furniture Design
- Woodworking Apprenticeships – Extensive hands-on training with skilled craftsmen to refine carpentry and furniture making techniques.
- Online Courses & Masterclasses – Continued education in advanced woodworking techniques, design principles, and specialized tools
Expertise:
- DIY woodworking, carpentry, furniture making, and home décor projects.
- Creating accessible tutorials and guides for beginner to advanced woodworkers.
- Sharing the joys and satisfaction of woodworking, from raw materials to finished products.