Staining mahogany wood is a great way to enhance its natural beauty and bring out its rich, warm tones. Whether you’re working on a piece of furniture, cabinetry, or a decorative project, the right staining techniques can elevate the final look and protect the wood for years to come.
This guide on how to stain mahogany wood will walk you through the steps to properly prepare, stain, and finish mahogany wood, ensuring a professional and lasting result. Applying a mahogany wood stain to your furniture can give it a rich, deep color that enhances the natural grain and adds an elegant touch to any room.
Why Stain Mahogany Wood?
Before we dive into the steps to stain mahogany wood, let’s first understand why staining is necessary. Mahogany wood has a deep, reddish-brown hue and beautiful grain patterns that make it an attractive choice for many projects. However, this type of wood can also be prone to blotching and uneven color absorption when finished with a clear topcoat.
Staining helps to even out these variations and enhance the natural beauty of the wood, giving it a more uniform appearance. It also provides protection against moisture, UV rays, and other environmental factors that can affect the longevity of the wood.
Needed Materials
To effectively stain your project with cherry wood, you will need the following materials:
Cherry Wood Piece or Project:
First and foremost, you will need a piece of cherry wood or a project made with cherry wood. Make sure to choose a high-quality piece that is free of knots, cracks, and other imperfections.
Sandpaper:
Sandpaper is essential for preparing the surface of the wood before staining. It helps to remove any roughness, scratches, and old finishes that may affect the absorption of the stain.
Stain:
The type of stain you choose will depend on your personal preference and the desired end result. There are oil-based stains, water-based stains, gel stains, and many others available in various colors and shades.
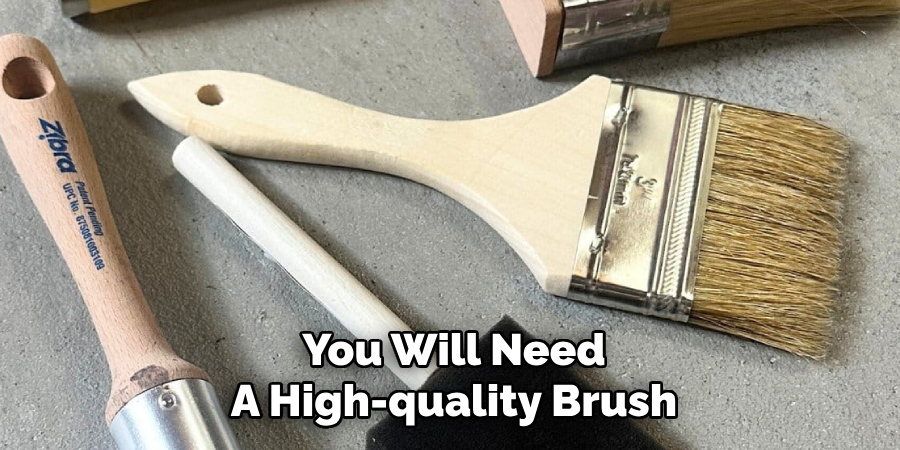
Brushes or Applicators:
To apply the stain evenly and smoothly, you will need a high-quality brush or applicator. There are specific brushes designed for staining, with bristles that are ideal for spreading the stain evenly without leaving any marks or streaks.
Rags:
Rags are also useful for staining wood, especially when using oil-based stains. They help to wipe off excess stain and blend it into the wood for an even finish.
Protective Gear:
Staining can be messy and potentially harmful if proper precautions are not taken. It is important to wear protective gear such as gloves, goggles, and a mask, to protect your skin, eyes, and lungs from potential irritants in the stain.
5 Simple Steps on How to Stain Mahogany Wood
Step 1: Prepare the Wood
Before you begin staining, it is essential to prepare the wood properly. Start by sanding the cherry wood piece with progressively finer grits of sandpaper to create a smooth and even surface. Begin with a lower-grit sandpaper to remove any rough edges, then gradually move to higher grits to achieve a finer finish. Always sand in the direction of the wood grain to avoid scratches.
After sanding, use a clean cloth to remove any dust or debris from the surface. This step ensures that the wood is clean and ready to absorb the stain evenly, providing a flawless finish.
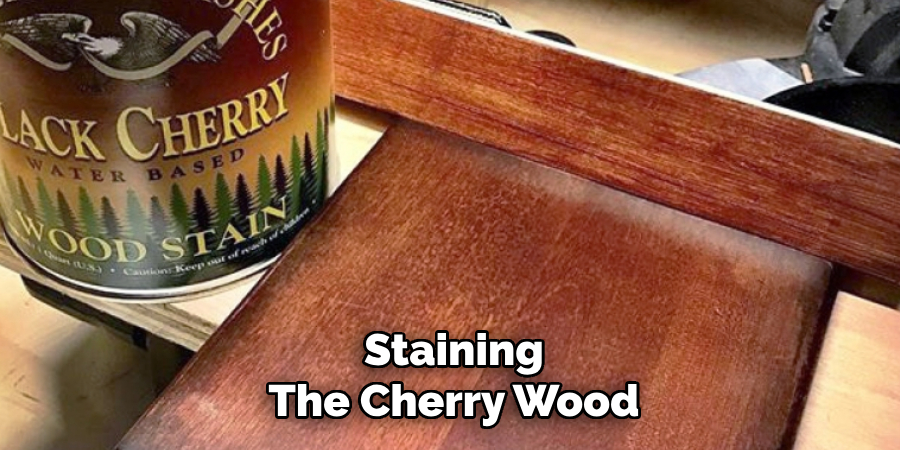
Step 2: Staining the Cherry Wood
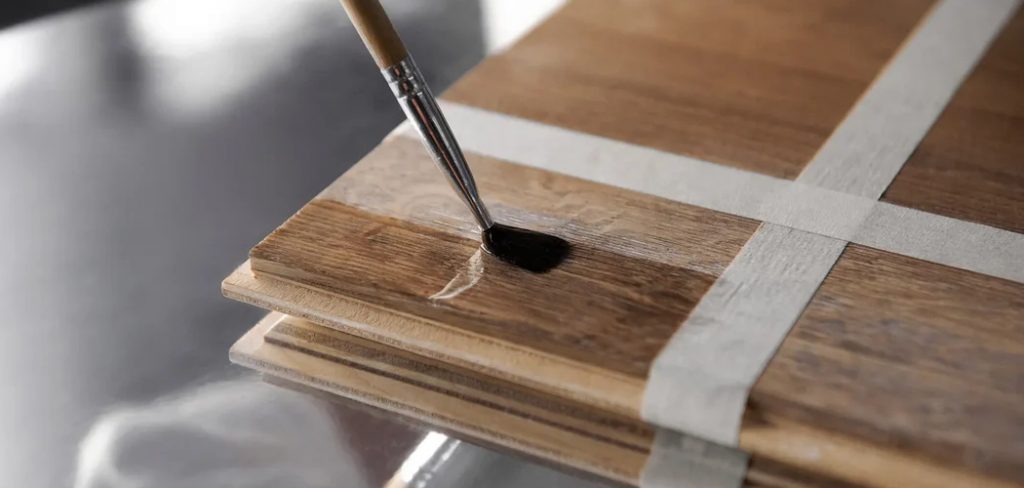
Staining is an essential step in enhancing the beauty of cherry wood. It adds depth and color to the natural grain, giving it a rich and warm appearance. Before starting, make sure to stir the stain thoroughly to ensure an even distribution of color.
Using a brush or cloth, apply the stain in long and even strokes, following the grain of the wood. It is crucial to work quickly and smoothly to avoid any lap marks or streaks on the surface. Once applied, allow the stain to penetrate for a few minutes before wiping off any excess with a clean cloth. The longer you let it sit, the darker the color will be. For a more subtle look, wipe off excess stain immediately after application.
Step 3: Sealing the Wood
Once the stain has fully dried, it is important to seal the wood to protect it from damage and wear. There are various types of sealers available, including polyurethane, varnish, lacquer, and shellac. Each type has its own unique properties and level of durability.
When choosing a sealer, consider the location and use of the wood piece. For high-traffic areas such as floors or tabletops, opt for a more durable sealer like polyurethane. For decorative items or pieces that won’t be heavily used, a thinner sealer like shellac may suffice.
To apply the sealer, use a clean brush or cloth and follow the instructions on the product’s label. It’s important to evenly coat the wood and allow for proper drying time between coats.
Step 4: Add a Protective Finish
For added protection and shine, consider adding a top coat to your wood piece. Popular options include wax or varnish.
Wax is easy to apply and provides a natural matte finish. It’s great for more delicate pieces such as furniture with intricate designs or vintage items. Simply apply the wax with a cloth and buff it into the wood surface.
Varnish, on the other hand, provides a glossy finish and is typically more durable than wax. It’s ideal for high-traffic areas or outdoor furniture. To apply the varnish, use a brush or spray gun and follow the product’s instructions carefully.
Step 5: Maintain Your Wood Piece
Proper maintenance of your finished wood piece will help it maintain its beauty and last for years to come. Here are a few tips to keep in mind:
- Avoid placing hot or wet items directly on the wood surface, as this can cause damage.
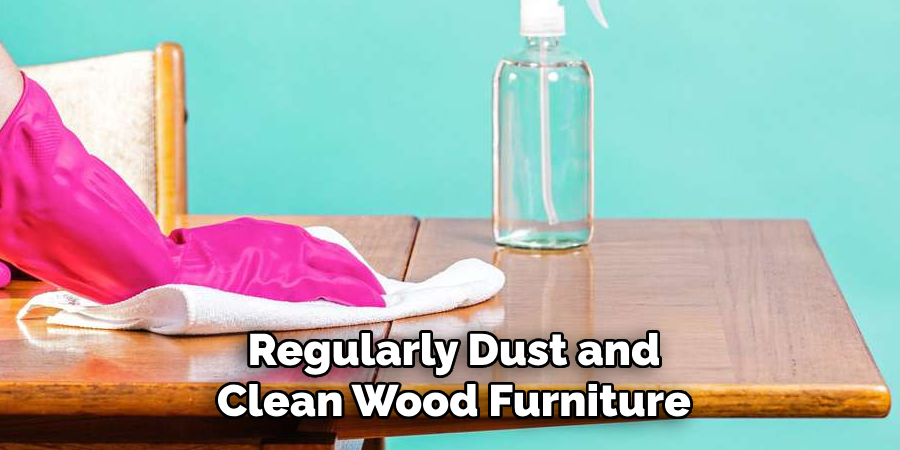
- Regularly dust and clean your wood furniture with a soft cloth or feather duster.
- Use coasters and placemats to protect the surface from scratches and spills.
- If nicks or scratches do occur, touch them up with a matching stain or paint to prevent further damage.
By following these maintenance tips on how to stain mahogany wood, you can ensure that your finished wood pieces stay looking their best and continue to be functional for many years.
Maintenance and Tips
To maintain the beauty and longevity of your stained mahogany wood, it’s important to practice regular care and upkeep. Here are some additional maintenance tips:
- Avoid placing your wood furniture in direct sunlight for prolonged periods, as this can cause fading and discoloration of the stain.
- Keep the wood away from heat sources like radiators or heaters to prevent drying out or warping.
- Wipe up spills immediately to prevent moisture from penetrating the wood surface.
- Apply furniture wax or polish periodically to enhance the wood’s natural shine and provide an extra layer of protection.
- Use a humidifier in extremely dry environments to maintain proper moisture levels and prevent the wood from cracking.
By incorporating these simple maintenance habits, your stained mahogany wood pieces will not only retain their aesthetic appeal but also remain durable and functional for years to come.
Frequently Asked Questions
Q: Can I Use Any Type of Stain on Mahogany Wood?
A: Yes, you can use either oil or water-based stains on mahogany wood. Just make sure to test it in a small inconspicuous area first to ensure the desired color and finish. The type of stain you choose may also depend on the type of finish you have on your mahogany wood.
Q: How Often Should I Stain Mahogany Wood?
A: This will vary depending on usage and exposure to elements. It is recommended to check and maintain the finish every 1-2 years for indoor furniture and every 6 months for outdoor pieces that are exposed to harsh weather conditions.
Q: Are There Any Precautions I Should Take When Staining Mahogany Wood?
A: Yes, always wear protective gloves and eyewear when handling any staining products. Make sure to work in a well-ventilated area and avoid inhaling fumes. Also, be careful when handling tools and equipment, such as sandpaper or paintbrushes, to prevent any accidents.
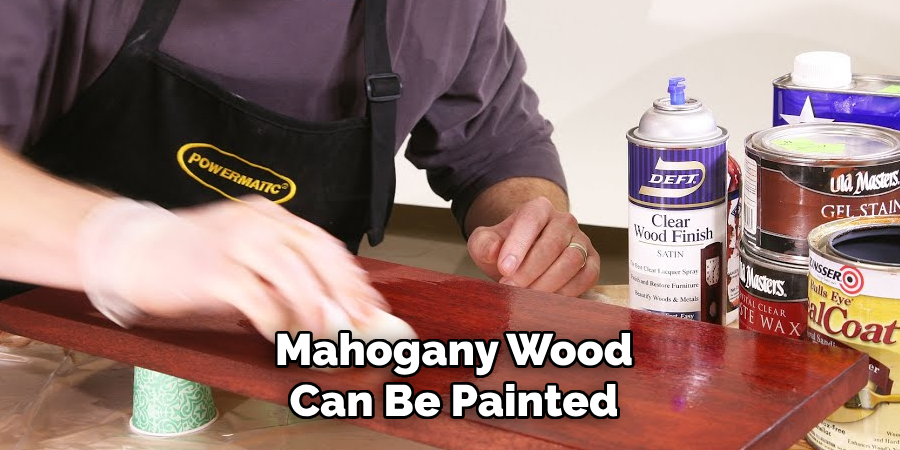
Q: Can I Paint Mahogany Wood Instead of Staining? it
A: Yes, mahogany wood can be painted instead of stained. However, keep in mind that painting will completely cover the natural beauty of the wood grain and may require more maintenance in the long run compared to staining. It is always recommended to consult with a professional before making any decision on how to finish your mahogany wood.
Conclusion
Staining mahogany wood is a rewarding process that enhances the natural beauty of this exquisite material. Through proper preparation, application, and maintenance, you can achieve a stunning, long-lasting finish that highlights the wood’s rich grain and elegant color. By dedicating time and care to each step, your mahogany furniture or projects can remain timeless and cherished for generations to come.
Remember, attention to detail and consistent upkeep are key to preserving the quality and appearance of your stained mahogany pieces. Thanks for reading this article on how to stain mahogany wood.
About the Author
Adrian Green, a lifelong woodworking enthusiast, shares his passion for the craft through The Woodenify Blog. With a foundation built on years of hands-on experience in his father’s woodworking shop, Adrian is dedicated to helping others learn and grow in the world of DIY woodworking. His approach to woodworking combines creativity, practicality, and a deep appreciation for the art of building with your own hands. Through his blog, he inspires individuals of all skill levels to embark on their own woodworking journeys, creating beautiful, functional pieces of furniture and décor.
Professional Focus
- Specializes in DIY woodworking projects, from furniture to home décor.
- Provides step-by-step guides and practical tutorials for woodworkers of all skill levels.
- Dedicated to helping readers build confidence and skill through easy-to-follow instructions and tips.
- Passionate about fostering a community of makers who can share, learn, and grow together.
Education History
- University of Craft and Design – Bachelor of Fine Arts (BFA) in Woodworking and Furniture Design
- Woodworking Apprenticeships – Extensive hands-on training with skilled craftsmen to refine carpentry and furniture making techniques.
- Online Courses & Masterclasses – Continued education in advanced woodworking techniques, design principles, and specialized tools
Expertise:
- DIY woodworking, carpentry, furniture making, and home décor projects.
- Creating accessible tutorials and guides for beginner to advanced woodworkers.
- Sharing the joys and satisfaction of woodworking, from raw materials to finished products.