Staining unfinished wood is a great way to enhance its natural beauty and protect it from wear and tear. Whether you’re working
with furniture, flooring, or a small craft project, staining allows you to customize the color and finish to suit your style. This guide will walk you through the essential steps of how to stain unfinished wood, from preparing the wood surface to applying the stain properly.
Importance of Proper Wood Staining Techniques
Using proper wood staining techniques is crucial to achieving a professional and long-lasting finish. Incorrect methods can lead to uneven color, blotches, or a finish that wears away prematurely. Proper preparation of the wood surface ensures that the stain penetrates evenly, highlighting the natural grain and texture of the wood. Additionally, thorough application and sealing protect the wood from moisture, UV damage, and general wear, extending the life of your project. By taking the time to follow the correct steps, you can enhance the aesthetic appeal and durability of your woodwork, ensuring a result that you can take pride in for years to come.
Tools and Materials Needed
Before you begin staining your unfinished wood, gather the necessary tools and materials to ensure a smooth and efficient process. Here’s what you’ll need:
- Sandpaper or Sanding Block: For preparing the wood surface by smoothing it and opening the grain. Choose varying grits, starting with coarse and finishing with fine.
- Tack Cloth: To remove dust and debris after sanding to ensure a clean surface.
- Wood Conditioner (Optional): Helps prevent blotching on soft woods like pine, birch, or maple by promoting even stain absorption.
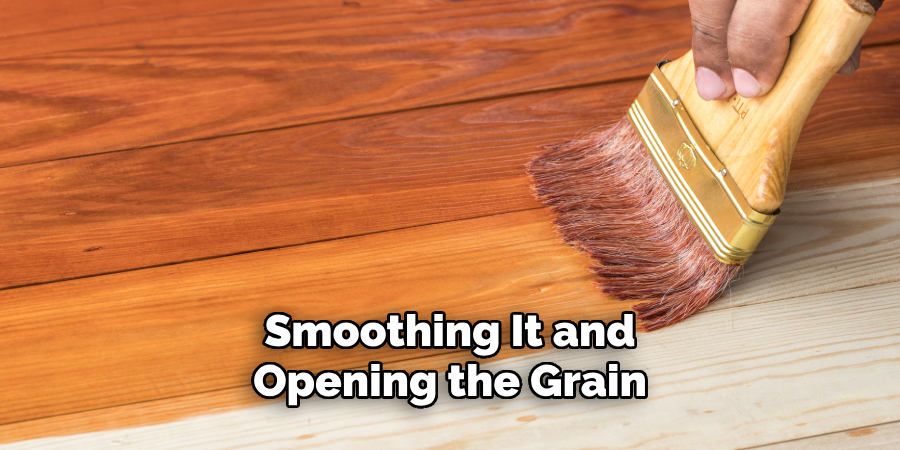
- Wood Stain: Select the color and type of stain (oil-based, water-based, or gel) that suits your project.
- Stir Stick: For mixing the stain thoroughly before use.
- Brushes, Rags, or Foam Applicators: Used for applying the stain. Choose based on your preferred application method.
- Rubber Gloves: To protect your hands from stain and chemicals.
- Drop Cloth or Plastic Sheet: To protect your workspace from spills and stains.
- Sealant or Topcoat: For finishing the project and protecting the stained wood from wear and moisture.
Having these tools and materials ready beforehand will make the staining process more effective and help achieve beautiful, long-lasting results.
10 Methods How to Stain Unfinished Wood
1. Choosing the Right Stain
The first step in staining unfinished wood is selecting the appropriate stain. Stains come in various types, including oil-based, water-based, gel stains, and dye-based options. Oil-based stains penetrate deeply and offer rich, warm tones, while water-based stains dry quickly and are eco-friendly. Test the stain on a scrap piece of wood or an inconspicuous area to ensure it complements the wood’s grain and matches your desired aesthetic.
2. Preparing the Wood Surface
Preparation is crucial for achieving a smooth and even stain. Begin by inspecting the wood for any imperfections like knots, cracks, or glue residues. Sand the surface with progressively finer grits of sandpaper, starting with 80 grit and finishing with 220 grit. Always sand along the grain to avoid scratches. After sanding, clean the surface thoroughly using a tack cloth or vacuum to remove all dust and debris.
3. Applying a Wood Conditioner
Wood conditioner, or pre-stain, is essential for preventing blotchiness, especially on softwoods like pine or birch. Apply the conditioner evenly using a brush or clean cloth, following the manufacturer’s instructions. Allow it to penetrate for the recommended time, then wipe off any excess. This step ensures the stain absorbs uniformly across the surface, highlighting the wood’s natural patterns.
4. Masking and Protecting Adjacent Areas
If you’re staining a piece that includes multiple materials or sections, use painter’s tape to mask off areas you don’t want stained. Cover any adjoining surfaces with plastic sheets or drop cloths to prevent accidental staining. This precautionary step helps maintain a clean and professional finish.
5. Mixing and Testing the Stain
Before applying the stain, stir it thoroughly to mix any settled pigments. Avoid shaking the can, as this can create bubbles. Apply a
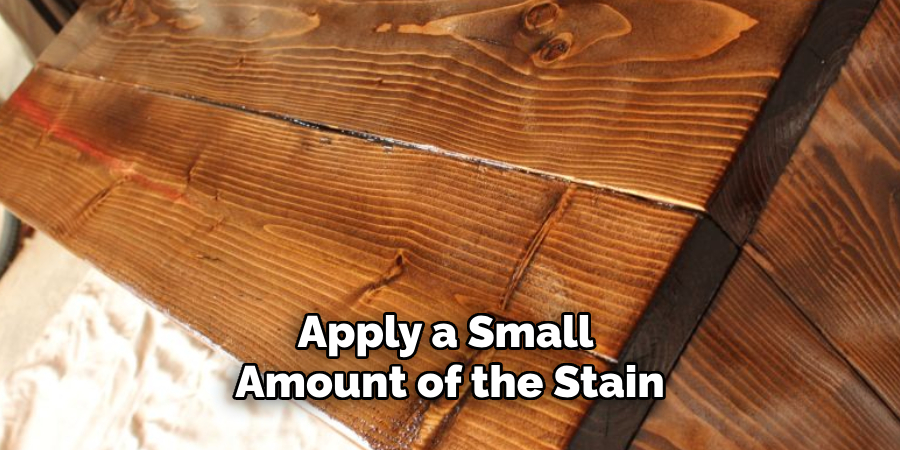
small amount of the stain on a scrap piece or an inconspicuous area of the wood. This test ensures you’re satisfied with the color intensity and overall look before committing to the entire surface.
6. Applying the Stain
Use a high-quality brush, sponge, or clean cloth to apply the stain in manageable sections. Work along the grain, applying an even coat to ensure uniform absorption. Allow the stain to sit for a few minutes to deepen the color, then wipe away the excess with a clean, lint-free cloth. For a darker finish, repeat the process by applying additional coats after the first layer has dried.
7. Blending and Correcting Uneven Areas
After the initial application, inspect the surface for uneven spots or streaks. Blend these areas by reapplying stain with a small brush or cloth, ensuring consistency. Use a clean cloth to feather out any harsh lines or overlaps. This meticulous attention to detail results in a seamless and polished appearance.
8. Drying and Setting Time
Allow the stained wood to dry completely before applying any additional finishes. Drying times can vary depending on the type of stain and environmental conditions, typically ranging from 24 to 48 hours. Ensure the wood is placed in a well-ventilated area to facilitate proper drying. Avoid handling or placing objects on the surface during this time to prevent smudges or marks.
9. Sealing the Stain with a Topcoat
Sealing the stain is vital for protecting the wood and preserving its appearance. Choose a compatible topcoat, such as polyurethane, lacquer, or varnish, based on your project’s requirements. Apply the topcoat evenly using a brush or sprayer, following the grain for a smooth finish. Allow it to dry thoroughly before lightly sanding with fine-grit sandpaper and applying subsequent layers for added durability and sheen.
10. Maintaining the Stained Wood
To keep the stained wood looking its best, practice regular maintenance. Dust the surface with a microfiber cloth and clean it
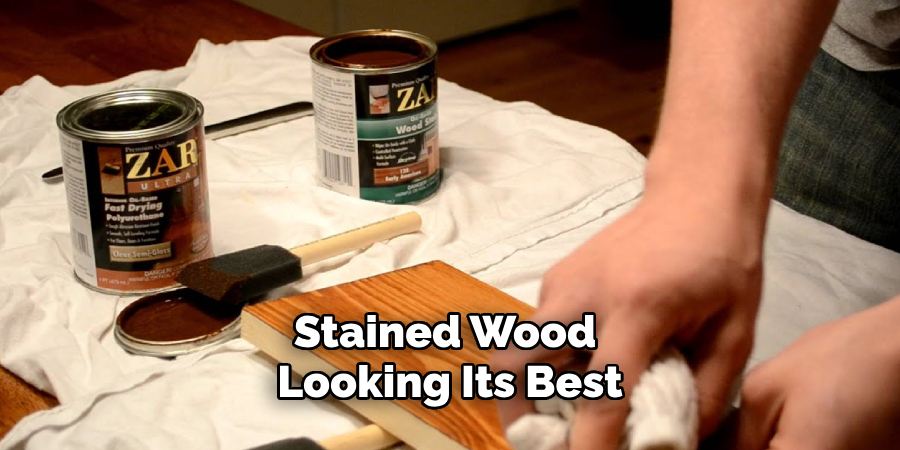
periodically using a mild wood cleaner. Avoid exposing the wood to excessive moisture, direct sunlight, or extreme temperatures, as these can affect the stain and finish. Reapply protective wax or polish as needed to maintain the wood’s luster and longevity.
Things to Consider When Staining Wood
When embarking on a wood staining project, several factors should be carefully considered to achieve the best results. Here are some key points to keep in mind:
Wood Type
Different wood species absorb stain differently. Softwoods like pine and cedar tend to absorb more stain and can appear darker, while hardwoods like oak and maple produce a more even and lighter tone. Understanding the wood’s characteristics will help in choosing the right stain and achieving the desired look.
Environmental Conditions
The temperature and humidity of your workspace can impact the staining process. Staining in a well-ventilated area with moderate temperature prevents the stain from drying too quickly or unevenly. Avoid working in extremely high humidity, as it can extend drying times and potentially compromise the finish.
Safety Precautions
Stains and sealants often contain chemicals that can emit fumes. Always ensure adequate ventilation when working indoors. Wear rubber gloves, safety goggles, and a mask to protect your skin and lungs from harmful substances. Keep the workspace free of open flames or sparks, especially when using oil-based stains.
Matching Stain with Finish
Not all stains are compatible with every type of topcoat. Verify that the stain and sealant you select work well together to avoid peeling or improper adhesion. For example, oil-based stains often pair best with oil-based finishes, while water-based stains are compatible with most water-based topcoats.
When to Contact a Professional
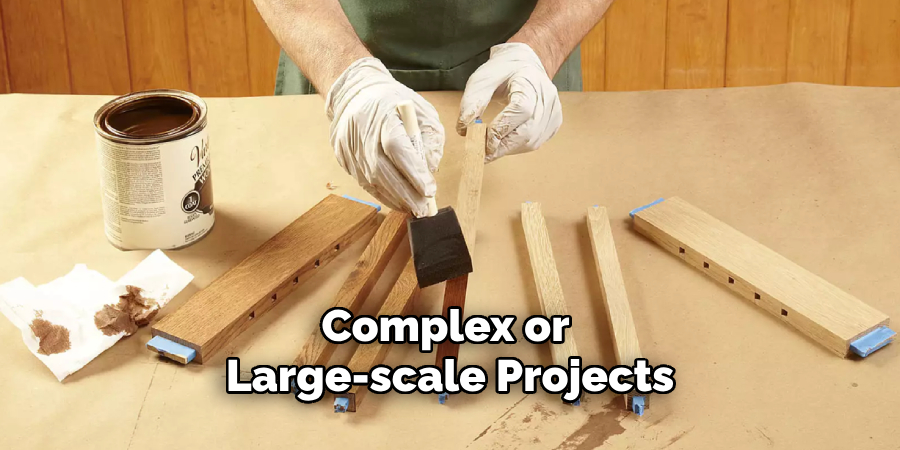
While many wood staining projects can be completed successfully with patience and attention to detail, there are situations where contacting a professional may be the best course of action. Complex or large-scale projects, such as refinishing antique furniture or staining hardwood floors, often require specialized tools, advanced techniques, and extensive experience to achieve flawless results. Professionals are equipped to handle challenges like repairing damaged wood, blending stains on uneven surfaces, or working with exotic wood species that may respond unpredictably to staining products.
Additionally, if time is a constraint or you’re uncertain about selecting the right products and methods for your project, a professional can provide expert guidance and ensure the work is completed efficiently. For projects involving intricate designs or delicate pieces with sentimental value, trusting a skilled professional can help protect the integrity of the item while delivering a polished finish. Investing in professional services not only saves time and effort but also guarantees a high-quality outcome that enhances the beauty and longevity of your woodwork.
Conclusion
Wood staining is a versatile and rewarding process that enhances the natural beauty and durability of wood surfaces. By carefully following each step, from preparation to sealing, and considering factors like wood type and environmental conditions, you can achieve stunning, long-lasting results. Thanks for reading our blog post on how to stain unfinished wood! We hope you found it helpful and informative.
About the Author
Adrian Green, a lifelong woodworking enthusiast, shares his passion for the craft through The Woodenify Blog. With a foundation built on years of hands-on experience in his father’s woodworking shop, Adrian is dedicated to helping others learn and grow in the world of DIY woodworking. His approach to woodworking combines creativity, practicality, and a deep appreciation for the art of building with your own hands. Through his blog, he inspires individuals of all skill levels to embark on their own woodworking journeys, creating beautiful, functional pieces of furniture and décor.
Professional Focus
- Specializes in DIY woodworking projects, from furniture to home décor.
- Provides step-by-step guides and practical tutorials for woodworkers of all skill levels.
- Dedicated to helping readers build confidence and skill through easy-to-follow instructions and tips.
- Passionate about fostering a community of makers who can share, learn, and grow together.
Education History
- University of Craft and Design – Bachelor of Fine Arts (BFA) in Woodworking and Furniture Design
- Woodworking Apprenticeships – Extensive hands-on training with skilled craftsmen to refine carpentry and furniture making techniques.
- Online Courses & Masterclasses – Continued education in advanced woodworking techniques, design principles, and specialized tools
Expertise:
- DIY woodworking, carpentry, furniture making, and home décor projects.
- Creating accessible tutorials and guides for beginner to advanced woodworkers.
- Sharing the joys and satisfaction of woodworking, from raw materials to finished products.
