Are you tired of your old deck? Does it need a new look?
Stripping a deck is an essential step in deck maintenance that refreshes its appearance and extends its life. This process involves removing old stains, paint, or sealant to expose the raw wood beneath, preparing it for a new finish. Not only does stripping a deck improve its aesthetic appeal, but it also provides an opportunity to inspect the wood for any signs of damage or wear that could compromise its integrity or safety.
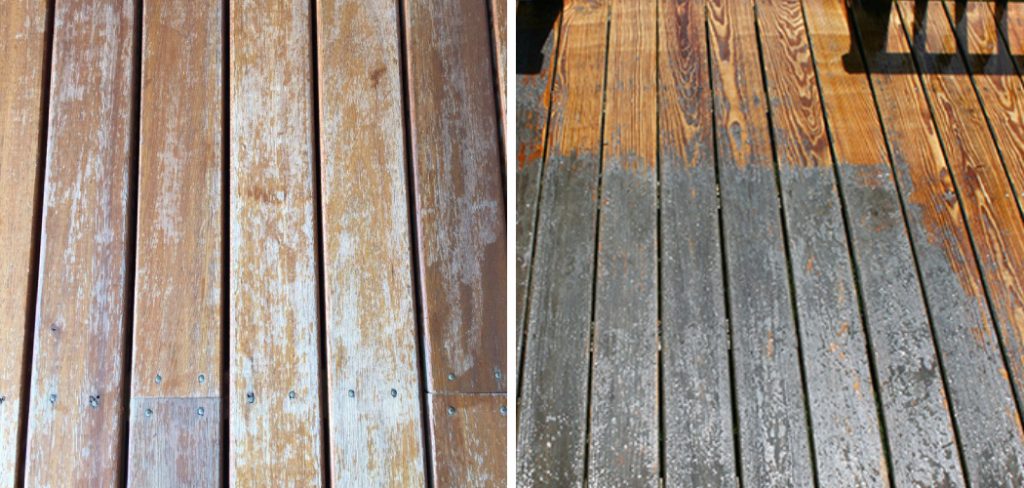
Whether you’re an experienced DIYer or tackling this task for the first time, understanding the right techniques and materials is crucial for achieving optimal results. In the sections that follow, we’ll guide you through the necessary steps on how to strip a deck, ensuring it looks and performs its best for years to come.
What are the Benefits of Stripping a Deck?
Stripping a deck may seem like an unnecessary hassle, but it offers multiple benefits that make it worth the effort.
- Restores the Appearance: Over time, decks can become weathered and discolored due to exposure to the elements. Stripping removes these surface imperfections and reveals the natural beauty of wood.
- Protects Against Rot and Decay: Stripping also allows you to check for any signs of damage or wear on the wood. Addressing these issues early can prevent further deterioration and maintain the structural integrity of your deck.
- Prepares for a New Finish: By stripping away old coatings, the wood’s surface becomes clean and porous, making it ready to absorb new sealant or stain better, ensuring a longer-lasting finish.
- Saves Time and Money: Stripping your deck regularly can save you time and money in the long run by extending its life and preventing potential repair costs.
These benefits make stripping a deck an essential part of its maintenance and upkeep, ensuring it remains beautiful and functional for years to come.
What Will You Need?
Before you begin, gather all the necessary materials and tools. Here’s a list of everything you’ll need to strip your deck effectively:
- Protective gear (gloves, goggles, mask)
- Deck stripper solution
- Scraper or putty knife
- Power washer or hose with nozzle
- Stiff-bristle brush
- Sandpaper or sanding block
- Safety and cleaning supplies (tarps, drop cloths, bucket, sponge)
Once you have your supplies ready, it’s time to get started on the deck stripping process.
10 Easy Steps on How to Strip a Deck
Step 1: Prepare the Deck Area
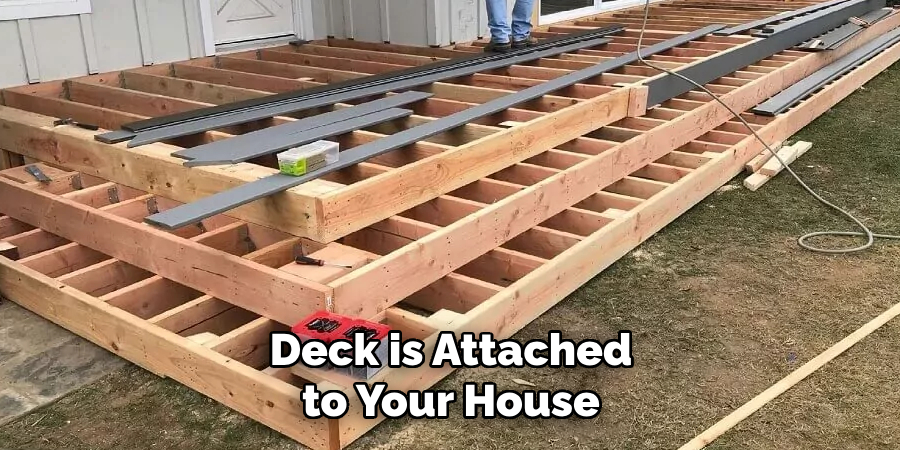
Start by preparing the deck area for stripping. Remove all furniture, plants, and other items from the deck to prevent any damage or interference with the process. If your deck is attached to your house, make sure to cover any windows or doors with plastic or tarps to protect them from the stripping solution.
Step 2: Apply the Deck Stripper Solution
After preparing the area, it’s time to apply the deck stripper solution, which is crucial for effectively removing the old finish. Ensure you’re wearing your protective gear—gloves, goggles, and mask—to avoid skin and eye irritation or inhaling any fumes.
Follow the manufacturer’s instructions for the deck stripper solution. Typically, you’ll need to dilute the solution with water in a specific ratio. Pour the mixed solution into a garden sprayer or a roller pan, depending on your application method. Apply the solution generously over the entire deck, making sure all areas are covered evenly. Use a paintbrush or roller for a controlled application, ensuring you reach into all the nooks and crannies of the deck surface.
Step 3: Allow the Stripper to Sit
Once you have evenly applied the stripper solution to your deck, it’s important to give it time to work. The amount of time you should leave the stripper on the deck will depend on the product’s specific instructions, but typically, it ranges from 15 to 30 minutes. During this period, the chemicals will penetrate the old finish, loosening it from the wood.
Be careful not to let the solution dry completely, as this can make the next steps more challenging. If you notice areas starting to dry, you can lightly mist them with water to keep them moist. Avoid stepping on the treated areas to prevent any accidents or disruption in the stripper’s effectiveness.
Step 4: Scrub the Deck
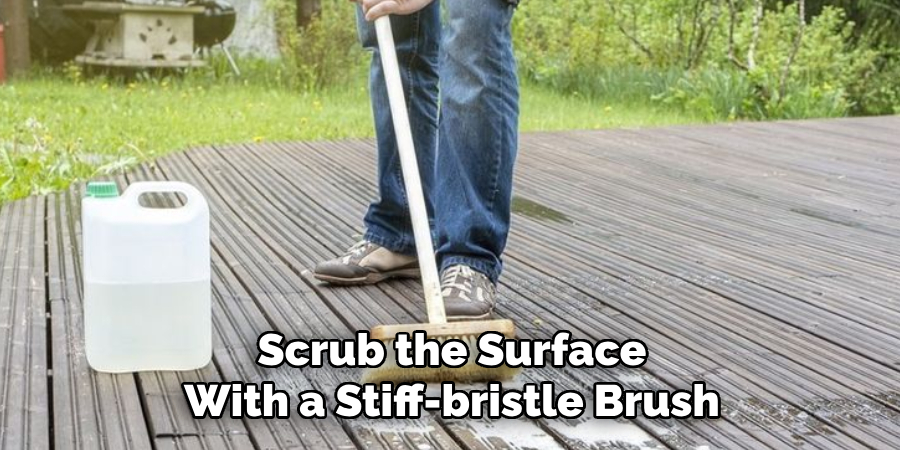
After allowing the deck stripper solution to sit and penetrate the old finish, the next step is to scrub the surface with a stiff-bristle brush. This manual scrubbing helps to lift and loosen the softened finish from the wood. Start at one end of the deck and work your way across, scrubbing vigorously in a circular motion to ensure you’re removing as much of the old material as possible.
For areas with stubborn finish or hard-to-reach spots, consider using a scraper or putty knife with caution to avoid gouging the wood. This step is crucial for ensuring that the surface is fully prepped and ready for rinsing.
Step 5: Rinse the Deck
With the old finish now loosened by the stripper and scrubbing, it’s time to thoroughly rinse the deck. Using a power washer set to a low to medium pressure is most effective for this step. Begin at one end of the deck and methodically work your way to the other, ensuring that you remove all traces of the stripper solution and the old finish. Be cautious not to hold the power washer nozzle too close to the wood surface to avoid damage.
If you do not have a power washer, a garden hose with a high-pressure nozzle can also be used, though it may require more time and effort to achieve the same results. Rinse until the water runs clear and you can see the natural wood grain. Allow the deck to dry completely, which may take 24 to 48 hours, before moving on to any sanding or refinishing steps. This drying period is essential for the effectiveness of the new finish.
Step 6: Sand the Deck Surface
Once the deck is completely dry, the next step is to smooth the surface by sanding. This is an important step to ensure that the new finish will adhere properly and evenly, resulting in a more durable and visually appealing result. Start by using a sandpaper or sanding block with medium to fine grit, depending on the condition of the wood and the level of smoothness desired.
Sand in the direction of the wood grain to avoid creating scratches or gouges that could mar the appearance of the deck. Focus on areas where the old finish may still be present or where the wood feels rough to the touch. After sanding, use a leaf blower or a broom to remove all dust and debris from the deck surface, ensuring it’s clean and ready for the new finish application.
Step 7: Apply the New Finish
With your deck now clean and smooth, it’s time to apply the new finish. This step is crucial in protecting the wood from weathering, UV rays, and moisture, which can all lead to deterioration over time. Choose a high-quality deck stain or sealer that is appropriate for your type of wood and the climate you live in. Carefully read and follow the manufacturer’s instructions for application, as the method may vary between products.
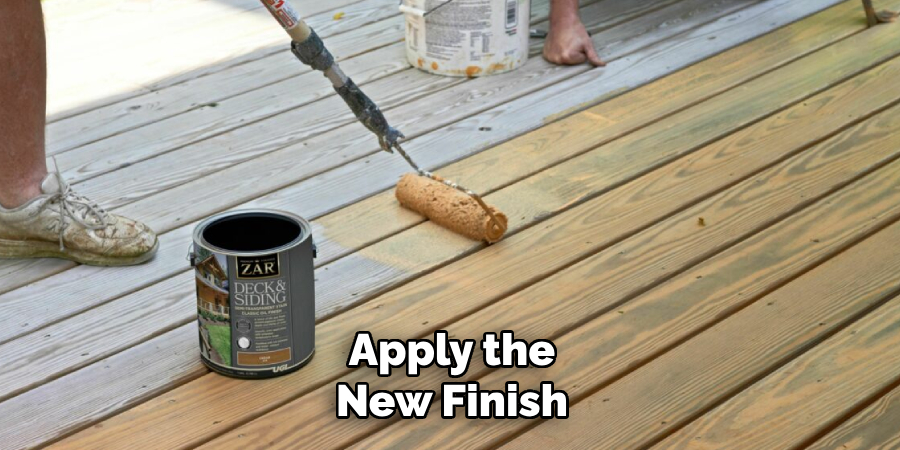
Generally, you’ll want to start at one end of the deck and work your way to the other, using a paintbrush or roller to apply the finish evenly. Be sure to cover all surfaces, including the edges and railings, to ensure a uniform appearance and protection. Allow the first coat to dry completely, as recommended by the product instructions, before deciding if a second coat is necessary for optimal coverage and protection.
Step 8: Allow the Finish to Dry and Cure
Once you have applied the new finish to your deck, the final and crucial step is to allow it to dry and cure completely. The length of time this takes can vary depending on the product used, the climate, and the humidity levels, but it generally ranges from 24 to 48 hours. During this period, it is important to keep the deck free from foot traffic and to avoid placing furniture or other items on it to ensure the finish sets properly.
This waiting period allows the finish to fully bond to the wood, providing a durable and long-lasting protective layer. After the finish has cured, you can then return furniture and decorations to the deck and enjoy your revitalized outdoor space.
Step 9: Regular Maintenance
Regular maintenance is essential to prolong the life of your newly finished deck and maintain its appearance. This involves periodically cleaning the surface to remove dirt, debris, and any mild growth that may occur, especially in damp or shaded areas. It’s recommended that you perform a thorough cleaning at least once a year using a deck cleaner suitable for your finish type.
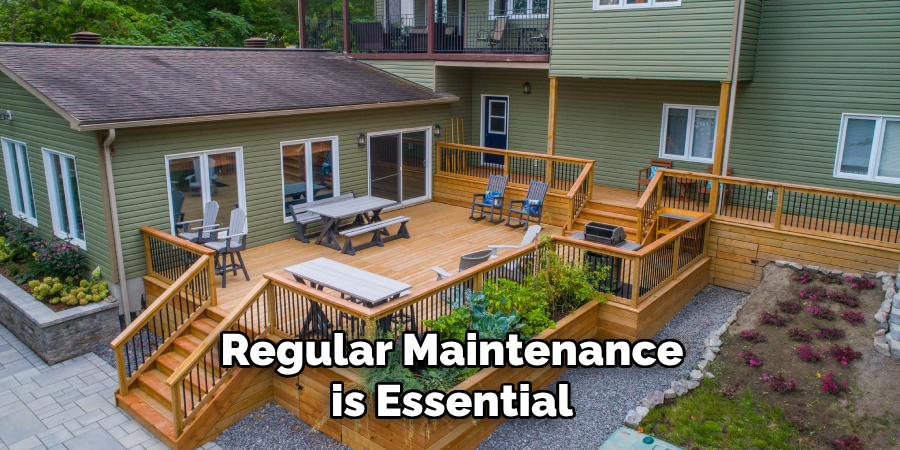
Additionally, inspect the deck annually for any signs of wear or damage, such as chipped finish, splintered wood, or loose boards and railings. Addressing these issues promptly can prevent further deterioration and help keep your deck safe and enjoyable for years to come. Regular maintenance not only extends the life of the deck but also preserves its beauty, making your outdoor living space a continued source of pride and enjoyment.
Step 10: Seasonal Preparations
Adjusting for seasonal changes is a crucial part of deck maintenance that will protect your investment and extend its lifespan. Before the onset of harsh weather conditions, such as the freezing temperatures of winter or the intense sun of summer, take steps to prepare your deck.
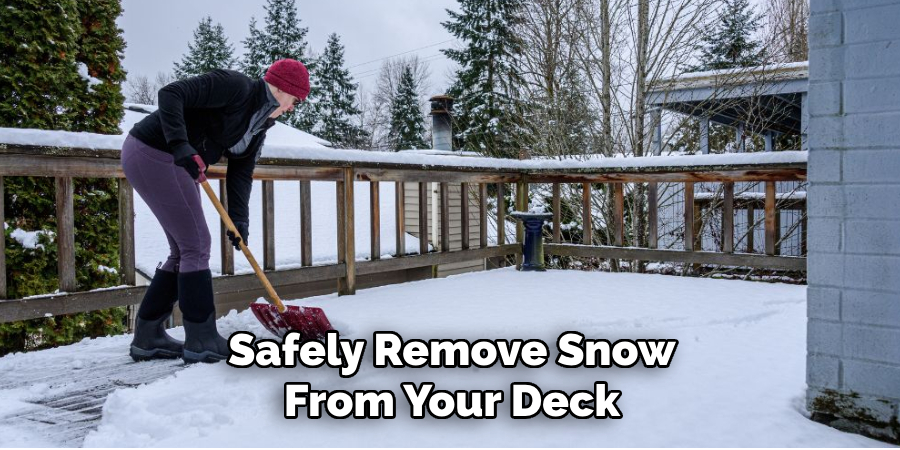
This may include applying a fresh coat of water-repellent finish, securing loose boards or railings, and removing any debris or furniture that could trap moisture or lead to damage during the season. In areas with heavy snowfall, consider how to safely remove snow from your deck to prevent it from sitting for prolonged periods, which can cause the wood to warp or rot. By taking these preemptive actions, you ensure that your deck remains a functional, beautiful space regardless of the season.
By following these steps and staying on top of regular maintenance, you can keep your deck looking its best for years to come.
5 Additional Tips and Tricks
- Test the Deck First: Before starting the stripping process, it’s crucial to test a small, inconspicuous area of your deck. This will help you determine how your deck will react to the stripping solution, ensuring it’s compatible with your deck’s material and finish.
- Use the Right Tools: Equip yourself with the proper tools for the job. A good-quality stiff brush, a paint scraper, and a pressure washer (set on a low setting to avoid damaging the wood) are essential for efficiently removing the old finish.
- Apply a Thick Layer of Stripper: When applying the deck stripper, be generous. A thick layer will penetrate deeper into the old stain or paint, making it easier to remove. Allow it to sit for the time recommended by the manufacturer, which usually ranges from 15 to 30 minutes.
- Keep the Surface Wet: During the stripping process, ensure that the deck doesn’t dry out. A dry deck can absorb the stripper unevenly, leading to patchy results. If necessary, lightly mist the deck with water to keep it moist until you’re ready to rinse off the stripper.
- Neutralize the Stripper: After stripping the deck, it’s important to neutralize the wood with a deck brightener or a neutralizing solution. This step balances the pH of the wood, prepares it for a new finish, and ensures that the new stain or sealant adheres properly, providing lasting protection.
With these extra tips and tricks, you can ensure a successful and efficient deck stripping process.
5 Things You Should Avoid
- Skipping Safety Gear: Neglecting to wear appropriate safety gear, such as gloves, goggles, and a respirator, can expose you to harmful chemicals found in deck stripping solutions. Protecting your skin, eyes, and respiratory system is paramount during the stripping process.
- Ignoring Weather Conditions: Attempting to strip your deck under the wrong weather conditions — be it too hot, too cold, or during periods of high humidity — can affect the efficiency of the deck stripper and the outcome of your project. Ideal conditions are typically a mild, dry day.
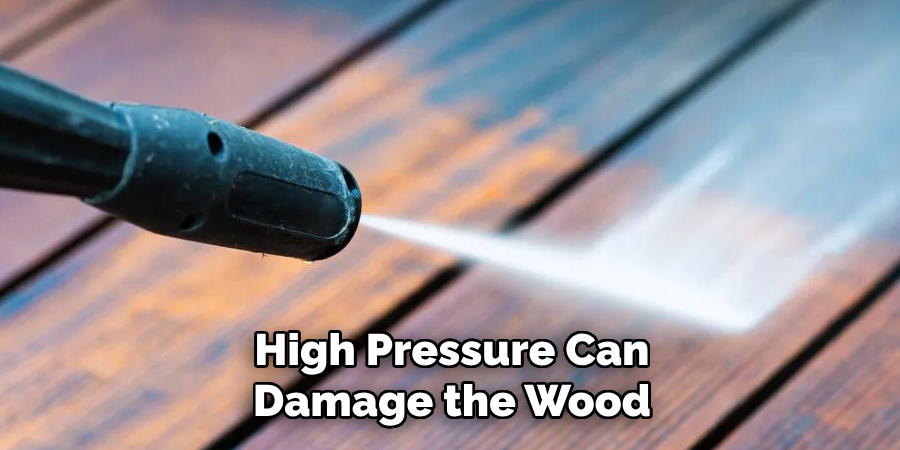
- Using Excessive Pressure Washing: While a pressure washer is a useful tool for removing the old finish, setting it to a high pressure can damage the wood, leaving you with a rough or splintered surface. Use the lowest effective setting and maintain a consistent distance from the deck surface.
- Applying Stripper in Direct Sunlight: Applying deck stripper under direct sunlight can cause it to dry out prematurely, hindering its ability to effectively penetrate and loosen the old finish. Choose a cloudy day or a time of day when your deck is shaded.
- Rushing the Process: Failing to allow sufficient time for the deck stripper to work its magic can lead to incomplete removal of the old finish. Similarly, not waiting long enough for the wood to dry thoroughly before applying a new finish can trap moisture, leading to peeling and other issues. Patience is key to achieving a smooth and durable finish.
By avoiding these common mistakes, you can ensure a successful and hassle-free deck-stripping project.
5 Different Finishes to Consider
- Transparent Stain: This type of finish allows the natural grain and texture of wood to shine through while providing protection against UV rays, mildew, and water damage. Transparent stains are available in a variety of colors and can be reapplied easily.
- Semi-Transparent Stain: Offering more coverage than transparent stain, semi-transparent stain still allows some of the wood’s natural characteristics to show through while providing a more consistent color and added UV protection.
- Solid Stain: Similar to paint, solid stains completely cover the wood’s surface and provide maximum protection against weather elements. They come in a variety of colors and can be applied over previous finishes.
- Semi-Solid Stain: A mix between semi-transparent and solid stains, semi-solid stains provide a balance of color and wood grain visibility while offering more coverage than semi-transparent stains.
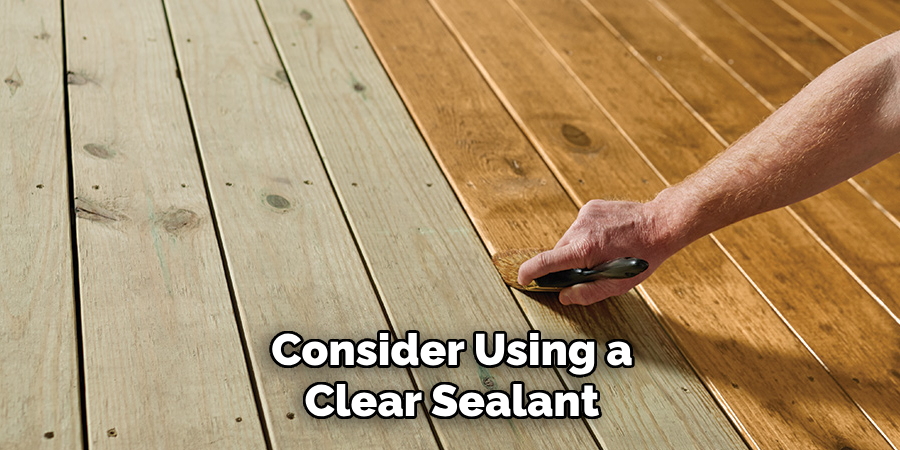
- Clear Sealant: For a natural, minimal look, consider using a clear sealant that simply enhances the wood’s appearance and provides protection against UV rays and water damage. This option requires more frequent reapplication compared to other finishes.
Ultimately, the finish you choose for your deck will depend on personal preference and the level of protection needed for your specific climate and environment. Consider consulting with a professional for their expert recommendation.
Conclusion
How to strip a deck is a vital but intricate process that requires attention to detail, patience, and the right approach to ensure the longevity and beauty of your outdoor space. By testing the deck first, using the appropriate tools, and applying a thick layer of stripper, you set the stage for successful removal of old finishes. It’s equally important to keep the surface wet during the process and to neutralize the stripper afterward to prepare the wood for a new coat of stain or sealant.
Avoiding common pitfalls such as skipping safety gear, ignoring weather conditions, and rushing the process further guarantees a smoother operation and better end results. Finally, selecting the right finish based on your aesthetic preference and protective needs will enhance the wood’s durability and appearance.
With the tips, tricks, and precautions outlined, homeowners can confidently undertake deck stripping, ensuring a refreshed and revitalized outdoor living space.
About the Author
Adrian Green, a lifelong woodworking enthusiast, shares his passion for the craft through The Woodenify Blog. With a foundation built on years of hands-on experience in his father’s woodworking shop, Adrian is dedicated to helping others learn and grow in the world of DIY woodworking. His approach to woodworking combines creativity, practicality, and a deep appreciation for the art of building with your own hands. Through his blog, he inspires individuals of all skill levels to embark on their own woodworking journeys, creating beautiful, functional pieces of furniture and décor.
Professional Focus
- Specializes in DIY woodworking projects, from furniture to home décor.
- Provides step-by-step guides and practical tutorials for woodworkers of all skill levels.
- Dedicated to helping readers build confidence and skill through easy-to-follow instructions and tips.
- Passionate about fostering a community of makers who can share, learn, and grow together.
Education History
- University of Craft and Design – Bachelor of Fine Arts (BFA) in Woodworking and Furniture Design
- Woodworking Apprenticeships – Extensive hands-on training with skilled craftsmen to refine carpentry and furniture making techniques.
- Online Courses & Masterclasses – Continued education in advanced woodworking techniques, design principles, and specialized tools
Expertise:
- DIY woodworking, carpentry, furniture making, and home décor projects.
- Creating accessible tutorials and guides for beginner to advanced woodworkers.
- Sharing the joys and satisfaction of woodworking, from raw materials to finished products.
