Are you tired of the old, chipped paint on your wooden furniture or trim?
Paint Stripping Wood can be a rewarding task, whether you’re restoring an antique piece of furniture, preparing cabinets for a fresh coat of paint, or uncovering the natural beauty hidden beneath layers of color. Over time, painted surfaces can accumulate multiple coats, making it essential to carefully and effectively remove the old paint to ensure a smooth and flawless finish.
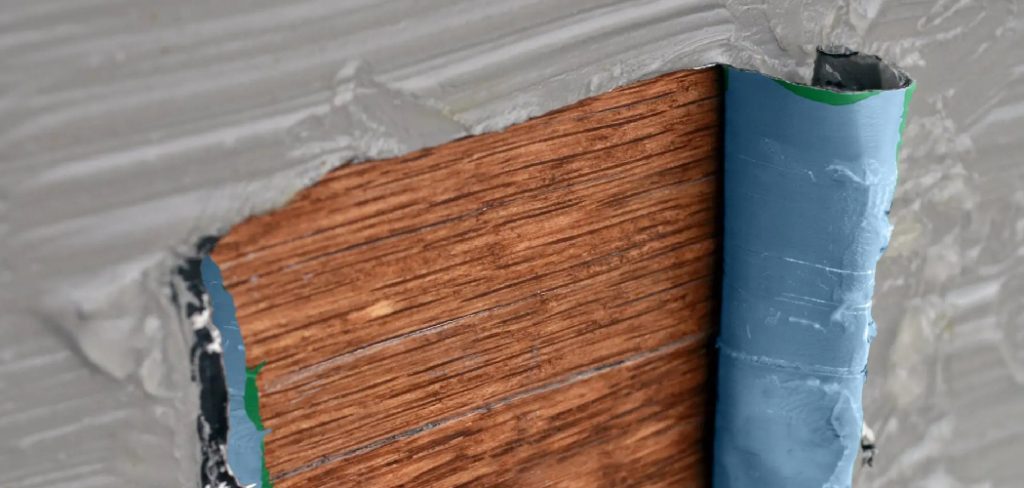
This guide on how to strip painted wood will walk you through the process step-by-step, using tools and techniques that cater to a variety of surfaces and paint types. With the right approach, you can achieve professional-level results and breathe new life into your woodwork projects.
What Are the Benefits of Stripping Painted Wood?
There are several benefits to stripping painted wood before applying a new coat. Some of the main advantages include:
- Better Adhesion: By removing old paint, you create a clean and smooth surface for the new paint to adhere to, ensuring better coverage and longevity.
- Improved Aesthetics: Stripping away old layers of paint can reveal the natural beauty of the wood grain, adding character and charm to your piece.
- Cost-Effective: Stripping existing paint is often more cost-effective than completely replacing or covering up damaged woodwork. It also allows you to reuse or repurpose furniture and other items, rather than purchasing new ones.
- Environmentally Friendly: Most traditional paint strippers contain harsh chemicals that are harmful to both the environment and human health. By using natural methods, you can avoid these dangerous substances and reduce your carbon footprint.
- Versatility: Paint stripping is not just limited to wooden surfaces; it can also be used on metal, concrete, and other materials. This versatility allows for a wide range of DIY projects and home renovations.
What Will You Need?
To get started with natural paint stripping, you will need a few basic supplies:
- Citrus Fruits: Citrus fruits such as lemons, limes, oranges, and grapefruits contain citric acid, which can act as a natural solvent to dissolve paint. They also have a pleasant smell, unlike a strong chemical odor.
- Vinegar: Vinegar is another natural substance that has acidic properties. It works well on water-based paints and can be mixed with other ingredients for a more effective solution.
- Baking Soda: Baking soda is a versatile household item that can be used for many different purposes. When mixed with water, it creates an alkaline solution that can help to remove paint from surfaces.
- Rubbing Alcohol: Rubbing alcohol, also known as isopropyl alcohol, is a common household item that can be used to remove paint. It works by breaking down the chemical bonds of the paint, making it easier to wipe away.
- Lemon Juice: Lemon juice contains citric acid, which makes it an effective natural solvent for removing paint. It can be used on its own or mixed with other ingredients like vinegar or baking soda for a more powerful solution.
10 Easy Steps on How to Strip Painted Wood
Step 1. Prepare Your Area
Before starting the paint removal process, ensure that your workspace is safe and well-organized. Choose a well-ventilated area to minimize exposure to fumes, especially if you’re working indoors. Lay down a drop cloth or plastic sheeting to protect the floor or surrounding surfaces from any paint debris or chemicals. Ensure that you remove any nearby furniture or decorative items to prevent accidental damage.
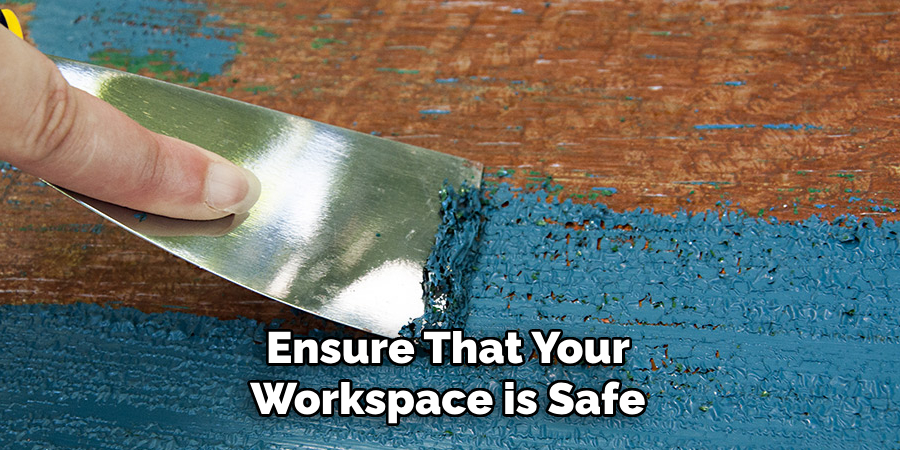
Gather all the necessary tools and materials, such as gloves, safety goggles, paint scrapers, and your chosen paint remover, so everything is within easy reach. Proper preparation will help streamline the process and prevent unnecessary mess.
Step 2. Clean the Surface
Before applying any paint remover, it’s crucial to ensure the surface is clean and free of dust, grease, or debris. Use a mild detergent mixed with warm water and a soft sponge or cloth to thoroughly clean the area. Avoid using harsh chemicals at this stage, as they could react with the paint remover later on. Once cleaned, allow the surface to dry completely before moving on to the next step. A clean surface ensures better adhesion of the paint remover and more efficient removal of the paint.
Step 3. Choose a Paint Stripper
There are various types of paint strippers available, so choosing the right one depends on the type of paint you are dealing with and the surface material on which it is applied. Solvent-based paint strippers are highly effective at removing oil-based paints and varnishes, while water-based strippers are more eco-friendly and better suited for indoor use. For particularly stubborn stains, you may need a heavy-duty gel or paste stripper.
When selecting a product, check the manufacturer’s instructions to ensure compatibility with your surface. Consider whether you need a low-odor or biodegradable option for added convenience and safety.
Step 4. Apply the Stripper
Using a brush or spatula, evenly apply the paint stripper to the surface, ensuring a generous and consistent layer to maximize effectiveness. It’s essential to follow the manufacturer’s instructions regarding the application thickness and the recommended waiting time for the product to penetrate and loosen the paint.
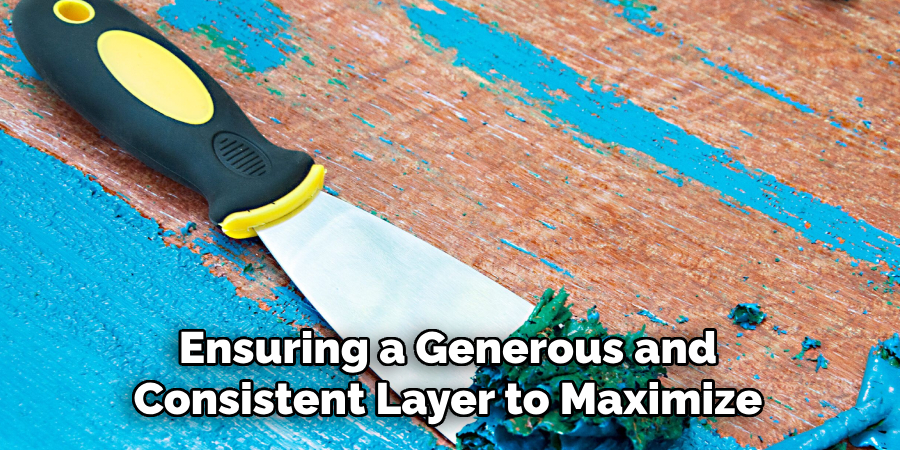
Avoid brushing back and forth, as this might affect the stripper’s efficiency. Once the stripper is applied, allow it to sit undisturbed for the specified duration. During this time, the paint or varnish should start to soften or bubble, indicating that the product is working.
Step 5. Wait for the Reaction
Patience is key during this step, as allowing the stripper enough time to work ensures effective results. Monitor the surface periodically but refrain from disturbing the product or scraping prematurely. The duration can vary depending on the type of paint or varnish and the specific stripper being used, so always refer to the manufacturer’s guidelines. Once you see the paint or varnish visibly lifting, bubbling, or softening, this indicates that the stripper has completed its job and the surface is ready for the next step.
Step 6. Scrape Off Paint
Using a putty knife or paint scraper, gently begin to remove the loosened paint or varnish from the surface. Hold the scraper at a slight angle to prevent damage to the underlying material. Work in smooth, consistent strokes, and wipe off residue from the scraper onto a disposable cloth or container as needed.
For intricate areas or detailed surfaces, use smaller tools, such as a soft-bristled brush or a plastic scraper, to ensure thorough removal without causing scratches. Take your time to ensure the surface is clean and free of old coatings, as this will create a better foundation for any new finish.
Step 7. Apply a Second Coat
Once the first coat has dried completely, assess the surface for any uneven areas, streaks, or thin spots. Stir the finishing product thoroughly to ensure an even consistency before application. Using a clean brush, roller, or applicator pad, apply the second coat in the same direction as the first, maintaining smooth and even strokes. The second coat will enhance the durability and appearance of the finish, resulting in a more uniform and polished finish. Allow sufficient drying time as recommended in the product instructions, and avoid touching or placing objects on the surface until it has fully cured.
Step 8. Clean the Surface Again
After the second coat has dried and fully cured, it is important to clean the surface one final time to remove any dust, debris, or residue that may have settled during the curing process. Use a soft, lint-free cloth lightly dampened with water or a mild cleaning solution, if appropriate for the finish. Gently wipe the surface to ensure it is clean and smooth, preserving the quality and aesthetics of the completed project.
Step 9. Sand the Wood
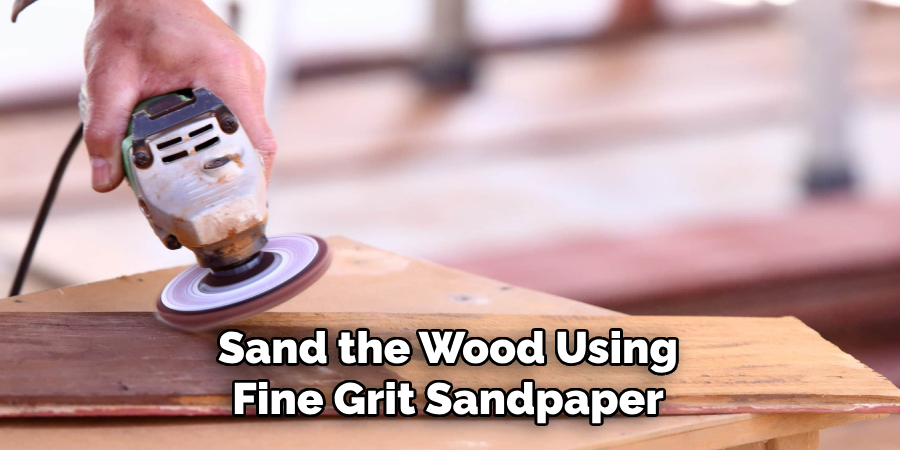
Once the surface has been cleaned, lightly sand the wood using fine-grit sandpaper, such as 220-grit, to achieve a smooth and even finish. This step helps to remove any minor imperfections or raised grain that may have appeared after the previous coat. Sand gently in the direction of the wood grain to avoid scratches or damage. After sanding, clean the surface again with a soft, dry cloth or tack cloth to remove any dust particles, ensuring a flawless result for the final application.
Step 10. Finish and Seal
Once the surface is clean and smooth, apply your chosen finish to protect the wood and enhance its appearance. Options include varnish, polyurethane, or oil finishes, depending on the desired level of protection and sheen. Use a high-quality brush, lint-free cloth, or a foam applicator to ensure an even application.
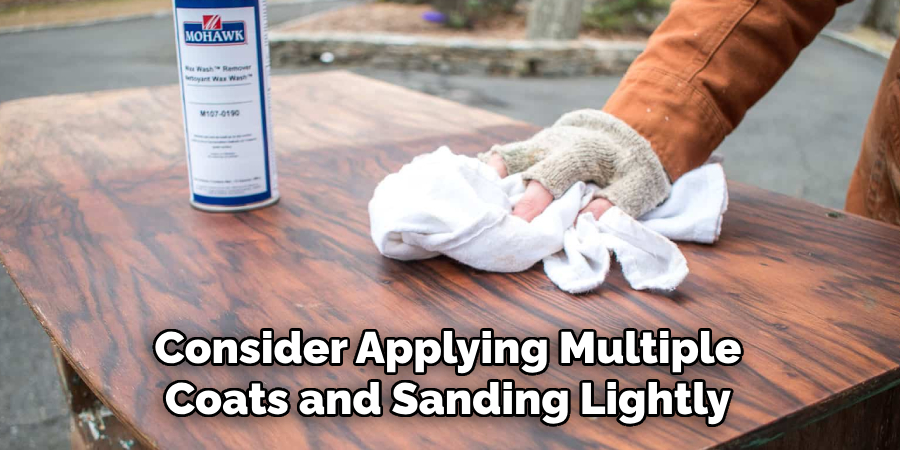
Work in thin, even coats, following the wood grain, and allow adequate drying time between layers as recommended by the product instructions. For added durability, consider applying multiple coats and sanding lightly with fine-grit sandpaper between applications. Finally, allow the finish to cure fully before using or displaying the wood, ensuring a durable and polished final result.
Following these steps will help you successfully strip painted wood, leaving it ready for refinishing or a new project.
Conclusion
How to strip painted wood may seem like a complex task, but with the right tools, materials, and procedure, it can be accomplished effectively and safely.
By thoroughly preparing the work area, using the correct stripping agent, and following careful application techniques, you can remove old paint without damaging the wood beneath. Patience is essential throughout the process, especially when dealing with multiple layers of paint or intricate surfaces.
With attention to detail and proper finishing, you can restore the natural beauty of the wood or prepare it for a fresh new look.
About the Author
Adrian Green, a lifelong woodworking enthusiast, shares his passion for the craft through The Woodenify Blog. With a foundation built on years of hands-on experience in his father’s woodworking shop, Adrian is dedicated to helping others learn and grow in the world of DIY woodworking. His approach to woodworking combines creativity, practicality, and a deep appreciation for the art of building with your own hands. Through his blog, he inspires individuals of all skill levels to embark on their own woodworking journeys, creating beautiful, functional pieces of furniture and décor.
Professional Focus
- Specializes in DIY woodworking projects, from furniture to home décor.
- Provides step-by-step guides and practical tutorials for woodworkers of all skill levels.
- Dedicated to helping readers build confidence and skill through easy-to-follow instructions and tips.
- Passionate about fostering a community of makers who can share, learn, and grow together.
Education History
- University of Craft and Design – Bachelor of Fine Arts (BFA) in Woodworking and Furniture Design
- Woodworking Apprenticeships – Extensive hands-on training with skilled craftsmen to refine carpentry and furniture making techniques.
- Online Courses & Masterclasses – Continued education in advanced woodworking techniques, design principles, and specialized tools
Expertise:
- DIY woodworking, carpentry, furniture making, and home décor projects.
- Creating accessible tutorials and guides for beginner to advanced woodworkers.
- Sharing the joys and satisfaction of woodworking, from raw materials to finished products.