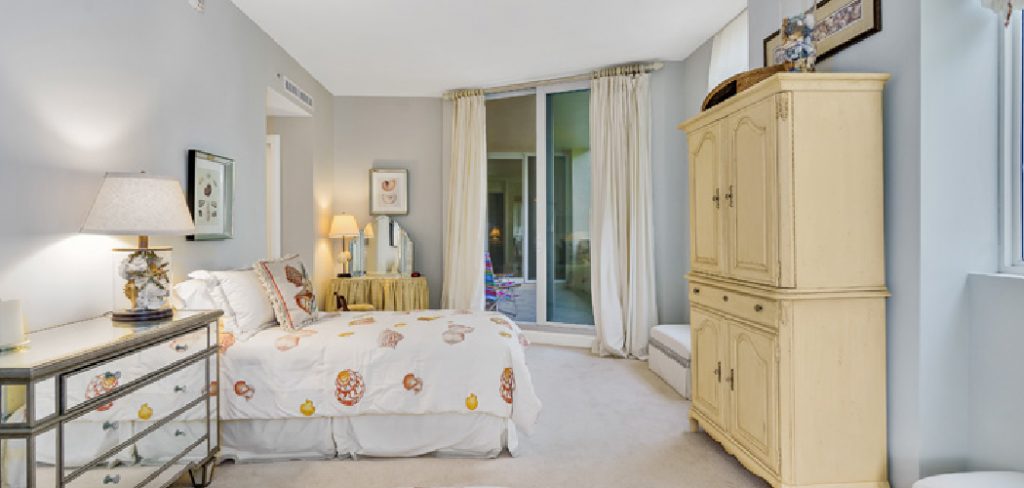
Are you tired of cramming all your clothes into a small closet or dresser? Do you dream of having a spacious walk-in closet like the ones seen on home renovation shows?

Transforming a spare bedroom into a luxurious, well-organized closet can significantly enhance your living space and streamline your daily routine. Whether you have an overflowing wardrobe, a penchant for fashion, or simply crave a more organized environment, converting a bedroom into an expansive walk-in closet can be a delightful solution.
This guide will walk you through the essential steps on how to turn a bedroom into a closet, from conceptualizing your design to selecting the right storage solutions, ensuring that you make the most of every square foot while creating a chic and functional area for your clothing and accessories. Let’s get started on turning that extra bedroom into the closet of your dreams.
What are the Benefits of Turning a Bedroom Into a Closet?
Before diving into the practical steps, it’s important to understand the benefits of turning a bedroom into a closet.
- Increased Storage Space: The most obvious benefit is that you will have more space for your clothes, shoes, and accessories. A bedroom can provide ample room for custom shelves, hanging rods, and storage units, allowing you to easily organize and access your belongings.
- Improved Organization: With more space, you can create designated areas for different types of clothing and accessories, making it easier to find what you need when getting dressed. You can also incorporate features like drawers, dividers, and bins to keep everything in its place.
- Enhanced Aesthetic: A well-designed closet can add a touch of luxury and elegance to your home. You can choose the colors, materials, and finishes that match your personal style and create a cohesive look throughout the room.
- Added Value: Converting a bedroom into a spacious closet can increase the value of your home, making it more appealing to potential buyers if you ever decide to sell.
- More Privacy: If you have a large wardrobe, it can be challenging to get dressed and ready in the mornings without disturbing a partner or roommate. Having a closet in your own private space eliminates this issue and allows you to take your time getting ready.
These are just a few of the many benefits of turning a bedroom into a closet. Now, let’s dive into the steps to make this transformation happen.

What Will You Need?
Before beginning the conversion process, it’s essential to have all the necessary tools and materials on hand. Here are some of the items you may need:
- Measuring tape
- Level
- Hammer
- Drill
- Nails/screws
- Paint and paintbrushes/rollers
- Storage units (shelves, hanging rods, bins, etc.)
- Decorative elements (rugs, mirrors, lighting, etc.)
Having these items ready will save you time and ensure a smoother conversion process.
9 Easy Steps on How to Turn a Bedroom Into a Closet
Step 1: Plan Your Design
The first step in any home renovation project is planning your design. Here are some key considerations when turning a bedroom into a closet:
- Layout: Before you start buying shelves and storage units, consider the layout of the room and how you want your closet to flow. Measure the space and take note of any existing features, such as windows or doors.
- Storage Needs: Consider your current wardrobe and what storage solutions would best suit your needs. Do you have a lot of hanging items? Do you need more shelves for folded clothing? Consider your storage needs to determine the layout of your closet.
- Aesthetic: Decide on the aesthetic you want for your closet. Do you prefer a sleek and modern look, or do you want a more traditional feel? This will help guide your choices in terms of colors, materials, and finishes.
Step 2: Remove Furniture and Prepare the Space
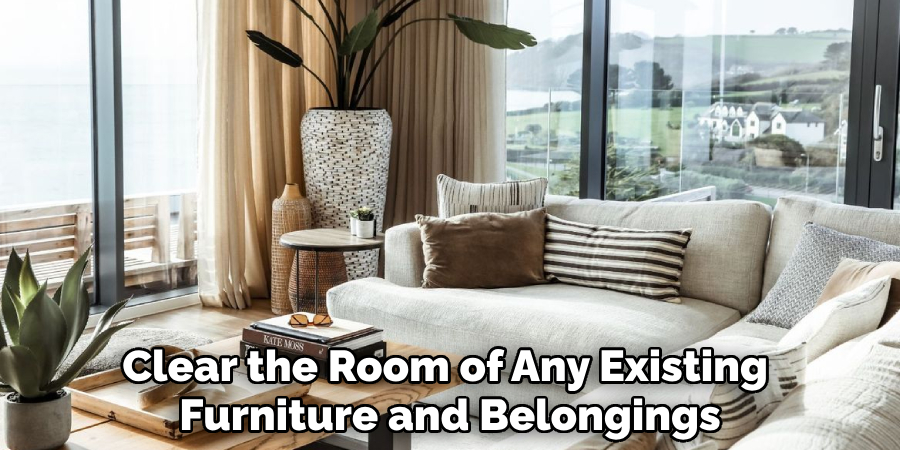
Before you can start transforming your bedroom into a closet, you need to clear the room of any existing furniture and belongings. Start by removing larger pieces such as the bed, dresser, nightstands, and any other furniture in the room. This will give you a blank slate and make it easier to visualize and implement your new closet design.

Once the room is cleared, inspect the walls, floors, and ceiling for any necessary repairs. Patch up any holes, sand the walls if needed, and consider giving the room a fresh coat of paint. This is also a good time to address any electrical or lighting issues.
For example, you might want to install additional outlets or overhead lighting to better illuminate your new closet space. Good lighting is crucial in a closet to ensure you can see all your clothing and accessories clearly, so think about both ambient and task lighting.
Remember to plan for ventilation as well. Since closets often hold a lot of fabric, ensuring the space is well-ventilated will help prevent musty smells and keep your clothes fresh. You might want to install a small fan or even an air purifier to keep the air circulating properly.
After preparing the space, take one final measurement to confirm its dimensions. Accurate measurements are essential for the next step, which involves installing your storage solutions.
Step 3: Install Shelving and Rods
Now that the space is prepped, it’s time to install the main storage components of your closet—shelving and rods. Begin by mapping out where these elements will go based on your initial design plan. Use a measuring tape and level to ensure that all shelves and rods are installed evenly and at the correct heights. Secure the shelves using appropriate brackets and screws, ensuring they are firmly anchored to the walls to support the weight of your clothing and accessories.
Step 4: Add Drawers and Bins
Once your shelving and rods are securely in place, it’s time to customize your closet further with drawers and bins. These components are essential for organizing smaller items that can easily get lost or create clutter.
For instance, drawers are perfect for storing undergarments, socks, and accessories like ties, scarves, and jewelry. Meanwhile, bins can house bulkier items such as sweaters, handbags, and hats.
When adding drawers, consider their placement in relation to your shelving and hanging rods. It’s practical to install them at waist or eye level for easy access. Soft-close drawers are an excellent choice as they prevent slamming and ensure a smooth, quiet operation.

Additionally, think about incorporating dividers within the drawers to further enhance organization. Drawer dividers can help separate items into smaller sections, making it easier to keep everything tidy.
Bins, on the other hand, are incredibly versatile and can fit on shelves or under hanging garments. Choose clear or labeled bins to quickly identify their contents without having to rummage through them. Investing in aesthetically pleasing bins that match your closet decor can also elevate the overall look.
Step 5: Install Lighting
Proper lighting is crucial in a closet to ensure you can see all your clothing and accessories clearly. This includes both ambient lighting to illuminate the entire space and task lighting for specific areas like mirrors or dressing zones.
Start by assessing the existing light sources in the room. If the closet has a window, consider how you can optimize the natural light. Supplement it with overhead lighting, such as a chandelier or flush mount lights, to create a well-lit environment.
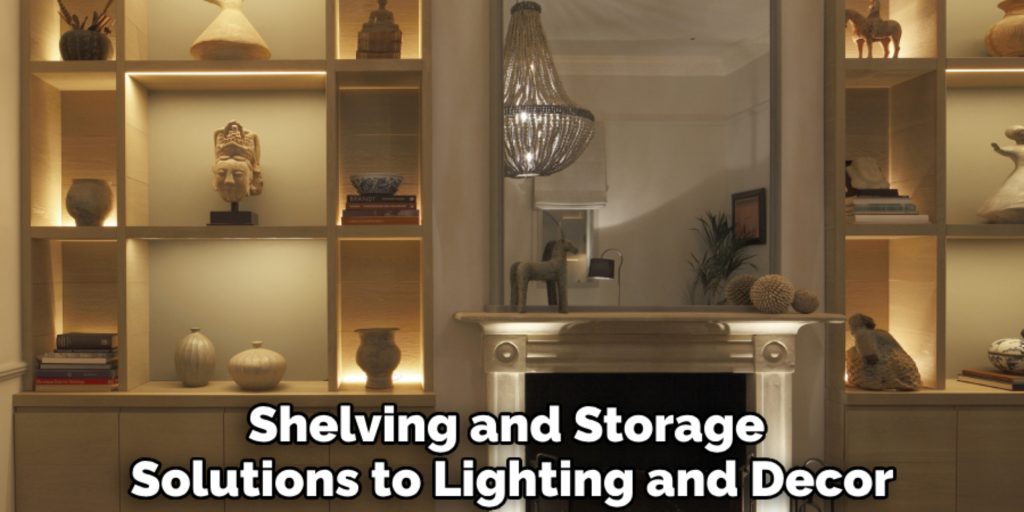
For more focused lighting, think about installing LED strip lights under shelves or inside cabinets. These lights are energy-efficient and provide excellent illumination without taking up space. Spotlights or adjustable wall sconces can also be a great addition, especially if you have dedicated areas for specific tasks like ironing or applying makeup.
If possible, incorporate dimmer switches to control the brightness according to your needs. This added flexibility allows you to create the perfect ambiance in your closet, whether you need bright light to find your clothes or a softer glow to set a relaxed mood.
Finally, consider adding motion-sensor lights in key areas. These not only conserve energy but also make it easy to find items without fumbling for a light switch. With thoughtfully planned lighting, your closet will be both stylish and functional, ensuring you start your day on the right foot.
Step 6: Organize Your Items
With your closet space fully prepped, lit, and equipped with storage solutions, it’s time to organize your items. Start by sorting through your clothes and accessories. Group similar items together – for instance, categorize your clothing by type (e.g., shirts, pants, dresses) or by season. This will make it easier to find what you need quickly.

Next, decide how you want to arrange these items within your new closet. Use the hanging rods for outfits that wrinkle easily or items you wear frequently. Shelves are perfect for folded garments like jeans, sweaters, and t-shirts. Utilize bins and drawers for smaller or discrete items such as underwear, socks, and accessories. Transparent or labeled storage helps identify contents at a glance, making your closet more efficient.
For shoes, consider using dedicated shoe racks or cubbies to keep pairs together and easily visible. Storing them at the bottom of your closet can maximize vertical space. Handbags, hats, and belts can be hung on hooks or stored in bins to neatly tuck them away while keeping them accessible.
Don’t forget to leverage vertical space by using stackable storage solutions or adding extra shelving if needed. Keep frequently used items within easy reach and store less frequently used items higher up or on lower shelves.
Finally, maintain a clean and organized closet by instituting a regular tidying routine – for example, a quick weekly check to put things back in place and a more thorough seasonal evaluation to rotate or donate items.
Step 7: Add Personal Touches
Now that your closet is organized and functional, it’s time to add personal touches that make it uniquely yours. Start by integrating decor elements that reflect your style and personality.

This could include artwork, framed photos, or decorative boxes that add both charm and functionality. Mirrors are also a fantastic addition, not only for their practical use but also for enhancing the sense of space and light in your closet.
Consider incorporating a soft rug or carpeting to create a cozy and inviting atmosphere. A comfortable seating area, like a small bench or a stylish chair, can also be both functional and aesthetically pleasing. You might want to add scented sachets or diffusers with your favorite fragrances to keep the space smelling fresh and pleasant.
Additionally, think about incorporating a few plants or succulents to bring a touch of nature into your closet. These can add vibrancy and a refreshing feel to the space. You can also use decorative hooks or stylish knobs to hang scarves, bags, or jewelry, ensuring they’re conveniently displayed and adding to the visual appeal of your closet.
Step 8: Review and Reassess
Your closet is now a beautifully organized space, but it’s important to remember that maintaining this order requires periodic review and reassessment. Start by evaluating whether the current setup is meeting your needs.
Are there areas that feel cluttered or inefficient? Are there storage solutions that aren’t being utilized effectively? Take note of any adjustments you can make to improve functionality.
Consider scheduling regular intervals, such as quarterly or seasonally, to review your closet’s organization. During these check-ins, take time to rotate seasonal clothing, evaluate the condition of your items, and decide if there’s anything that can be donated or discarded. This will help keep your closet from becoming overcrowded and difficult to navigate.
Assess if there are any new storage solutions or technologies that could further enhance your closet. Innovations such as smart hangers, digital wardrobe tracking apps, or even automated closet systems can provide modern conveniences that make managing your wardrobe easier and more enjoyable.
Involving a friend or professional organizer for a fresh perspective can also be helpful. They might offer creative solutions or insights that you haven’t considered. Remember, the goal is to create a closet that not only holds your items but also reflects your lifestyle and makes getting dressed a delightful experience.
Step 9: Enjoy Your Closet
Your closet is now a well-organized, efficient, and personalized space. The final step is to simply enjoy the fruits of your labor. Having a tidy and beautifully arranged closet can make a significant difference in your daily routine. It saves you time when getting dressed, reduces stress by providing a clear and orderly space, and brings a sense of satisfaction and accomplishment.

To fully enjoy your new closet, consider setting aside time each week to appreciate and utilize your space. Plan outfits for the upcoming week, try on different combinations, or simply take a moment to admire the organization you’ve created. Share your achievements with friends or family who appreciate a well-maintained home. They might be inspired by your work and motivated to tackle their own organizational projects.
By following these steps and maintaining consistent upkeep, your closet will remain a functional and aesthetically pleasing space for years to come.
5 Things You Should Avoid
- Neglecting Proper Lighting: One major mistake is failing to incorporate adequate lighting into your closet design. A well-lit closet makes it easier to choose outfits and accessorize. Avoid relying solely on overhead lights; instead, consider adding task lightings, such as LED strip lights or spotlights, to illuminate shelves and hanging areas effectively.
- Overloading the Closet Space: While it can be tempting to maximize storage, overloading the closet can lead to a cluttered and cramped environment. Ensure that you leave enough space for easy access to all items. Prioritize quality storage solutions over quantity to maintain a clean and functional space.
- Ignoring Ventilation: Closets often suffer from poor ventilation, which can lead to musty smells and even mold growth. Incorporate ventilated shelving and use products like moisture absorbers to maintain proper airflow. This helps keep your clothing fresh and extends the lifespan of your garments.
- Forgetting to Plan for Accessibility: It’s crucial to design your closet with accessibility in mind. Avoid placing frequently used items in hard-to-reach places. Make sure that everyday essentials are within easy reach and that there’s enough room to move around comfortably.
- Not Setting a Budget: Converting a bedroom into a closet can become expensive if you don’t set a budget. Plan your expenditures carefully, from shelving and storage solutions to lighting and decor. By establishing a budget, you can prioritize key elements and avoid overspending on features that might not add significant value to your closet.
Avoiding these common pitfalls will help ensure that your bedroom-to-closet conversion is successful and serves its purpose efficiently.

Conclusion
How to turn a bedroom into a closet is a rewarding project that can significantly enhance both your storage capabilities and your daily routine. By following the steps outlined in this guide, from planning and designing to implementing and maintaining your new closet space, you can create an organized, functional, and aesthetically pleasing area that reflects your personal style.
It’s important to consider key elements such as adequate lighting, efficient storage solutions, proper ventilation, and budget management to avoid common pitfalls.
This transformation not only brings order to your wardrobe but also adds a touch of luxury to your home. Whether you’re an avid fashion enthusiast or simply seeking a more streamlined living environment, a dedicated closet room can serve as a sanctuary for your clothing and accessories.
Remember to periodically review and reassess your setup to ensure it continues to effectively meet your needs. By investing time and effort into this project, you’ll enjoy a beautifully organized space that enhances your lifestyle for years to come.
About the Author
Adrian Green, a lifelong woodworking enthusiast, shares his passion for the craft through The Woodenify Blog. With a foundation built on years of hands-on experience in his father’s woodworking shop, Adrian is dedicated to helping others learn and grow in the world of DIY woodworking. His approach to woodworking combines creativity, practicality, and a deep appreciation for the art of building with your own hands. Through his blog, he inspires individuals of all skill levels to embark on their own woodworking journeys, creating beautiful, functional pieces of furniture and décor.
Professional Focus
- Specializes in DIY woodworking projects, from furniture to home décor.
- Provides step-by-step guides and practical tutorials for woodworkers of all skill levels.
- Dedicated to helping readers build confidence and skill through easy-to-follow instructions and tips.
- Passionate about fostering a community of makers who can share, learn, and grow together.
Education History
- University of Craft and Design – Bachelor of Fine Arts (BFA) in Woodworking and Furniture Design
- Woodworking Apprenticeships – Extensive hands-on training with skilled craftsmen to refine carpentry and furniture making techniques.
- Online Courses & Masterclasses – Continued education in advanced woodworking techniques, design principles, and specialized tools
Expertise:
- DIY woodworking, carpentry, furniture making, and home décor projects.
- Creating accessible tutorials and guides for beginner to advanced woodworkers.
- Sharing the joys and satisfaction of woodworking, from raw materials to finished products.
