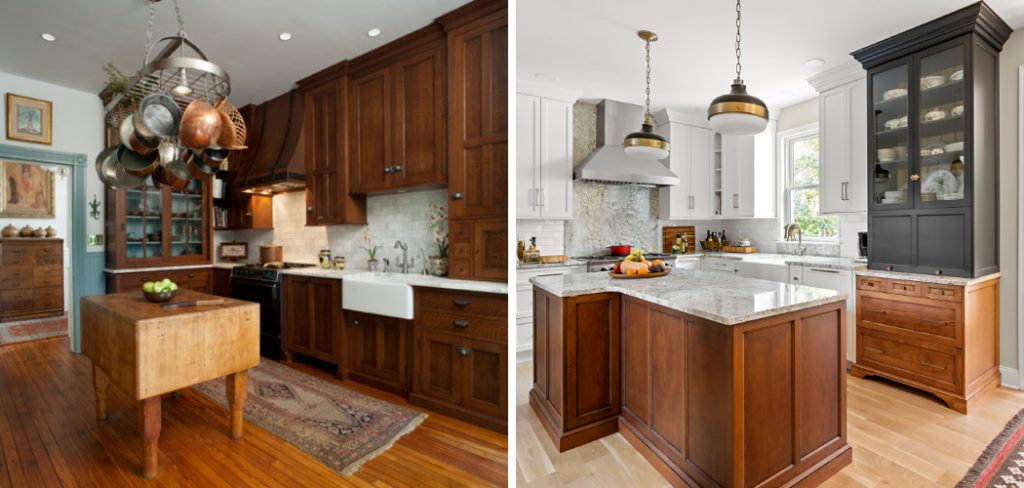
Updating an oak cabinet can breathe new life into your living space, transforming a dated piece of furniture into a stunning focal point. Whether you’re looking to refresh its appearance with a new finish, change the hardware, or re-imagine its function within your home, this guide on how to update oak cabinet will walk you through the necessary steps to achieve a beautiful and durable update. By investing a little time and effort, you can enhance the charm of your oak cabinet and create a more cohesive look in your décor.
Why Update an Oak Cabinet?
Updating an oak cabinet offers numerous advantages that go beyond mere aesthetics. First and foremost, it allows you to personalize a piece of furniture to better align with your current style preferences and home décor. Adding a fresh coat of paint or stain can rejuvenate the look of the cabinet, making it feel modern and inviting.
Furthermore, updating hardware such as knobs and pulls can significantly enhance functionality and visual appeal. Additionally, an updated cabinet can improve the overall value of your home by showcasing your attention to detail and commitment to maintaining your living space. Embracing this project not only elevates your home’s design but also provides a satisfying creative outlet.
Needed Materials
Before you begin your oak cabinet update, gather all the necessary materials to ensure a smooth and efficient process. Here are some essential items you may need:
Sandpaper or Sanding Block:
Sanding is a crucial step in any cabinet update as it removes the top layer of the existing finish and creates a smooth surface for the new coat to adhere to. Sandpaper or sanding blocks are available in various grit levels, so make sure you have the appropriate one for your project.
Paint or Stain:
The type of paint or stain you choose will depend on your personal preference and desired look. If you’re aiming for a bold pop of color, opt for high-quality latex paint. For a more natural look, consider using an oil-based stain that allows the wood grain to show through.
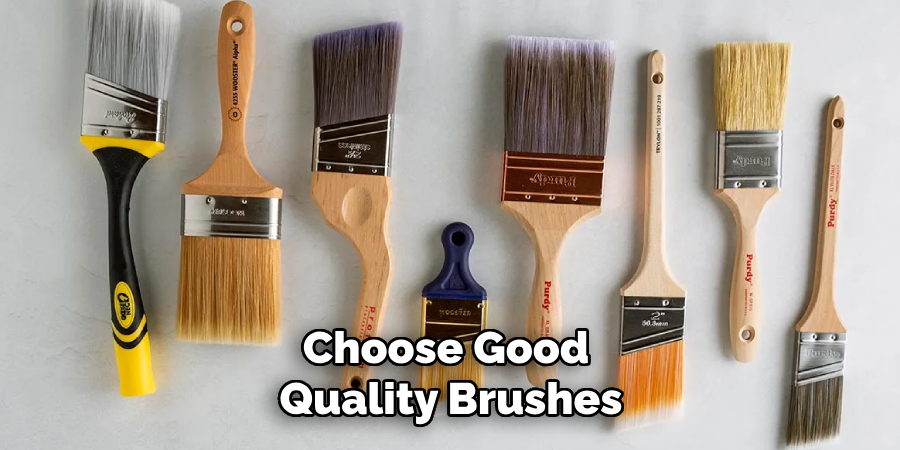
Brushes and Rollers:
Choose good quality brushes and rollers to ensure an even application of paint or stain. Consider using foam brushes for hard-to-reach areas or intricate details.
New Hardware:
Updating the hardware on your oak cabinet can make a significant impact on its overall appearance. Make sure to choose hardware that fits the existing holes and complements the new finish.
7 Step-by-step Guidelines on How to Update Oak Cabinet
Step 1: Preparation
The first step in updating your oak cabinet is thorough preparation. Begin by clearing out the contents of the cabinet removing any shelves or movable parts to give yourself unobstructed access. Next, clean the surfaces with a damp cloth to remove dust and grease, ensuring a smooth application of paint or stain.
After cleaning, inspect the cabinet for any imperfections such as dents, scratches, or loose parts; address these issues by sanding them down or tightening screws. Finally, lay down a drop cloth or newspaper beneath the cabinet to catch any drips or debris, creating a clean workspace that protects your floors. With everything prepped and ready, you’ll be set for the next steps in your updating project.
Step 2: Sanding
Sanding is a vital step that prepares your oak cabinet for a fresh finish. Begin by selecting the appropriate grit of sandpaper; a coarser grit (around 80-120) is ideal for removing the old finish and smoothing out imperfections, while a finer grit (220+) is recommended for final smoothing. Using a sanding block or an electric sander, work along the wood grain to avoid scratches and ensure an even surface. Pay special attention to areas with damage or rough spots of sand until they feel smooth to the touch.
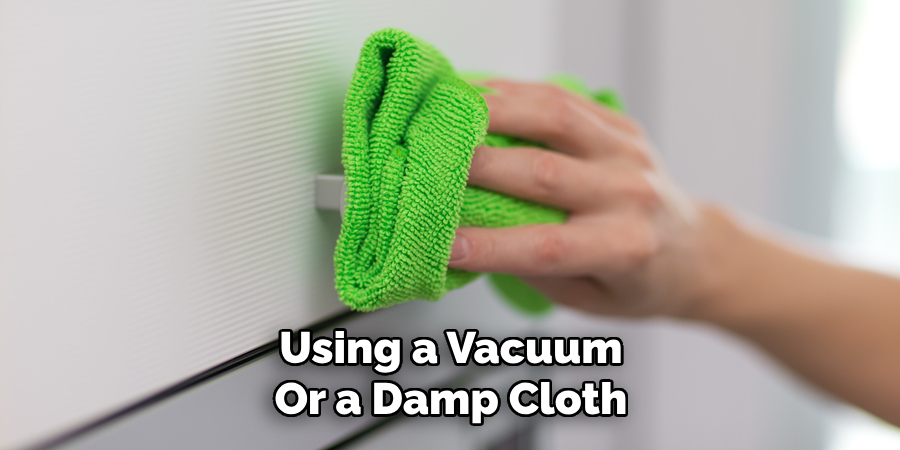
After sanding, remove any dust and debris using a vacuum or a damp cloth, allowing the surface to dry completely before proceeding to the next step. This thorough sanding process is crucial, as it not only enhances adhesion for the new paint or stain but also helps achieve a professional-looking finish.
Step 3: Priming (optional)
Depending on the type of paint or stain you choose, priming may be necessary. Primer helps create a smooth base for the new finish to adhere to and can also hide any dark or bold colors underneath. If you’re using latex paint, consider applying a primer specifically designed for oak cabinets. Use a high-quality brush to apply the primer in thin, even coats, allowing each coat to dry thoroughly before lightly sanding between layers.
Step 4: Painting or Staining
Now comes the fun part – painting or staining your oak cabinet! Before diving into this step, make sure you have all the necessary supplies at hand. Use a brush or foam roller to apply the first coat, working along the wood grain for a professional look. Apply thin layers and avoid drips or thick spots by regularly checking your progress from different angles. Allow the first coat to dry completely before applying subsequent coats according to the manufacturer’s instructions.
For staining, use a clean cloth or brush to apply the stain in even strokes, following the direction of the wood grain. Allow the stain to sit for a few minutes before wiping off any excess with a clean cloth. Repeat this process until you achieve your desired color depth, making sure each layer is fully dry before proceeding to the next one.
Step 5: Adding New Hardware
While waiting for your paint or stain to dry, consider updating the hardware on your oak cabinet. Removing old hardware can be tricky, so take your time and use a screwdriver or drill if necessary. Once all the old hardware is removed, clean and sand down any areas with stubborn residue before installing the new knobs or pulls. Make sure to align them properly and tighten them securely for a polished finish.
Step 6: Adding Finishing Touches
Once everything has dried completely, carefully remove any tape or protectors from surrounding surfaces. Inspect your work for any touch-ups that may be needed, such as filling in small gaps or covering up blemishes. Use a fine-grit sandpaper to smooth out these areas before applying touch-up paint or stain. Finally, add a coat of clear protective finish (polyurethane) to seal and protect your newly updated oak cabinet.
Step 7: Reassembling and Enjoying Your Updated Oak Cabinet
After the final coat has dried, reattach any shelves or movable parts that were removed initially. Gently set the contents back into your updated cabinet, taking care not to damage the new finish. Stand back and admire your handiwork – you have successfully transformed your outdated oak cabinet into a fresh and stylish piece!
Following these step-by-step guidelines on how to update oak cabinet will help you achieve a professional-looking finish and give your oak cabinet a new lease on life. With proper preparation, sanding, and finishing techniques, your updated cabinet will bring a whole new look to your space. So go forth and give your oak cabinet the makeover it deserves!

Additional Tips
- If using oil-based paint or stain, make sure to work in a well-ventilated area due to strong fumes.
- For added durability, consider adding multiple coats of clear protective finish.
- To achieve a distressed or aged look, lightly sand the edges and corners of your painted or stained cabinet.
- Take your time and work in small sections, allowing each coat to dry completely before moving on to the next step. This will ensure a smooth and flawless finish.
- Remember to clean your brushes and tools thoroughly after use for future projects. Overall, have fun with your updating project and enjoy the satisfaction of transforming an old oak cabinet into a modern masterpiece!
Frequently Asked Questions
Q: Can I Skip the Sanding Step?
A: It is highly recommended to sand your oak cabinet for a smooth and professional-looking finish. However, if you are using chalk paint or other specialty finishes that do not require sanding, you may be able to skip this step. Always follow the instructions of the product you are using.
Q: How Do I Choose the Right Paint or Stain for My Oak Cabinet?
A: Consider factors such as the desired color, type of wood, and finish (matte, satin, glossy) when choosing paint or stain. It is also helpful to do a test patch on a small hidden area before proceeding with the entire cabinet.
Q: Can I Update an Old Laminate Cabinet Using These Steps?

A: These steps are specifically for updating oak cabinets. While some may still apply to laminate cabinets, it is recommended to research specific techniques for painting or staining laminate surfaces. You may also consider consulting a professional for the best results. Remember to have fun and enjoy the process of updating your oak cabinet – it’s an excellent opportunity to add your personal touch and creativity to your space! So go forth and give your outdated oak cabinet the update it deserves! Happy DIY-ing!
Conclusion
Updating an oak cabinet may seem daunting at first, but following these step-by-step guidelines on how to update oak cabinet will make the process much more manageable. With thorough preparation, proper sanding techniques, and attention to detail during painting or staining, your oak cabinet will be looking as good as new in no time. So roll up your sleeves and get ready to give your space a fresh and stylish update with this budget-friendly DIY project! Happy updating!
About the Author
Adrian Green, a lifelong woodworking enthusiast, shares his passion for the craft through The Woodenify Blog. With a foundation built on years of hands-on experience in his father’s woodworking shop, Adrian is dedicated to helping others learn and grow in the world of DIY woodworking. His approach to woodworking combines creativity, practicality, and a deep appreciation for the art of building with your own hands. Through his blog, he inspires individuals of all skill levels to embark on their own woodworking journeys, creating beautiful, functional pieces of furniture and décor.
Professional Focus
- Specializes in DIY woodworking projects, from furniture to home décor.
- Provides step-by-step guides and practical tutorials for woodworkers of all skill levels.
- Dedicated to helping readers build confidence and skill through easy-to-follow instructions and tips.
- Passionate about fostering a community of makers who can share, learn, and grow together.
Education History
- University of Craft and Design – Bachelor of Fine Arts (BFA) in Woodworking and Furniture Design
- Woodworking Apprenticeships – Extensive hands-on training with skilled craftsmen to refine carpentry and furniture making techniques.
- Online Courses & Masterclasses – Continued education in advanced woodworking techniques, design principles, and specialized tools
Expertise:
- DIY woodworking, carpentry, furniture making, and home décor projects.
- Creating accessible tutorials and guides for beginner to advanced woodworkers.
- Sharing the joys and satisfaction of woodworking, from raw materials to finished products.