Are you interested in learning how to use a wood carving set? Don’t worry, it’s easier than you think!
Wood carving set is a rewarding and creative craft that allows you to transform a simple piece of wood into a work of art. Whether you are a beginner or an experienced artisan, using a wood carving set requires understanding the tools, techniques, and safety measures involved. A wood carving set typically includes a variety of tools, each designed for specific tasks such as shaping, detailing, or smoothing the wood. By learning how to use and care for your tools properly, you can achieve precise and intricate results while ensuring a safe and enjoyable carving experience.
In this guide on using a wood carving set, we will provide you with essential tips and techniques to help you get started on your wood carving journey.
What Are the Benefits of Using a Wood Carving Set?
There are many benefits to using a wood carving set, including:
- Precision and Control: With specialized tools designed for specific tasks, a wood carving set enables you to achieve greater precision and control over the details and intricacies of your wood carving projects.
- Versatility: A wood carving set provides a range of tools that can be used on various types of wood and for different techniques. This versatility allows you to experiment with different styles and designs.
- Customization: With multiple tools at your disposal, you can create unique and personalized pieces that reflect your style. From detailed carvings to larger sculpting projects, a wood carving set provides the necessary tools for any level of complexity.
- Ergonomic Design: Most wood carving sets feature ergonomic handles that make them comfortable to hold and use for extended periods. This is especially important for those who suffer from hand fatigue or arthritis.
- Precision: With a variety of small, sharp tools, a wood carving set allows you to achieve intricate details and precise cuts on your projects. This precision is essential for creating delicate designs or adding fine details to larger pieces.
What Will You Need?
To get started with wood carving, you will need a few essential tools and materials. These include:
- Wood Carving Set: As mentioned before, a wood carving set is the most important tool for any wood carving project. Ensure that you choose one that suits your needs and skill level.
- Wood Selection: Different types of wood have different properties and are suitable for specific types of projects. Research and choose the right type of wood for your project.
- Protective Gear: To ensure safety while using sharp tools, it’s crucial to wear protective gear such as gloves, eye goggles, and a dust mask. This will prevent injuries and protect you from inhaling harmful wood particles.
10 Easy Steps on How to Use a Wood Carving Set
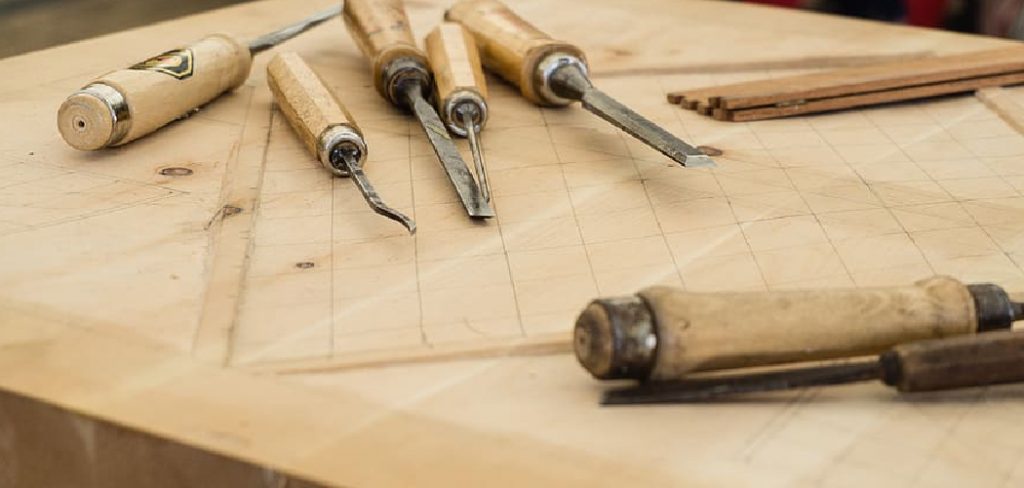
Step 1. Prepare Your Workspace:
Before you begin carving, it’s essential to set up a clean, organized, and well-lit workspace. Ensure that your workbench or table is sturdy and at a comfortable height to avoid strain during extended periods of work. Remove any unnecessary items from the area to minimize distractions and keep tools within easy reach.

A clutter-free environment not only helps with efficiency but also ensures safety. Additionally, consider placing a non-slip mat or clamps to hold your wood piece securely in place while you work, preventing accidents caused by movement. Proper ventilation is also important, especially if you’ll be producing dust or using any finishes or adhesives.
Step 2. Plan Your Design:
Before you begin crafting, it’s essential to have a clear and detailed plan for your project. Start by sketching your design on paper or using design software to visualize the final product. Consider the dimensions, materials, and tools required, ensuring that your design is both practical and achievable within your current resources. Consider the project’s purpose and the environment in which it will be used to inform your design choices. Careful planning at this stage will save time and reduce errors, making the execution of your project much smoother. Don’t hesitate to revise your plans if needed to perfect your design.
Step 3. Secure the Wood:
To begin securing the wood, ensure that all pieces are properly measured and cut according to your design plans. Use clamps to hold the wood in place on a stable surface, preventing any movement during the process. Select appropriate fasteners such as nails, screws, or wood glue, depending on the type of joint and the overall structural needs of your project if you’re using screws, pre-drill pilot holes to avoid splitting the wood. Once secured, double-check the alignment and stability of the pieces before moving on to the next step. Properly securing the wood will provide a strong foundation for your project.
Step 4. Select the Right Tool:
Selecting the right tool for your woodworking project is crucial for both efficiency and precision. Start by identifying the specific task you’re performing, such as cutting, sanding, or drilling. For cutting, you might use a handsaw, jigsaw, or circular saw, depending on the level of detail and the size of the material.

Sanding requires tools like sandpaper, a sanding block, or a power sander for larger surfaces. Drilling tasks can be tackled with a handheld drill or a drill press for greater accuracy. Always ensure your tools are in good condition, sharp, and appropriate for the job to achieve the best possible results. Using the right tools will not only make your work easier but also improve the overall quality of your project.
Step 5. Begin with Light Cuts:
When starting your project, it is essential to make light cuts to ensure precision and avoid unnecessary mistakes. Light cuts allow you to gradually shape and refine your material, reducing the risk of damage or overcutting. Use steady, controlled movements to guide your tools, and check your progress frequently. This approach not only minimizes waste but also helps maintain the integrity of your material, ensuring a clean and professional finish as you advance through your project.
Step 6. Follow the Grain:
Working with the natural grain of your material is essential to achieving a high-quality result. Whether you are cutting, sanding, or finishing, always pay attention to the direction of the grain to maintain the material’s structural integrity and aesthetic appeal. Cutting or grinding against the grain can cause splintering, rough edges, or an uneven surface. Instead, guide your tools smoothly along the grain’s natural flow for a cleaner and more refined result. This technique not only enhances the durability of your work but also brings out the unique patterns and textures of the material, elevating the overall appearance of your project.
Step 7. Take Breaks and Evaluate:
Regularly stepping back to assess your progress is crucial for maintaining quality and precision in your project. Taking breaks allows you to rest both physically and mentally, preventing fatigue that can lead to mistakes. Use these pauses to carefully evaluate your work, ensuring alignment, consistency, and adherence to the original plan. This reflective practice not only improves the overall outcome but also helps you identify and address any potential issues early on, saving time and effort in the long run.
Step 8. Fine-Tune Details:
Now that the primary structure and components of your project are complete, it’s time to refine them. Pay attention to the smallest elements, such as formatting, alignment, and aesthetic appeal. Double-check for grammatical errors, inconsistencies, or any areas that could benefit from better clarity. Consider getting feedback from others to gain a fresh perspective, as they may identify details you might have overlooked. This meticulous process ensures that your final product is polished, professional, and ready for presentation or delivery.
Step 9. Sand the Surface:
This step is all about refining and perfecting your work. Just as sanding a surface smooths out imperfections and prepares it for finishing touches, this stage focuses on eliminating any rough edges or flaws.
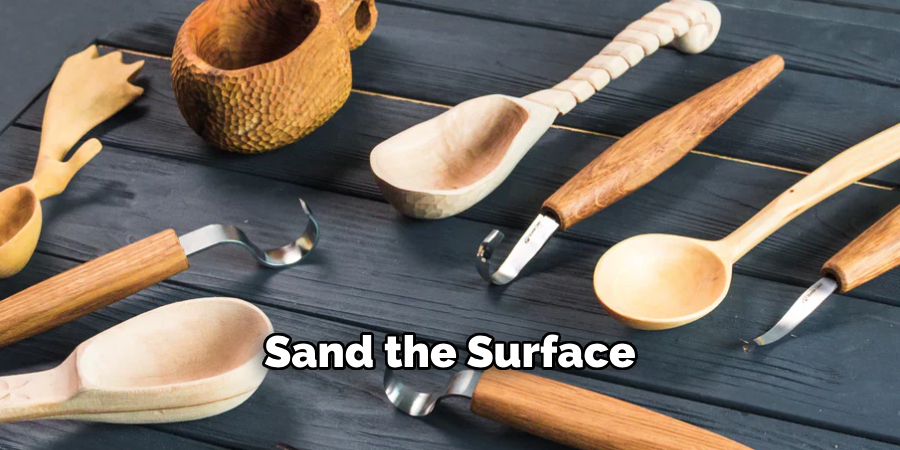
Review your work thoroughly, paying close attention to details that might have been missed in earlier steps. Ensure consistency in tone, style, and structure. Take the time to polish every aspect so that the outcome is seamless and cohesive. By sanding the surface, you create a solid foundation that allows the final product to shine truly.
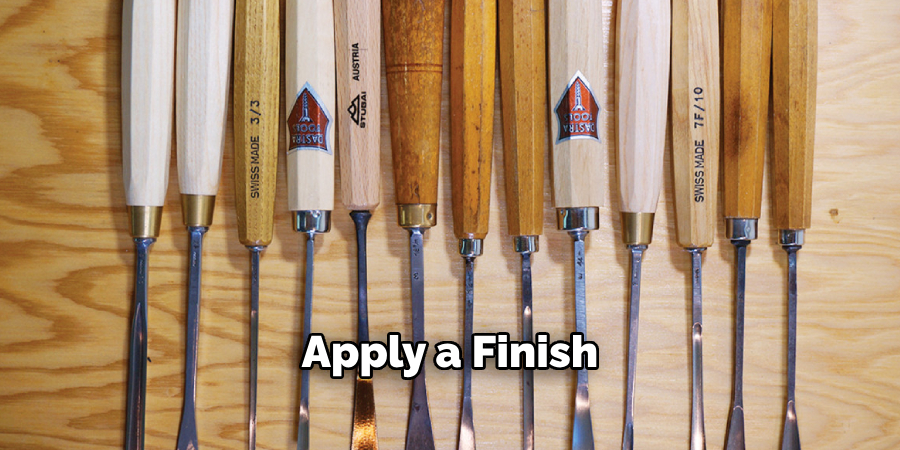
Step 10. Apply a Finish:
At this stage, the focus is on choosing and applying the appropriate finish to protect and enhance the project. Depending on the material and desired look, finishes can range from paint and lacquer to stain and varnish. Start by ensuring the surface is clean and free from dust or debris to achieve a smooth and even application. Use the appropriate tools, such as brushes, rollers, or sprayers, for the type of finish you have selected. Apply the finish in thin, even coats, allowing sufficient drying time between layers for the best results.
By following these steps, you can effectively use a wood carving set to create beautiful, thoughtful designs while maintaining safety and precision.
5 Things You Should Avoid
- Skipping Safety Equipment
Never neglect wearing safety gear such as gloves, safety goggles, or a dust mask. Wood carving can produce sharp splinters or fine dust that may cause injury or harm.
- Using Dull Tools
Avoid working with dull blades or tools, as they require more force to cut and increase the likelihood of accidents. Always keep your tools sharp and well-maintained.
- Carving Against the Grain
Carving against the wood grain can lead to splitting or tearing of the material, which can ruin your design and make the process more difficult.
- Rushing the Process
Patience is crucial when carving. Rushing can result in uneven work, mistakes, or even injuries. Take your time to ensure precision and quality craftsmanship.
- Neglecting Proper Tool Storage
Leaving tools exposed or improperly stored can lead to damage, rust, or dullness. Always clean and store your tools in a secure, dry place after use to maintain their longevity.
Conclusion
How to use a wood carving set effectively requires a blend of patience, proper technique, and diligent maintenance.
Always start with the right tools for your project and ensure they remain sharp and well-kept for optimal performance. Practice safety precautions, such as using protective gear and working in a well-lit, stable environment, to minimize the risk of accidents. Take your time during the carving process to enhance accuracy and produce high-quality results.
By investing effort into proper usage and care, you can enjoy the rewarding craft of wood carving for years to come.
About the Author
Adrian Green, a lifelong woodworking enthusiast, shares his passion for the craft through The Woodenify Blog. With a foundation built on years of hands-on experience in his father’s woodworking shop, Adrian is dedicated to helping others learn and grow in the world of DIY woodworking. His approach to woodworking combines creativity, practicality, and a deep appreciation for the art of building with your own hands. Through his blog, he inspires individuals of all skill levels to embark on their own woodworking journeys, creating beautiful, functional pieces of furniture and décor.
Professional Focus
- Specializes in DIY woodworking projects, from furniture to home décor.
- Provides step-by-step guides and practical tutorials for woodworkers of all skill levels.
- Dedicated to helping readers build confidence and skill through easy-to-follow instructions and tips.
- Passionate about fostering a community of makers who can share, learn, and grow together.
Education History
- University of Craft and Design – Bachelor of Fine Arts (BFA) in Woodworking and Furniture Design
- Woodworking Apprenticeships – Extensive hands-on training with skilled craftsmen to refine carpentry and furniture making techniques.
- Online Courses & Masterclasses – Continued education in advanced woodworking techniques, design principles, and specialized tools
Expertise:
- DIY woodworking, carpentry, furniture making, and home décor projects.
- Creating accessible tutorials and guides for beginner to advanced woodworkers.
- Sharing the joys and satisfaction of woodworking, from raw materials to finished products.