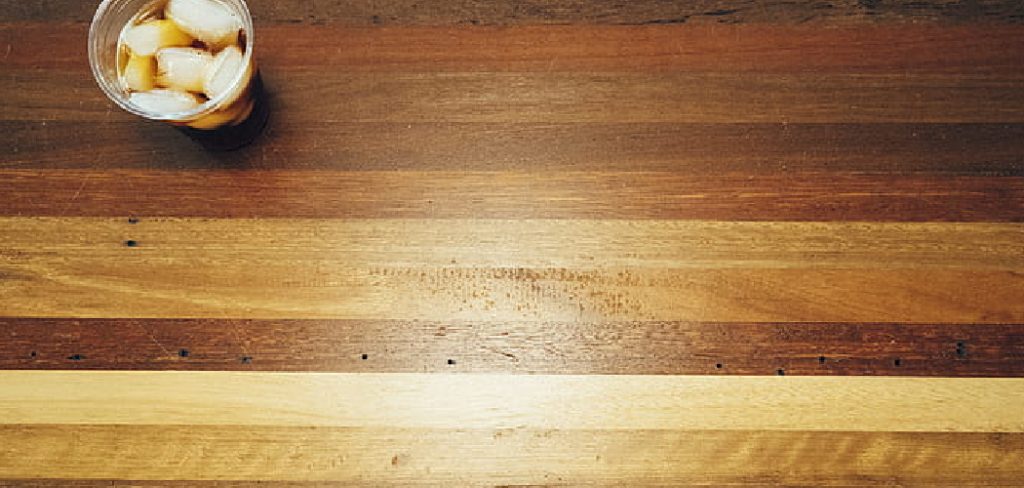
Are you struggling to keep your hardwood floors clean and shiny? One of the main reasons could be improper cleaning techniques. Hardwood floors are made of natural material that can easily be damaged by excess moisture, making it crucial to water them correctly.
Water popping is an essential technique for preparing hardwood floors before applying finish or stain. This process, also known as grain popping, involves evenly wetting the surface of the wood to open up its pores, allowing for deeper penetration of stains or finishes. The result is a more vibrant, uniform color and enhanced grain patterns that truly showcase the natural beauty of the hardwood.
In this guide, we’ll walk you through the steps of how to water pop hardwood floors, from the necessary tools and materials to the proper application techniques, ensuring your hardwood floors achieve a flawless finish.
What are the Benefits of Water Popping?
Water popping offers several benefits for your hardwood floors, including:
- Enhanced Grain Patterns: By opening up the wood’s pores, water popping allows for better stain and finish penetration, resulting in more defined and vibrant grain patterns.
- Improved Color Consistency: Uneven staining is a common issue on hardwood floors. However, water popping evens out the color absorption, creating a more consistent and professional-looking finish.
- Increased Durability: Properly water-popped floors are more resistant to scratches and wear, making them more durable in the long run.
- Cost-effective: Water popping is a cost-effective way to achieve better results with staining or finishing as it requires fewer coats for a desired effect.
These benefits make it clear that water popping is an essential step to achieving stunning hardwood floors. Now, let’s dive into how to water pop your floors properly.
What Will You Need?
Before you begin, ensure you have all the necessary tools and materials. Here’s what you’ll need:
- Water: Lukewarm or room temperature water is best for water popping.
- Clean Cloth or Mop: A clean, lint-free cloth or mop will be used to apply the water evenly on the floor surface.
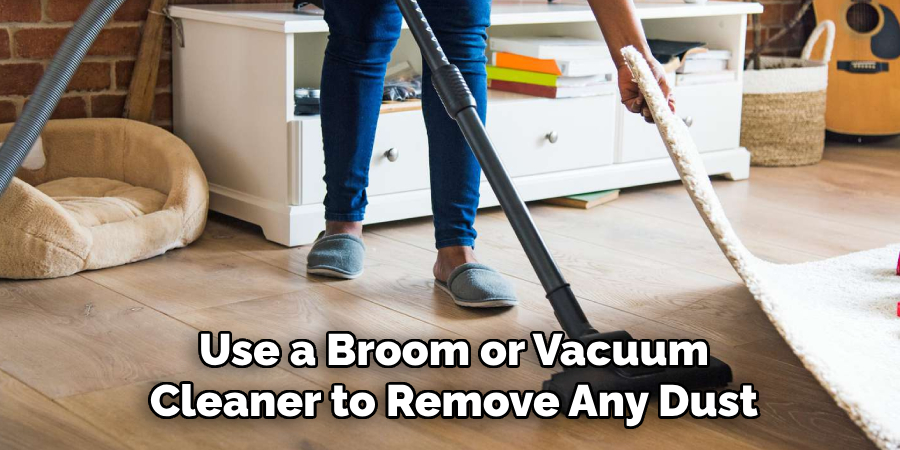
- Broom or Vacuum Cleaner: Before you start, ensure that your floors are free from any dirt, dust, or debris by sweeping or vacuuming them.
- Stain or Finish: Once you’ve water-popped your floors, you can apply a stain or finish of your choice. For best results, make sure to use high-quality products.
Once you have all the necessary tools and materials, let’s move on to the process of water popping.
10 Easy Steps on How to Water Pop Hardwood Floors:
Step 1. Prepare the Area:
Begin by removing all furniture and rugs from the room to expose the entire hardwood floor. It’s crucial to have a clear and accessible area to ensure even application of water across the floor. With the floor cleared, use a broom or vacuum cleaner to remove any dust, dirt, or debris.
Step 2. Identify Damaged Areas:
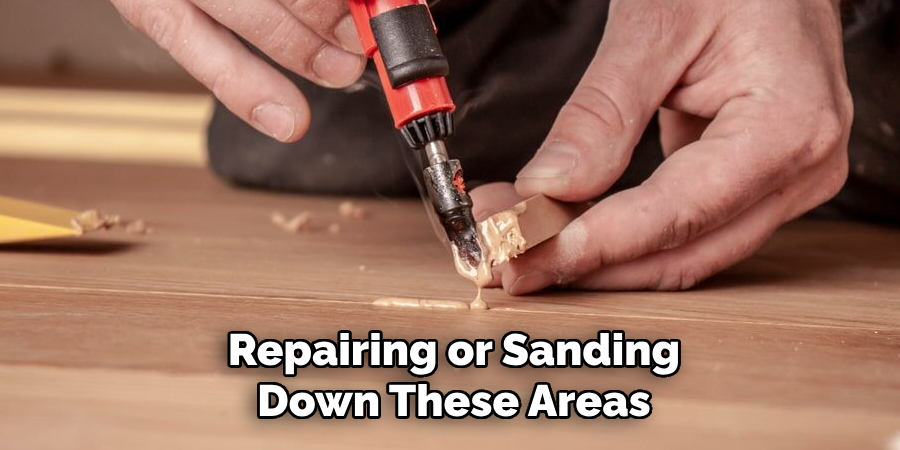
Closely inspect the hardwood floor for any signs of damage, such as deep scratches, dents, or areas with worn finish. These imperfections need to be addressed before proceeding with the water-popping process. Repairing or sanding down these areas will ensure that the stain or finish is absorbed evenly, preventing a patchy appearance. If necessary, consult a professional to repair severe damage to ensure your hardwood floors are in the best condition for water popping and staining.
After all damaged areas have been repaired or sanded and the entire floor is smooth, proceed to the next step to ensure your floors are ready for the water-popping technique.
Step 3. Dampen the Floor Evenly:
Moisten a clean, lint-free cloth or mop with lukewarm or room temperature water. Wring out any excess water to avoid saturating the wood. Starting at one corner of the room, gently apply the damp cloth or mop to the floor, moving toward the wood grain. Work in small sections to maintain control over the amount of moisture being applied. It’s crucial to ensure an even application; any uneven dampness can lead to inconsistent stain penetration and finish absorption. Proceed across the floor until the entire surface has been evenly moistened.
Step 4. Allow the Floor to Dry:
Once the entire hardwood floor has been evenly water popped, allow it to dry thoroughly. The drying process is crucial, as applying stain or finish to a damp floor can result in an uneven or blotchy finish. Depending on the humidity and temperature of your space, drying can take between 1 to 2 hours. It’s essential not to rush this step. You can use fans to circulate air and speed up the drying process, but make sure they are not directly blowing onto the floor, which can cause uneven drying. Check the floor’s moisture level before proceeding; it should feel completely dry to the touch.
Step 5. Check for Complete Drying:
Before moving forward with applying your stain or finish, it’s crucial to ensure that the floor is completely dry. Use your hand to feel the wood; it should not feel cold or damp. If you have a moisture meter, now is the time to use it. The wood’s moisture content should return to its pre-water popping level, ensuring it’s ready for the next stage. This step is vital, as applying the stain or finish on even slightly damp wood can prevent proper adhesion and penetration, affecting the durability and appearance of your hardwood floors. Once you’re confident the floor is fully dry, you can proceed to the staining or finishing.
Step 6. Apply Stain or Finish:
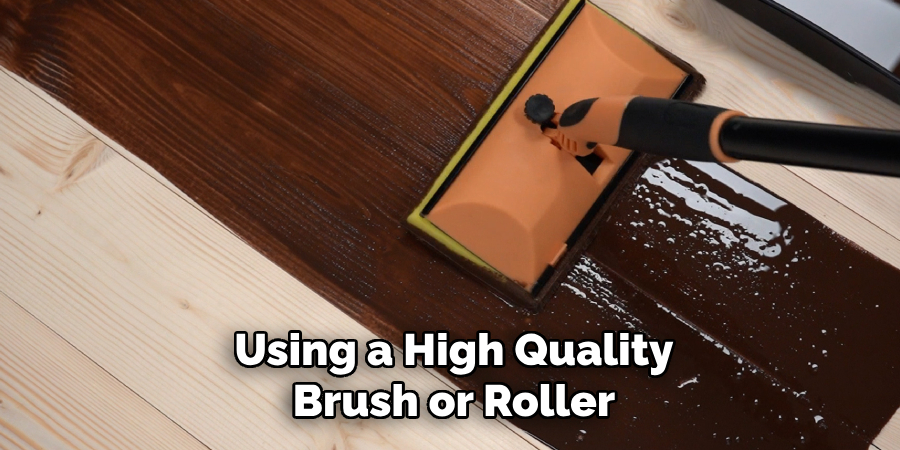
Now that your hardwood floor is fully prepared and dry, you can begin applying the stain or finish of your choice. Start at the corner of the room opposite the entrance to ensure you don’t box yourself in. Using a high-quality brush or roller, apply the stain or finish in the direction of the wood grain, working in manageable sections to maintain a wet edge.
This technique helps to avoid lap marks and ensures a smooth, uniform application. It’s important to carefully follow the manufacturer’s instructions regarding application and drying times. Typically, you may need to apply multiple coats for the best results, sanding lightly between coats if recommended. Allow ample drying time as specified by the product before proceeding to the next coat or before walking on the floor.
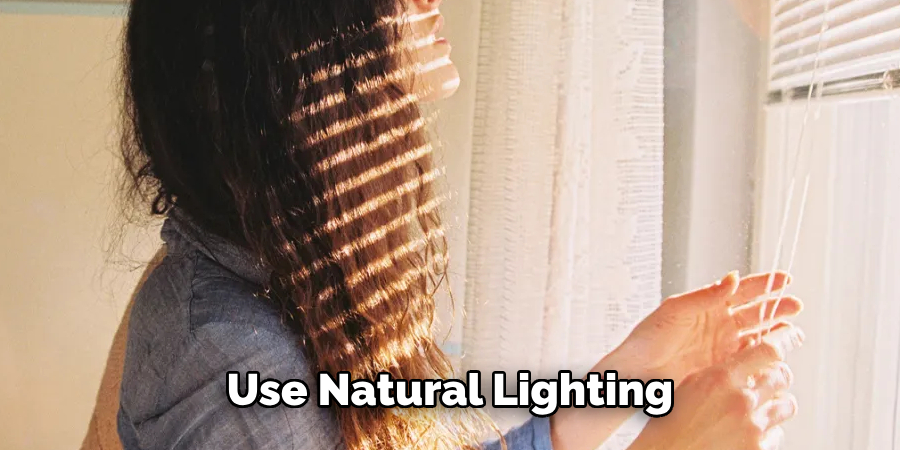
Step 7. Inspect the Applied Stain or Finish:
After you’ve applied the stain or finish and allowed it to dry as per the manufacturer’s instructions, closely inspect the floor for any missed spots, drips, bubbles, or inconsistencies. Use natural lighting if possible, as it will help highlight any areas that need additional attention. Should you find any imperfections, lightly sand the problem area with fine-grit sandpaper, then apply a thin coat of stain or finish to blend it seamlessly with the rest of the floor. This step is crucial for ensuring the quality and uniformity of your hardwood floor’s appearance. Once satisfied with the final look, allow the floor to cure completely before moving on to the final step.
Step 8. Final Cure and Drying Time:
Allow the stain or finish to cure fully, following the manufacturer’s suggested curing time. This period is critical for achieving your hardwood floors’ maximum durability and resistance. The curing process varies depending on the type of product used but typically ranges from a few days to a week. Avoid placing furniture or walking on the floors as much as possible during this time. Using fans to circulate air can help speed up the drying process, but again, ensure they’re not directly blowing on the surface to prevent uneven curing. Once the floor has completely cured, you can move on to the final touches of your refinishing project.
Step 9. Reinstall Baseboards and Furniture:
After the stain or finish has fully cured and the hardwood floors are dry and durable, it’s time to reinstall any baseboards, trim, or molding you may have removed during the preparation process. Be gentle to prevent any scratches or damage to the newly finished floors. Once the baseboards are securely in place, you can move furniture back into the room.
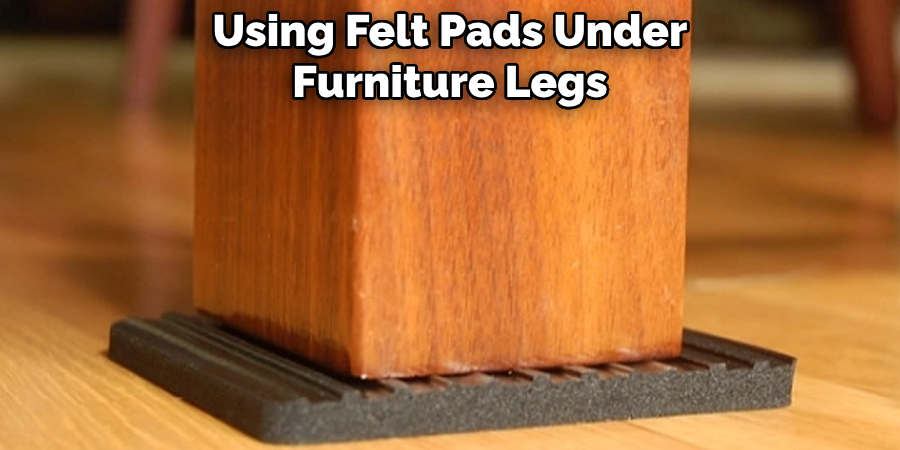
Using felt pads under furniture legs is recommended to protect the floor from scratches and scuffs. Additionally, consider placing rugs or mats in high-traffic areas to safeguard your beautifully refinished hardwood floors. This final step marks the completion of your hardwood refinishing project, allowing you to enjoy the rejuvenated appearance of your floors.
Step 10. Maintenance:
Since you’ve successfully refinished your hardwood floors, maintaining their beauty and durability is key. Regular cleaning with a soft, dry mop or cloth will help remove dust and debris, preventing scratches. Avoid using water or wet mops, which can damage the wood. Place mats at exterior doors to catch dirt, and use runners or area rugs in high-traffic areas to minimize wear. Keep pet nails trimmed and immediately clean up spills to prevent water damage. With proper care, your refinished hardwood floors will maintain their beauty and last for many years.
By following these steps and taking your time, you can successfully refinish your hardwood floors, giving them a new lease on life.
5 Additional Tips and Tricks
- Temperature and Humidity Control: Before starting the water popping process, ensure the room’s temperature and humidity are stable. Ideal conditions prevent the wood from expanding or contracting too much after the water is applied, which can affect the final outcome.
- Even Application: Use a garden sprayer or a mop to apply water evenly across the floor. This method helps achieve a consistent look, as uneven application can lead to splotchy or irregular staining.
- Adequate Drying Time: Allow the floor to dry completely before moving onto staining. The drying time can vary based on environmental conditions, typically 24 to 48 hours. Use fans to circulate air and speed up the drying process if necessary.
- Test Stain On A Small Section: Before applying the stain to the entire floor, test it on a small, inconspicuous area. This preliminary step will help you determine if the desired color and finish are achieved with the water-popped wood.
- Utilize a Professional Grade Wood Filler: If there are gaps or imperfections in the hardwood, fill them with a professional-grade wood filler that matches the wood’s color. This ensures a smooth, uniform surface post-staining, enhancing the overall appearance of the floors.
With these additional tips and tricks, you can achieve a flawless water-popped hardwood floor.

5 Things You Should Avoid
- Ignoring Room Conditions: Pay attention to the importance of the environment where you’re applying the water pop technique. High humidity and temperature fluctuations can dramatically affect the wood’s absorption rate and drying time.
- Uneven Water Application: Avoid applying water unevenly across your hardwood floors. An inconsistent layer of water can result in varied stain absorption, leading to an uneven finish.
- Rushing The Drying Process: Excessive speeding up the drying process can lead to issues. Using heat sources to accelerate drying can cause uneven stain absorption and potentially damage the wood.
- Skipping the Test Patch Step: Never skip testing the stain on a small section of the water-popped floor. This test is crucial for ensuring the stain appears as expected on the entire floor.
- Neglecting Imperfections Before Staining: Please address gaps, cracks, or imperfections with a suitable wood filler before staining can result in a less-than-satisfactory finish. It’s essential to start with as smooth and uniform a surface as possible for the best results.
By avoiding these common mistakes, you can ensure a successful water-popping process and achieve beautiful, flawless hardwood floors.
How Do You Fix Popping Hardwood Floors?
Popping hardwood floors can be caused by various factors, including moisture issues, improper installation, or changes in temperature and humidity. The first step in fixing popping hardwood floors is to identify the cause of the problem.
If the issue is due to high moisture levels, addressing the source and ensuring proper ventilation in the affected area is important. If improper installation is the cause, removing and reinstalling the affected boards may be necessary. In cases where changes in temperature and humidity are the culprit, using a humidifier or dehumidifier can help stabilize conditions and prevent further popping.
For minor pops or squeaks, using wood glue or screws to secure loose boards may also help alleviate the issue. However, if the problem persists or is widespread, it’s best to consult a professional for further evaluation and repair. In some cases, refinishing the floors may also help reduce popping as it can address any underlying issues with the wood. Identifying and addressing the root cause of popping hardwood floors is crucial for achieving long-lasting, durable flooring.
Why is Your Hardwood Floor Sagging?
Sagging hardwood floors can be a sign of structural issues or improper installation. One common cause is the presence of subfloor moisture, which can affect the stability and integrity of the wood. Additionally, insufficient support beneath the floor can lead to sagging over time.
Another factor contributing to sagging hardwood floors is inadequate acclimation before installation. If the wood was not given enough time to adjust to its environment’s humidity and temperature, it may be prone to warping or sagging.
To address sagging hardwood floors, it’s important first to identify the root cause. In some cases, shoring up the subfloor and providing additional support may help alleviate the issue. For more severe cases, replacing the affected boards or reinstalling the entire floor may be necessary.
Ultimately, taking preventative measures such as proper installation and acclimation can help avoid this issue in the first place.
Do Hardwood Floors Dent Easily?
Hardwood floors are generally durable and resistant to dents but not completely immune to them. Factors such as the type of wood, the thickness of the boards, and the level of foot traffic can all affect how easily hardwood floors may dent.
Softer woods like pine or fir are more susceptible to dents than harder woods like oak or maple. Additionally, thinner boards are more prone to dents than thicker ones. High levels of foot traffic can also lead to dents over time, especially if furniture or heavy objects are frequently moved across the floor.
To minimize the risk of dents on hardwood floors, it’s important to choose a durable wood and opt for thicker boards. Additionally, using protective felt pads on the bottom of furniture legs can help prevent dents from occurring. If a dent does appear, sanding and refinishing the affected area may be possible to restore the floor’s smooth surface. Overall, proper maintenance and care can help prolong the life of hardwood floors and minimize the risk of dents.
Conclusion
How to water pop hardwood floors is a highly effective technique for preparing hardwood floors for staining, ensuring a deep, even color and enhancing the wood’s natural grain.
By diligently following the outlined steps—including checking the wood’s moisture content, applying water evenly, allowing adequate drying time, and avoiding common pitfalls—the process can lead to beautifully finished hardwood floors. It’s crucial to understand the potential benefits and the common mistakes to avoid, such as rushing the drying process or neglecting room conditions.
Additionally, addressing any pre-existing issues with the hardwood, such as imperfections or moisture problems, prior to water popping will result in the best possible finish. Ultimately, with the right preparation and attention to detail, water popping can greatly improve the overall appearance of hardwood floors, ensuring a professional and long-lasting result.
About the Author
Adrian Green, a lifelong woodworking enthusiast, shares his passion for the craft through The Woodenify Blog. With a foundation built on years of hands-on experience in his father’s woodworking shop, Adrian is dedicated to helping others learn and grow in the world of DIY woodworking. His approach to woodworking combines creativity, practicality, and a deep appreciation for the art of building with your own hands. Through his blog, he inspires individuals of all skill levels to embark on their own woodworking journeys, creating beautiful, functional pieces of furniture and décor.
Professional Focus
- Specializes in DIY woodworking projects, from furniture to home décor.
- Provides step-by-step guides and practical tutorials for woodworkers of all skill levels.
- Dedicated to helping readers build confidence and skill through easy-to-follow instructions and tips.
- Passionate about fostering a community of makers who can share, learn, and grow together.
Education History
- University of Craft and Design – Bachelor of Fine Arts (BFA) in Woodworking and Furniture Design
- Woodworking Apprenticeships – Extensive hands-on training with skilled craftsmen to refine carpentry and furniture making techniques.
- Online Courses & Masterclasses – Continued education in advanced woodworking techniques, design principles, and specialized tools
Expertise:
- DIY woodworking, carpentry, furniture making, and home décor projects.
- Creating accessible tutorials and guides for beginner to advanced woodworkers.
- Sharing the joys and satisfaction of woodworking, from raw materials to finished products.