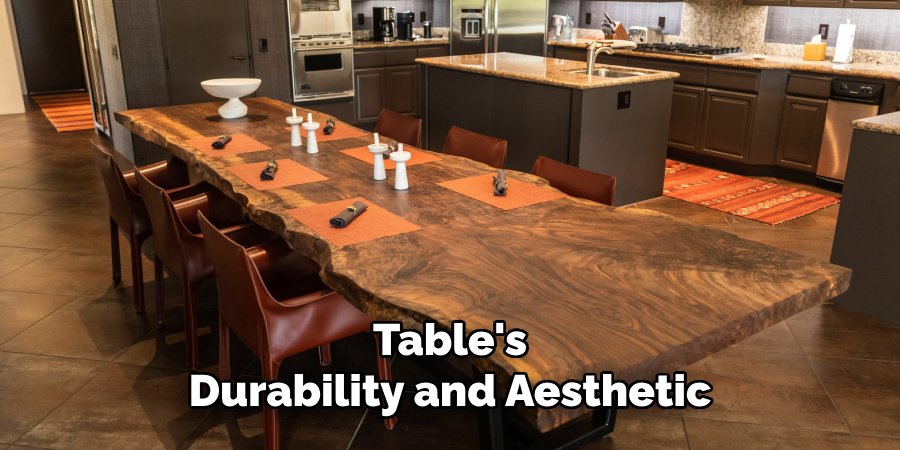
A live-edge dining table is a masterpiece in woodworking that preserves the natural edge of the wood slab, seamlessly blending rustic charm with contemporary elegance. Unlike traditional furniture, live-edge tables celebrate the wood’s organic imperfections, such as its curves, knots, and grain patterns, making each piece truly one of a kind. The appeal lies in its innate beauty and the sense of connection it fosters with nature and raw materials.
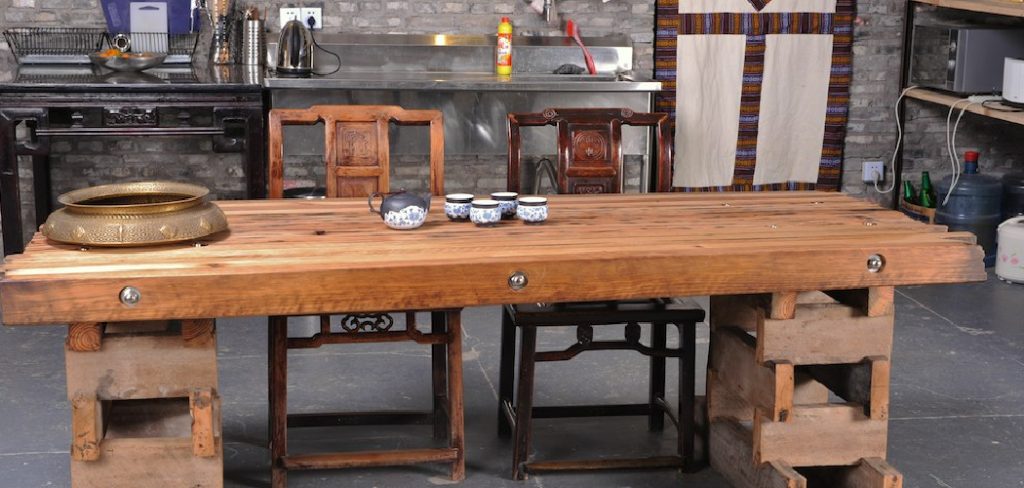
Carving and creating a live-edge dining table carving design offers numerous benefits. It allows woodworkers to showcase the wood’s natural character while adding unique, handcrafted details. The process yields a functional and artistic piece that stands out as a centerpiece in any dining space.
This guide provides step-by-step instructions on how to carve a live-edge dining table, offering techniques suitable for both beginners and seasoned woodworkers. Whether it’s your first table or your tenth, the tips here will inspire your creativity and craftsmanship.
Choosing the Right Wood for a Live-Edge Dining Table
Selecting the right wood is crucial in creating a stunning and durable live-edge dining table. The wood you choose will determine the table’s aesthetic appeal, stability, and longevity.
Selecting the Wood Type
Popular choices for live-edge tables include walnut, oak, maple, and cherry. Walnut is prized for its rich, dark tones and striking grain patterns, making it a favorite for both rustic and modern designs. Oak, known for its durability and pronounced grain, offers a versatile option strong enough for daily use. Maple features lighter hues and subtle patterns that create a clean and contemporary look, while cherry wood deepens in color over time, offering a warm and classic touch. When selecting wood, consider its stability and how the grain patterns align with your vision for the project.
Determining Table Size
Before choosing a slab, assess the size of the dining area and decide on your table dimensions. A larger dining space may
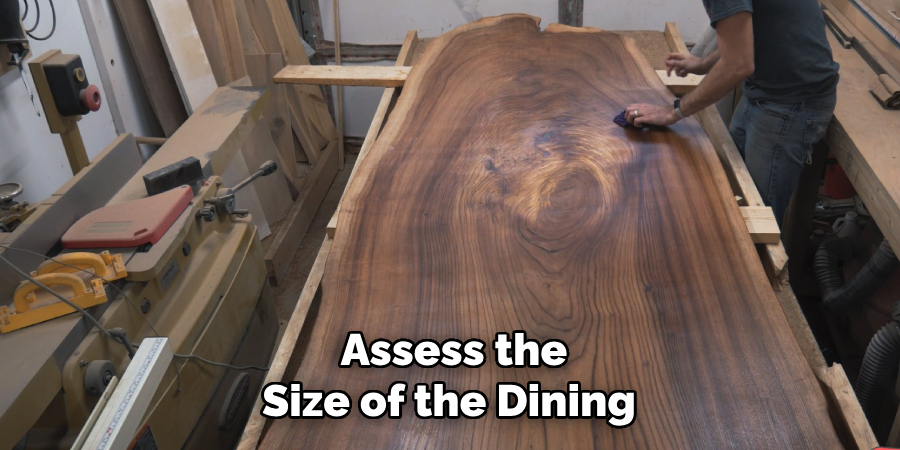
accommodate a broader and longer table, while smaller areas require more compact designs. Selecting a slab that fits within these dimensions ensures the table balances function and proportion without overwhelming its surroundings.
Checking for Defects
Carefully inspect the wood for potential defects, such as cracks, knots, or warping. While some imperfections add character, structural issues could complicate carving or compromise the table’s durability. Look for visually appealing and structurally sound slabs to ensure your project’s success and longevity.
Tools and Materials Needed
Essential Tools for Carving
Having the right tools is crucial to carve a live edge table. Start with cutting tools such as a chainsaw, jigsaw, or handsaw, allowing you to shape and trim the raw edges of the slab. Power tools like a router, carving chisels, and a sander are indispensable for
refining detailed designs, smoothing surfaces, and achieving a professional finish. A carving knife is essential for intricate work, providing precision and control.
Sanding Tools
To prepare the wood for finishing, utilize a random orbital sander or a manual sanding block to create smooth, even surfaces. Sanding is important to highlight the wood’s natural grain and remove any rough patches left after initial carving.
Additional Materials
Beyond tools, several materials contribute to the success of the project. Wood finishes, such as oil, wax, or polyurethane, are key to
sealing and enhancing the natural beauty of the wood. You will also need wood filler to address minor imperfections like small cracks or holes. Lastly, secure the slab during carving with sturdy clamps to ensure stability and safety.
Preparing the Wood for Carving
Before starting your carving project, it’s essential to properly prepare the wood slab to ensure a smooth and successful process. Follow these steps to get your wood slab ready:
Step 1: Flattening the Slab
Begin by flattening the surface of the wood slab. A planer is ideal for this job, but hand tools like a jack plane can also be used. Carefully inspect the slab for any bowing or warping, as this can affect the stability and aesthetics of your finished piece. Correct these issues by evenly shaving off high spots until the surface is level and smooth. Taking the time to flatten the slab thoroughly will create a reliable foundation for carving and ensure precise results.
Step 2: Defining the Live Edge
The live edge is a natural and eye-catching detail in many woodworking projects. Decide which side of the slab will be featured as the live edge based on its grain pattern and unique characteristics. Trim away any excess wood or irregularities using a chainsaw or hand tools. Once trimmed, gently curve or shape the live edge for a more refined and organic look. Remember to retain the edge’s natural beauty while shaping it to your desired design.
Step 3: Sanding the Edges
To prepare the edges for carving, sand them to a rough finish to remove splinters and uneven surfaces. A power sander works
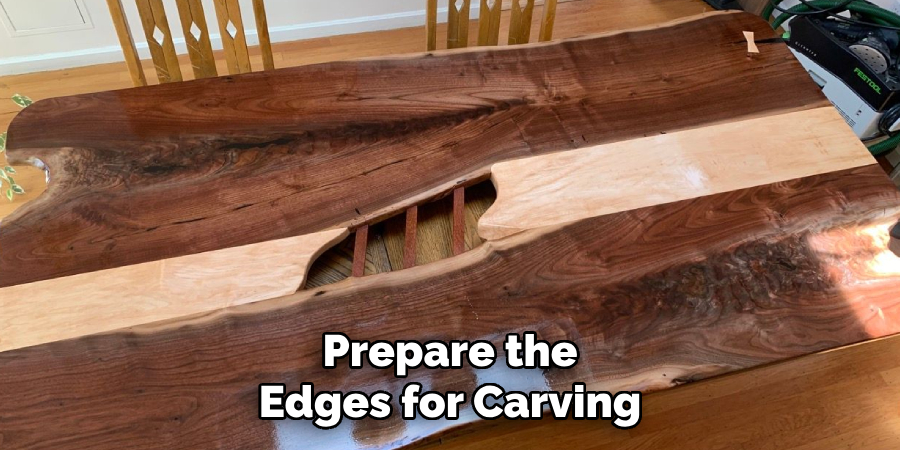
efficiently for general smoothness, while hand sanding allows for finer control and detail work. Properly sanding the edges softens the slab and makes it comfortable to handle, setting the stage for intricate carving and finishing techniques.
How to Carve a Live-Edge Dining Table: Carving the Tabletop
Step 1: Designing the Carved Details
Using a pencil, begin by sketching your desired carving pattern or shape directly onto the tabletop. This provides a clear guide and helps you visualize the final design. Take into account the natural characteristics of the wood, such as grain lines, knots, and color variations, as they can be incorporated seamlessly to enhance the overall aesthetic of the carving. If you prefer a more structured pattern, consider using templates or stencils to ensure accuracy and consistency in your design.
Step 2: Carving the Edges
Carefully shape the tabletop’s edges using carving tools or a router to add depth and dimension. Depending on the look you aim to achieve, you can apply different techniques such as beveling, rounding, or adding grooves for texture. Carve deliberately and in small increments to maintain control and prevent mistakes. Edge carving enhances the table’s unique character and creates a visually appealing contrast to the live edge or flat surface.
Step 3: Refining the Details
Once the primary carving is complete, focus on refining the finer details. Pay close attention to creating smooth transitions between carved areas and ensuring precise lines, contributing to a polished, professional look. Use sandpaper in progressively finer grits to sand the carved areas, resulting in a smooth, tactile surface. This extra finishing care will highlight the tabletop’s craftsmanship and prepare it for staining or sealing in later steps.
Sanding and Smoothing the Surface
Step 1: Initial Sanding
Begin the sanding process by using coarse grit sandpaper (80-100 grit) to tackle the roughness left behind from the carving phase. Focus on evening out the carved areas and removing any tool marks or imperfections on the surface. For the best results, always
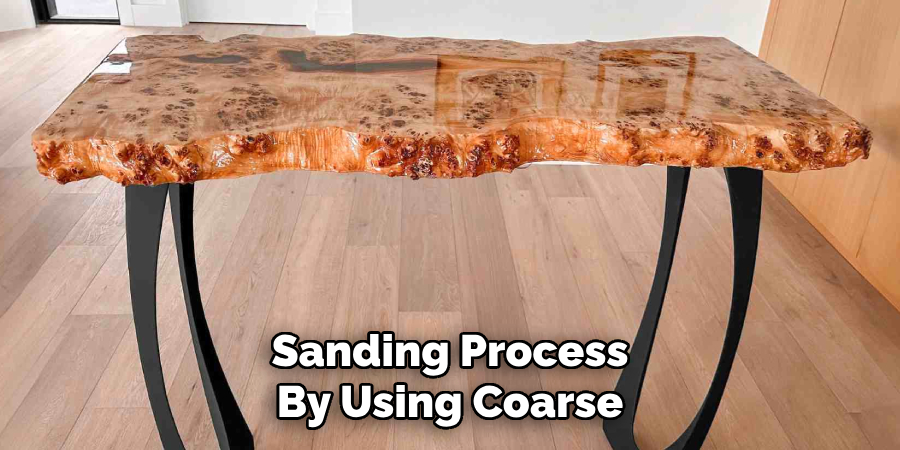
sand with the grain of the wood. This technique prevents the appearance of unsightly swirl marks, ensuring a cleaner and more seamless finish. A steady and even approach during this stage is crucial to preparing the surface for subsequent, finer sanding.
Step 2: Finishing Sanding
Once the initial sanding is complete, progress to finer grit sandpaper (180-220 grit) to enhance the smoothness of the surface and bring it closer to a polished state. Consider using a random orbital sander for an even and consistent finish, particularly for larger flat areas. This tool minimizes the risk of uneven patches and helps achieve a professional look. Pay attention to maintaining a soft, even pressure as you work over the entire table surface to avoid over-sanding in any specific area.
Step 3: Edge Detailing
The edges require detailed care to preserve the intricate carvings and the natural live edge features. Utilize hand sanding to ensure precise attention to these areas, gently working with the grain to maintain the table’s unique character. Smooth the transition between the live edge and the tabletop surface for a refined and cohesive look. This final touch ensures the finished piece’s flawless balance of detail and natural beauty.
Sealing and Finishing the Table
Step 1: Choosing the Right Finish
Selecting the appropriate finish is a critical step in determining your table’s durability and aesthetic. Several options are available, each with its unique qualities. Oil finishes, such as tung oil or linseed oil, penetrate deeply into the wood, enhancing its natural grain and providing a warm, rich appearance. Wax finishes add a subtle sheen and a lightweight, protective layer, ideal for low-traffic
furniture. Polyurethane, on the other hand, offers a more robust protective coating, shielding the wood from scratches, moisture, and wear. Consider your intended use of the table and the desired look when deciding on the finish to ensure the best outcome.
Step 2: Applying the Finish
Applying the finish requires precision and patience to achieve a professional result. Use a clean cloth or brush to apply a thin, even coat of the chosen finish across the surface. Follow the grain of the wood to ensure a smooth application. After the first coat, wipe away any excess finish to prevent uneven drying or sticky residue. Allow the finish to dry thoroughly—refer to the specific product’s instructions for drying times. Repeat this process, applying additional coats as needed to enhance protection and build up a consistent finish.
Step 3: Buffing and Polishing
Once fully dries the finish, lightly sand the surface between coats with fine-grit sandpaper (320-400 grit) to ensure smoothness. This step removes any imperfections and prepares the table for the next coat. After completing the final coat, polish the surface using a clean, soft cloth to achieve a rich, glossy appearance. The result is a well-sealed, beautifully finished table highlighting the wood’s natural elegance while offering long-lasting protection.
Attaching the Legs and Final Assembly
Choosing the Right Legs
Selecting the right legs for your table is crucial in achieving stability and an aesthetically pleasing design. Options include wooden legs for a traditional look, metal legs for a modern or industrial aesthetic, or custom designs that complement the natural beauty of the live-edge top. When choosing legs, consider the height needed to suit the intended use and ensure it provides comfortable seating. The leg style should harmonize with the tabletop, enhancing its overall appeal and functionality.
Attaching the Legs
There are several techniques to securely attach the legs to the tabletop, ensuring a durable and steady final product. You can use
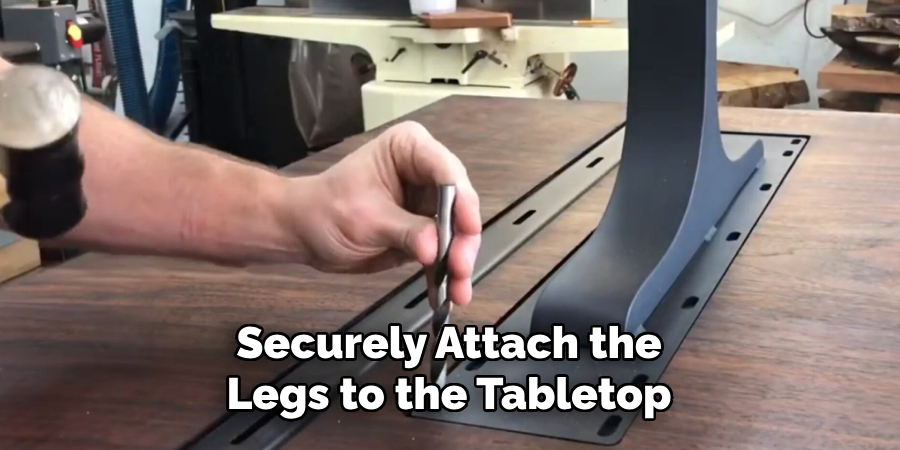
mounting brackets for an easy and adjustable option or screws for a straightforward and secure connection. A through-bolt system may be employed for added strength, particularly for larger or heavier tabletops. Make sure all attachment points are evenly spaced and aligned to distribute weight properly and prevent wobbling.
Leveling the Table
Once the legs are attached, check the level of the table. Place it on a flat surface and ensure all legs rest evenly on the floor. If adjustments are needed, use leveling glides or minor alterations to the leg length to achieve perfect balance and stability. The final result will be a table that’s not only visually stunning but also sturdy and functional.
Conclusion
Creating a live-edge dining table is a rewarding process that combines artistry and craftsmanship. From carefully selecting the wood to carving and finishing each edge, every step adds uniqueness and character to the piece. Understanding “how to carve a live-edge dining table” is key to highlighting the natural beauty of the wood, making it a stunning centerpiece for any space. This project teaches essential woodworking skills and encourages creativity, allowing you to experiment with designs and finishes. A custom-built live-edge table is more than furniture—it’s a testament to individuality and skilled workmanship.
About the Author
Adrian Green, a lifelong woodworking enthusiast, shares his passion for the craft through The Woodenify Blog. With a foundation built on years of hands-on experience in his father’s woodworking shop, Adrian is dedicated to helping others learn and grow in the world of DIY woodworking. His approach to woodworking combines creativity, practicality, and a deep appreciation for the art of building with your own hands. Through his blog, he inspires individuals of all skill levels to embark on their own woodworking journeys, creating beautiful, functional pieces of furniture and décor.
Professional Focus
- Specializes in DIY woodworking projects, from furniture to home décor.
- Provides step-by-step guides and practical tutorials for woodworkers of all skill levels.
- Dedicated to helping readers build confidence and skill through easy-to-follow instructions and tips.
- Passionate about fostering a community of makers who can share, learn, and grow together.
Education History
- University of Craft and Design – Bachelor of Fine Arts (BFA) in Woodworking and Furniture Design
- Woodworking Apprenticeships – Extensive hands-on training with skilled craftsmen to refine carpentry and furniture making techniques.
- Online Courses & Masterclasses – Continued education in advanced woodworking techniques, design principles, and specialized tools
Expertise:
- DIY woodworking, carpentry, furniture making, and home décor projects.
- Creating accessible tutorials and guides for beginner to advanced woodworkers.
- Sharing the joys and satisfaction of woodworking, from raw materials to finished products.