Creating a tree stump stool is a rewarding DIY project that combines functionality and natural aesthetics. Whether you’re looking to add rustic charm to your home or upcycle materials, this project is both eco-friendly and budget-conscious. With a little effort and some basic tools, you can transform an ordinary tree stump into a beautifully crafted piece of furniture that’s perfect for seating or decoration.
In this article on how to make a tree stump stool, we’ll discuss the materials and tools you’ll need, as well as the step-by-step process for creating your own unique stool. We’ll also provide some additional tips and ideas to help you customize your stump stool to fit your personal style.
Materials and Tools
To make a tree stump stool, you will need the following materials:
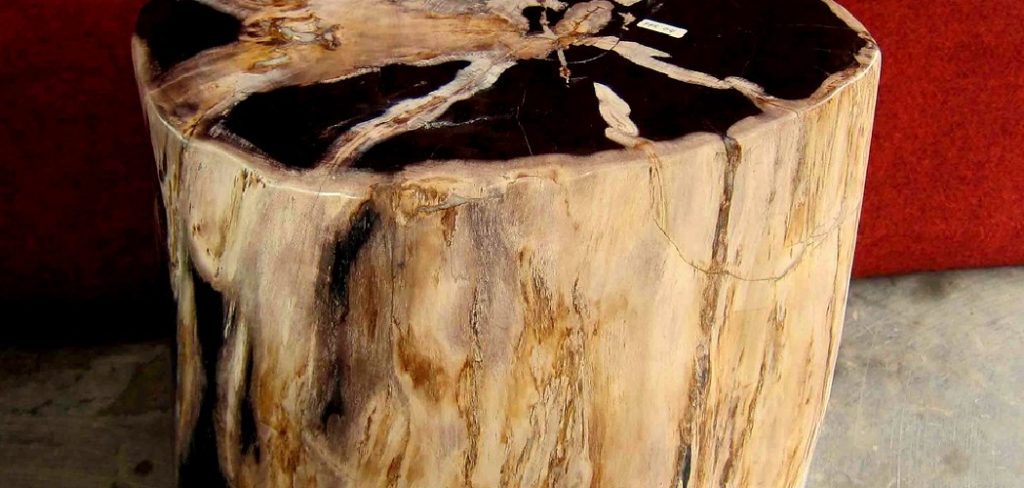
Tree Stump:
The size and shape of your tree stump will depend on personal preference and the space you have available. Make sure to select a stump that is sturdy and in good condition, with minimal cracks or rot.
Sandpaper:
Choose sandpaper with a medium grit (around 80-100) for smoothing out rough edges and preparing the surface for staining.
Stain or Paint:
You can choose to leave your stump stool natural, but adding some color can enhance its appearance. Consider using a wood stain or exterior paint for durability.
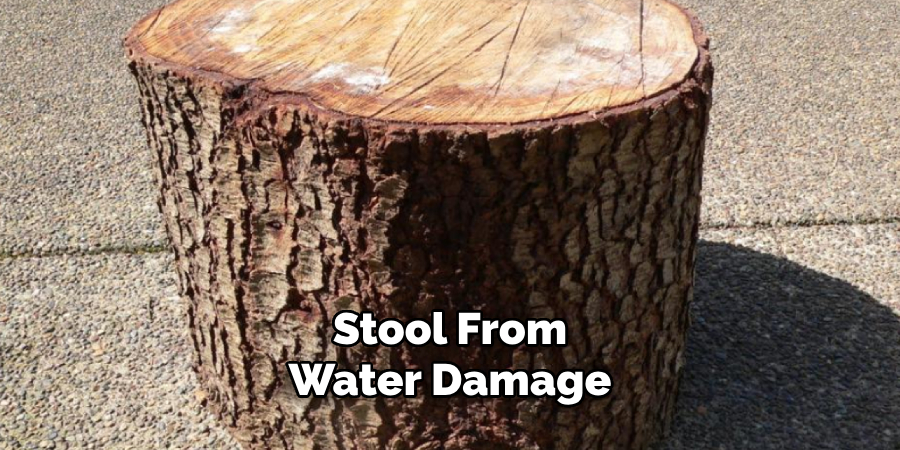
Polyurethane Sealant:
Applying a sealant will protect your stool from water damage and give it a glossy finish. Opt for an oil-based sealant for a longer-lasting result.
Tools:
- Saw (Hand or Electric)
- Drill With Spade Bit
- Hammer and Chisel
- Paintbrush or Rag
- Sanding Block
8 Step-by-step Guidelines on How to Make a Tree Stump Stool
Step 1: Prepare the Stump
Begin by selecting your tree stump and ensuring it is the right size and shape for your stool. Remove any bark from the stump using a hammer and chisel or a similar tool. Stripping the bark not only gives the stump a cleaner appearance but also prevents pests and moisture from being trapped underneath.
After removing the bark, use sandpaper or a sanding block to smooth out the surface and edges of the stump. Pay close attention to any rough or jagged areas that may cause discomfort or snags. This step ensures a safe and polished base for your stool.
Step 2: Saw Off the Top
Once the stump is prepared and smoothed, use a saw to level off the top surface. This step is crucial to ensure a flat and even seating area. Depending on the original condition of the stump, you may need to remove only a small portion or cut off significant uneven sections. Use a hand saw or an electric saw for more precision.
Take your time to ensure the cut is as straight as possible, as an uneven surface may impact the stool’s stability or comfort. After sawing, sand the top once again to create a smooth, polished finish.
Step 3: Drill a Hole
Decide whether you would like to add legs to your stump stool for added height or leave it as a flat, grounded piece. If adding legs, mark the spots where the legs will be attached, typically in a triangular or rectangular pattern for stability. Use a drill with a spade bit to create holes at the marked spots evenly.
The depth and diameter of the holes should be appropriate for the legs you plan to insert. Make sure the holes are straight and evenly spaced to prevent wobbling. Once the holes are drilled, clean out any wood debris to ensure a snug fit for the legs.
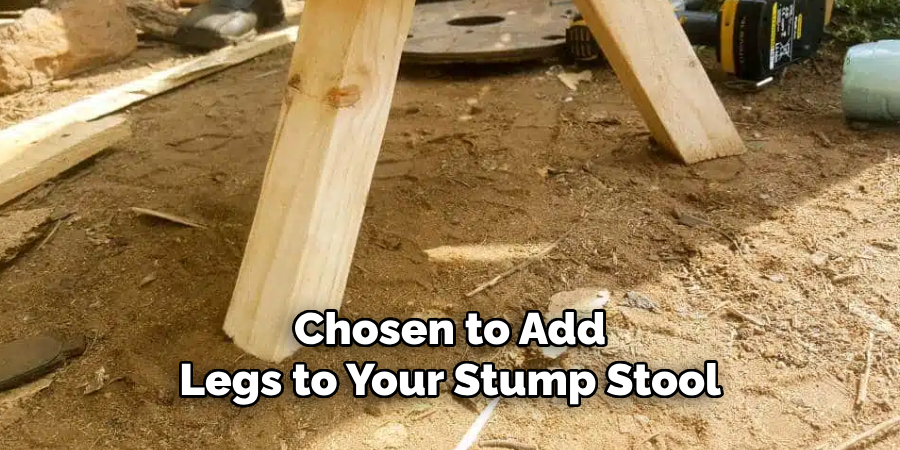
Step 4: Attach Legs (Optional)
If you have chosen to add legs to your stump stool, insert them into the holes and secure them using a hammer or mallet. Make sure they are firmly in place and evenly spaced for balance. If necessary, use wood glue to reinforce the legs for added support. Allow the glue to dry completely before proceeding.
You can use a variety of materials for legs, such as metal pipes or wooden dowels. Get creative and choose something that complements the aesthetic of your stool.
Step 5: Stain or Paint
Now comes the fun part – adding color to your tree stump stool! You can choose to leave it natural, but staining or painting it gives you an opportunity to personalize your stool and make it stand out. Use a paintbrush or rag to apply the stain or paint evenly across the entire surface of the stool.
If using wood stain, remember to follow the manufacturer’s instructions and allow for proper drying time between coats. For exterior paint, make sure to use a sealant on top for added durability against weathering.
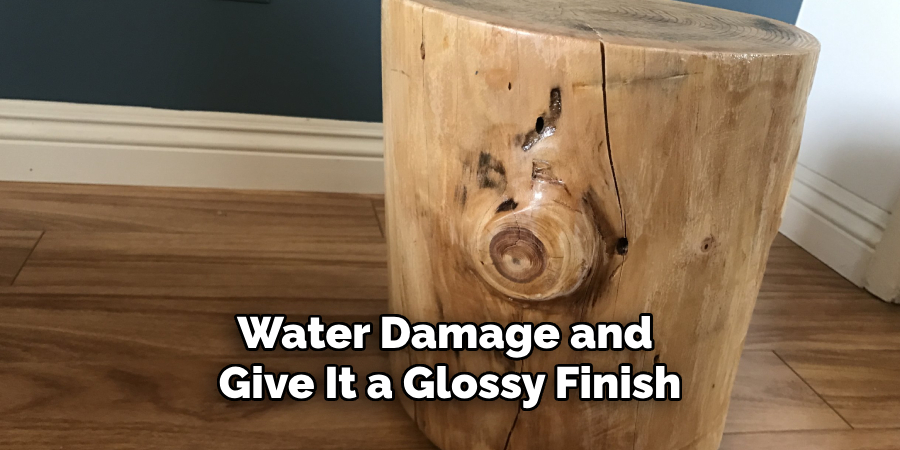
Step 6: Apply a Sealant
To protect your stool from water damage and give it a glossy finish, apply a polyurethane sealant. Using an oil-based sealant will provide longer-lasting results compared to water-based options. Use a paintbrush or rag to evenly coat the entire stool, including the legs if applicable. Allow for proper drying time before use.
It is recommended that at least two coats of sealant be applied for optimal protection.
Step 7: Let it Dry
After applying the sealant, it is crucial to allow your tree stump stool to dry completely before using it. Place the stool in a well-ventilated area, away from direct sunlight or extreme temperatures, to ensure the drying process is even and effective.
Depending on the type of sealant used, drying can take anywhere from 24 to 48 hours. Be patient during this step, as using the stool before it is fully dry may compromise the finish and durability of your project. Once dry, your stool will be ready for use or additional customization.
Step 8: Customize and Decorate
Now that your stump stool is complete, it’s time to personalize it further! You can use decorative elements such as paint or stencils to add designs or patterns to the surface. You can also wrap a rope or fabric around the legs for added texture and style.
Furthermore, consider adding a cushion or seat cover on top for added comfort. Get creative and make your tree stump stool truly unique.
Following these simple steps on how to make a tree stump stool, you can transform a plain tree stump into a functional and eye-catching piece of furniture. With proper care and maintenance, your stump stool will last for years to come, adding a touch of nature to any indoor or outdoor space.
Additional Tips
- If you are using a freshly cut stump, make sure to let it dry out completely before beginning the project. This will prevent any cracks from appearing after construction.
- To customize the height of your stool, simply set the stump to your desired height before beginning the other steps.
- Use a level to ensure your stool is even and balanced throughout the construction process, especially if you are attaching legs.
- Consider using different colored stains or paints for a more vibrant and unique look. You can also use multiple coats of different colors for a layered effect.
- When choosing a sealant, opt for one that contains UV protection to prevent fading from sunlight exposure.
- For added stability, consider adding crossbars between the legs or reinforcing with metal braces underneath the seat.
- If using the stool outdoors, make sure to reapply the sealant every year to maintain its durability against weathering.
- Don’t limit yourself to just stumps – you can also use old tree branches or logs to create smaller stools or side tables using the same techniques. Get creative and repurpose natural wood pieces in your home décor.
Frequently Asked Questions
Q1: Can I Use Any Type of Wood for My Stump Stool?
A1: While hardwood stumps are generally preferred for their durability, you can use any type of wood as long as it is solid and in good condition. Avoid using softwood or rotting wood, as they may not hold up well over time.

Q2: How Do I Prevent Cracks from Forming in the Stump?
A2: To prevent cracks, make sure to let the stump dry out completely before beginning the project. You can also apply a wood filler or epoxy to any existing cracks before sanding and staining/painting.
Q3: Can I Use Varnish Instead of Polyurethane Sealant?
A3: Yes, you can use varnish as an alternative to polyurethane sealant. However, keep in mind that varnish may not provide as strong of a protective layer against water damage compared to oil-based sealants.
Q4: Are There Any Special Tools Required for This Project?
A4: No, this project can be completed using basic woodworking tools such as a drill, saw, and sandpaper. However, if you choose to add legs to your stool, you will need a hammer or mallet, and possibly wood glue.
Conclusion
In conclusion, a tree stump stool DIY project is a fantastic way to bring a touch of nature into your home while creating a unique and functional piece of furniture. Creating a tree stump stool is a rewarding and creative DIY project that combines functionality with natural beauty. By following the step-by-step guide on how to make a tree stump stool, you can transform an ordinary tree stump into a practical piece of furniture that reflects your personal style.
With proper preparation, attention to detail, and a touch of creativity, your finished stool will be both durable and visually appealing. Whether used indoors or outdoors, this unique piece is sure to make a statement and bring a rustic charm to any space. Take pride in crafting something with your own hands and enjoy the satisfaction of repurposing natural materials into something truly special.
About the Author
Adrian Green, a lifelong woodworking enthusiast, shares his passion for the craft through The Woodenify Blog. With a foundation built on years of hands-on experience in his father’s woodworking shop, Adrian is dedicated to helping others learn and grow in the world of DIY woodworking. His approach to woodworking combines creativity, practicality, and a deep appreciation for the art of building with your own hands. Through his blog, he inspires individuals of all skill levels to embark on their own woodworking journeys, creating beautiful, functional pieces of furniture and décor.
Professional Focus
- Specializes in DIY woodworking projects, from furniture to home décor.
- Provides step-by-step guides and practical tutorials for woodworkers of all skill levels.
- Dedicated to helping readers build confidence and skill through easy-to-follow instructions and tips.
- Passionate about fostering a community of makers who can share, learn, and grow together.
Education History
- University of Craft and Design – Bachelor of Fine Arts (BFA) in Woodworking and Furniture Design
- Woodworking Apprenticeships – Extensive hands-on training with skilled craftsmen to refine carpentry and furniture making techniques.
- Online Courses & Masterclasses – Continued education in advanced woodworking techniques, design principles, and specialized tools
Expertise:
- DIY woodworking, carpentry, furniture making, and home décor projects.
- Creating accessible tutorials and guides for beginner to advanced woodworkers.
- Sharing the joys and satisfaction of woodworking, from raw materials to finished products.