Are you a jewelry lover who is tired of buying expensive and generic jewelry boxes? Why not make your own wooden jewelry box? They are not only beautiful but also durable and customizable.
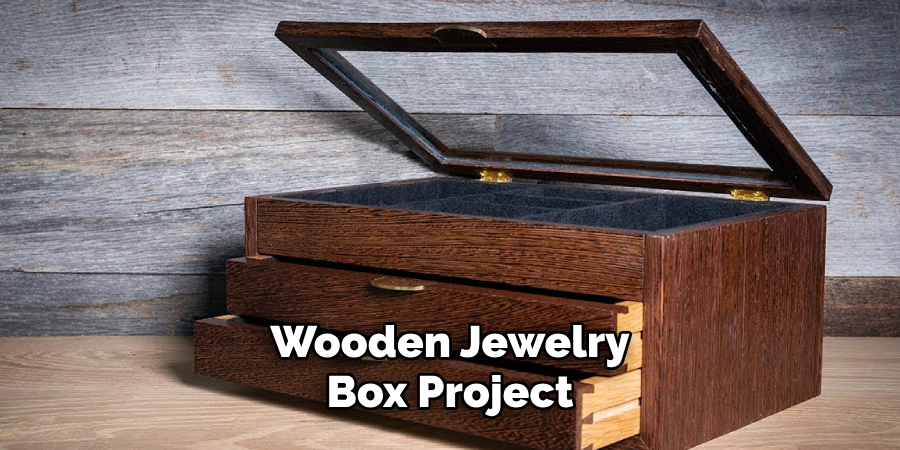
How to make wooden jewelry boxes is a rewarding and creative project that combines functionality with artistry. These timeless pieces not only serve as practical storage for jewelry but also stand as beautiful additions to any space. Whether you’re an experienced woodworker or a beginner looking to develop your skills, making a wooden jewelry box is a manageable endeavor with the right tools, materials, and guidance.
This guide on wooden jewelry boxes DIY will walk you through the essential steps to design and construct your own unique wooden jewelry box, allowing you to create a cherished item that can be passed down for generations.
What Are the Benefits of Making a Wooden Jewelry Box?
There are numerous benefits to making your wooden jewelry box, including:
- Cost-effectiveness: Buying a high-quality wooden jewelry box can be expensive. By making one yourself, you can save money and still have a beautiful and functional piece.
- Creativity: Crafting your jewelry box allows you to tap into your creativity and make something unique and personal.
- Customizability: When you make your wooden jewelry box, you have complete control over the design, size, and features. You can tailor it to your specific needs and preferences.
- Durability: Wooden jewelry boxes are known for their durability, making them ideal for storing precious and delicate jewelry. By creating your own, you can ensure that it is built to last.
- Satisfaction: A sense of satisfaction and pride comes with creating something with your own two hands. Making a wooden jewelry box allows you to see the end result of your hard work and dedication.
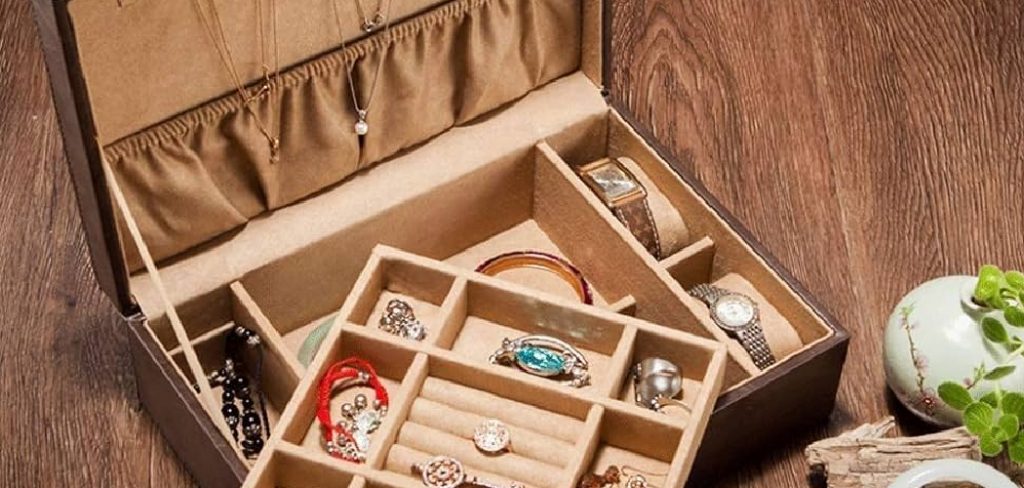
Once you have your wooden jewelry box, you can store and organize your jewelry collection, keeping it safe and easily accessible.
What Will You Need?
To get started on your wooden jewelry box project, you’ll need the following tools and materials:
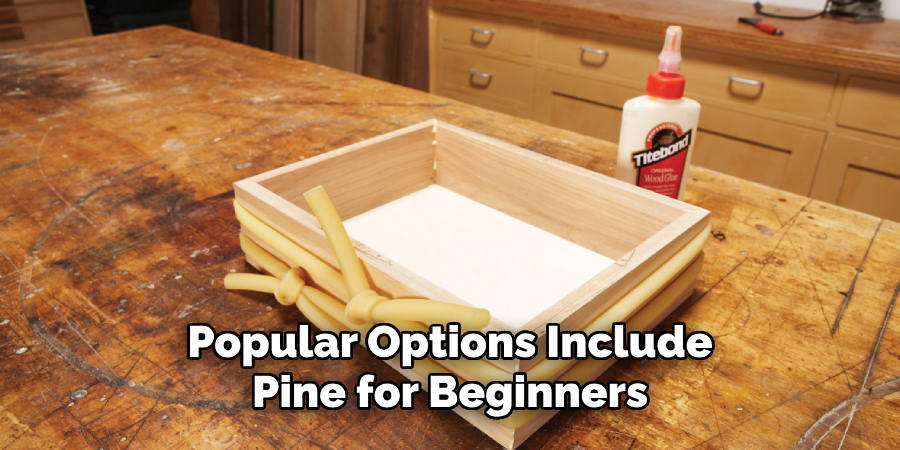
- Wood: Choose a type of wood that is easy to work with and can withstand wear and tear. Popular choices include pine, oak, maple, and cherry.
- Saw: A saw will be necessary to cut the wood into desired sizes and shapes.
- Sander: Sanding blocks or an electric sander will help smooth out rough edges and create a polished finish.
- Wood glue: This will be used to hold all the pieces together.
- Clamps: Clamps are essential for keeping the pieces in place while they dry.
- Drill: You will need a drill to create holes for hinges and other hardware.
- Hardware: Choose hardware that complements the wood and adds functionality, such as hinges, knobs, and latches.
- Decoration materials: Personalize your wooden jewelry box with paint, stain, varnish, or other decorative elements like beads or stones.
9 Easy Steps on How to Make Wooden Jewelry Boxes
Step 1: Plan Your Design
Start by deciding on your wooden jewelry box’s dimensions and overall style. Sketch a rough design on paper, noting down measurements and the placement for compartments, hinges, and decorative details. Having a clear plan will make the process smoother and help ensure your box turns out as envisioned.
Step 2: Select and Prepare the Wood
Choose a type of wood that suits your design and skill level. Popular options include pine for beginners, as it is soft and easy to work with, or hardwoods like oak, walnut, or cherry for a more professional finish. Ensure the wood is free of knots, cracks, or other imperfections that could weaken the structure. Once you’ve selected your wood, measure and cut it to the dimensions specified in
your design plan. Use sandpaper to smooth the edges and surfaces, starting with a coarse grit to remove roughness and gradually moving to a finer grit for a polished finish. Properly preparing the wood is essential to enhance the box’s appearance and durability.
Step 3: Assemble the Box
Begin assembling the box by attaching the sides to the base. Apply wood glue along the edges where the pieces meet, ensuring a strong bond. Align the pieces carefully to maintain a square shape, and use clamps to hold them in place as the glue dries. Once the glue has set, reinforce the joints with nails or screws for added stability. If your design includes compartments or dividers, install them at this stage, ensuring they are securely fitted. Take your time during assembly to ensure everything aligns appropriately, as this will be crucial for the overall appearance and functionality of the box.
Step 4: Sand and Finish the Box
Once the box is fully assembled, give it a final sanding to smooth any rough edges or uneven surfaces. Use fine-grit sandpaper to ensure the box feels pleasant and has a uniform texture. After sanding, apply a finish of your choice, such as wood stain, paint, or a clear sealant, to protect the wood and enhance its appearance. Allow the finish to dry completely between coats if multiple applications are needed. A well-applied finish improves the box’s aesthetic appeal and increases its durability for long-term use.
Step 5: Attach Hardware and Final Touches
After the finish has completely dried, it’s time to attach any hardware to your box. Depending on your design and intended use of the box, this could include hinges, handles, latches, or decorative elements. Carefully measure and mark where each piece of

hardware will go to ensure proper alignment and balance. Use appropriate screws or fasteners to secure the hardware firmly in place. Once everything is attached, double-check that all moving parts, such as hinges or latches, operate smoothly. Finally, clean any dust or residue, and your box is ready for use or display!
Step 6: Maintain and Care for Your Box
Regular maintenance and care are essential to ensure your finished box’s longevity. Periodically inspect the box for wear, damage, or hardware loosening. If needed, tighten screws or fasteners to keep the hardware secure. Clean the surface with a soft cloth to remove dust and debris, and if the finish begins to fade or wear, consider applying a fresh coat of sealant or polish to protect and revitalize the wood. Proper care will keep your box looking beautiful and functional for years.
Step 7: Personalize Your Box
Adding personal touches to your box can make it uniquely yours and even more special. Consider decorating the box with carvings, paint, or stencils to create intricate patterns or designs. You could also add a nameplate, initials, or other embellishments like decorative hardware to give it character. Lining the interior with fabric or padding can add a touch of luxury while also protecting the contents. Personalization enhances the aesthetic appeal and makes the box a delightful keepsake or gift.
Step 8: Add Compartments and Organizers
To make the most of your wooden jewelry box, consider adding compartments or organizers to keep different types of jewelry separate and easily accessible. You can use pre-made dividers or create your own by cutting and fitting pieces of wood into the box’s interior. Dividers help organize the contents and provide added support to prevent delicate items from moving around.
Step 9: Explore Different Styles and Techniques
Experiments with various styles and techniques can make your project unique and visually appealing when crafting a wooden jewelry box. Consider traditional designs that showcase clean lines and symmetrical patterns, or opt for a rustic look with distressed finishes and natural wood textures. For a modern approach, explore minimalist designs emphasizing simplicity and functionality,
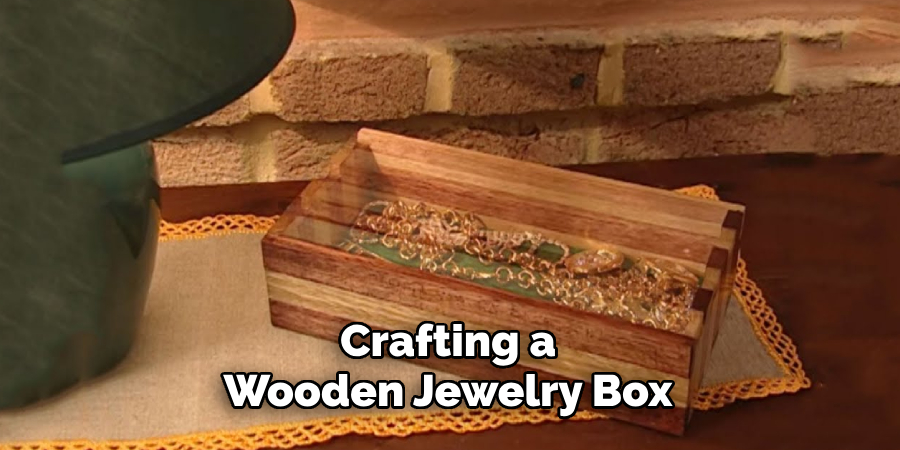
incorporating sleek materials like glass or metal accents. If you prefer a decorative style, try techniques such as wood burning to create detailed etchings or experiment with inlays using contrasting wood types, metals, or even gemstones to enhance the box’s appearance.
By following these nine steps, you can create a beautiful and functional wooden jewelry box that protects your precious belongings and showcases your skills and creativity.
5 Things You Should Avoid
1. Using Low-Quality Wood: Choosing substandard wood can create a fragile and unattractive jewelry box. Always opt for durable and high-quality wood, such as oak, maple, or cherry, to ensure a long-lasting and aesthetically pleasing result.
2. Neglecting Precise Measurements: Failing to measure accurately can result in misaligned joints or a poorly functioning box. Double-check your measurements before cutting to avoid wasting materials and compromising the final product.
3. Skipping Sanding and Preparation: Leaving the wood unsanded or poorly prepped can create a rough and uneven surface, making your jewelry box uncomfortable and unattractive. Proper sanding and preparation are essential for a smooth and polished finish.
4. Ignoring Proper Adhesives and Fixtures: Using incorrect adhesives or skipping screws and joints where they are needed can compromise the structural integrity of the box. Always use the appropriate glue and hardware for strong, durable assembly.
5. Overloading With Decorations: Overcrowding the box with excessive embellishments can detract from its design and utility. Keep decorations tasteful and balanced to maintain function and a visually pleasing style.
Conclusion
How to make wooden jewelry boxes requires careful planning, attention to detail, and patience.
You can craft a functional and beautiful box by selecting the right materials, taking accurate measurements, and properly preparing and assembling each component. Avoid mistakes such as rushing the process or neglecting sanding and alignment to ensure a polished and sturdy final product. Remember to balance functionality with aesthetic appeal by choosing tasteful decorations that enhance the design.
With dedication and precision, a handmade wooden jewelry box can become a cherished keepsake that combines utility with artistry.
About the Author
Adrian Green, a lifelong woodworking enthusiast, shares his passion for the craft through The Woodenify Blog. With a foundation built on years of hands-on experience in his father’s woodworking shop, Adrian is dedicated to helping others learn and grow in the world of DIY woodworking. His approach to woodworking combines creativity, practicality, and a deep appreciation for the art of building with your own hands. Through his blog, he inspires individuals of all skill levels to embark on their own woodworking journeys, creating beautiful, functional pieces of furniture and décor.
Professional Focus
- Specializes in DIY woodworking projects, from furniture to home décor.
- Provides step-by-step guides and practical tutorials for woodworkers of all skill levels.
- Dedicated to helping readers build confidence and skill through easy-to-follow instructions and tips.
- Passionate about fostering a community of makers who can share, learn, and grow together.
Education History
- University of Craft and Design – Bachelor of Fine Arts (BFA) in Woodworking and Furniture Design
- Woodworking Apprenticeships – Extensive hands-on training with skilled craftsmen to refine carpentry and furniture making techniques.
- Online Courses & Masterclasses – Continued education in advanced woodworking techniques, design principles, and specialized tools
Expertise:
- DIY woodworking, carpentry, furniture making, and home décor projects.
- Creating accessible tutorials and guides for beginner to advanced woodworkers.
- Sharing the joys and satisfaction of woodworking, from raw materials to finished products.