Painting Ikea furniture is a great way to add a personal touch and breathe new life into your pieces. With a little preparation and the right materials, you can transform even the simplest furniture into a custom masterpiece that fits your style and home décor.
This guide on how to paint ikea furniture will walk you through the essential steps to ensure a smooth, long-lasting finish on your Ikea furniture, making it both cost-effective and rewarding to tackle this DIY project.
Why Paint Ikea Furniture?
Painting Ikea furniture can be a budget-friendly and creative way to update your home. Rather than purchasing new furniture, painting your existing pieces can give them a fresh look while still keeping the same functionality.
Additionally, many Ikea furniture pieces come in neutral colors that may not suit everyone’s taste or décor style. Painting allows you to customize these pieces to fit your personal aesthetic and create a unique look for your home.
Needed Materials
Before getting started on your painting project, it’s important to gather all the necessary materials. Here are some essential items you will need:
Sandpaper or Sanding Block:
Sandpaper or a sanding block is essential to prepare the surface of your furniture for painting. This will help remove any existing finish, roughen up the surface, and create a better adhesion for the paint.
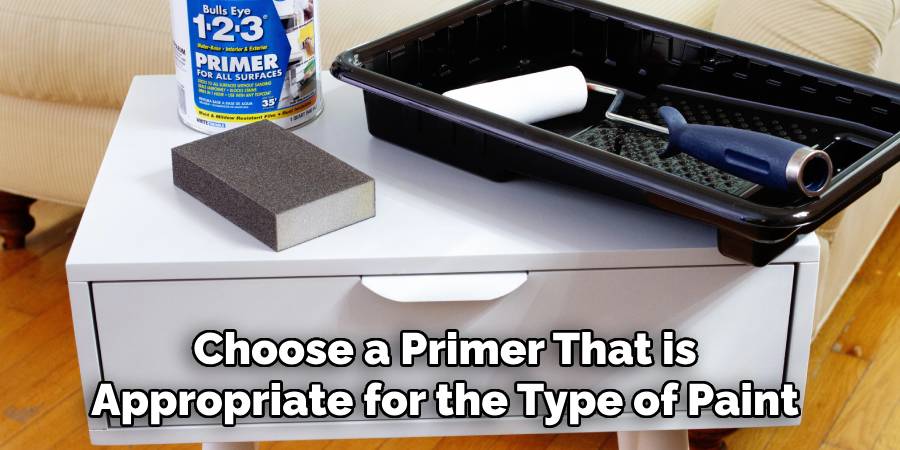
Primer:
A good quality primer is necessary to ensure that the paint adheres properly to the furniture’s surface. It also helps to hide any previous stains or colors on the piece.
Paint:
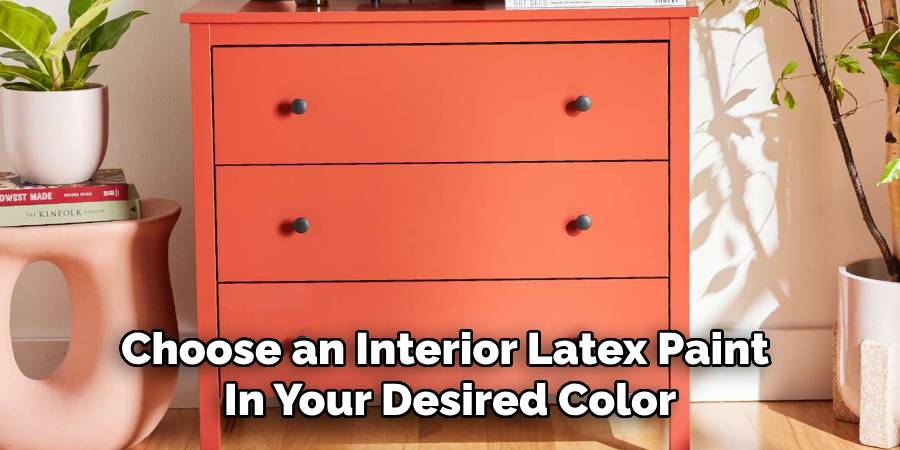
Choose an interior latex paint in your desired color and finish. Latex paints are water-based and have low levels of volatile organic compounds (VOCs), making them a safer and more eco-friendly option.
Brushes and Rollers:
Invest in high-quality brushes and rollers specifically designed for painting furniture. These will help you achieve a smooth and even finish.
Drop Cloth:
To protect your floors and surfaces from paint spills or drips, lay down a drop cloth or old sheet before starting your project.
Cleaning Supplies:
Make sure to have some soap and water or a degreasing cleaner on hand to clean the furniture before painting. This will help remove any dirt, dust, or grime that could affect the paint’s adhesion.
8 Steps on How to Paint Ikea Furniture
Step 1: Choose the Appropriate Paint
The type of paint you choose will greatly affect the end result of your project. For best results, it is recommended to use a primer and then latex or oil-based paint to paint Ikea furniture.
Primer:
A primer creates a smooth surface for the paint to adhere to and helps prevent chipping and flaking. It also covers any imperfections on the surface of the furniture. Choose a primer that is appropriate for the type of paint you will be using.
Latex paint:
Latex paint is a popular choice for painting furniture due to its durability and low levels of VOCs. It also dries quickly, making it easier to apply multiple coats.
Oil-based paint:
Oil-based paints are known for their hard, durable finish. They may take longer to dry but can withstand wear and tear better than latex paints.
Step 2: Prepare the Furniture
Proper preparation is crucial for achieving a professional-looking finish on your Ikea furniture. Start by cleaning the furniture thoroughly with soap and water or a degreasing cleaner to remove any dust, dirt, or grease. Once the surface is clean and dry, inspect the piece for any damage, such as scratches, dents, or loose hardware, and address these issues as needed. Next, use sandpaper or a sanding block to scuff the surface lightly.
This step is essential, particularly for Ikea furniture that often has a smooth laminate coating, as it helps the primer adhere better. Be sure to wipe away any dust created during the sanding process with a damp cloth or tack cloth before moving on to the next step. Preparing the furniture properly will ensure your paint job is smooth, even, and long-lasting.
Step 3: Prime the Furniture
To achieve a professional-looking finish, it’s essential to prime your Ikea furniture before painting. This step is particularly crucial if you are painting over a dark or glossy surface. Apply the primer with a brush or roller in thin, even coats and allow it to dry completely according to the manufacturer’s instructions.
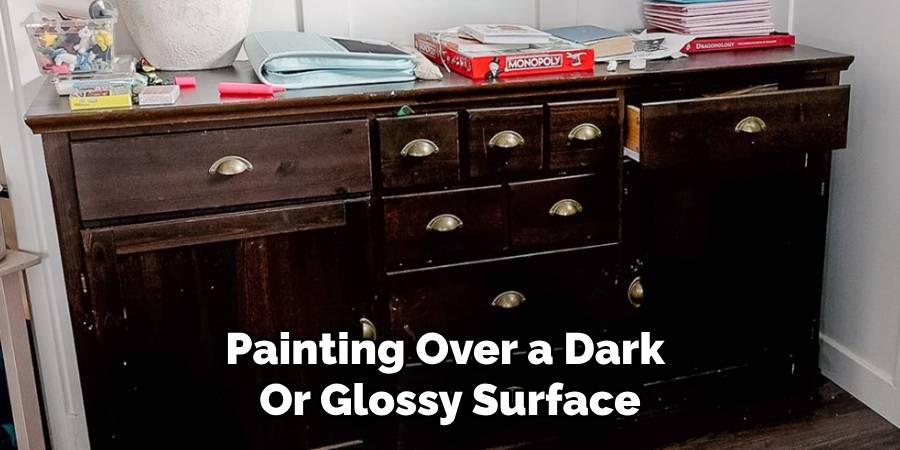
The primer will help the paint adhere better and prevent any previous stains or colors from bleeding through. It also creates a smooth surface for the paint to go on, resulting in a more professional-looking finish.
Step 4: Choose Your Painting Technique
There are various ways to apply paint to furniture, including using a brush, roller, or spray gun. The technique you choose may depend on your comfort level and the type of finish you want to achieve.
Using a brush is great for getting into crevices and corners but can leave behind visible brush strokes. A roller is perfect for larger, flat surfaces but may not work well for detailed areas. Spray guns provide an even coat of paint but require some practice to achieve a smooth finish.
Step 5: Apply the Paint
Once your primer is dry, it’s time to apply the paint. Again, thin and even coats are key to achieving a professional-looking finish.
If using a brush or roller, start at one end of the furniture and work your way across in long, continuous strokes. Make sure to blend each stroke into the previous one for an even coat. If using a spray gun, follow the manufacturer’s instructions for proper application.
Depending on the type of paint you’re using, you may need multiple coats for full coverage. Allow each layer of paint to dry completely before applying another coat.
Step 6: Let It Dry
Allowing the paint to dry properly is a crucial step in achieving a smooth and long-lasting finish on your Ikea furniture. After applying the final coat of paint, give it ample time to cure fully. Check the paint manufacturer’s guidelines for recommended drying times, as this can vary depending on the type of paint used and environmental factors such as humidity and temperature.
Avoid handling or placing items on the furniture until the paint is completely dry to prevent smudges, dents, or peeling. Patience at this stage will ensure your hard work results in a professional and durable paint job.
Step 7: Add a Second Color (Optional)
If you want to add a second color for a two-tone or accented design, this is the time to do so. Use painter’s tape to carefully mask off the areas you want to keep in your base color before applying the second color. This ensures clean and crisp lines between the two colors.
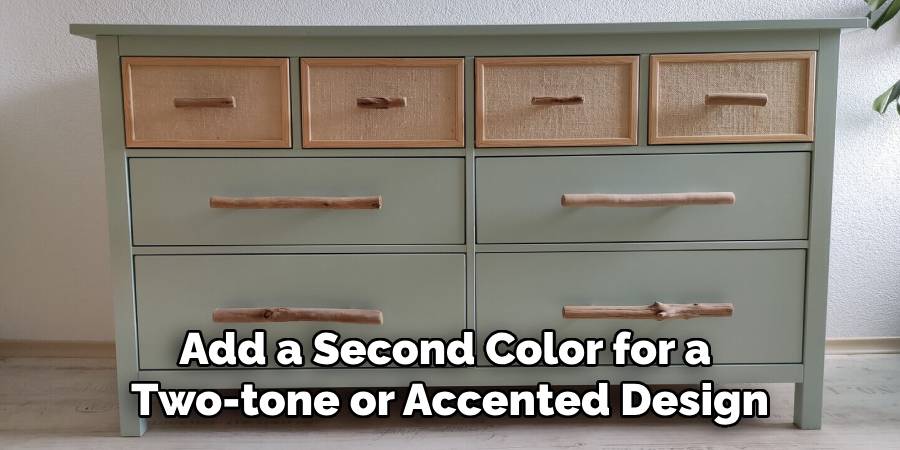
Apply the second color in thin, even coats, just as you did with the base color. Allow each coat to dry completely before adding another layer if needed. Once the final coat is dry, gently remove the painter’s tape, pulling it away at a sharp angle to avoid lifting any paint. Adding a second color can elevate your furniture’s aesthetic and make it truly unique.
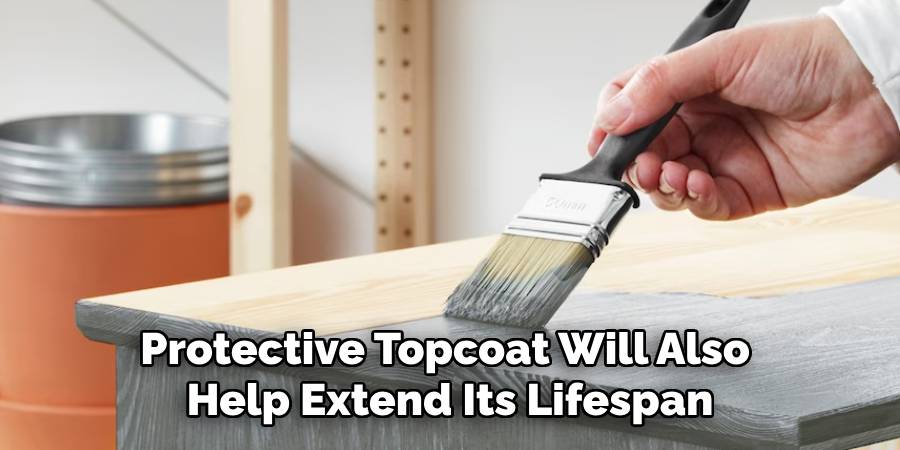
Step 8: Protect Your Furniture
Once the paint has fully dried, it’s important to add a protective finish to ensure your furniture stays pristine over time. A clear topcoat, such as a polyurethane or polycrylic sealant, is highly recommended for safeguarding the painted surface from scratches, stains, and general wear and tear. Choose a topcoat that is compatible with your paint type—water-based seals are ideal for latex paint, while oil-based seals work well with oil-based paint.
Following the manufacturer’s instructions on how to paint ikea furniture, apply the topcoat in thin and even coats using a brush or roller. Allow the sealant to dry completely according to the recommended drying time before placing any items on your furniture. Adding a protective coat will not only safeguard your newly painted Ikea furniture but also give it a professional-looking finish.
Additional Tips
- Before starting, ensure you have all the necessary supplies for the project, including paint, primer, brushes or rollers, sandpaper, and protective finish.
- For a more distressed look, lightly sand some areas after painting to reveal the base color underneath.
- If using oil-based paint, be sure to work in a well-ventilated area and wear protective gear such as gloves and a mask.
- Don’t forget to remove any hardware before painting and replace it once the furniture is fully dry.
- Consider using a furniture deglosser or liquid sander as an alternative to sanding for easier preparation.
- Experiment with different paint colors and techniques, such as adding texture or using stencils, for a truly unique piece of Ikea furniture.
By following these steps and tips, you can transform your plain Ikea furniture into a personalized and professionally painted piece that will enhance the look of any room in your home. Have fun and get creative! Happy painting!
Frequently Asked Questions
Q: Can I Paint Over Laminate Ikea Furniture?
A: Yes, you can paint over laminate furniture with the proper preparation and technique. Make sure to clean the surface thoroughly, use a primer specifically for laminate surfaces, and apply thin coats of paint.
Q: Do I Need to Sand Ikea Furniture Before Painting?
A: It is highly recommended to sand the furniture before painting for better adhesion and a smoother finish. However, sanding may not be necessary if you are using a liquid sander or deglosser.
Q: How Long Does Painted Ikea Furniture Last?
A: With proper preparation and application, painted Ikea furniture can last for many years. Adding a protective topcoat will also help extend its lifespan. Remember to avoid placing hot items directly on the painted surface and use coasters or placemats to prevent scratches or stains.
Q: Can I Use Chalk Paint on Ikea Furniture?
A: Yes, chalk paint can be used on Ikea furniture without sanding or priming. However, it is still recommended to clean the surface beforehand for better adhesion. Follow the manufacturer’s instructions for proper application and sealing with a wax finish if desired.
Q: Do I Need to Use a Primer Before Painting Ikea Furniture?
A: It is highly recommended to use a primer before painting Ikea furniture, especially if you are changing from a dark to light color or covering laminate surfaces. This will help the paint adhere better and result in a smoother finish. Follow the paint manufacturer’s instructions for recommended primers based on your chosen paint type.
Conclusion
Painting Ikea furniture is an excellent way to customize and enhance the look of your home while making a simple and affordable piece truly your own. By following the proper steps on how to paint ikea furniture, from preparation to choosing the right materials and techniques, you can achieve a professional and durable finish.
Whether you’re aiming for a bold statement piece or a subtle update, painting allows you to inject personality and creativity into your furniture. With patience, care, and a little effort, you can transform your Ikea furniture into unique, beautifully painted pieces that reflect your style and elevate your space. Happy painting!
About the Author
Adrian Green, a lifelong woodworking enthusiast, shares his passion for the craft through The Woodenify Blog. With a foundation built on years of hands-on experience in his father’s woodworking shop, Adrian is dedicated to helping others learn and grow in the world of DIY woodworking. His approach to woodworking combines creativity, practicality, and a deep appreciation for the art of building with your own hands. Through his blog, he inspires individuals of all skill levels to embark on their own woodworking journeys, creating beautiful, functional pieces of furniture and décor.
Professional Focus
- Specializes in DIY woodworking projects, from furniture to home décor.
- Provides step-by-step guides and practical tutorials for woodworkers of all skill levels.
- Dedicated to helping readers build confidence and skill through easy-to-follow instructions and tips.
- Passionate about fostering a community of makers who can share, learn, and grow together.
Education History
- University of Craft and Design – Bachelor of Fine Arts (BFA) in Woodworking and Furniture Design
- Woodworking Apprenticeships – Extensive hands-on training with skilled craftsmen to refine carpentry and furniture making techniques.
- Online Courses & Masterclasses – Continued education in advanced woodworking techniques, design principles, and specialized tools
Expertise:
- DIY woodworking, carpentry, furniture making, and home décor projects.
- Creating accessible tutorials and guides for beginner to advanced woodworkers.
- Sharing the joys and satisfaction of woodworking, from raw materials to finished products.